Why you’ll love this family favorite recipe!

My weekly obsession with buying grocery store sushi finally has to come to an end.
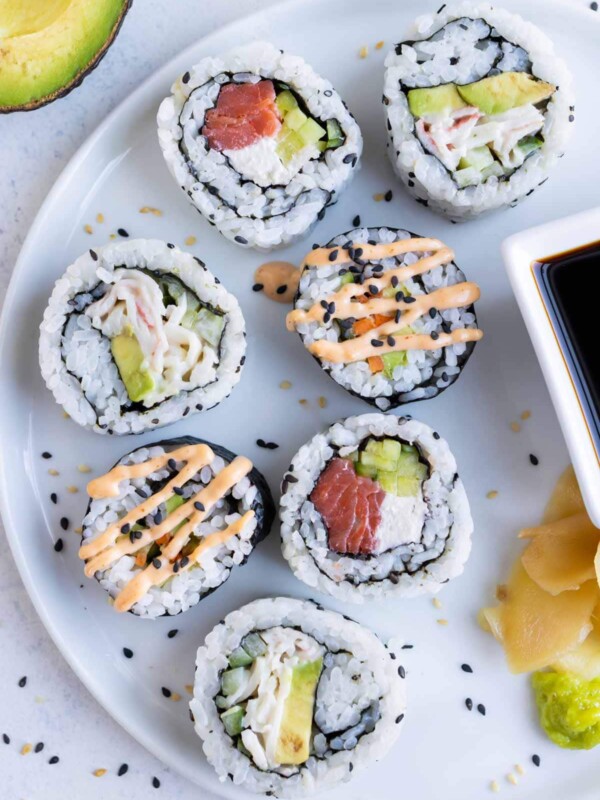
Fresh California Roll, vegetarian Avocado Roll, even creamy, delicious Philadelphia Roll… I decided that it was time I learned how to roll sushi myself, so that I could enjoy every one of them anytime those cravings hit!
But if you’ve ever attempted this somewhat overwhelming task at home, you know that it can be a bit tricky.
Not to mention that making a traditional “maki” roll and an inside-out “umaki” roll with the rice on the exterior require entirely different methods!
After rolling dozens and dozens of these guys, I’m going to be sure to show you all of the tips and tricks I’ve learned. That way you can also easily make your own sushi rolls at home using a bamboo mat.
Don’t have a bamboo mat? No problem – I’ll also teach a little trick so you can use what you already have available!
Ingredients and Substitutions
For the exact measurements and detailed instructions, please see the recipe card below.
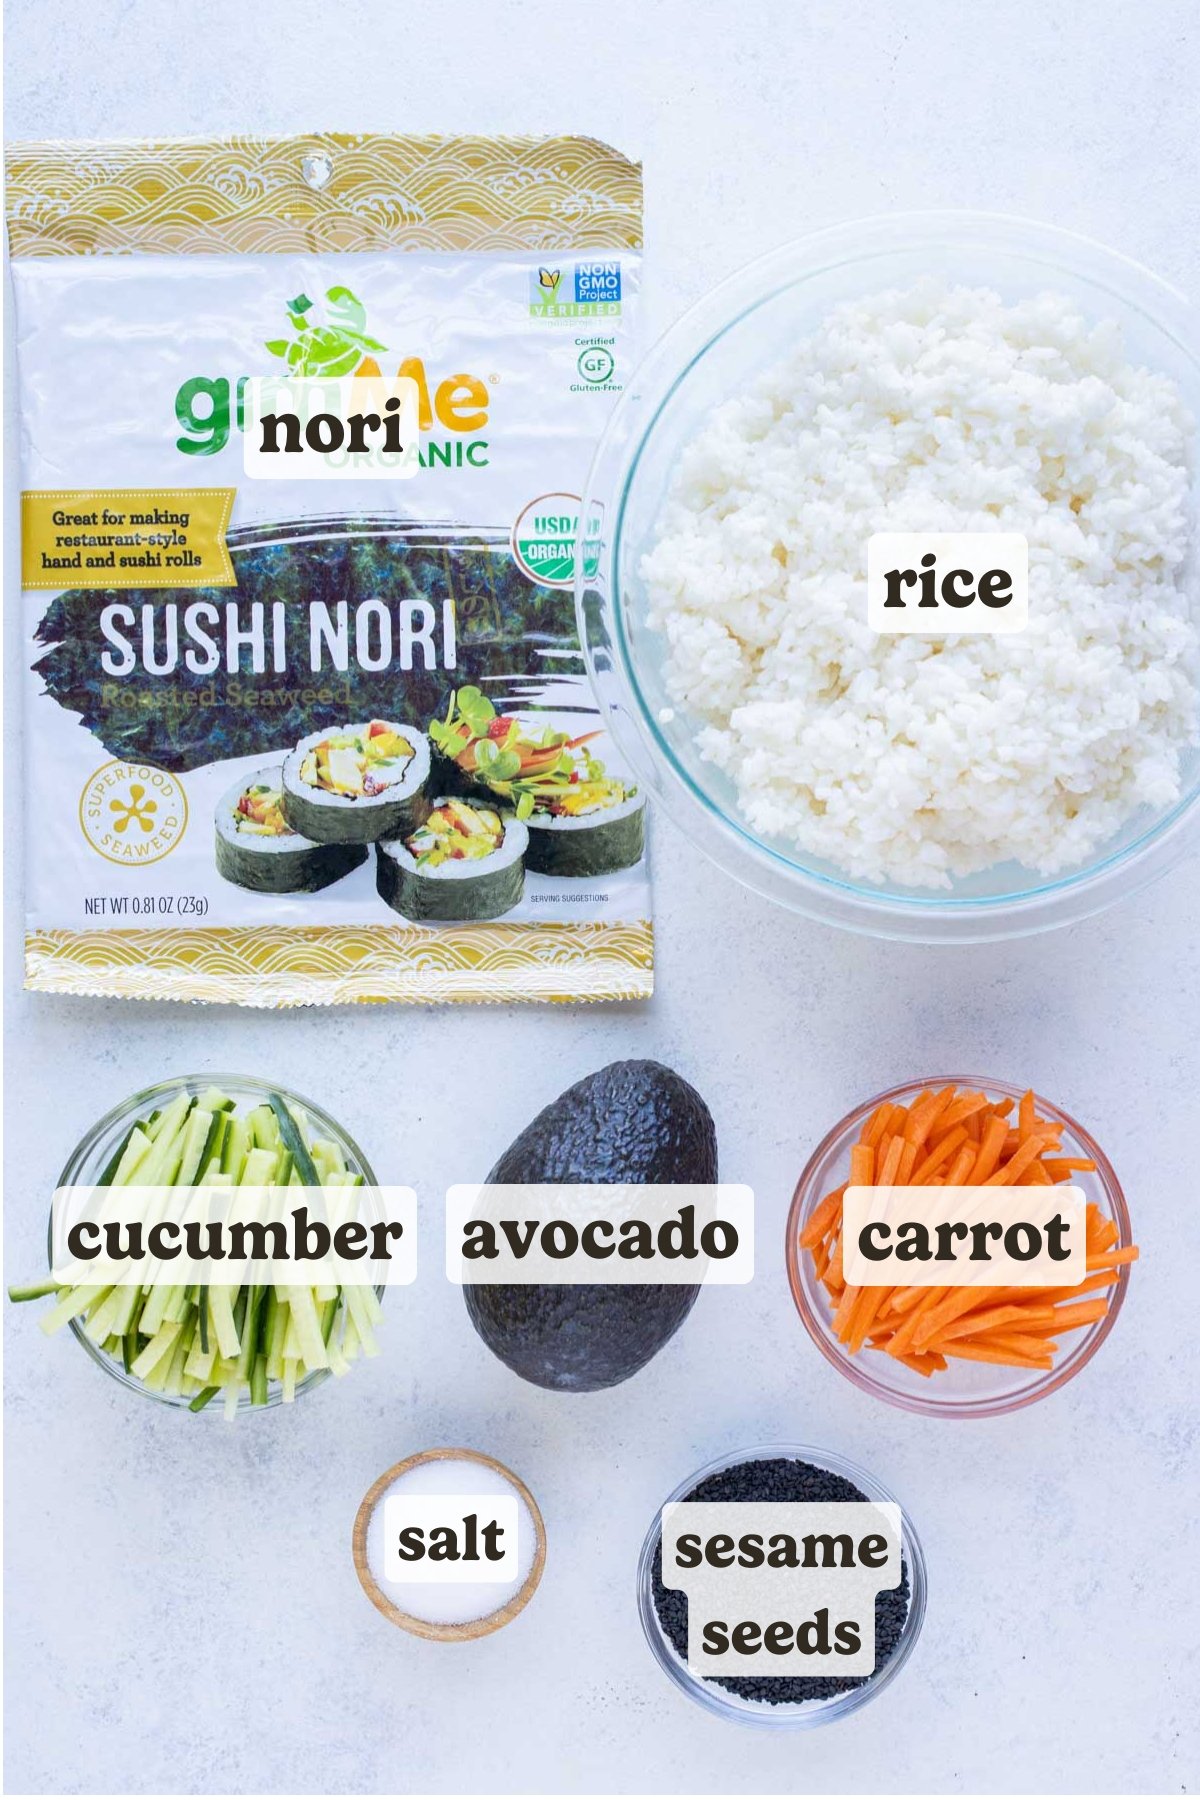
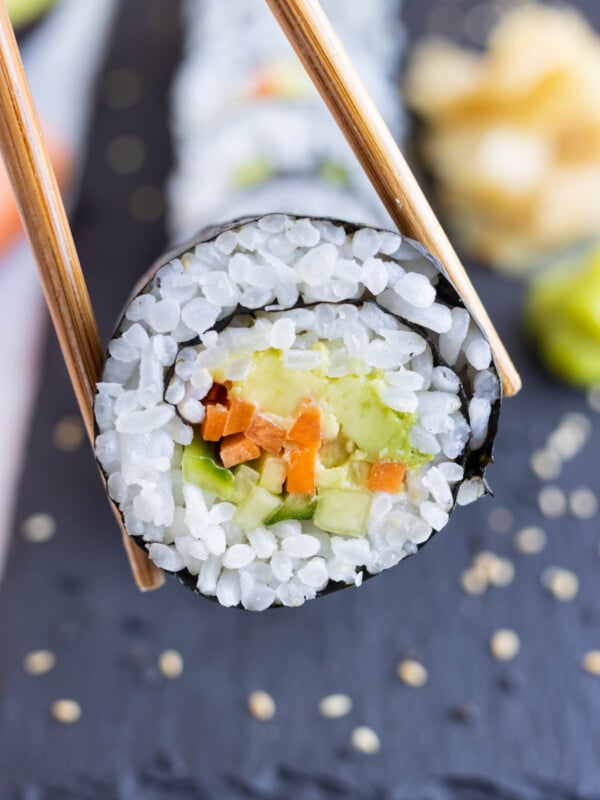
- Fillings. Smoked salmon and cream cheese for Philadelphia Rolls, imitation crab meat for California Rolls, even simple avocado and carrots for Avocado Rolls are just some of the many filling options you can try. Cucumber, spicy tuna, and even shrimp tempura are very popular options as well.
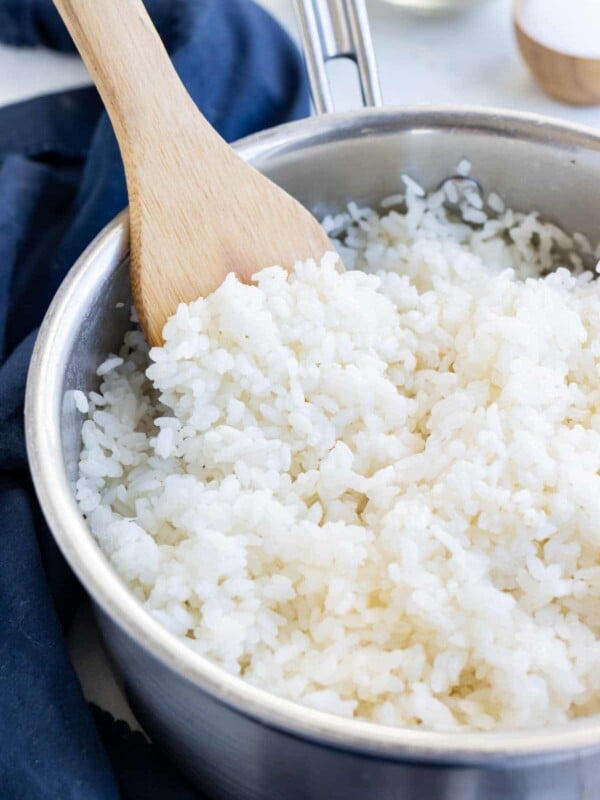
- Sushi Rice. Learning How to Make Sushi Rice is much simpler than you might think, with cooked rice simply being seasoned with rice vinegar and sugar. Short-grain rice is best suited to this recipe, because the slightly sticky nature of it once cooked is perfect for forming sushi.
- Nori. Dried, edible sheets of nori seaweed are a key characteristic of most sushi rolls. Easily found in most Asian markets, it lends a salty, delicately grassy flavor and a binding agent for rolls.
Step-by-step Instructions
Please see the recipe card below for the full instructions, ingredient amounts, and a printable recipe.
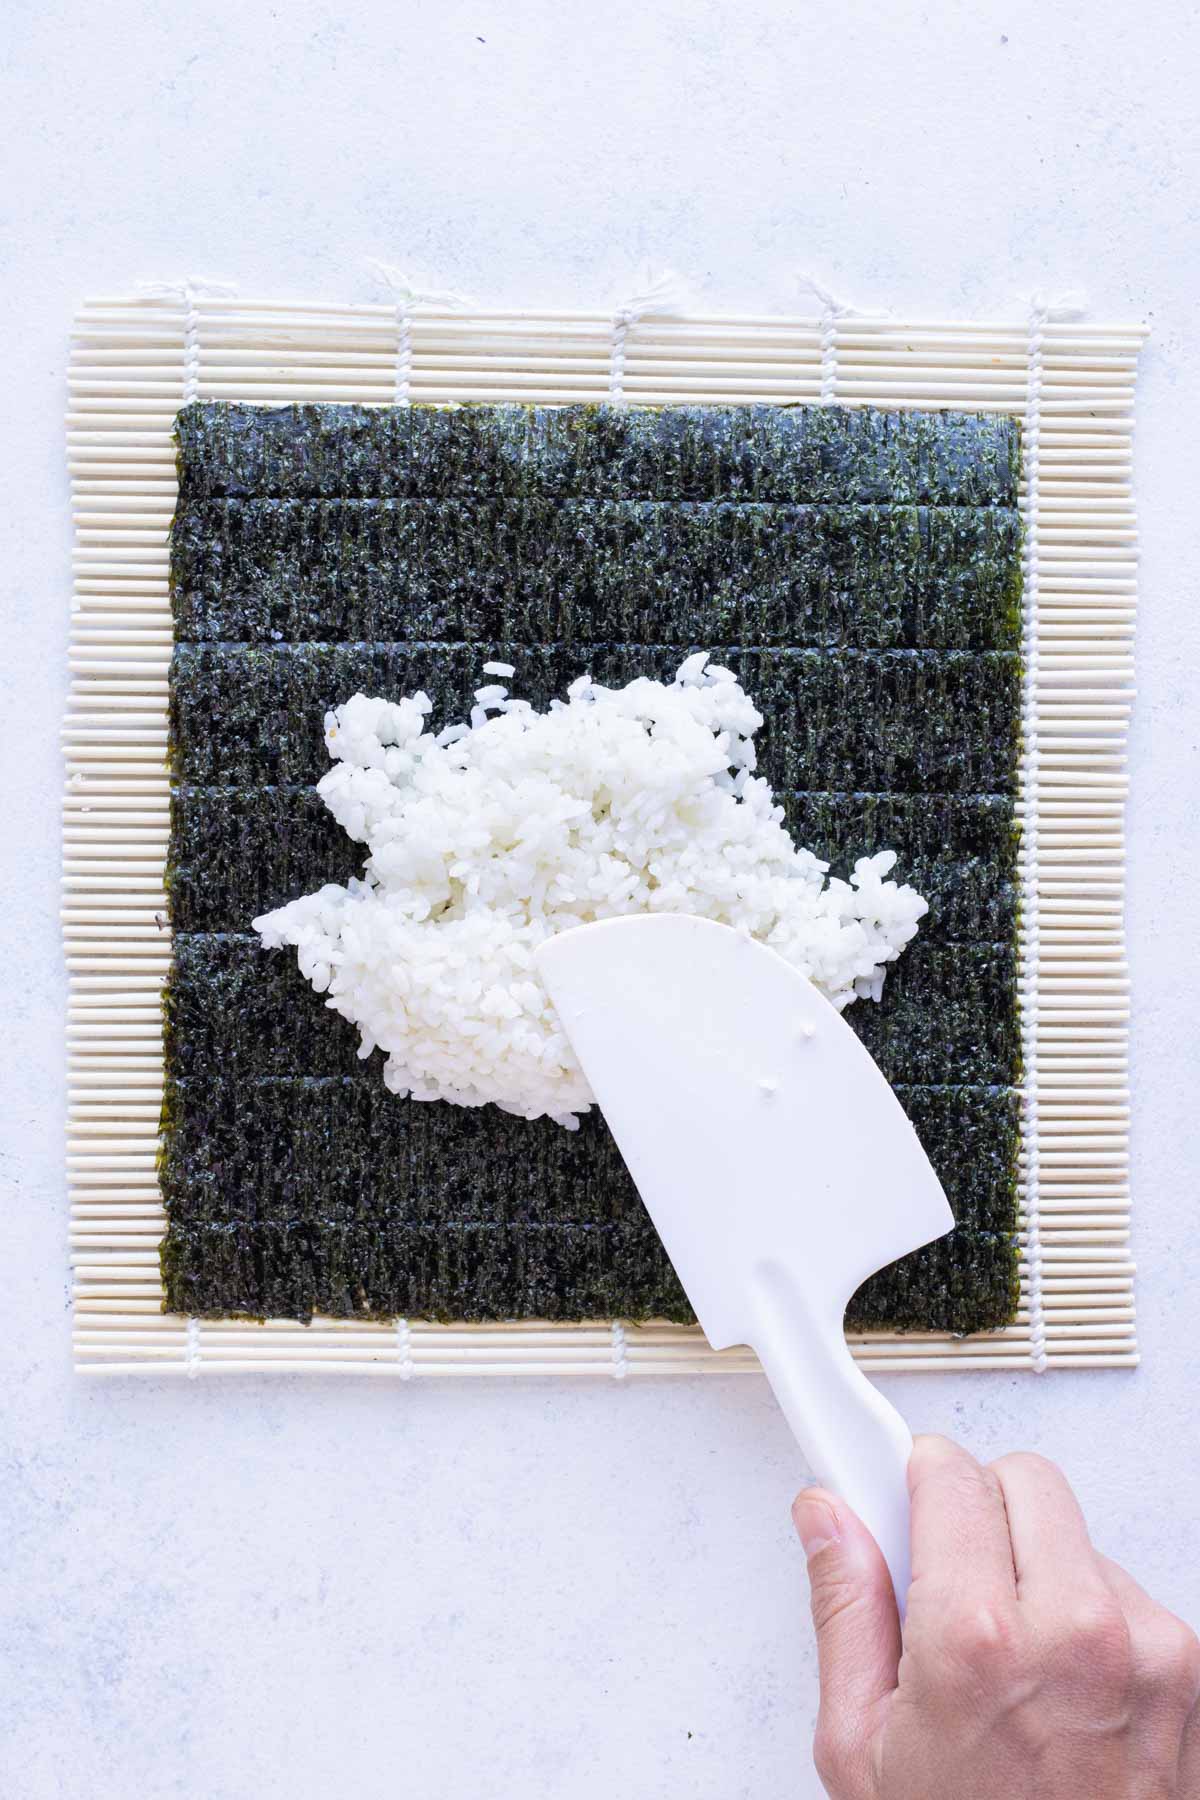
Spread the rice.
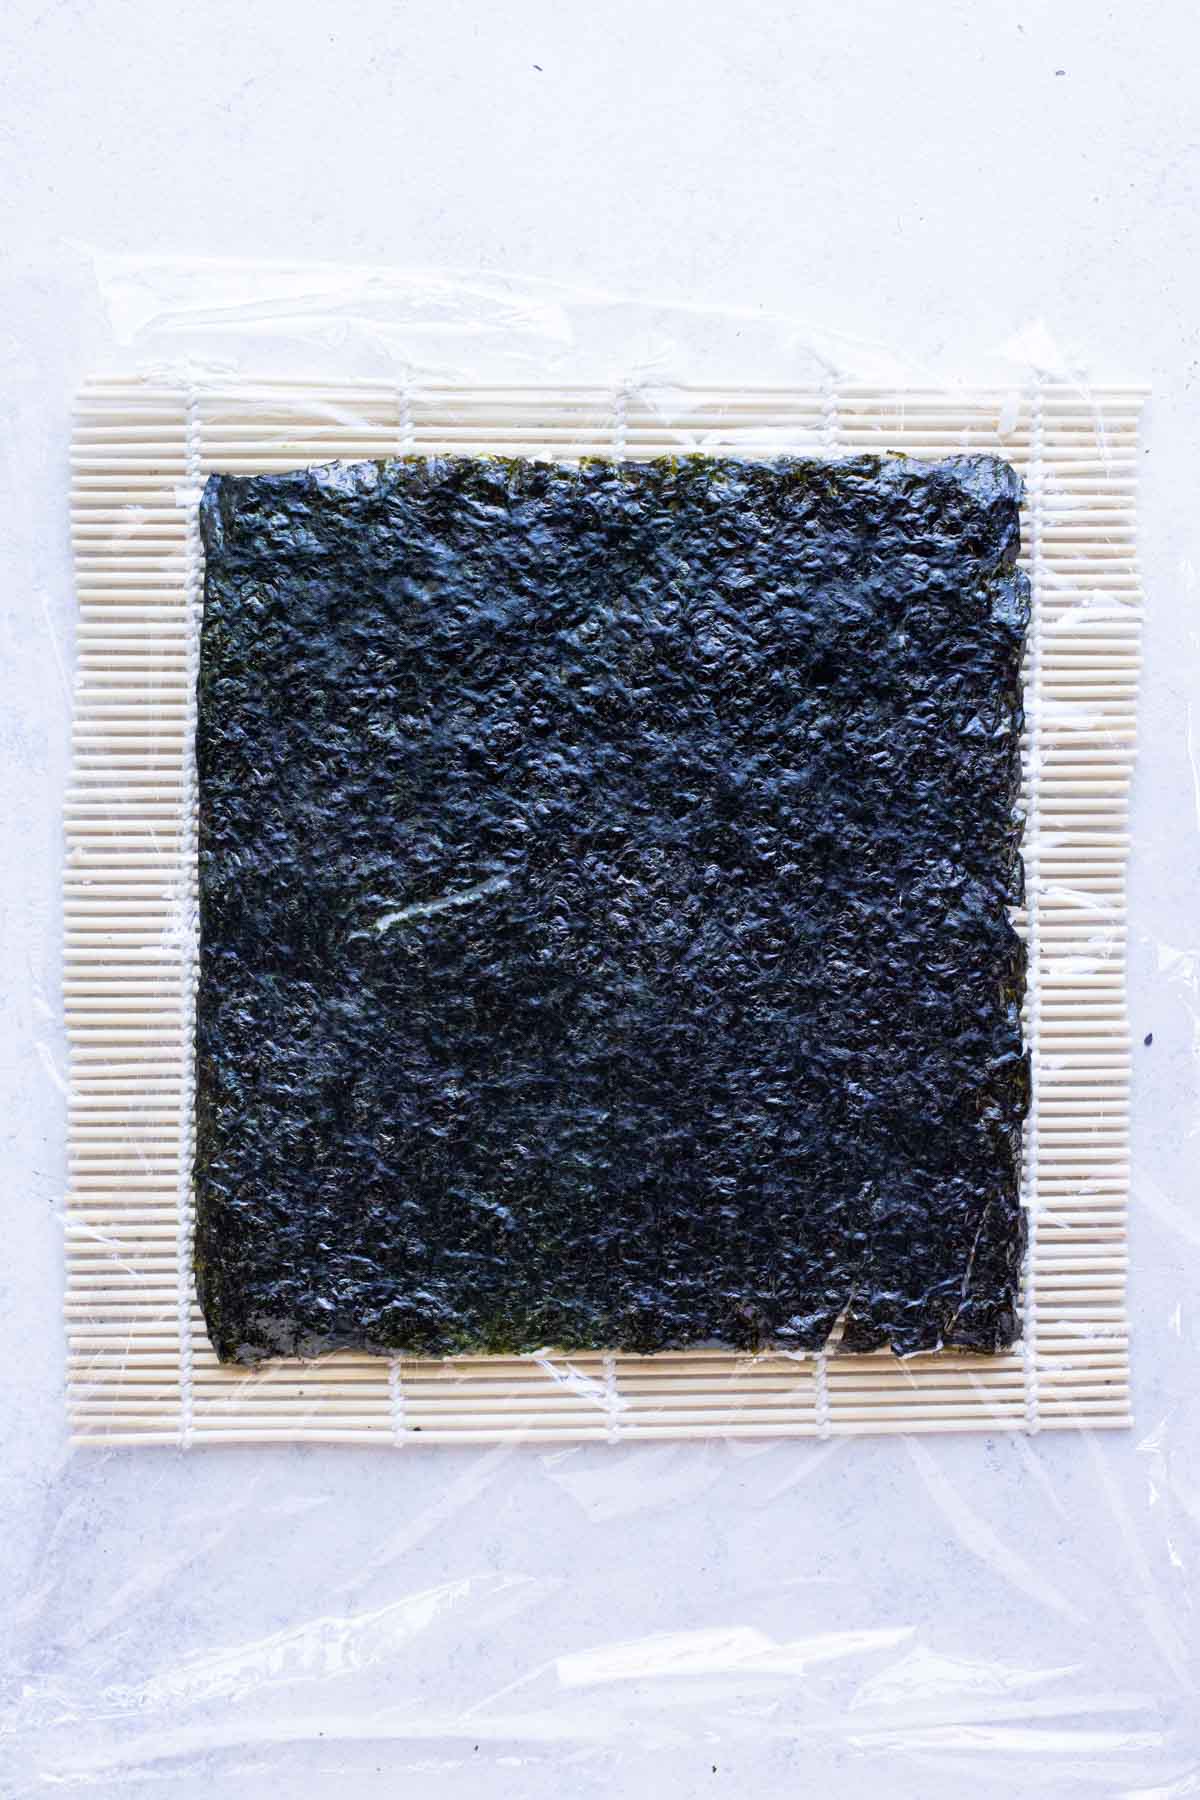
No matter what type of sushi you’re making, the prep starts the same. Place a sheet of nori rough-side up on a bamboo mat, with the lines running parallel to the mat. Nori can be used straight from the package—the moisture from the rice will soften it as you roll.
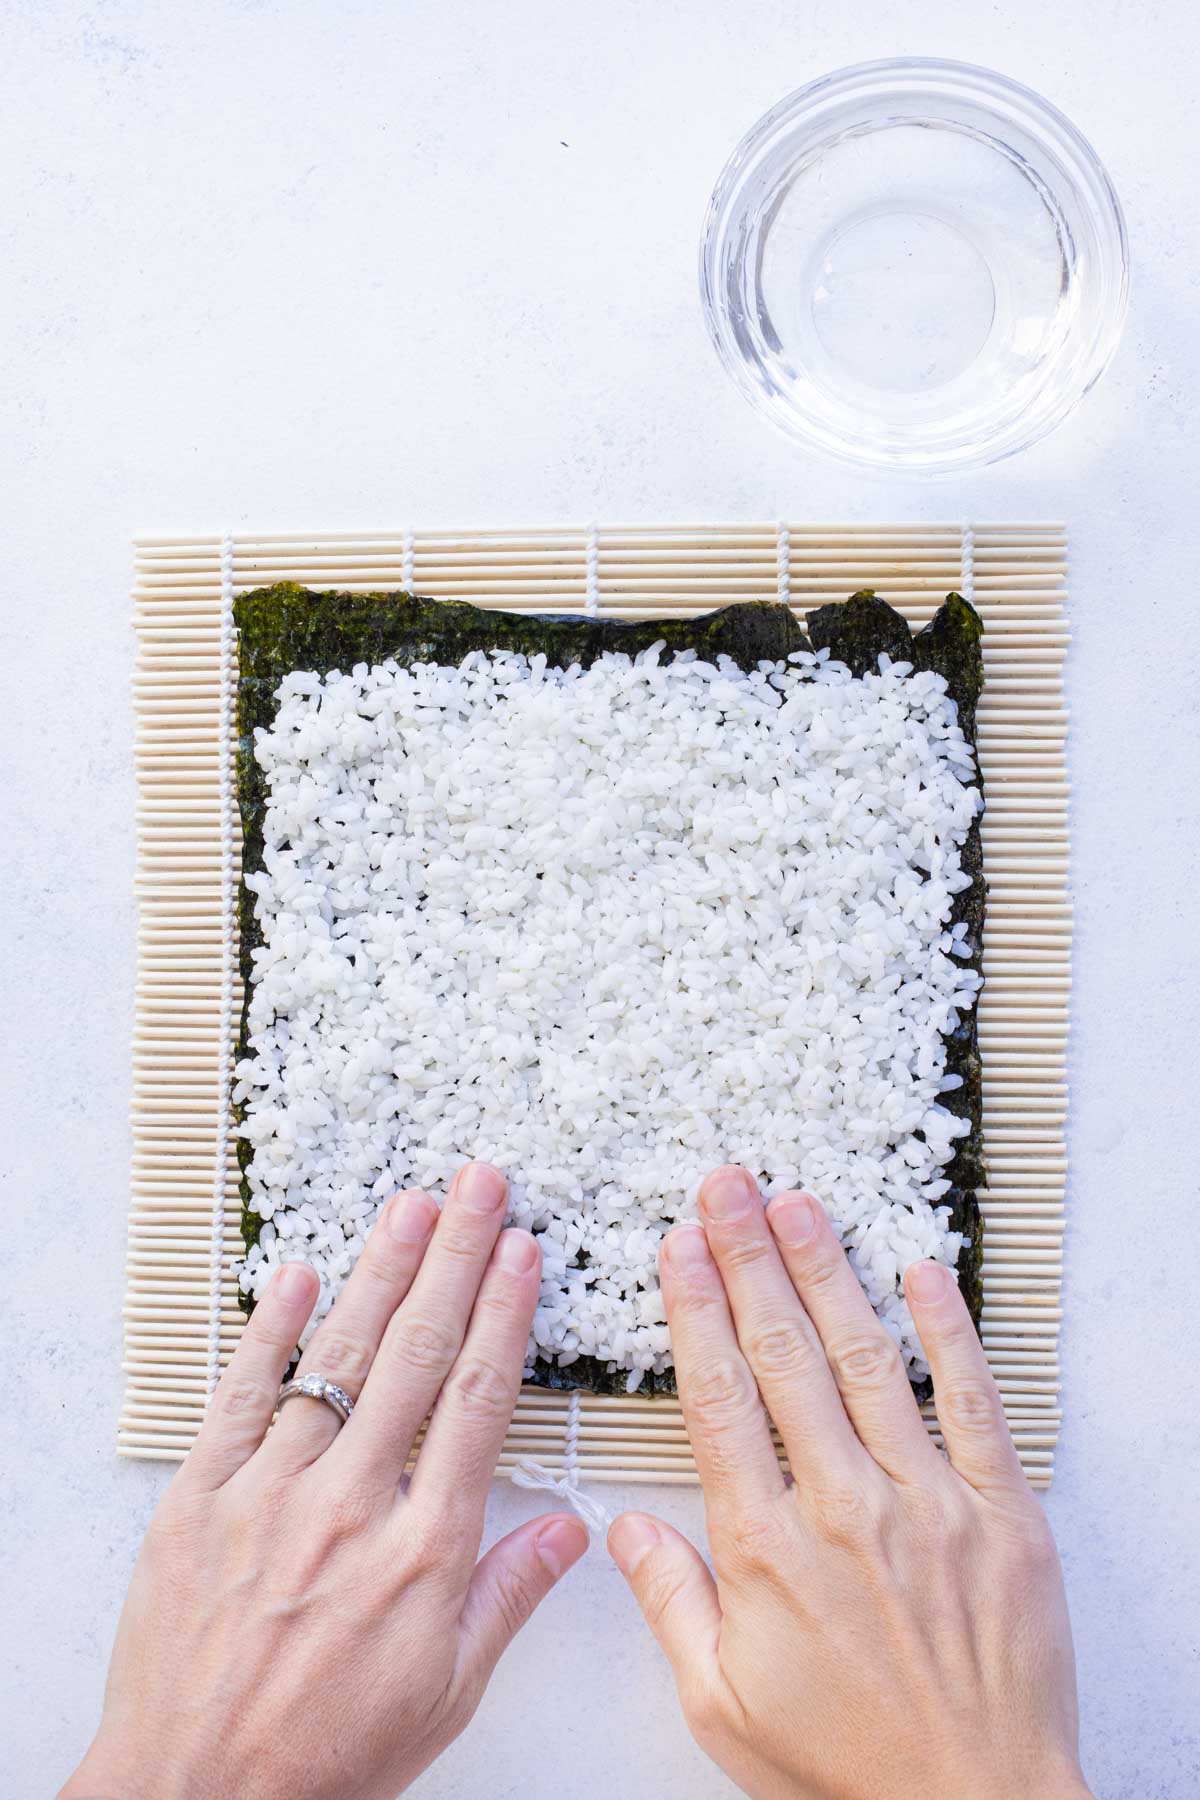
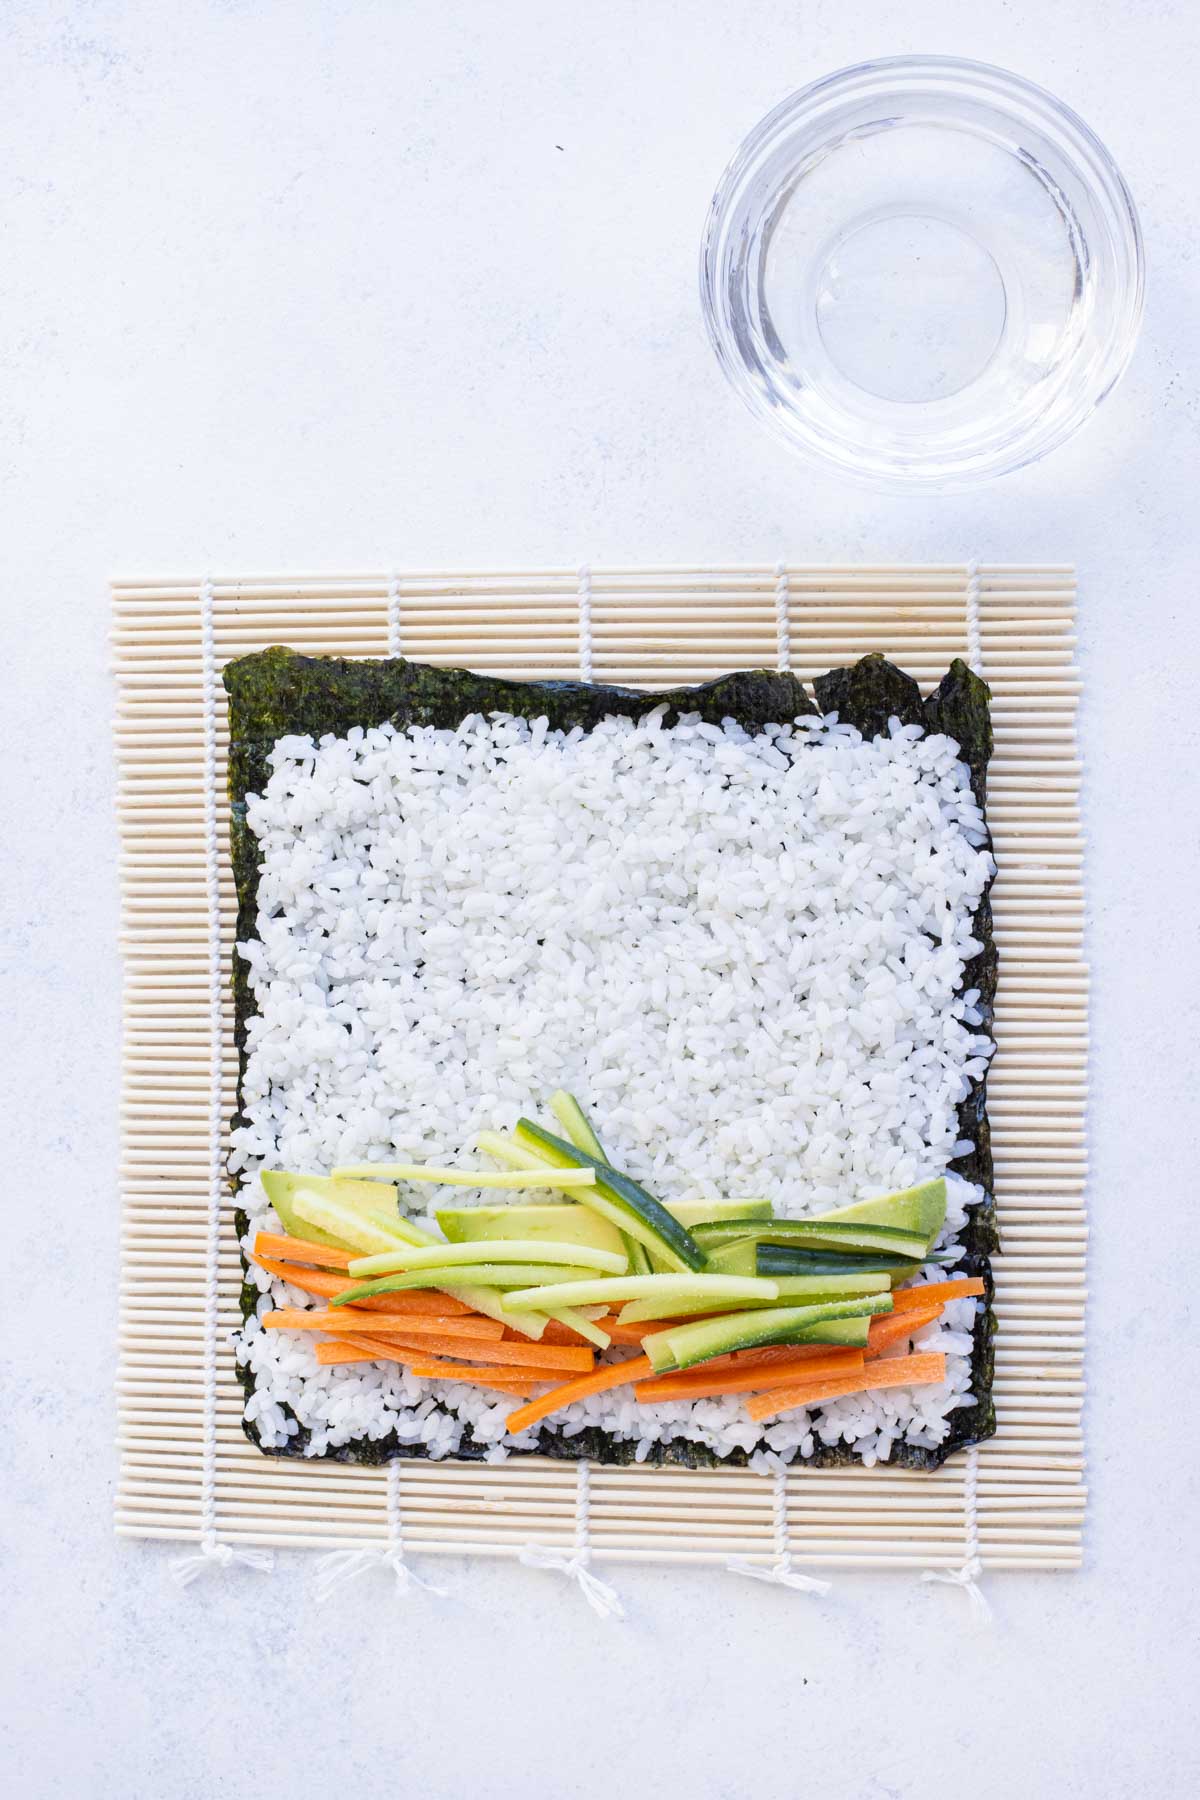
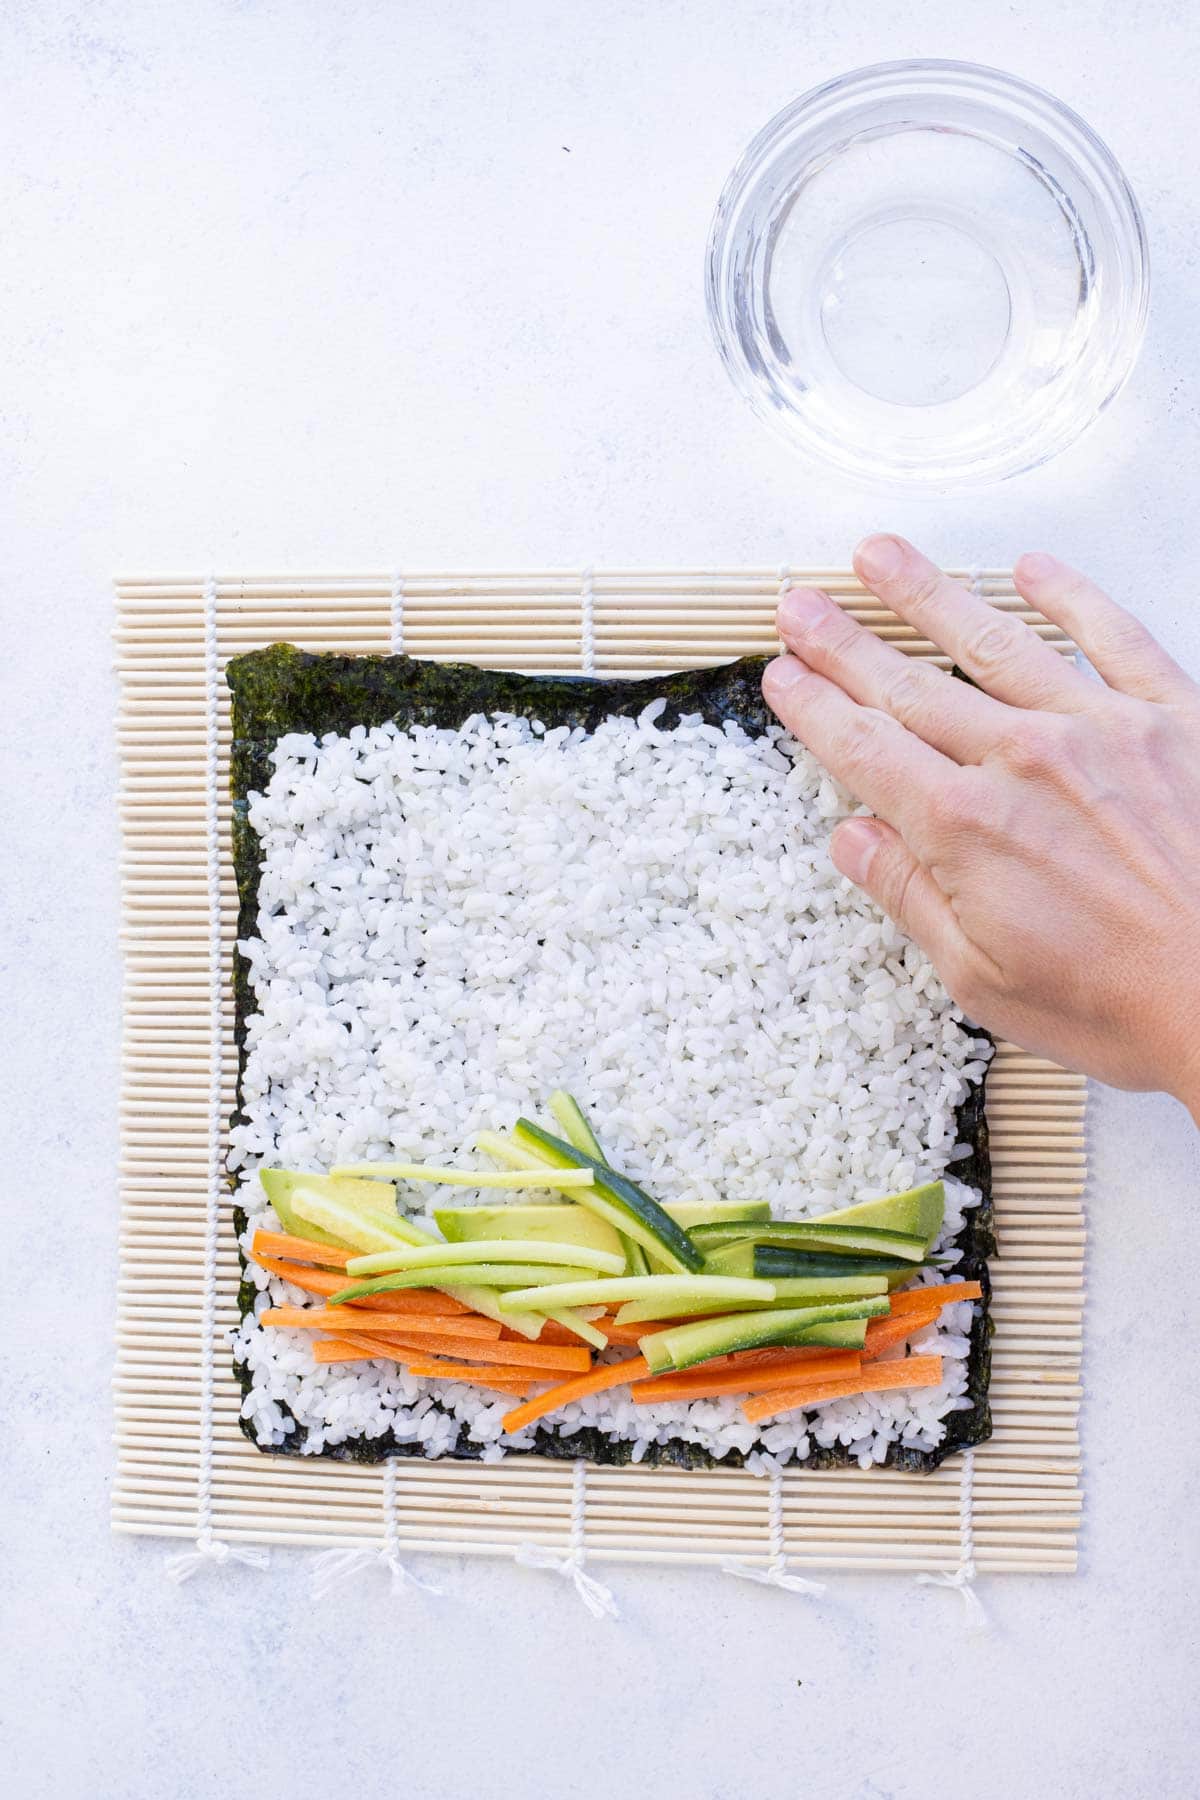
Add 1 cup prepared sushi rice and gently spread it with a rice paddle. Lightly wet your fingers to help reach the edges. For maki, leave a ½-inch border on the far edge to seal the roll. For uramaki, spread the rice all the way to the edges.
Maki Sushi (Traditional Method)–Fill it up.
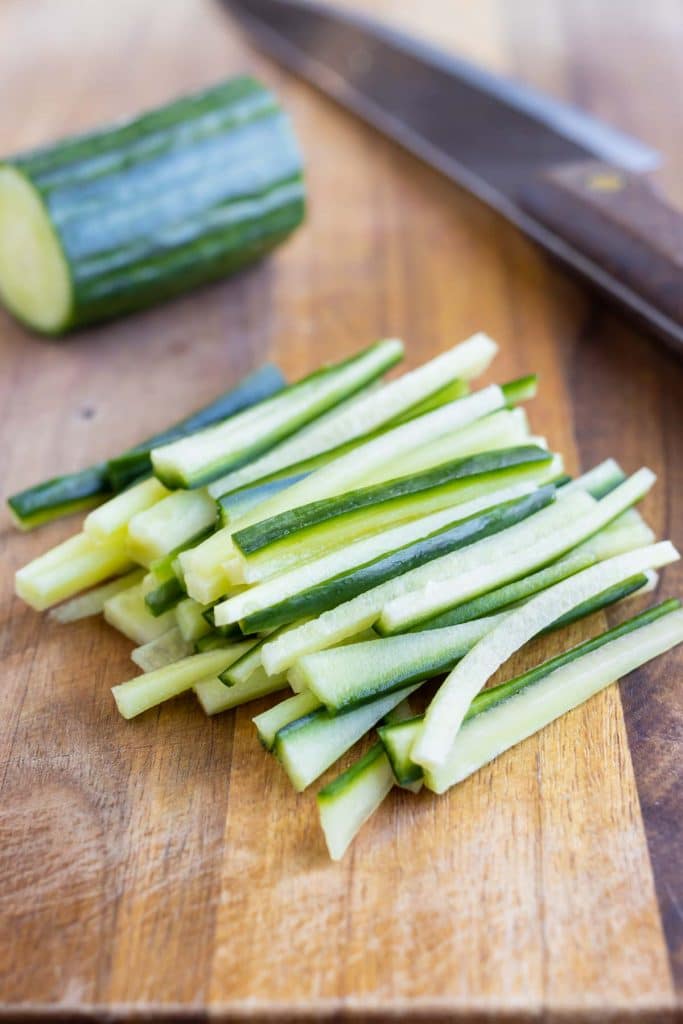
Prep all filling ingredients so they can be laid out in neat strips. Thicker cuts work well for items like crab or shrimp, while julienned cuts are best for veggies like cucumber or carrot.
Arrange the fillings slightly off-center in even rows, close enough to bundle but still distinct when sliced. Season lightly with salt, if desired.
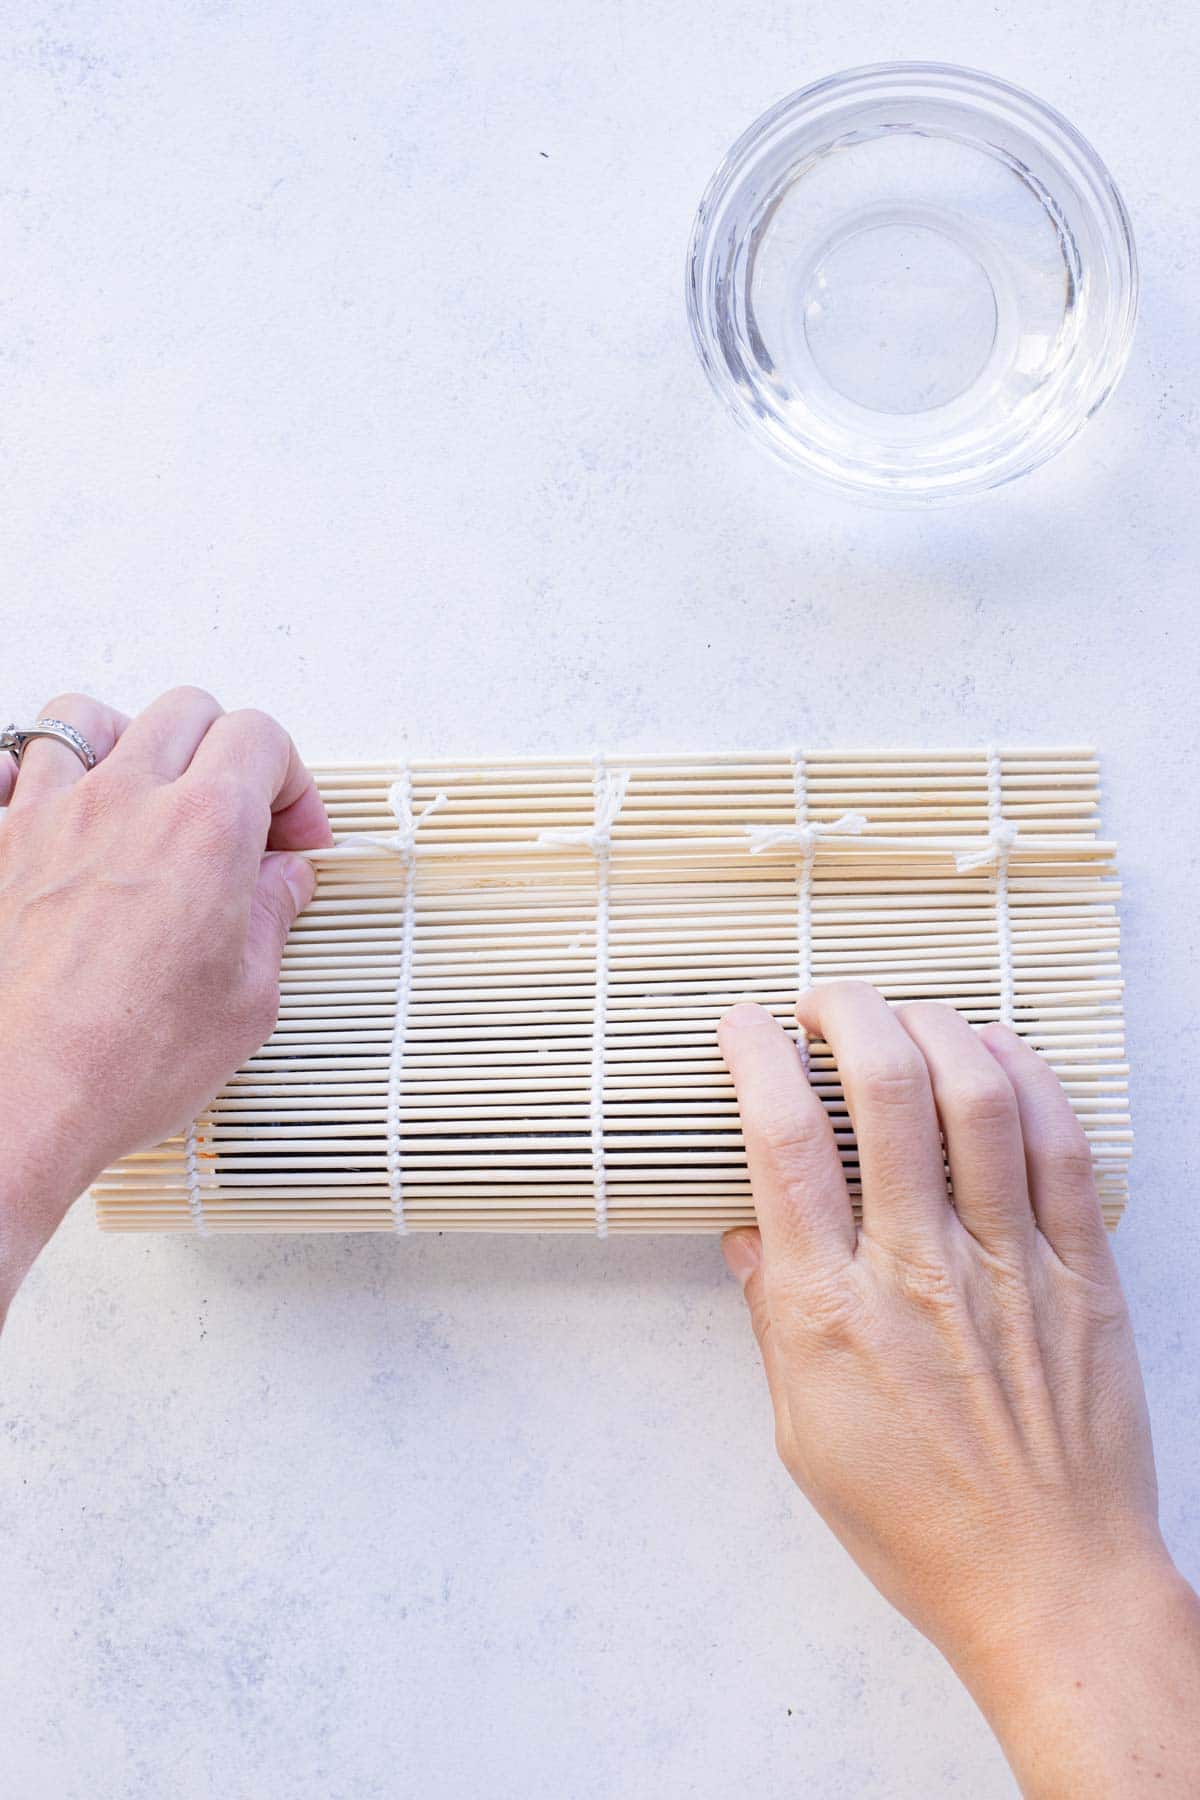
Roll it tight.
Starting at the end closest to you, carefully lift up the edge of the mat to bring the innermost edge of the rice and nori up over the fillings. Begin rolling, using the mat to encourage the roll to take on a circular shape and push the ingredients back in if they begin to shift.
As you go, gently squeeze to tighten the roll up as it forms. This will help compress the rice enough to hold together, which will keep your sushi from falling apart.
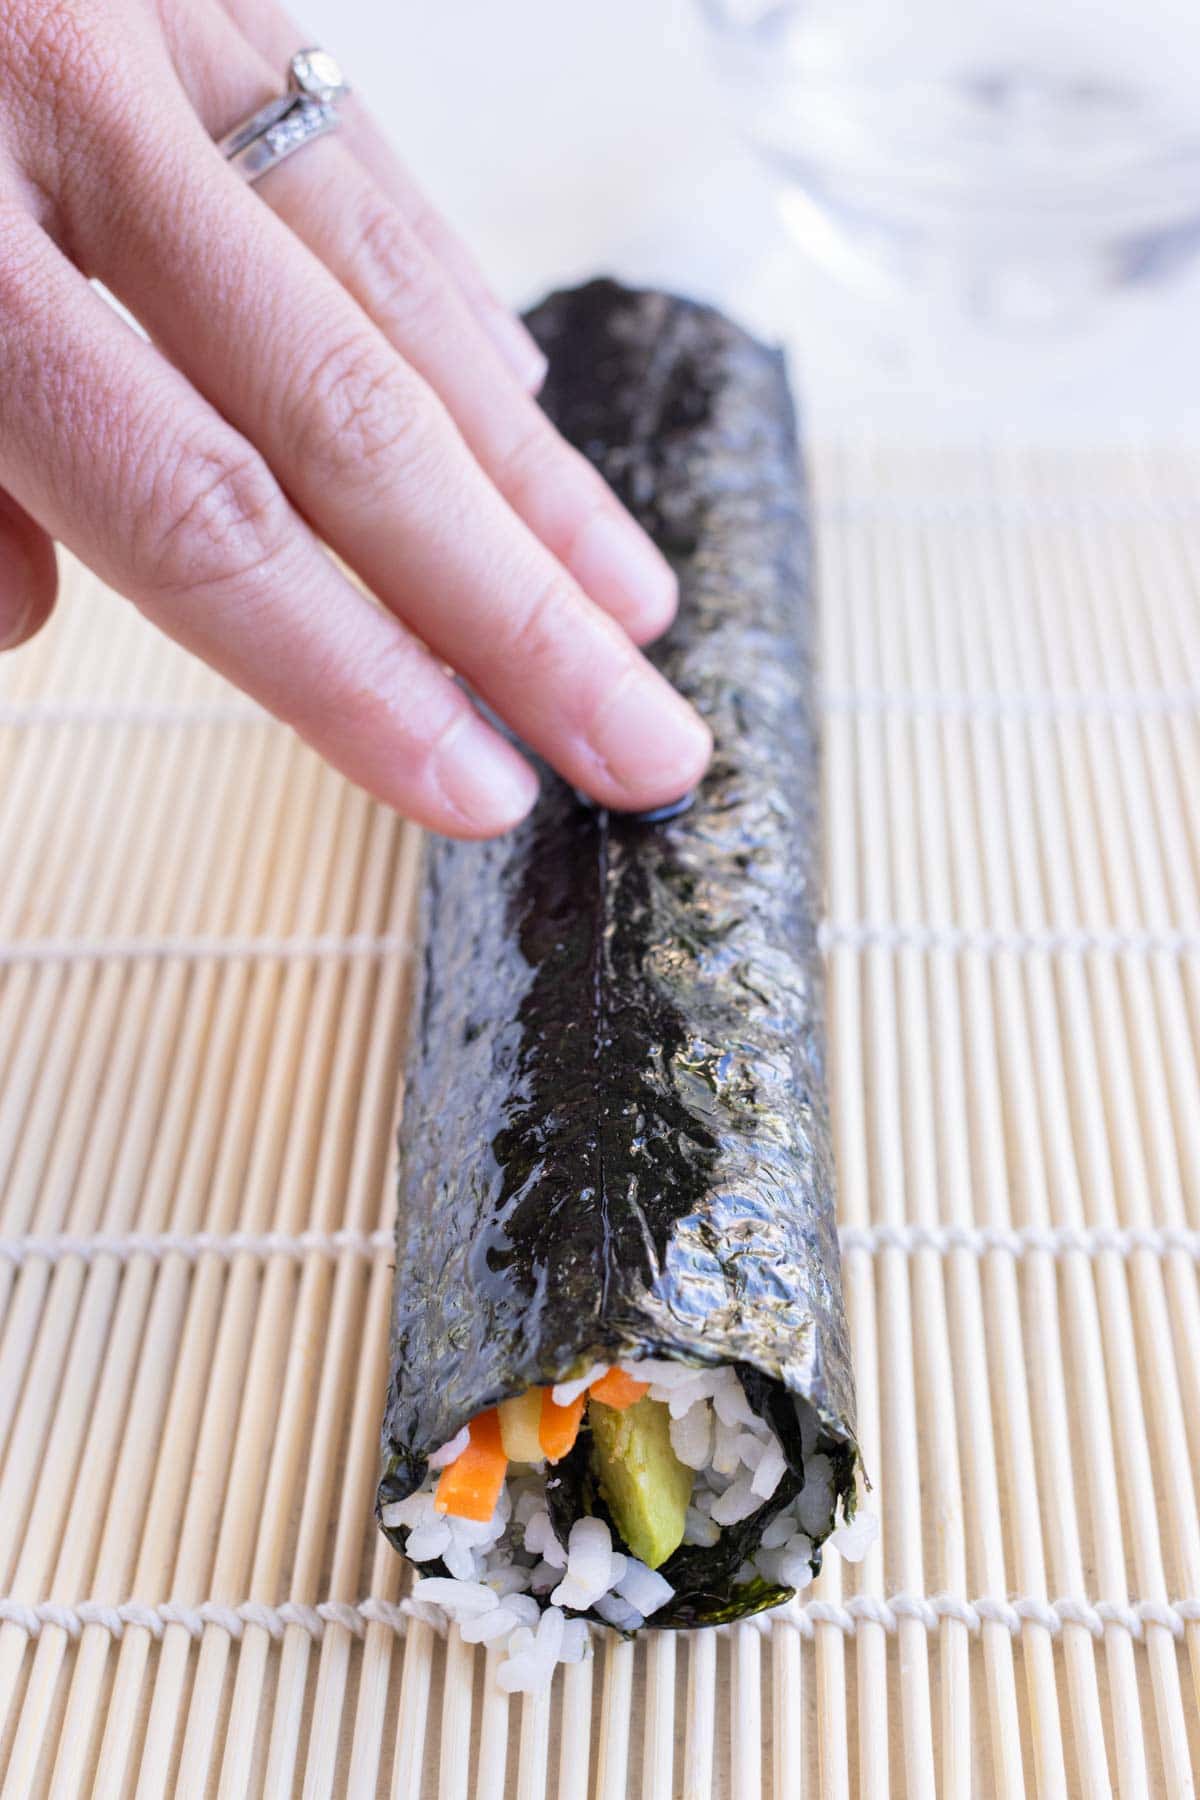
Seal the sushi.
When the roll is completely formed, gently hold it together with one hand and lightly wet your fingertips of your other hand.
Run them along the ½-inch strip of nori that was left uncovered at the end, softening it and giving it a moist, sticky texture. Gently press the edge up onto the outside of the roll, finishing the spiral of the roll and creating that signature tube shape.
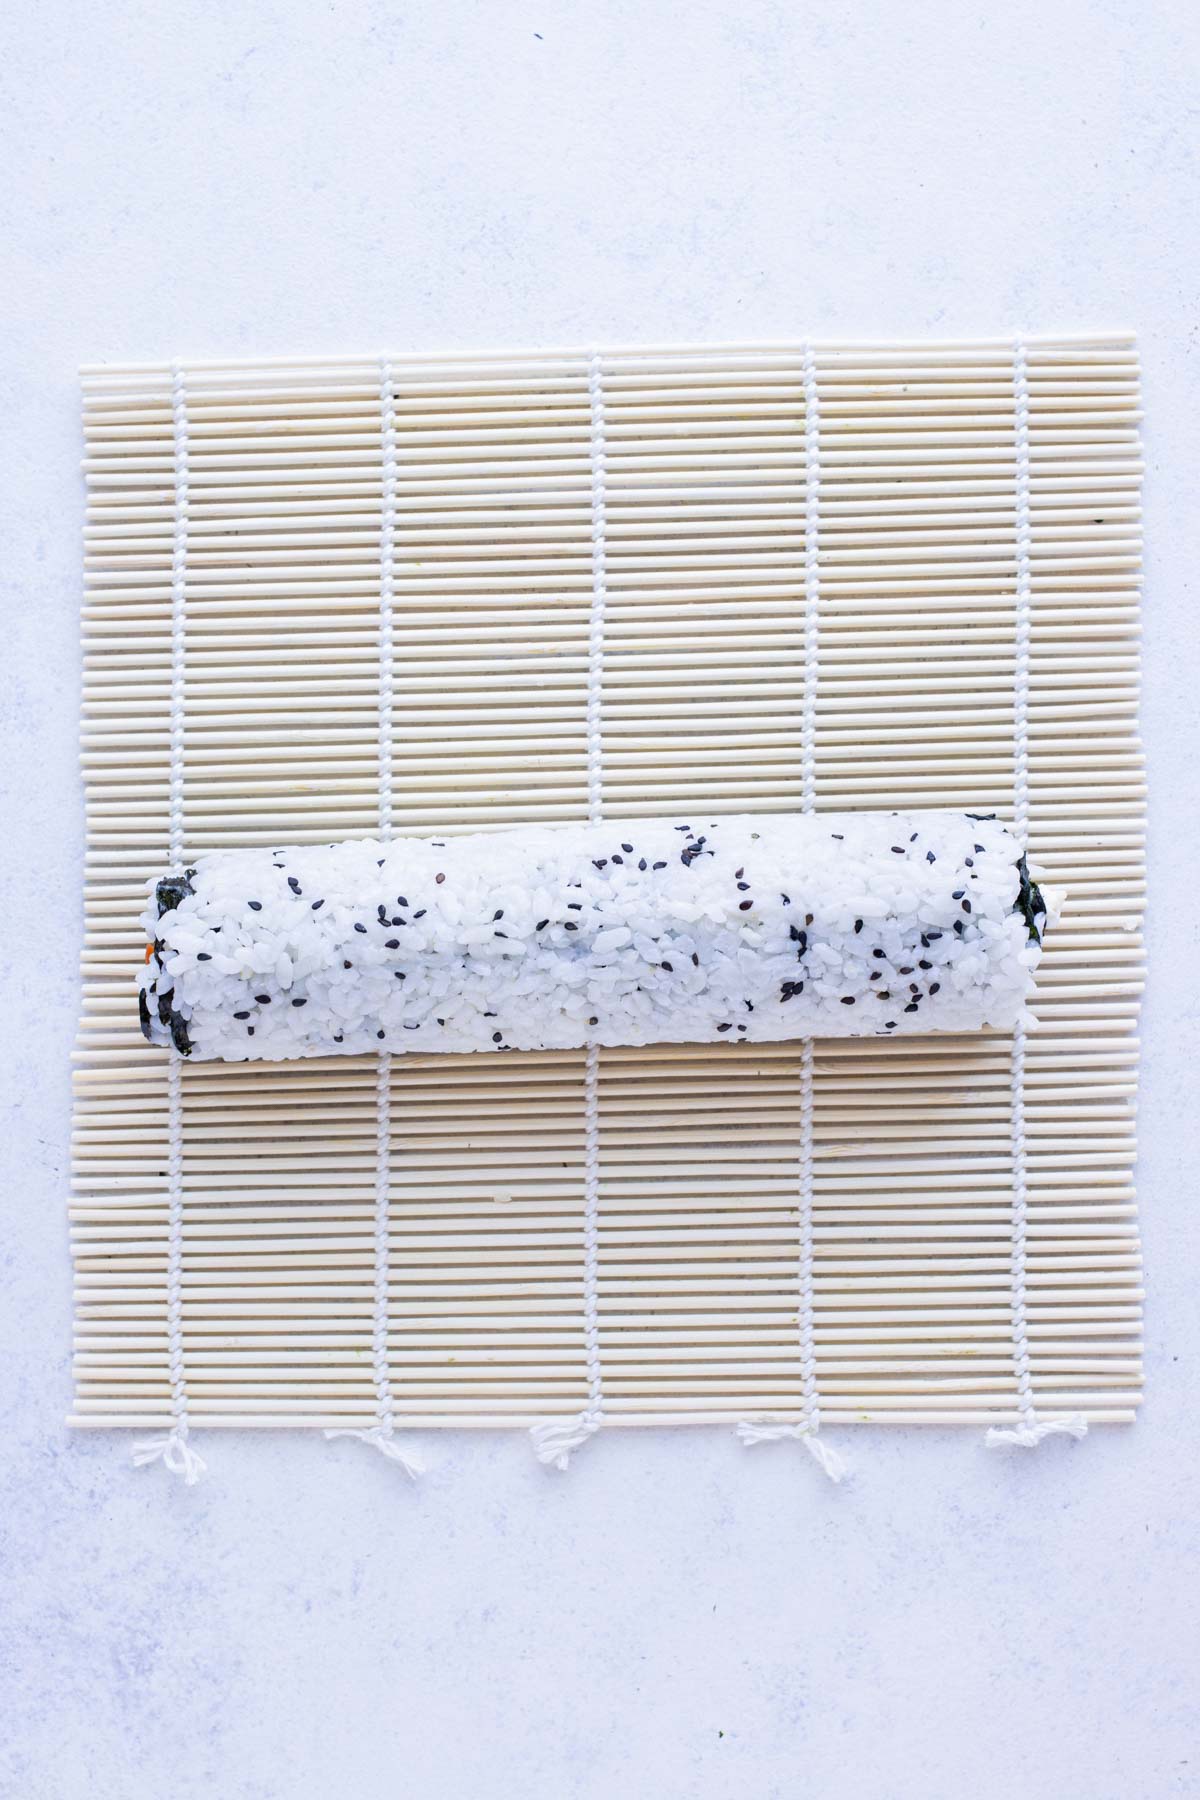
Uramaki Sushi (Inside-Out Method)-Sprinkle and flip.
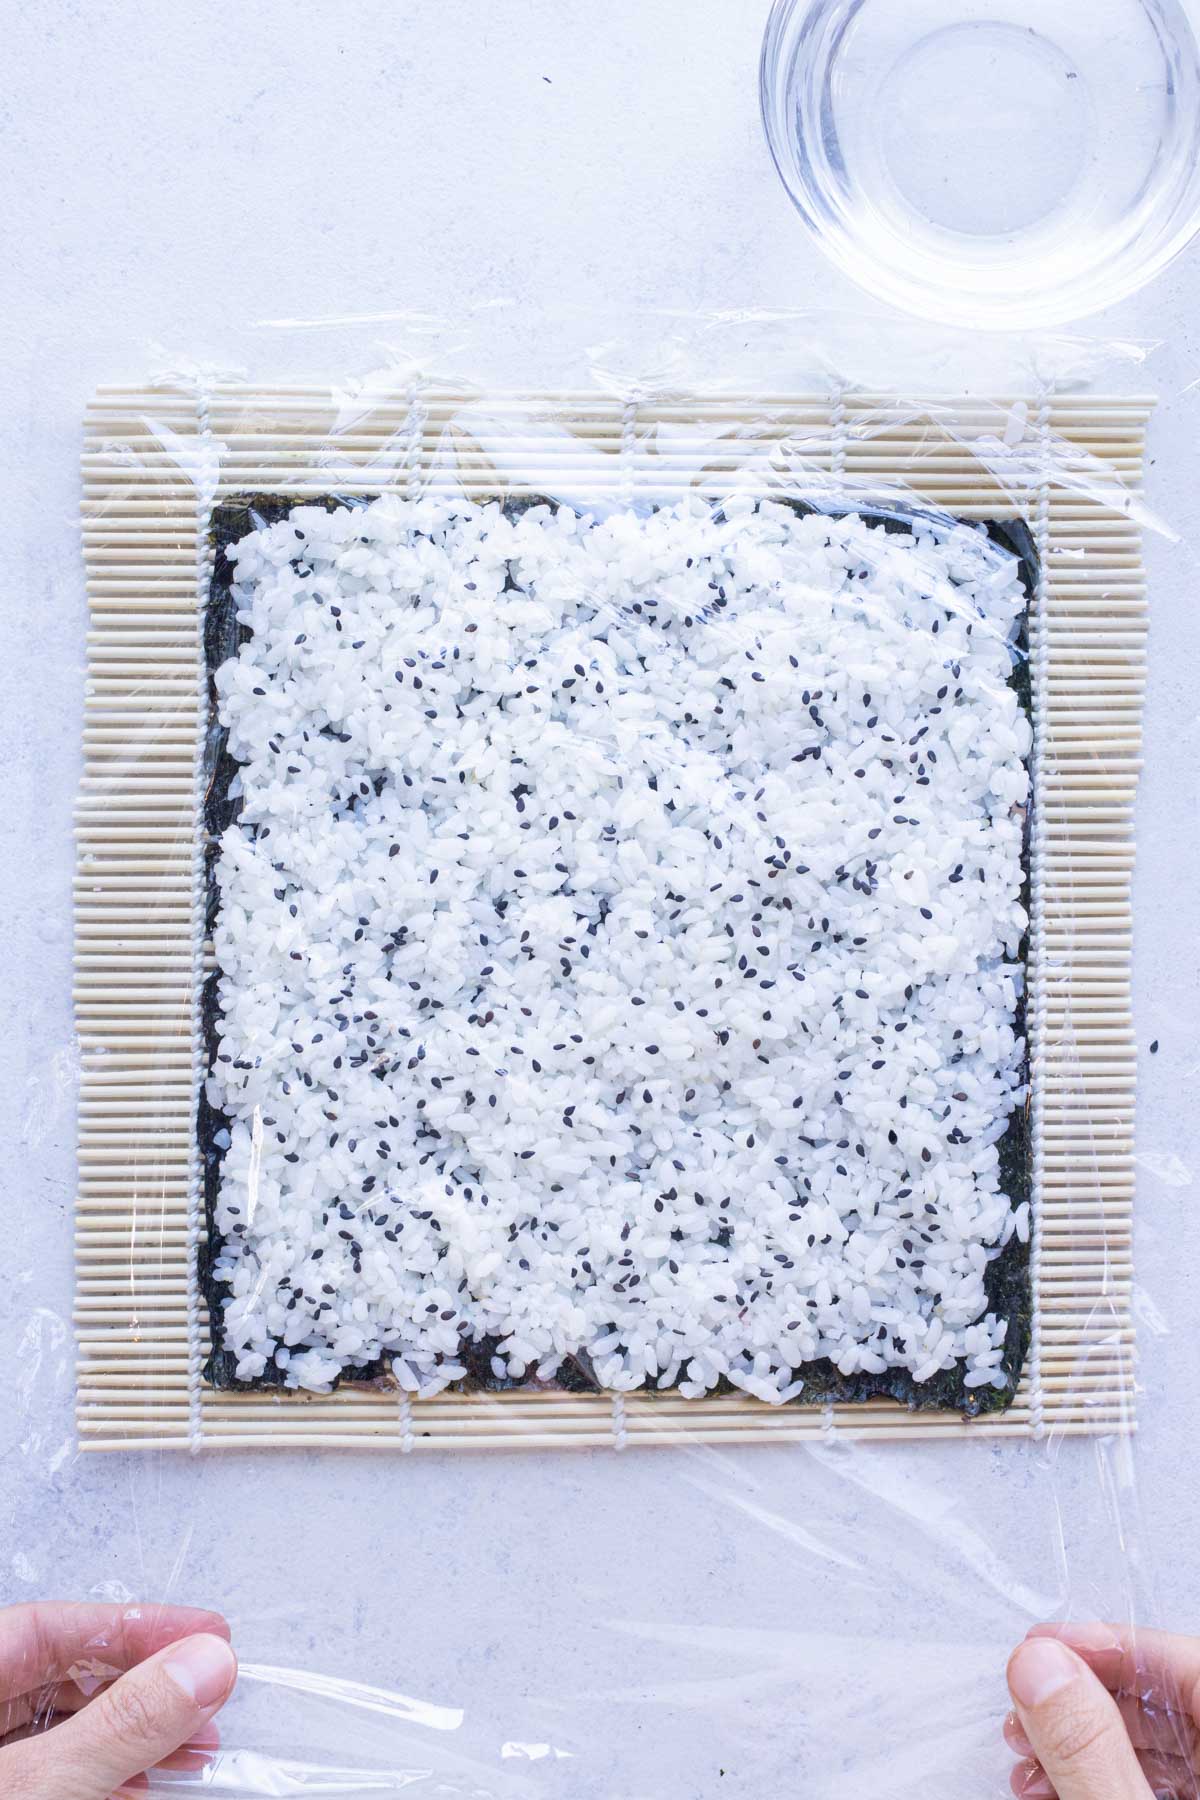
Spread the rice all the way out to the very edges of the nori for this method, as detailed above. If desired, lightly sprinkle some toasted black sesame seeds over the rice, for flavor and decoration.
Lay a sheet of plastic wrap over the rice, and gently flip the nori over on the bamboo mat.
With this method, the plastic acts as a barrier between the mat and the rice to prevent sticking. The blank side of the nori should be facing upward.
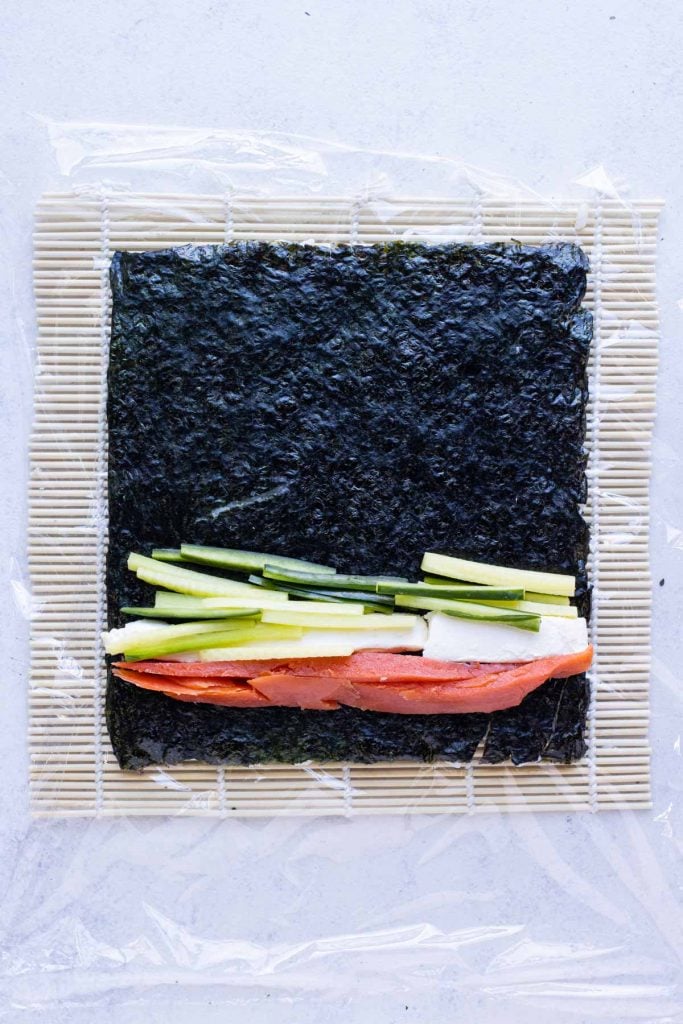
Fill and roll.
Prep your sushi fillings, using thicker cuts for central ingredients and julienned strips for thinner veggies. Arrange the fillings slightly off-center near the edge closest to you, laying them in even strips (it’s fine if a little hangs over).
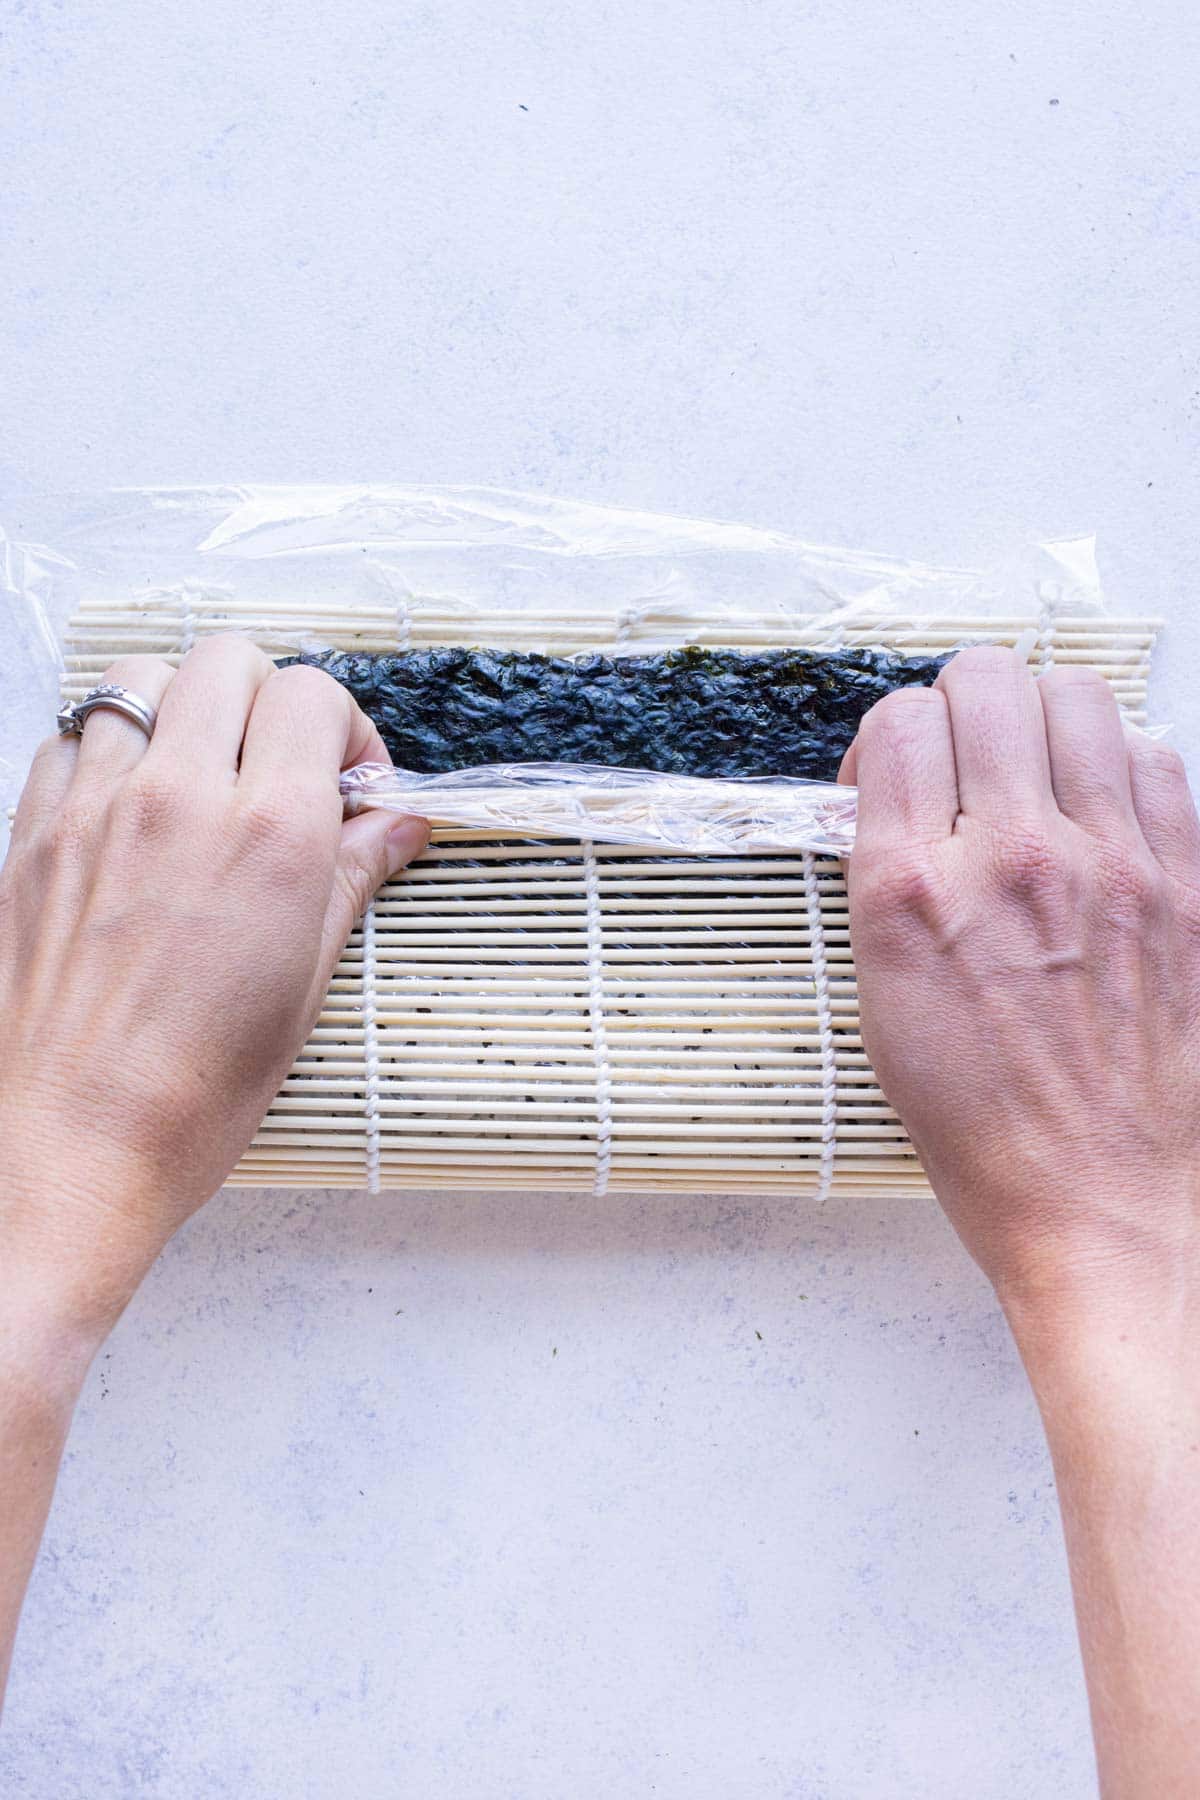
Season lightly with salt, then begin rolling. Lift the edge of the mat and gently roll the nori and rice over the fillings, tucking and lightly compressing as you go. Continue rolling, adjusting the fillings as needed, and gently squeeze to form a tight, round roll. No sealing is needed—the rice will hold everything together.
Rolling sushi without a mat.
If you don’t have a bamboo mat for rolling sushi, don’t worry! While it’s got slightly less structural support for the roll, using a clean dish cloth or tea towel works too.
Lay the nori and plastic-lined rice out across the tea towel in the same way. Simply roll a little more slowly and carefully, to ensure that the roll takes on the correct shape and level of compression.
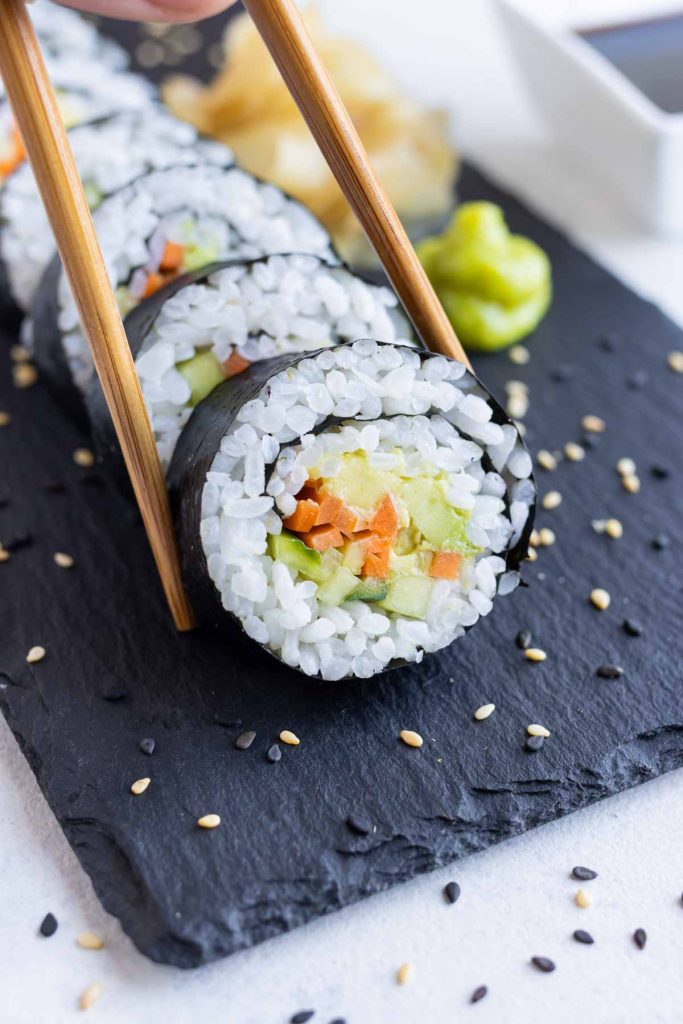
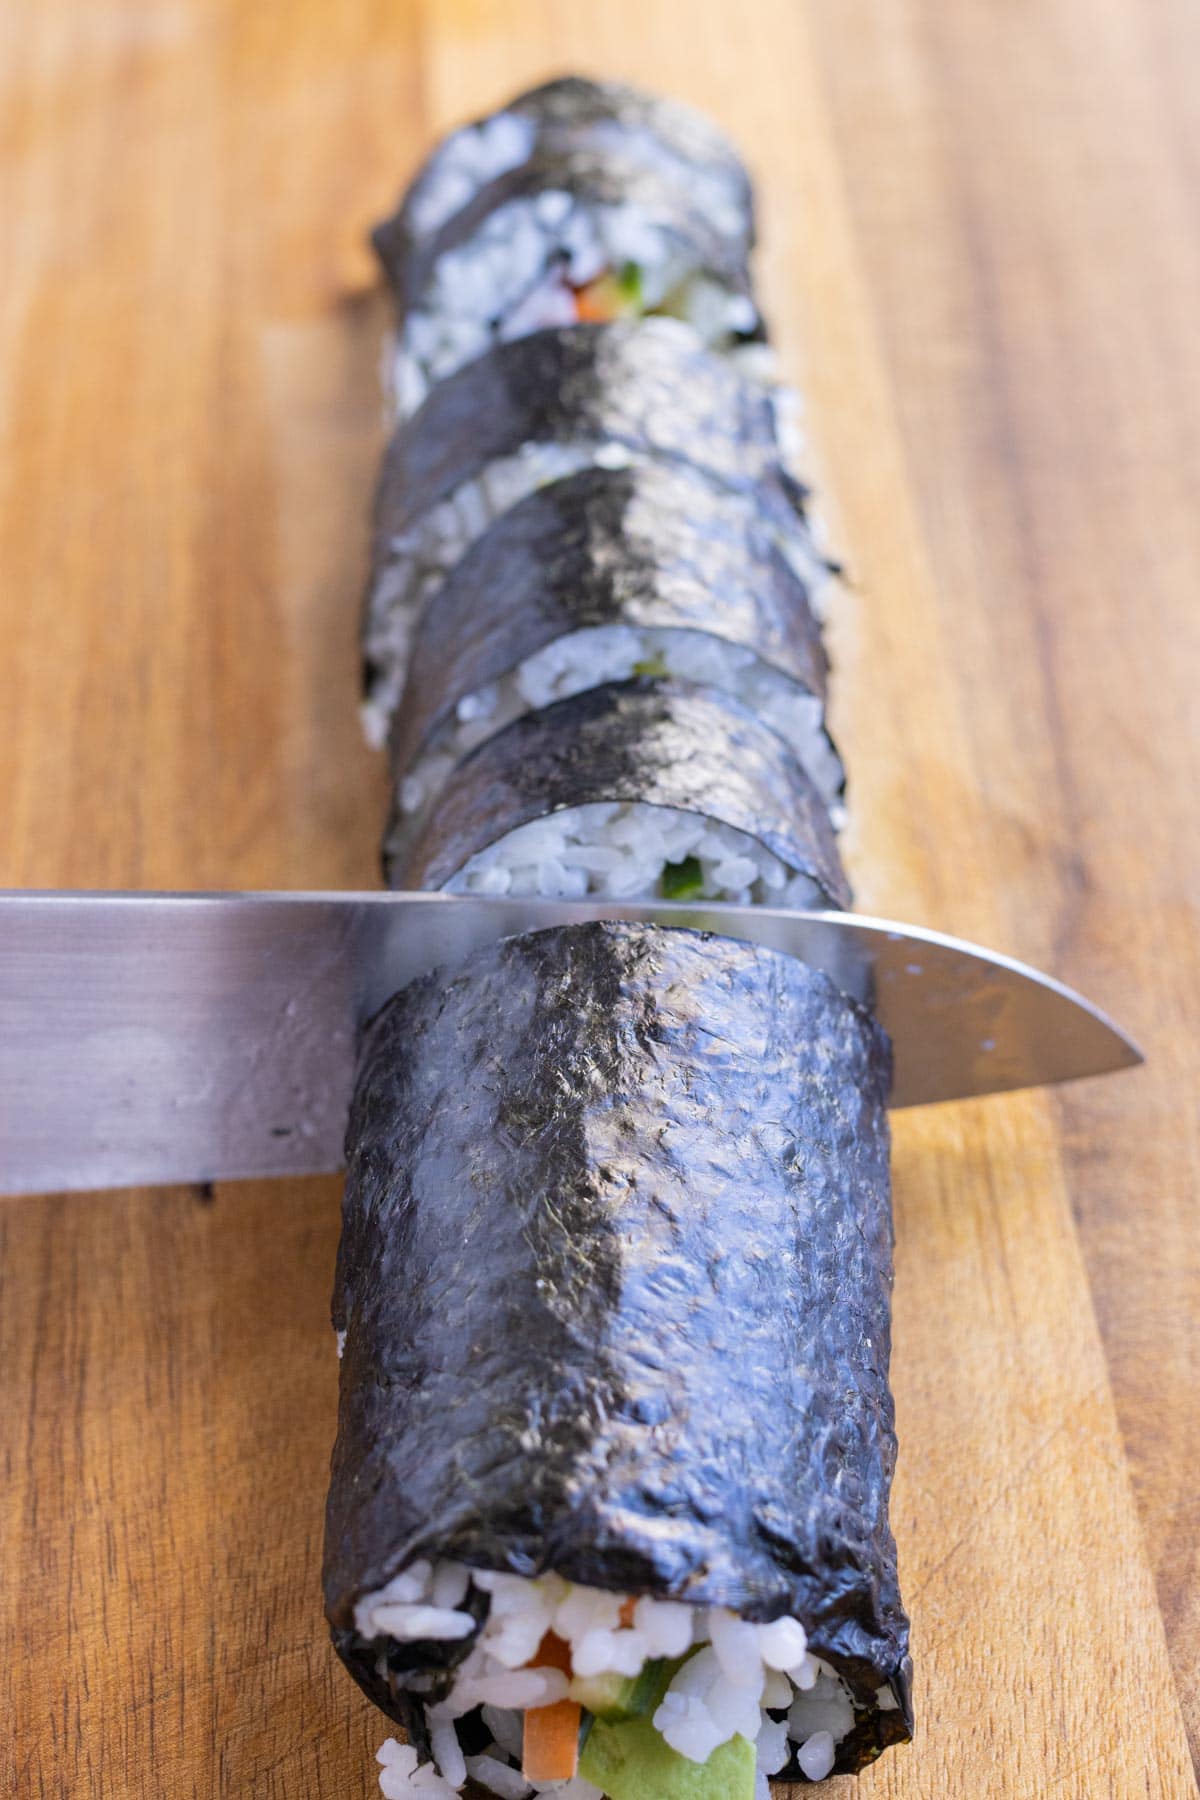
Cut the traditional sushi rolls.
Lightly wet a very sharp knife, and begin slicing the sushi into even pieces. Use your best judgement on size, but aim for pieces sliced roughly as thick as one finger.
Every 2-3 slices, clean off the knife and wet it anew – this helps to keep each slice neat, and prevents the rice sticking.

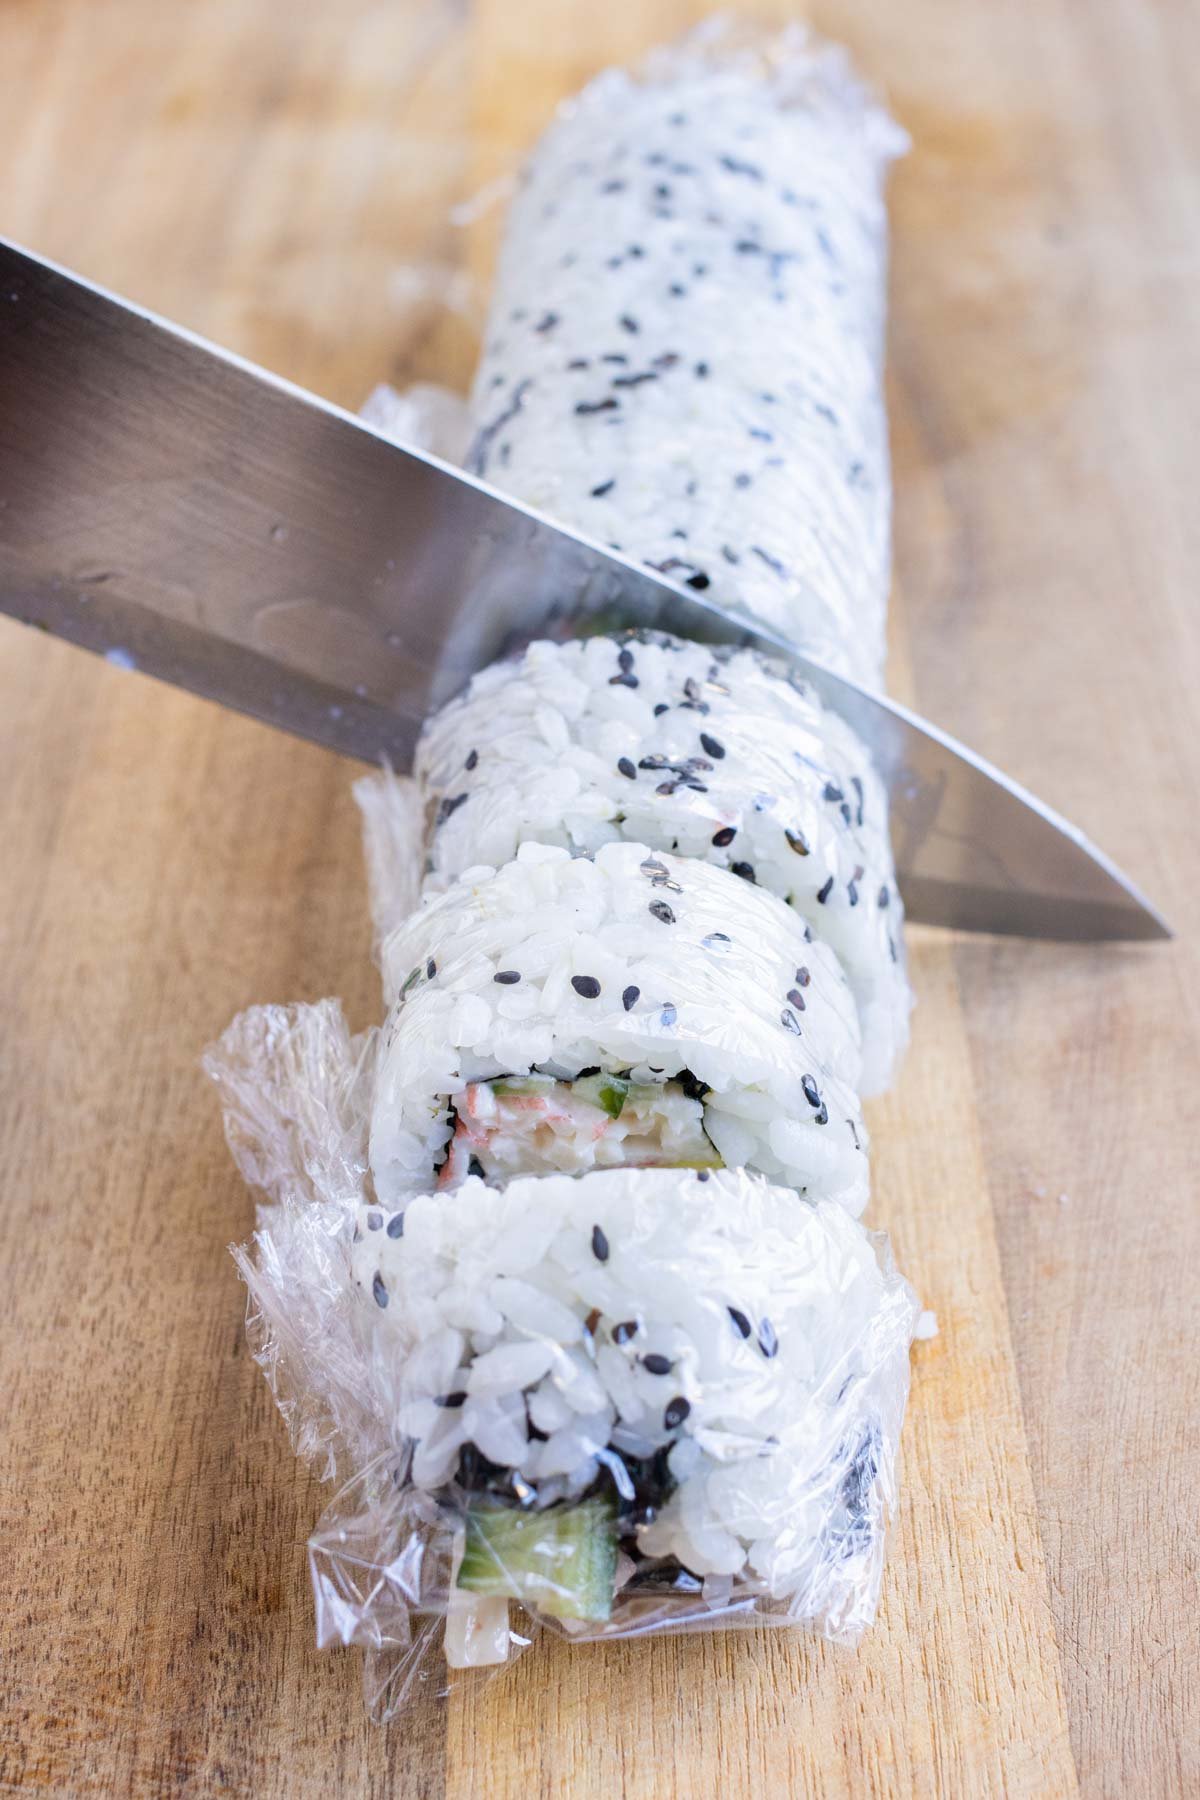
Cut the inside-out rolls.
After making an uramaki roll, it’s much easier to remove any remaining plastic wrap AFTER the sushi has been sliced. This helps to hold it together, and avoid the mess of rice clinging to your fingers as you cut it!
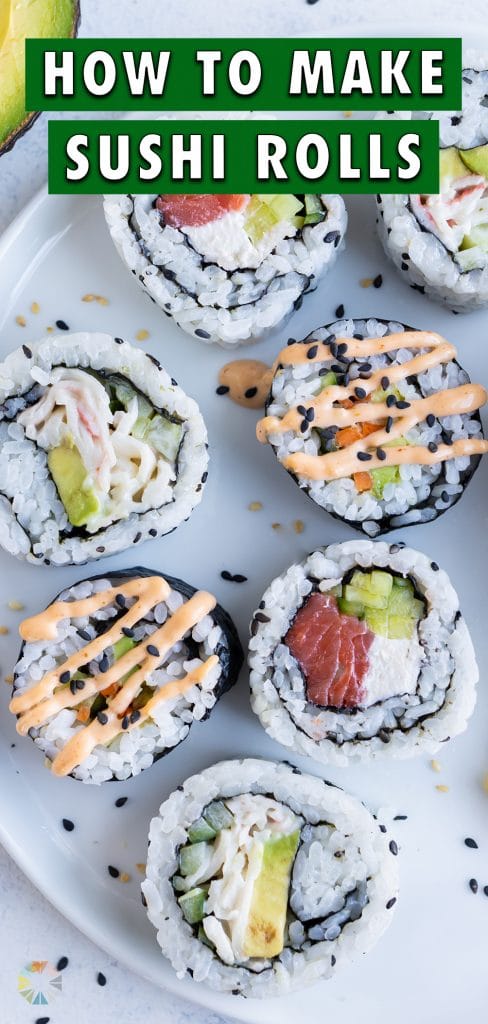
Arrange your sushi on a platter, and enjoy!
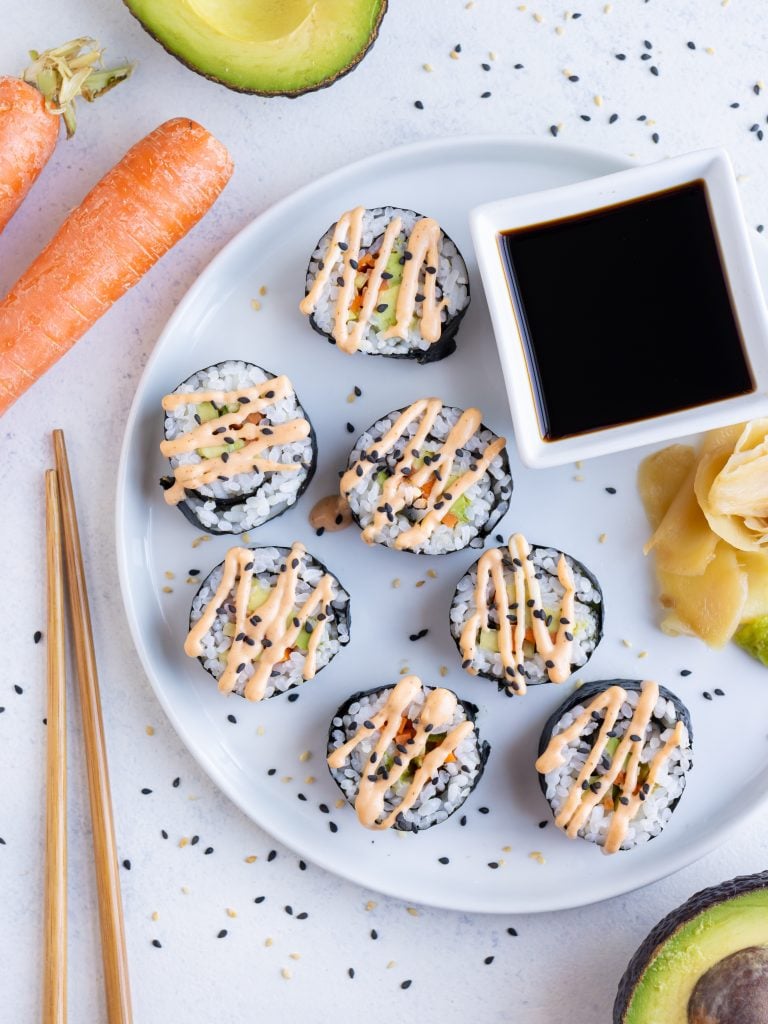
Sauces to Serve with Sushi
Sushi can be served with a wide variety of accompaniments for dipping. Soy sauce, wasabi, thick and sweet eel sauce, fish roe, spicy sriracha mayo, and citrus-based ponzu sauce are very popular options to consider.
Pickled ginger is also commonly served alongside sushi, to act as a palate cleanser between bites.
FAQs
Lightly wetting your fingers in a small bowl of water while preparing sushi can greatly help avoid sticking. This also comes in handy for sealing maki rolls and cleaning your knife, without having to step away from the roll.
If even slices are a concern but you don’t have a ruler, simply divide sections of the roll in half evenly until your desired thickness is reached. Cut the roll in halves, then quarters, then eighths, and so on.
It’s recommended to let your rice come to room temperature – not too hot, not too cold – before using it to make sushi. Rice that has gone too cold won’t stick properly, but rice that is too hot may turn mushy or rubbery within the nori.
Sushi is best enjoyed within a few hours of making it, but you can prepare it up to 24 hours ahead if it’s wrapped tightly in plastic wrap and refrigerated.
For storage, it’s best to slice sushi right before eating and leave any leftovers uncut. Wrap rolls or pieces tightly in plastic wrap and store in the fridge for up to 2 days. After that, the rice will harden and the vegetables may brown.
Freezing sushi isn’t recommended. The rice and fillings don’t thaw well and the texture suffers.
Tap stars to rate!
How to Roll Sushi

email this recipe!
Ingredients
- 1 cup sushi rice
- 1 piece nori roasted
- Toasted sesame seeds black
- Filling ingredients
Instructions
Maki (Traditional) Method:
- Place a sheet of nori onto a bamboo mat, rough side-up, and with the lines running in the same direction as the bamboo mat. Add 1 cup of sushi rice and spread it out as much as you can with a rice paddle. Then, get your fingertips wet with a little water and lightly spread out the rice to all of the edges except for the one furthest from you. You’ll want to stop ½-inch from that end so the nori can seal once rolled.1 cup sushi rice, 1 piece nori
- Slightly off-center and close to you, place the filling ingredients in a row. Sprinkle on some salt, if desired.Filling ingredients
- Starting from the end by you, lift up the mat over the vegetables and begin rolling, pushing back in the filling as you go. Make sure to tighten up the roll for the best results.
- Once you’ve completely rolled up the sushi, wet your fingers and run it along the ½-inch piece of nori that was left uncovered. This will make the nori stick together and seal the roll.
Uramaki (Inside-Out) Method:
- Place a sheet of nori onto a bamboo mat, rough side-up, and with the lines running in the same direction as the bamboo mat. Add 1 cup of sushi rice and spread it out as much as you can with a rice paddle. Then, get your fingertips wet with a little water and lightly spread out the rice to all of the edges. Sprinkle on some toasted black sesame seeds, if desired. Place a piece of plastic wrap over the rice and flip the nori over onto the bamboo mat.Toasted sesame seeds
- Slightly off-center and close to you, add the filling ingredients in a row and add a sprinkle of salt, if desired.Filling ingredients
- Starting from the end by you, lift up the mat and begin rolling, pushing back in the filling as you go. Make sure the plastic wrap isn’t getting wrapped up in the roll.
To Cut the Sushi Roll:
- You can either cut it with the plastic wrap still on (the easiest way!) or remove the plastic and then cut. Either way you’ll want to run a sharp chef’s knife under cold water and cut 2-3 slices at a time. Repeat this until you have cut the roll into 8-10 pieces.
- If you left the plastic wrap on, remove it before serving.
Tap stars to rate!
Video
Notes
- Tea Towel Method: If you don’t have a bamboo mat, you can always use a tea towel or a dish towel. You’ll need to place a piece of plastic wrap between it and the nori before rolling.
- Moist: While handling the cooked rice, it can be helpful to very lightly wet your paddle and fingers to prevent sticking.
- Sauce: Soy sauce, wasabi, pickled ginger, citrusy ponzu sauce, and sweet eel sauce are perfect accompaniments to try with sushi.
- Plastic Wrap: Keep the plastic wrap on the uramaki rolls to make slicing a breeze.
Nutrition
Nutrition information is automatically calculated, so should only be used as an approximation.
More Sushi Roll Recipes
With these two easy methods of preparation, you can use these recipes as a beginner point for making your own sushi fresh at home, too: