The Easiest 2-Ingredient Rice!

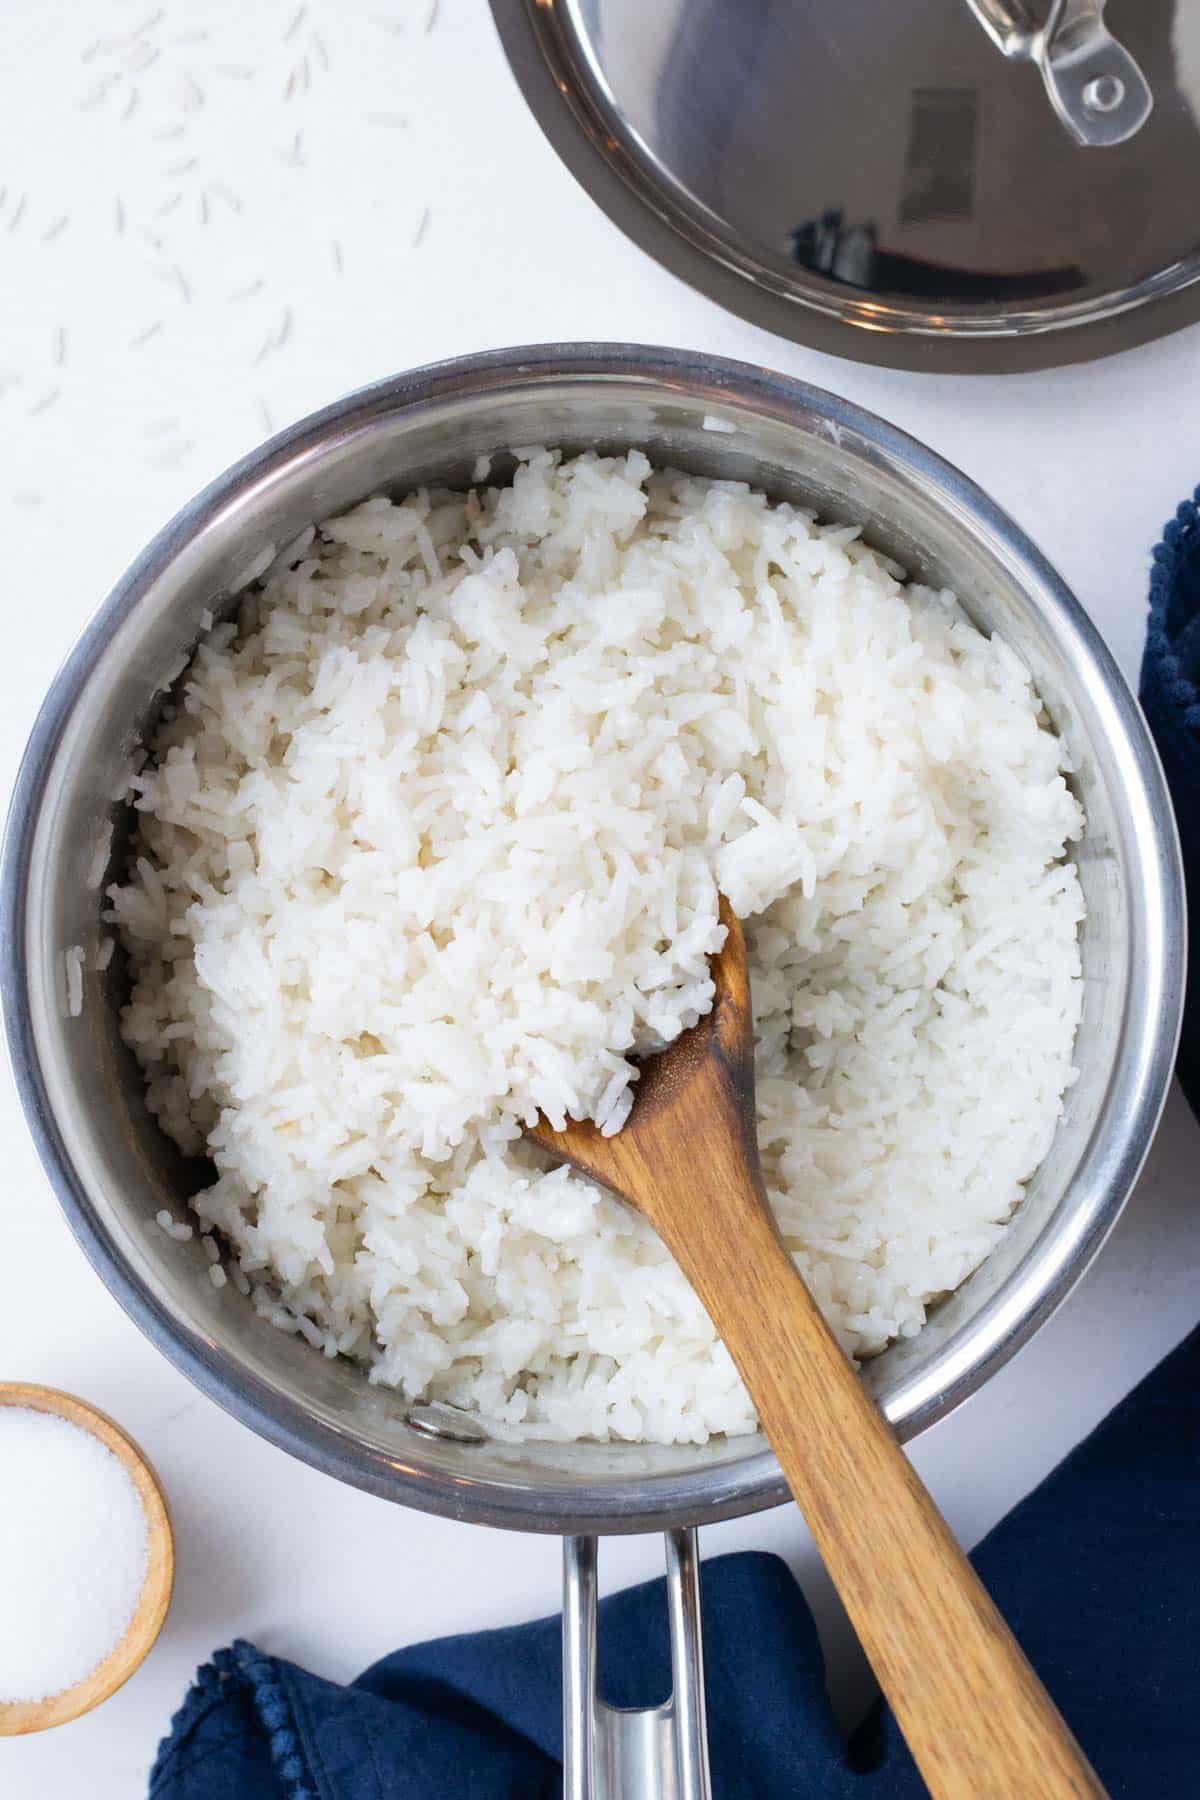
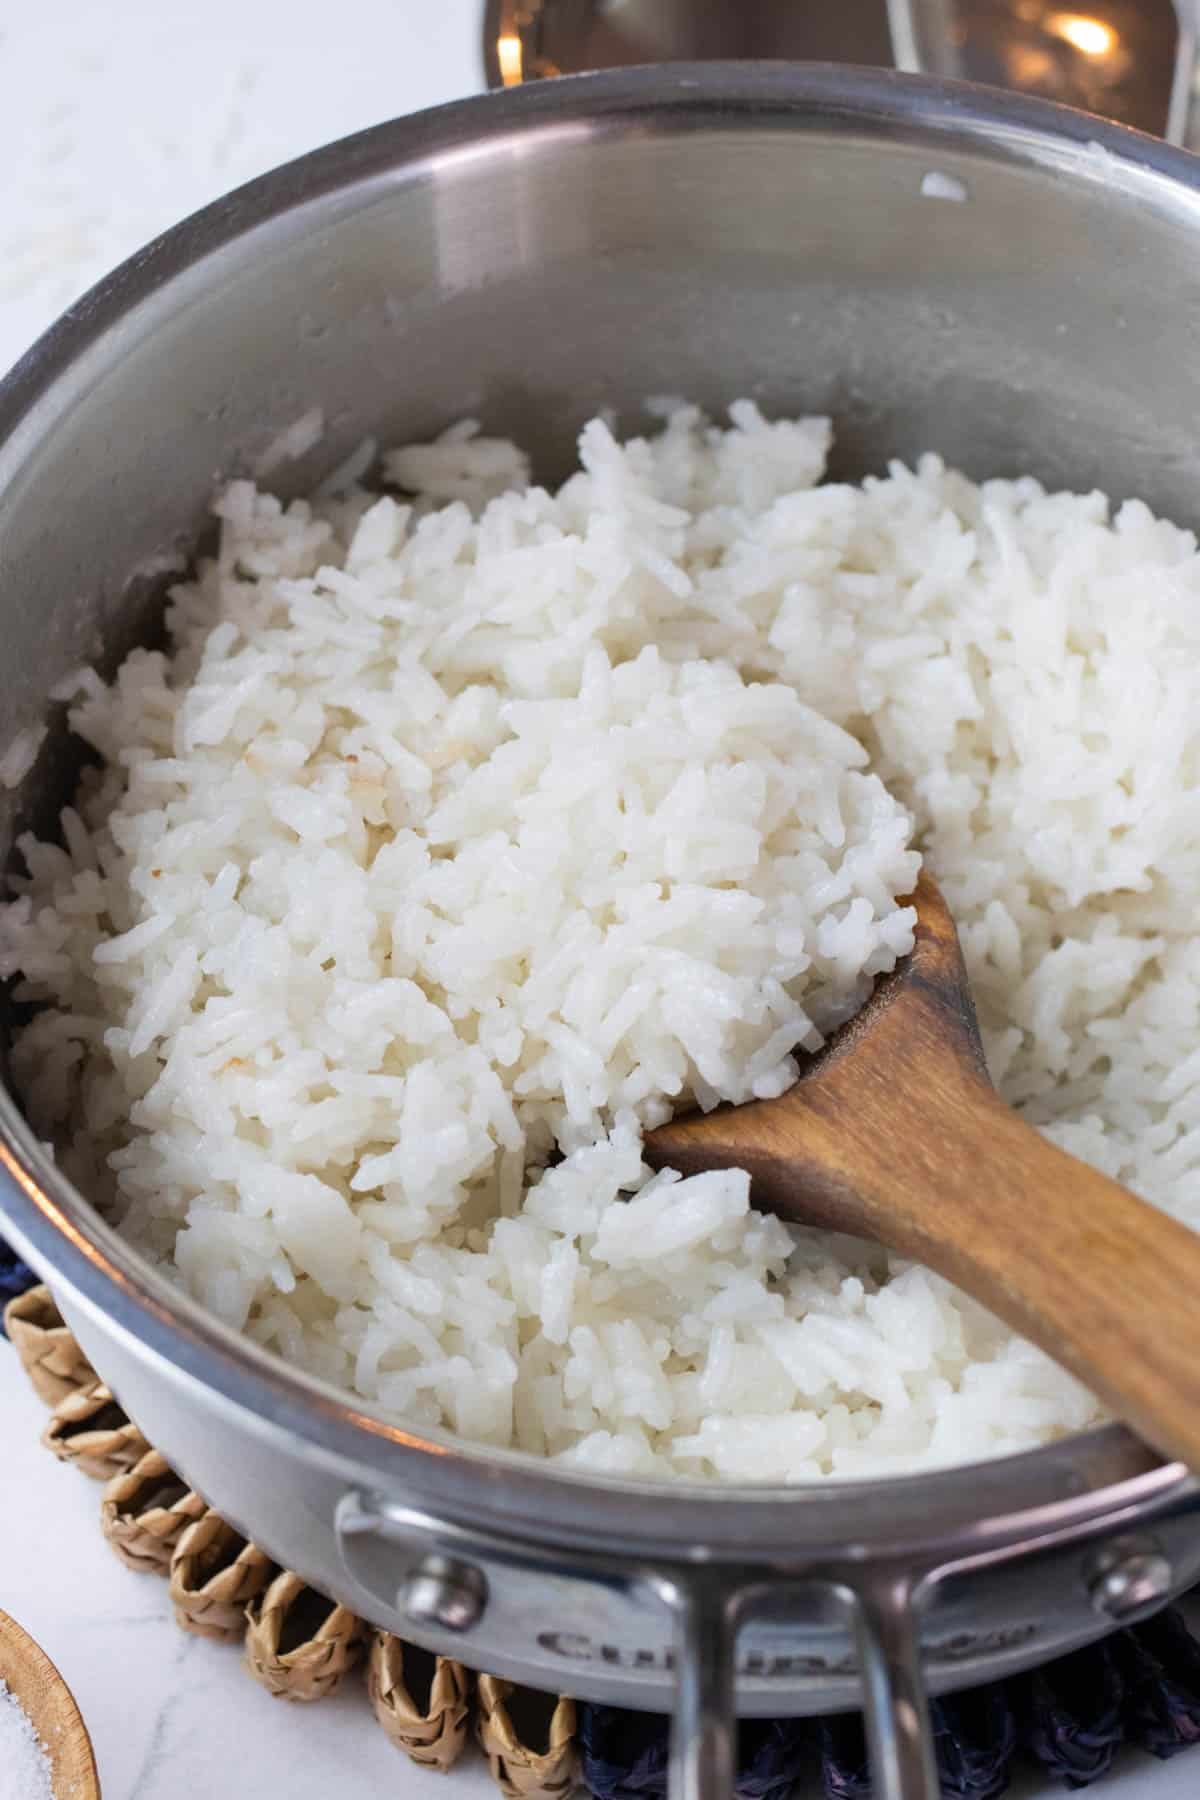
I’m going to cut to the chase here. This coconut milk rice recipe isn’t simple just because it only takes 2 ingredients. But those 2 ingredients have a very easy to remember ratio…
1 cup of rice to 1 can of coconut milk.
Yup, it really is that simple. So simple that we’ve now been substituting water in our basic basmati rice and white rice with this more flavor-packed variation.
But there are a few key things you’ll want to pay attention to in order to ensure it comes out super fluffy, the perfect texture, and still full of flavor.
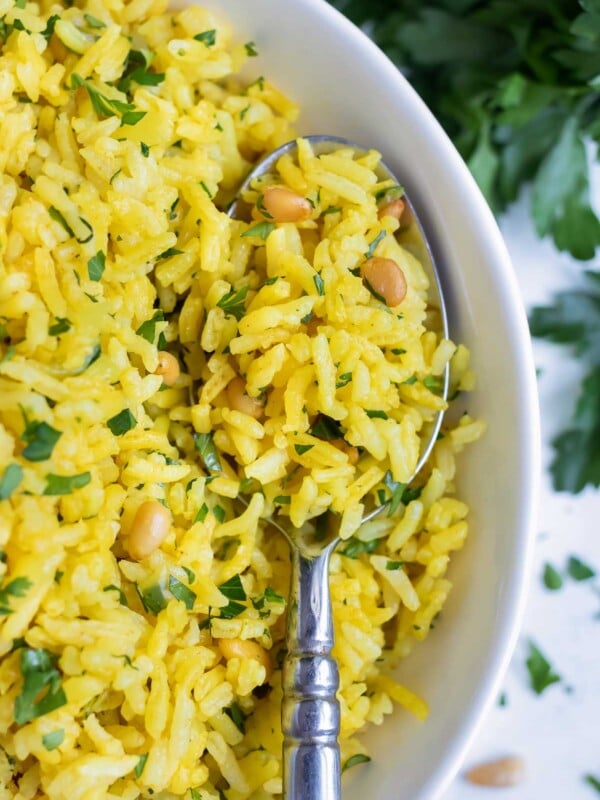
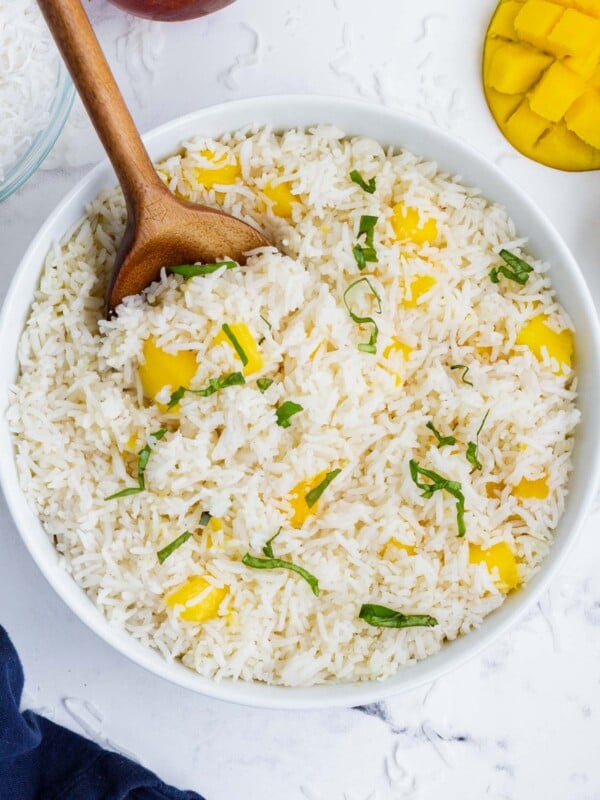
(Want even more flavor-packed rice recipes? You’ve got to check out this Coconut Milk Cilantro Lime Rice, Mediterranean Yellow Rice, or Mango Coconut Rice next!)
The 2 Ingredients You Need
For the exact measurements and detailed instructions, please see the recipe card below.

- Rice. But not just any rice. You see, every variety of rice has a different volume of liquid that is required to fully cook it and make it tender. This particular recipe works the BEST with a long-grain basmati rice. It requires less liquid than most other grains and soaks up the coconut milk beautifully. A long grain white rice may also be used but may need a tad more liquid. I’d avoid using brown rice as it will require much more liquid and a longer cook time.
- Coconut Milk. The type of coconut milk matters. A full-fat CANNED coconut milk is a must. The ratio of fat to liquid is perfect for making fluffy grains with a luxuriously silky smooth texture. Lite, or reduced-fat, coconut milk can work but you won’t get the same creamy texture or flavor. Avoid the cartons of coconut milk, also, since they will end up too runny.
Step-by-step Instructions
Please see the recipe card below for more detailed ingredient amounts and printable instructions.
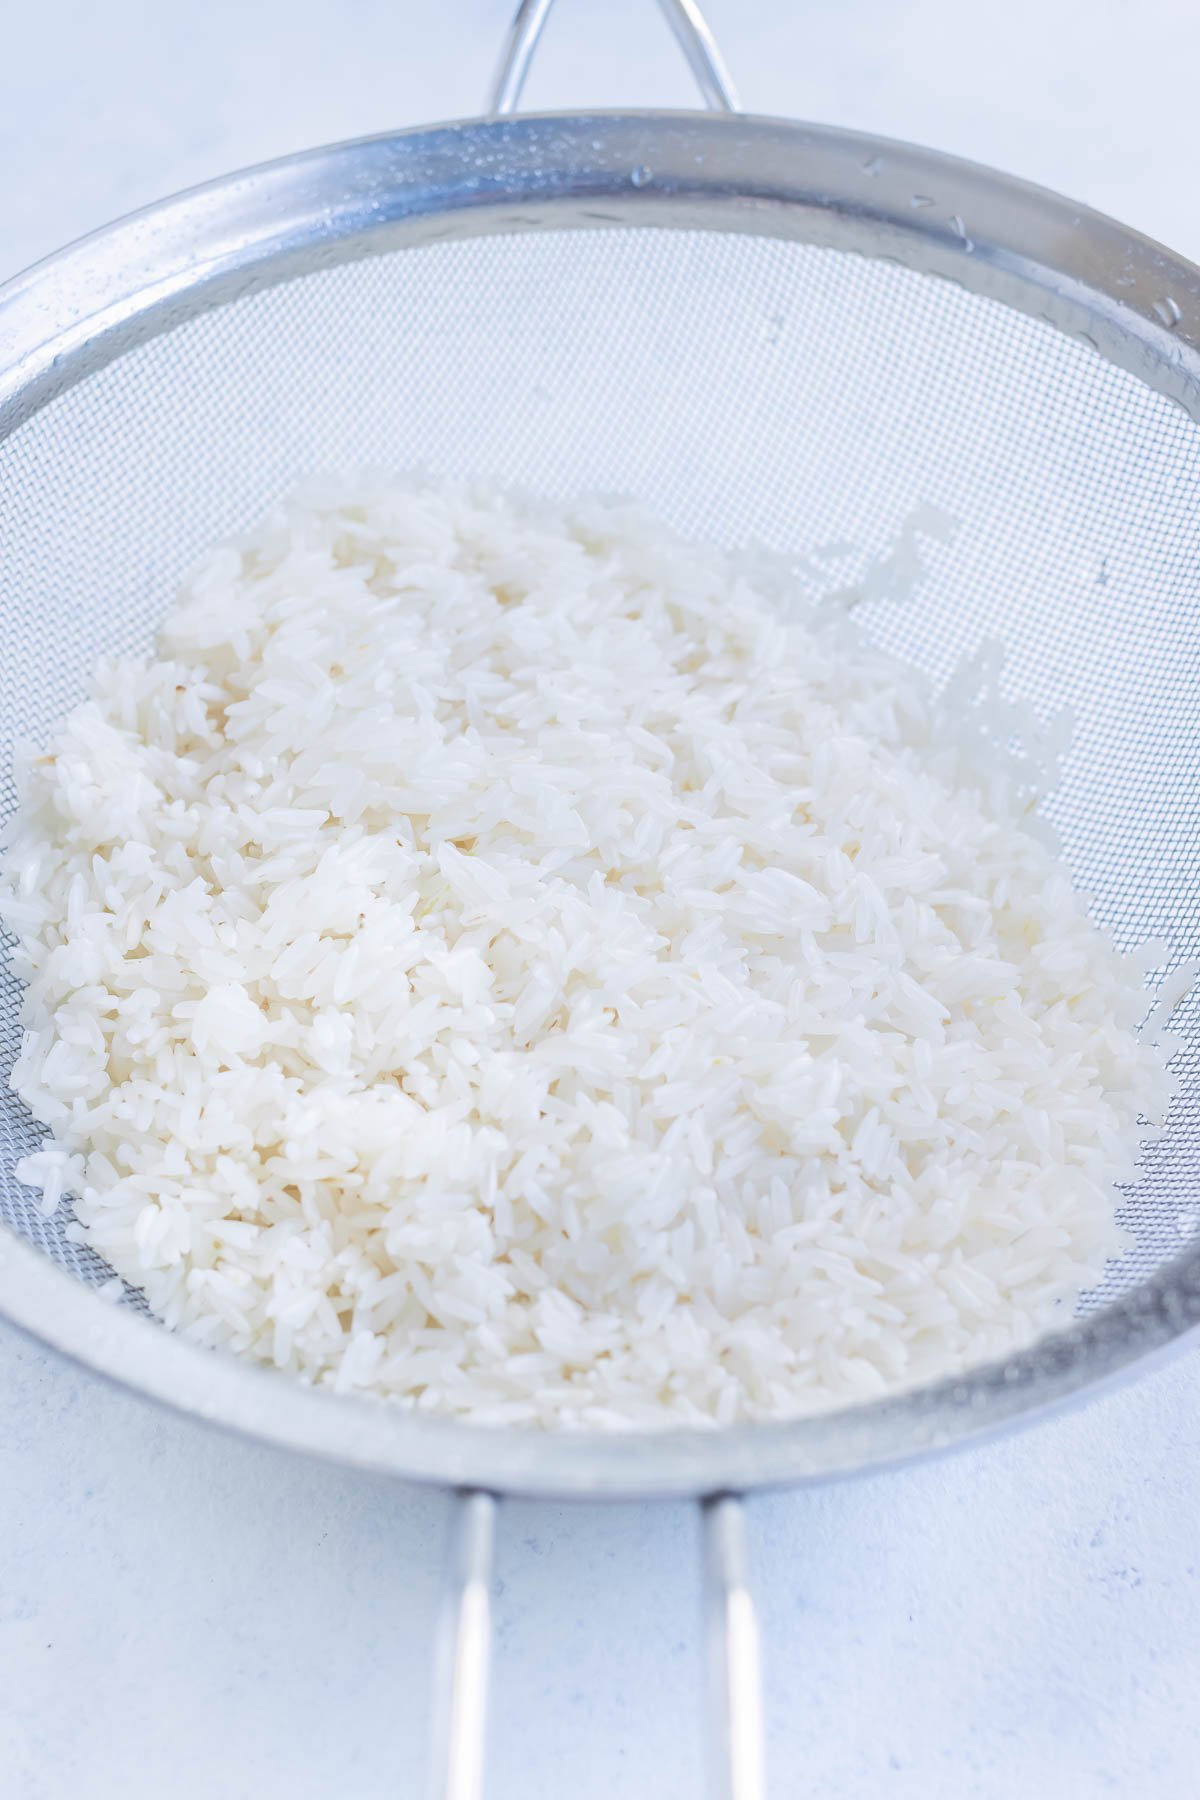
Rinse the rice.
Add the rice to a fine mesh strainer and rinse under running water until it runs clear. It should take 1-2 minutes.
Pro Tip: Rinsing rice before cooking washes away any excess starch and keeps the rice from sticking together, so don’t skip this step!
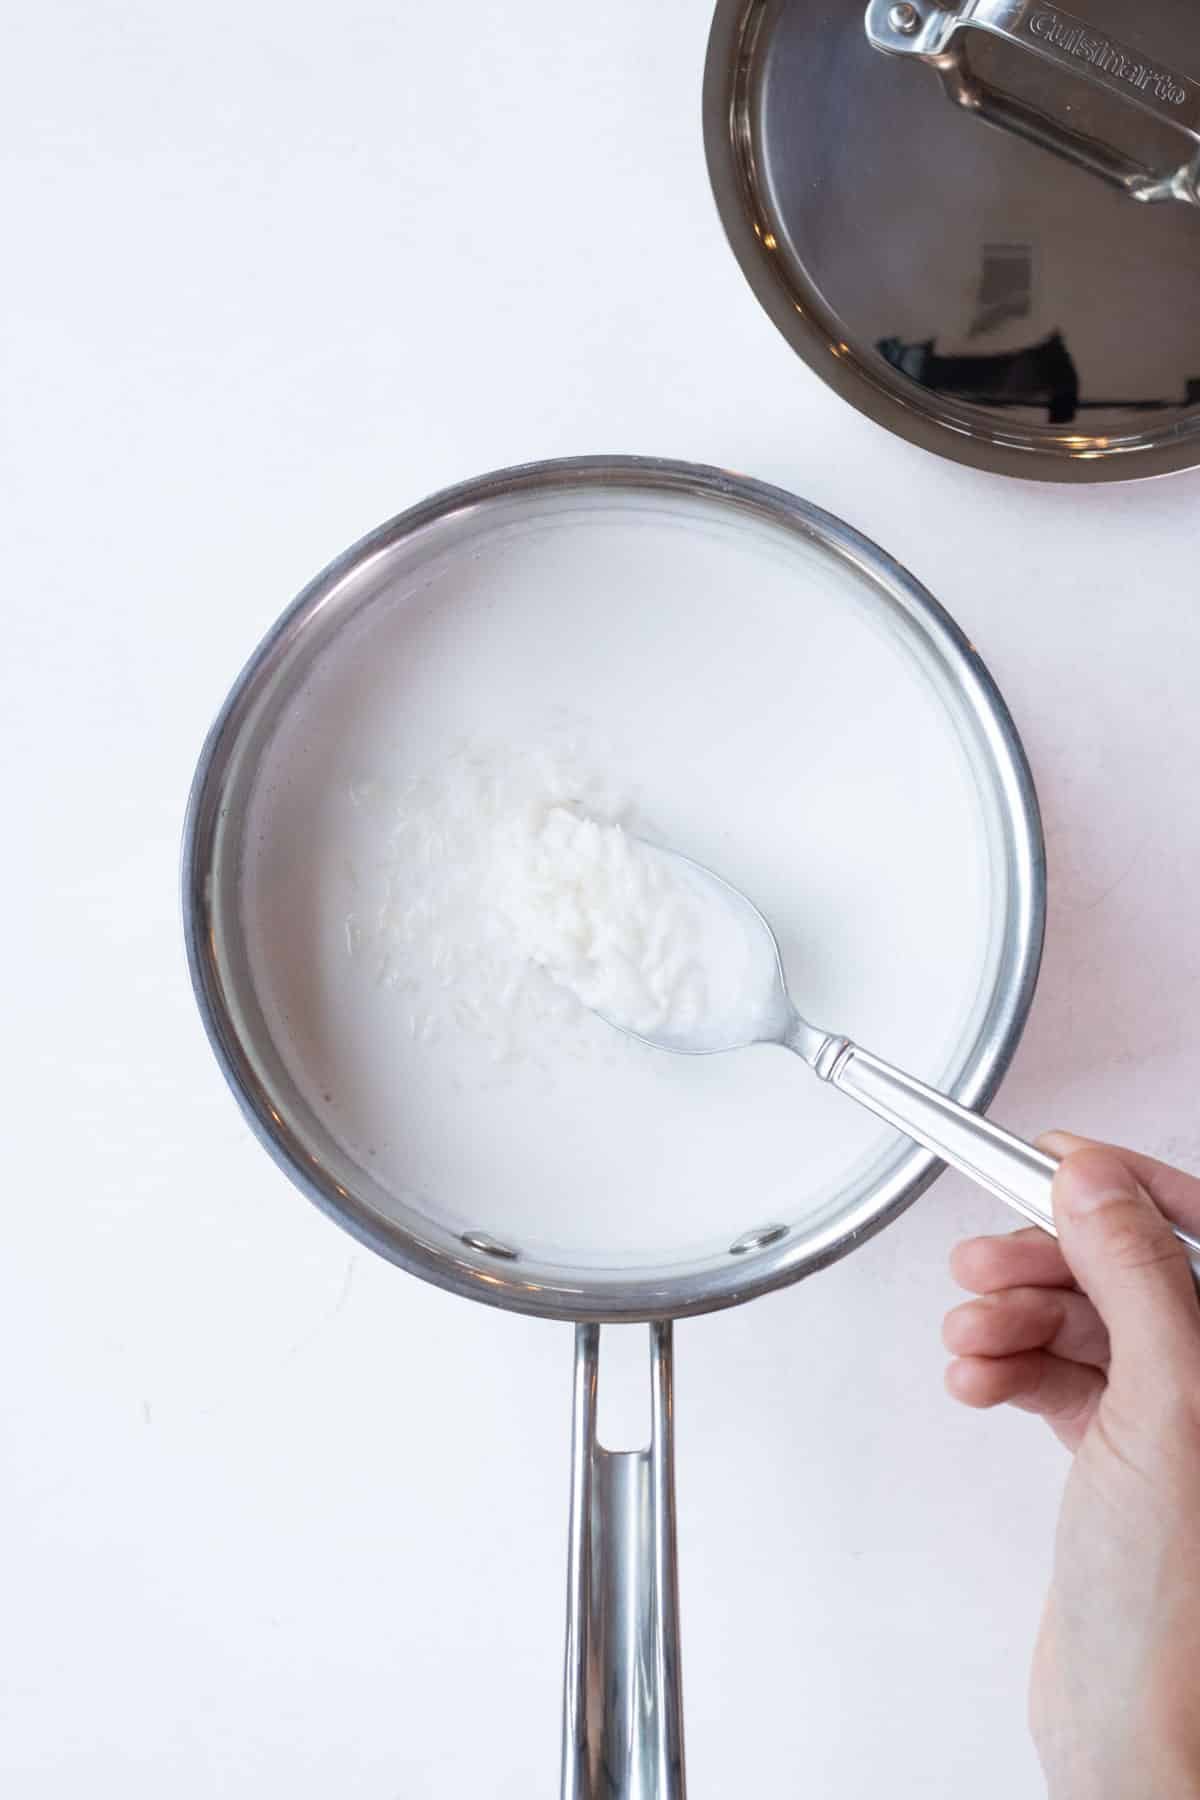
Cook the rice until tender.
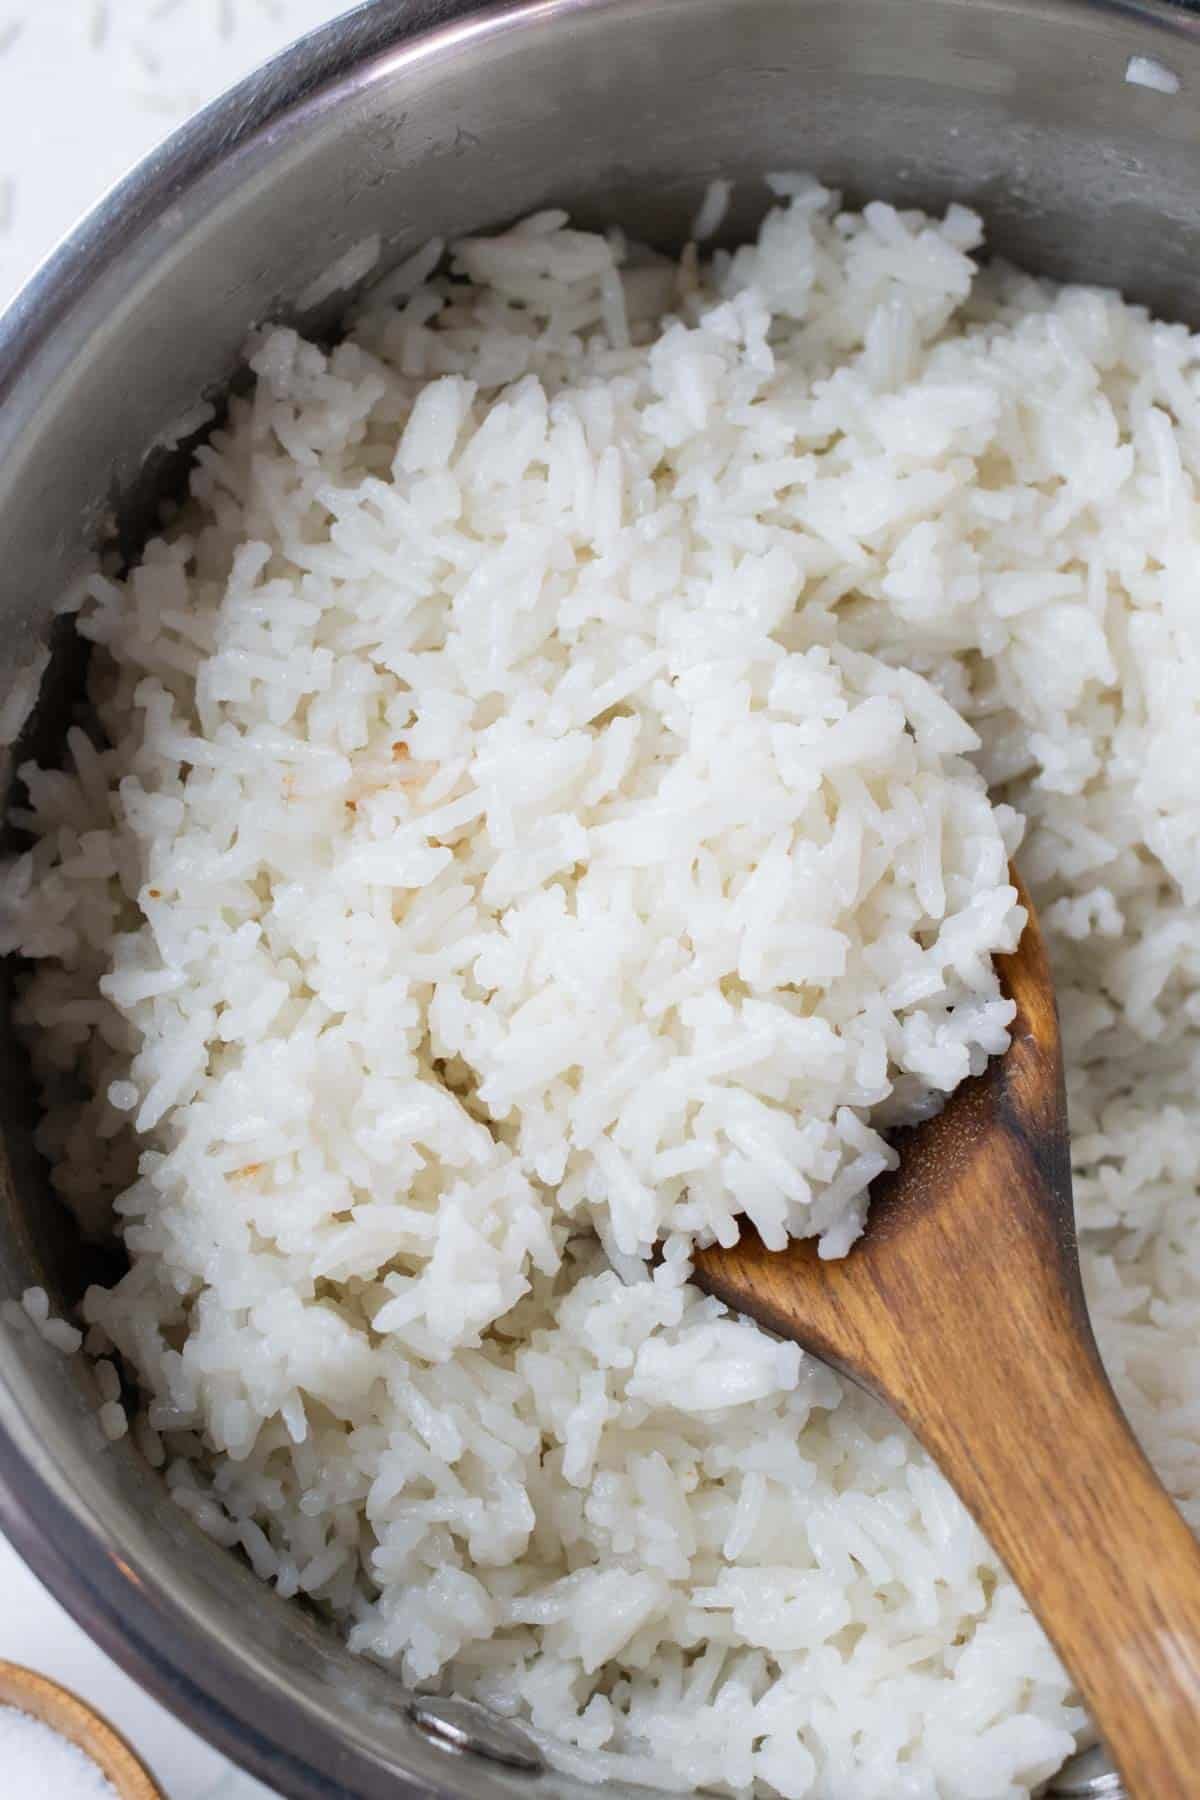
Simmer the rice in a pot with the coconut milk and salt for 18-20 minutes, or until the rice is tender. (Do NOT open the lid!! It will release steam and not fully cook the rice!)
Remove from the heat and let rest for 5 minutes before fluffing with a fork and serving.
Pro Tip: Don’t forget to give the can of coconut milk a really good shake before using!
Easy Ways to Add Flavor
While this recipe is so simple and only NEEDS 2 ingredients, that doesn’t mean you can’t plus it up some! Try any of these add-ins for more flavor.
- Fresh herbs, like cilantro, parsley, or even mint (Like in this Coconut Milk Cilantro Lime Rice recipe!)
- Fruit, like pineapple or mango (similar to this Mango Coconut Rice)
- Ground spices, like cinnamon, cumin, or cayenne pepper
- Toasted pine nuts
FAQs
It’s always best to rinse white rice before cooking. It removes any excess starch which can make the rice clumpy, instead of fluffy.
For the best flavor and texture, stick with full fat coconut milk from a can.
Pop any extras in an airtight container in the fridge for up to 3 days, or freeze for up to 2 months.
What to Serve Coconut Rice With?
This creamy rice side dish goes with just about anything you’d serve regular rice with. Be sure to try these recipes alongside it.
Skip the meat with Curry Roasted Cauliflower and Yogurt Sauce.
If you’re craving chicken, try this Thai Basil Chicken, Thai Chicken Meatballs, or Crispy Gluten-free Orange Chicken.
Or, go with seafood, like a Teriyaki Shrimp Stir Fry or Honey Sriracha Salmon.
More Flavor-Packed Rice Recipes
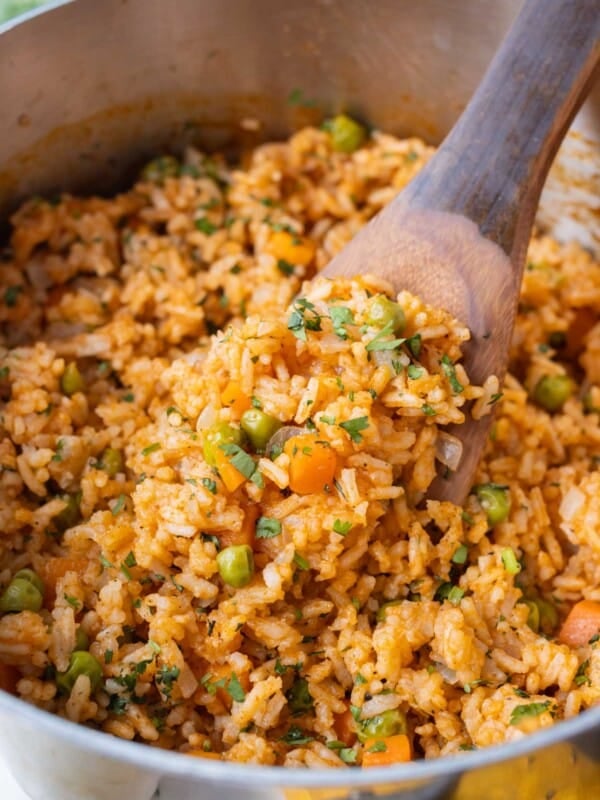
We love serving rice as an easy side in our house, so I’ve got a TON of other variations for you to try! Here are some of my faves:
Tap stars to rate!
Coconut Milk Rice Recipe

email this recipe!
Ingredients
- 1 (13.5-ounce) can full-fat coconut milk
- 1 cup basmati rice or long grain white rice
- ½ teaspoon salt
Instructions
- Rinse rice in a fine mesh strainer under cool running water until the liquid runs clear, about 1-2 minutes.1 cup basmati rice
- Shake the can of coconut milk well to ensure it is thoroughly mixed. Pour milk into a medium-sized pot over high heat and bring to a boil.1 (13.5-ounce) can full-fat coconut milk
- Once boiling, add the rinsed and drained rice along with the salt. Stir, then reduce the heat to medium-low, cover the pot with a lid, and cook for 18-20 minutes or until the rice is tender. Fluff with a fork before serving.½ teaspoon salt
Tap stars to rate!
Video
Notes
- Coconut milk: Canned, full-fat coconut milk makes the creamiest rice.
- Rinse it well: Run the rice under cold water to remove the extra starch.
- Prep ahead: While rice is best right after cooking, you can make it up to 1 to 2 days early.
- Storage: Keep leftover coconut rice in an airtight container in the refrigerator, for up to 3-4 days. The coconut rice can be frozen in an airtight, freezer-safe container for up to 3-4 months. Allow it to defrost completely before reheating. Reheat by placing the rice to a skillet over medium-low heat with a little oil or some water. Stir frequently while cooking for 4-5 minutes until completely warm.
Nutrition
Nutrition information is automatically calculated, so should only be used as an approximation.


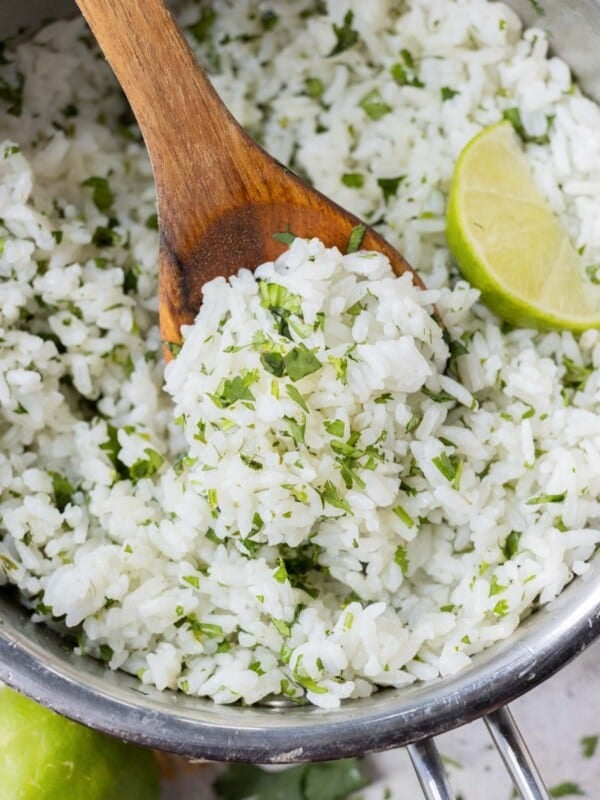





We make this rice almost every week in our house! It’s the easiest way to add SO much flavor to simple white rice. Hope you love the recipe as much as we do 🙂
XOXO – London