Homemade Reese’s Peanut Butter Cups
If I could only have one, favorite candy for the rest of my life it would be a no-brainer.
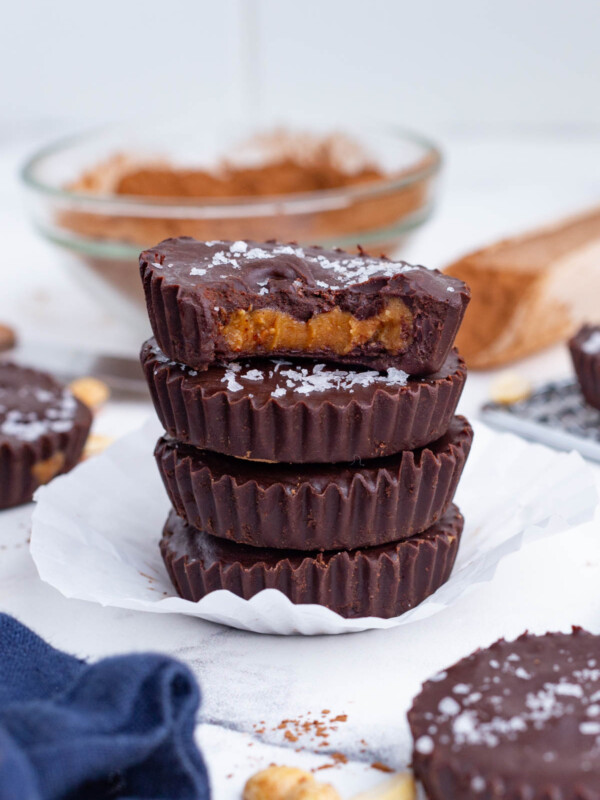
Reese’s Peanut Butter Cups would be IT.
I love them so much that I’ve even recreated them at home and even tried my hand at Peanut Butter Eggs.
But sometimes you’re craving that delicious peanut butter and chocolate combo but with slightly HEALTHIER ingredients that you feel GOOD about eating.
Ones that are vegan, gluten-free, dairy-free, and yes, even refined sugar-free. (So you can share them with ALL of your friends!)
And that’s exactly what you’ll find in this recipe. It only requires five real food ingredients, and none of them are milk chocolate.
While the process is pretty simple to follow, the hardest part is waiting for them to finish setting. But you have to let them chill…don’t say we didn’t warn you.
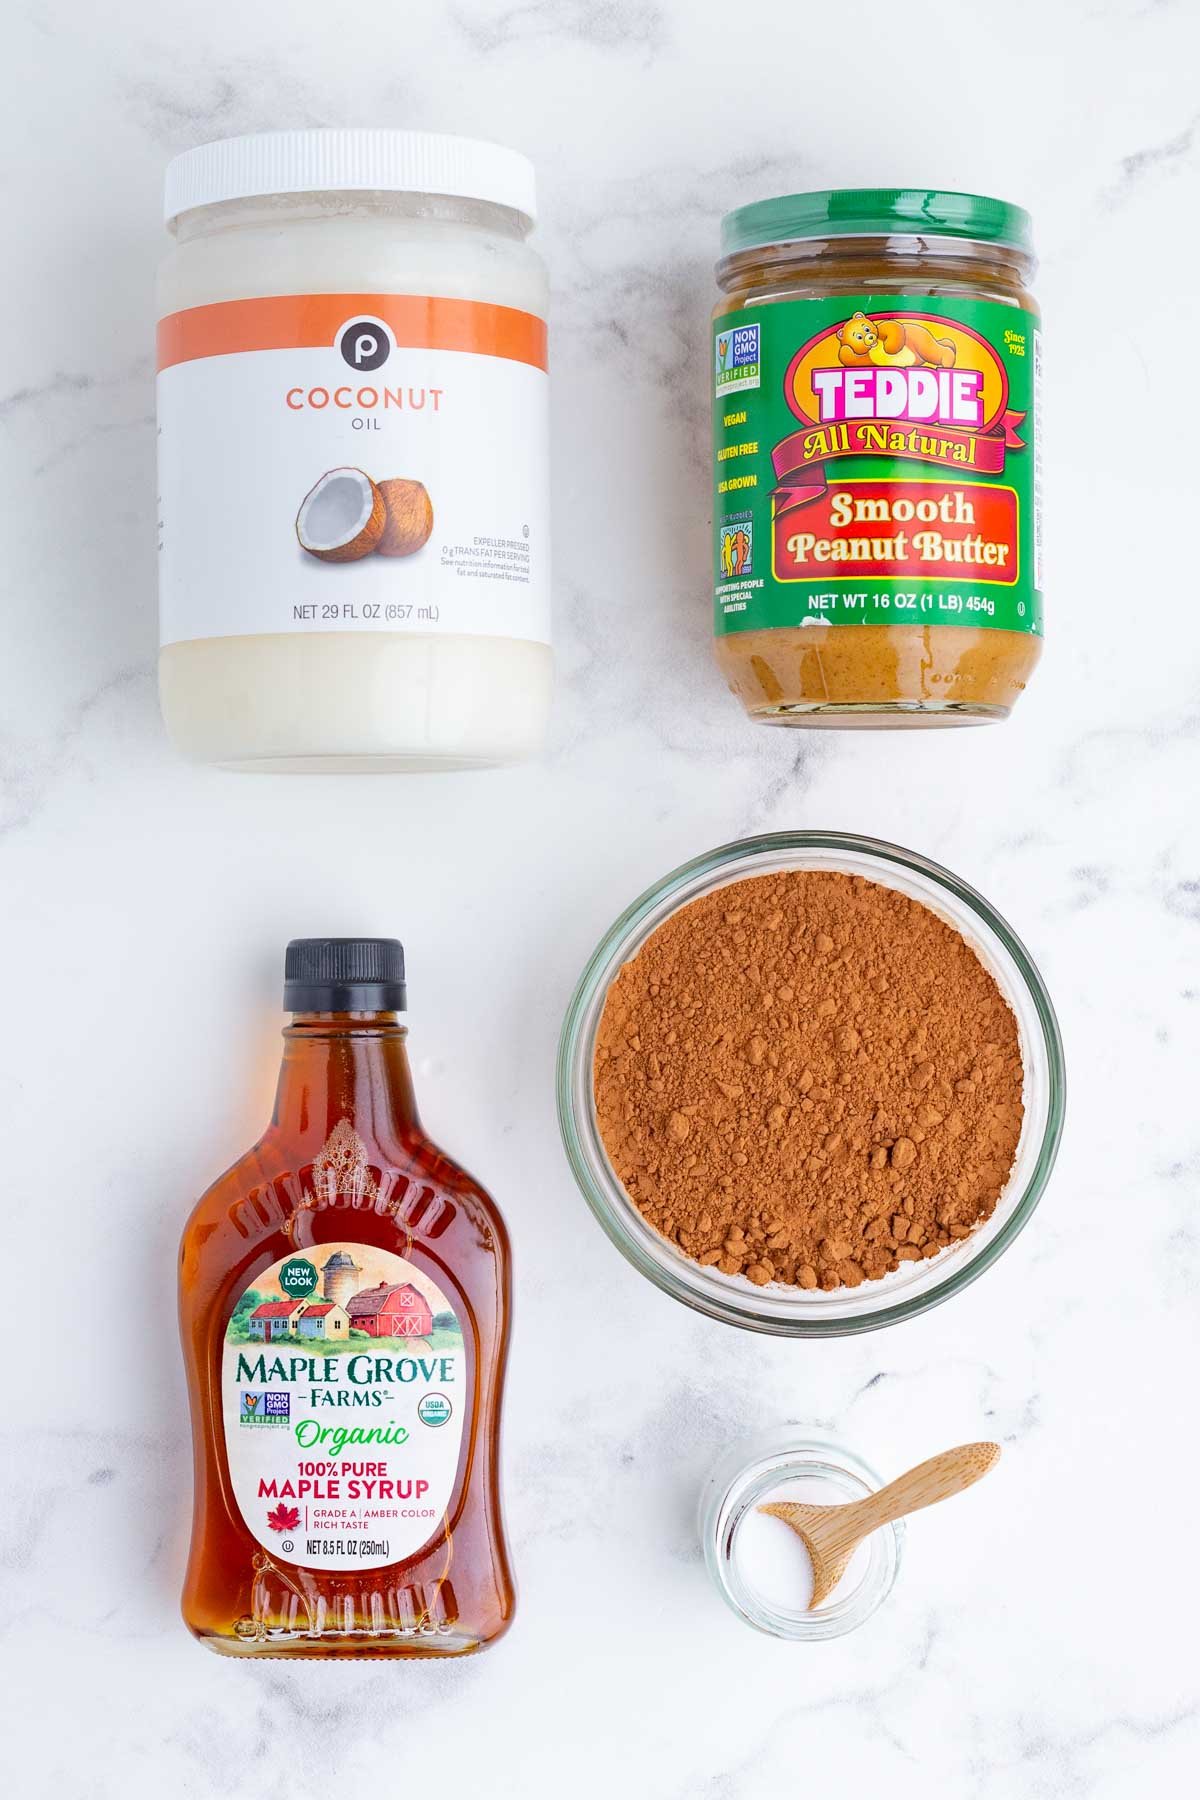
Ingredients
The simple ingredients you need to make these healthy homemade peanut butter cups include:
- Cocoa powder. Regular was used for this recipe, but you can use dark for a richer flavor. It won’t be as sweet because the cocoa powder will overwhelm the sweetness of the maple syrup.
- Sweetener. Maple syrup is preferred, but honey or agave can be used, as well.
- Oil. Coconut oil is the best option. It is slightly sweet without being overpowering.
- Salt. You do need this for balance and to actually BRING out the sweetness. Add the extra bit just before serving for a delightful salty/sweet combo. (Think of salted caramel, *MUAH!*)
- Peanut butter. Go for a creamy, smooth variety. If you’re using a natural type, make sure to give a good stir.
How to Make Homemade Peanut Butter Cups
The basic steps for making these healthier peanut butter cups are simple to follow:
Make the Peanut Butter Layer
While the process of making these peanut butter cups isn’t difficult, the order of prep is essential.
You want to be sure you mix the peanut butter mixture FIRST. The chocolate will start to harden as soon as it sits out.
Secondly, for both the layers, you want to have the sweetener at room temperature or even a little warmed up before mixing it with the cocoa powder or the peanut butter.
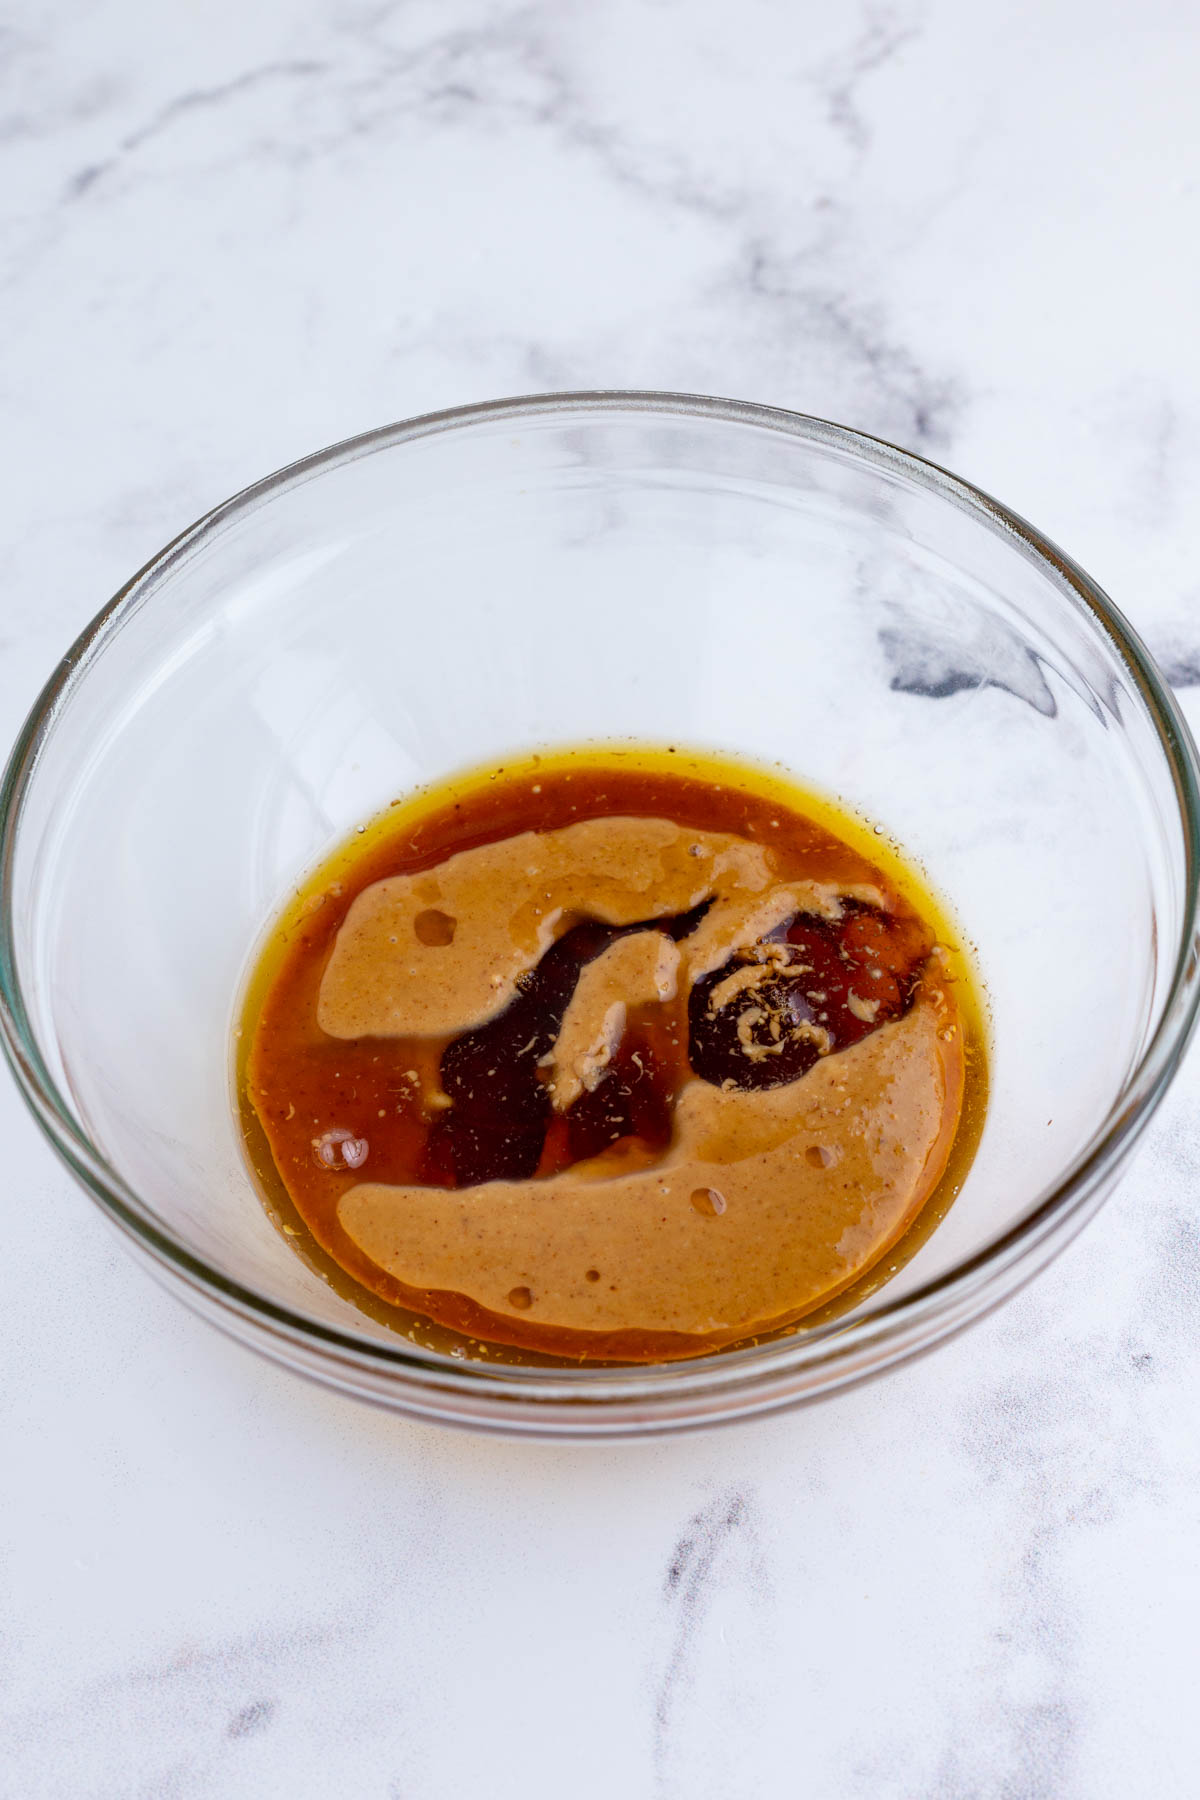
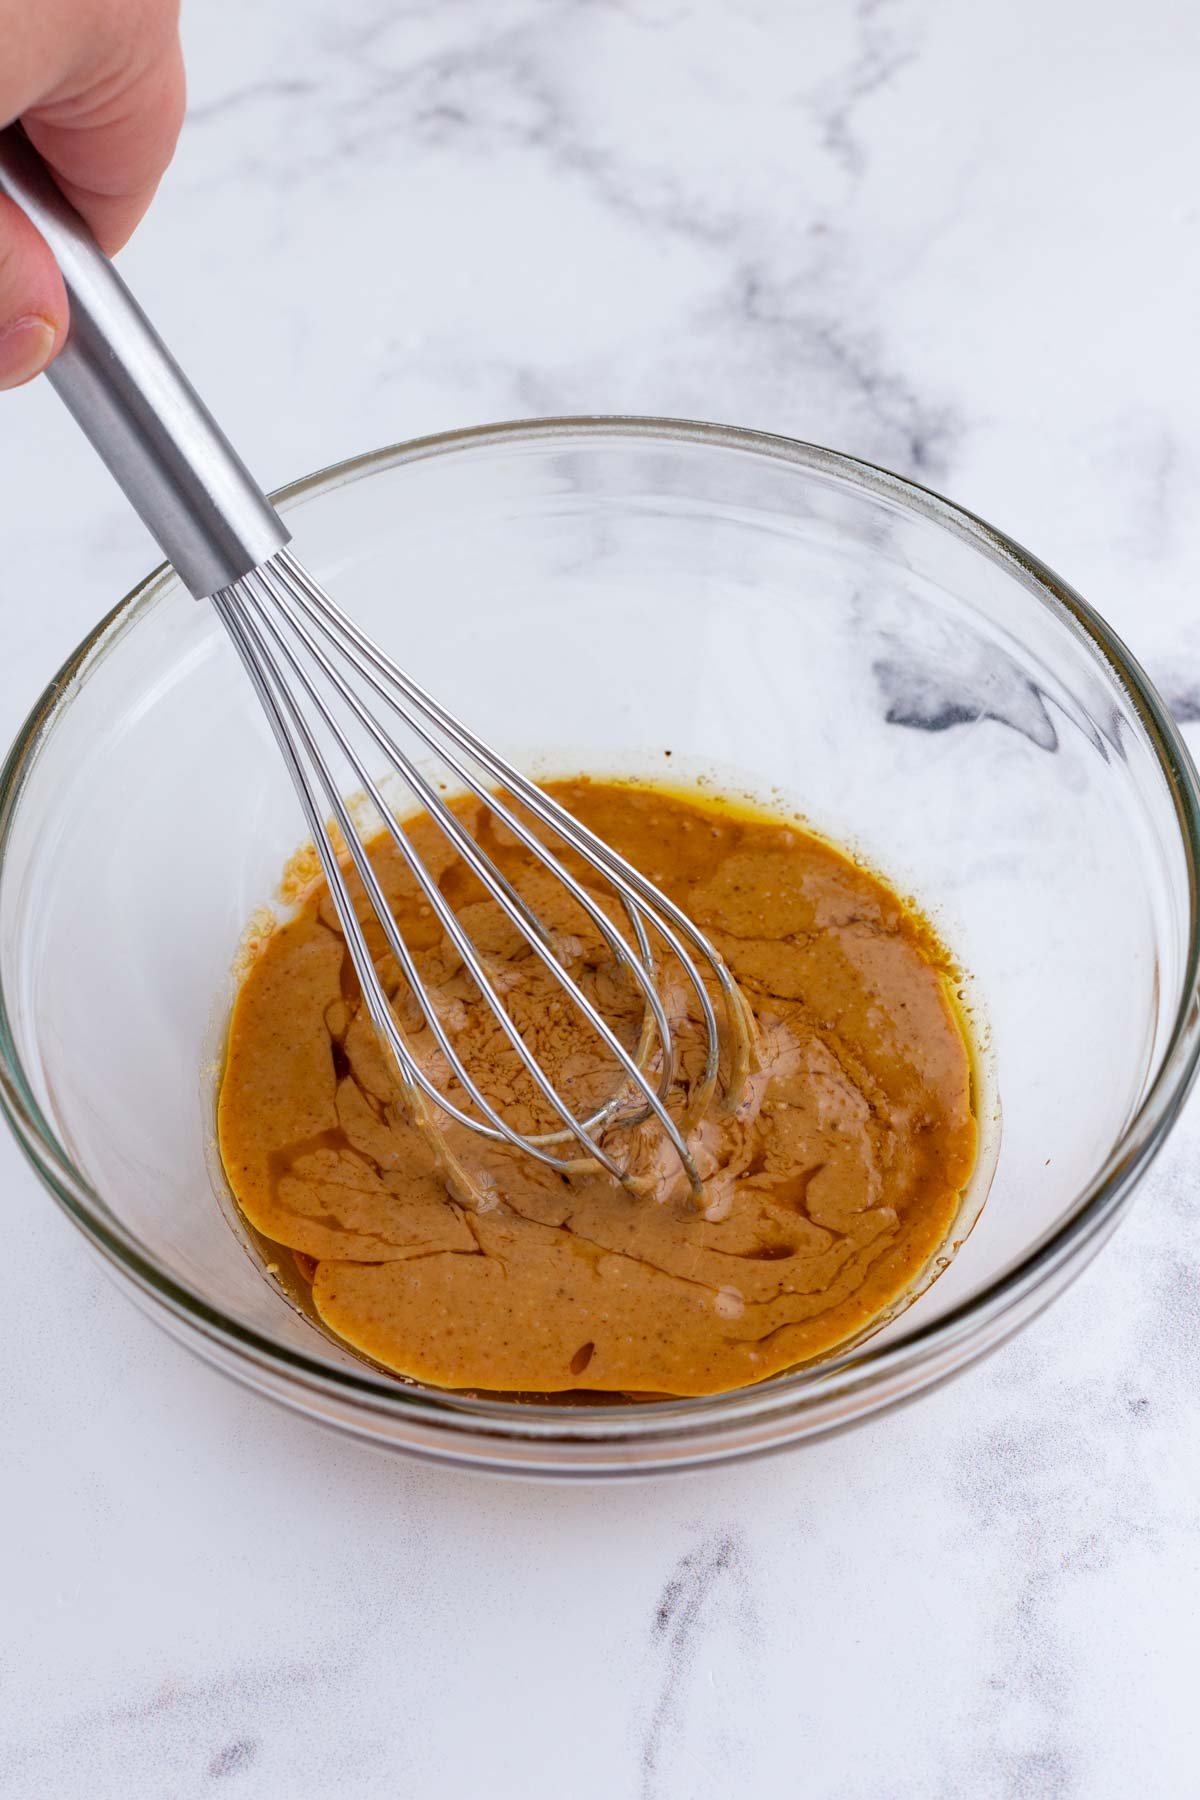
To start, add the creamy peanut butter and 3 tablespoons of sweetener to a small bowl. Use a whisk to thoroughly mix the ingredients until no lumps remain.
Make the Chocolate Layer
Line a muffin tray with cupcake liners. These make it easy to pop the peanut butter cups out. It’s best to do this step first so you’re ready to start filling as soon as the chocolate is ready. While you could use mini muffin tins, it’s hard to get three complete layers in that small of a space.
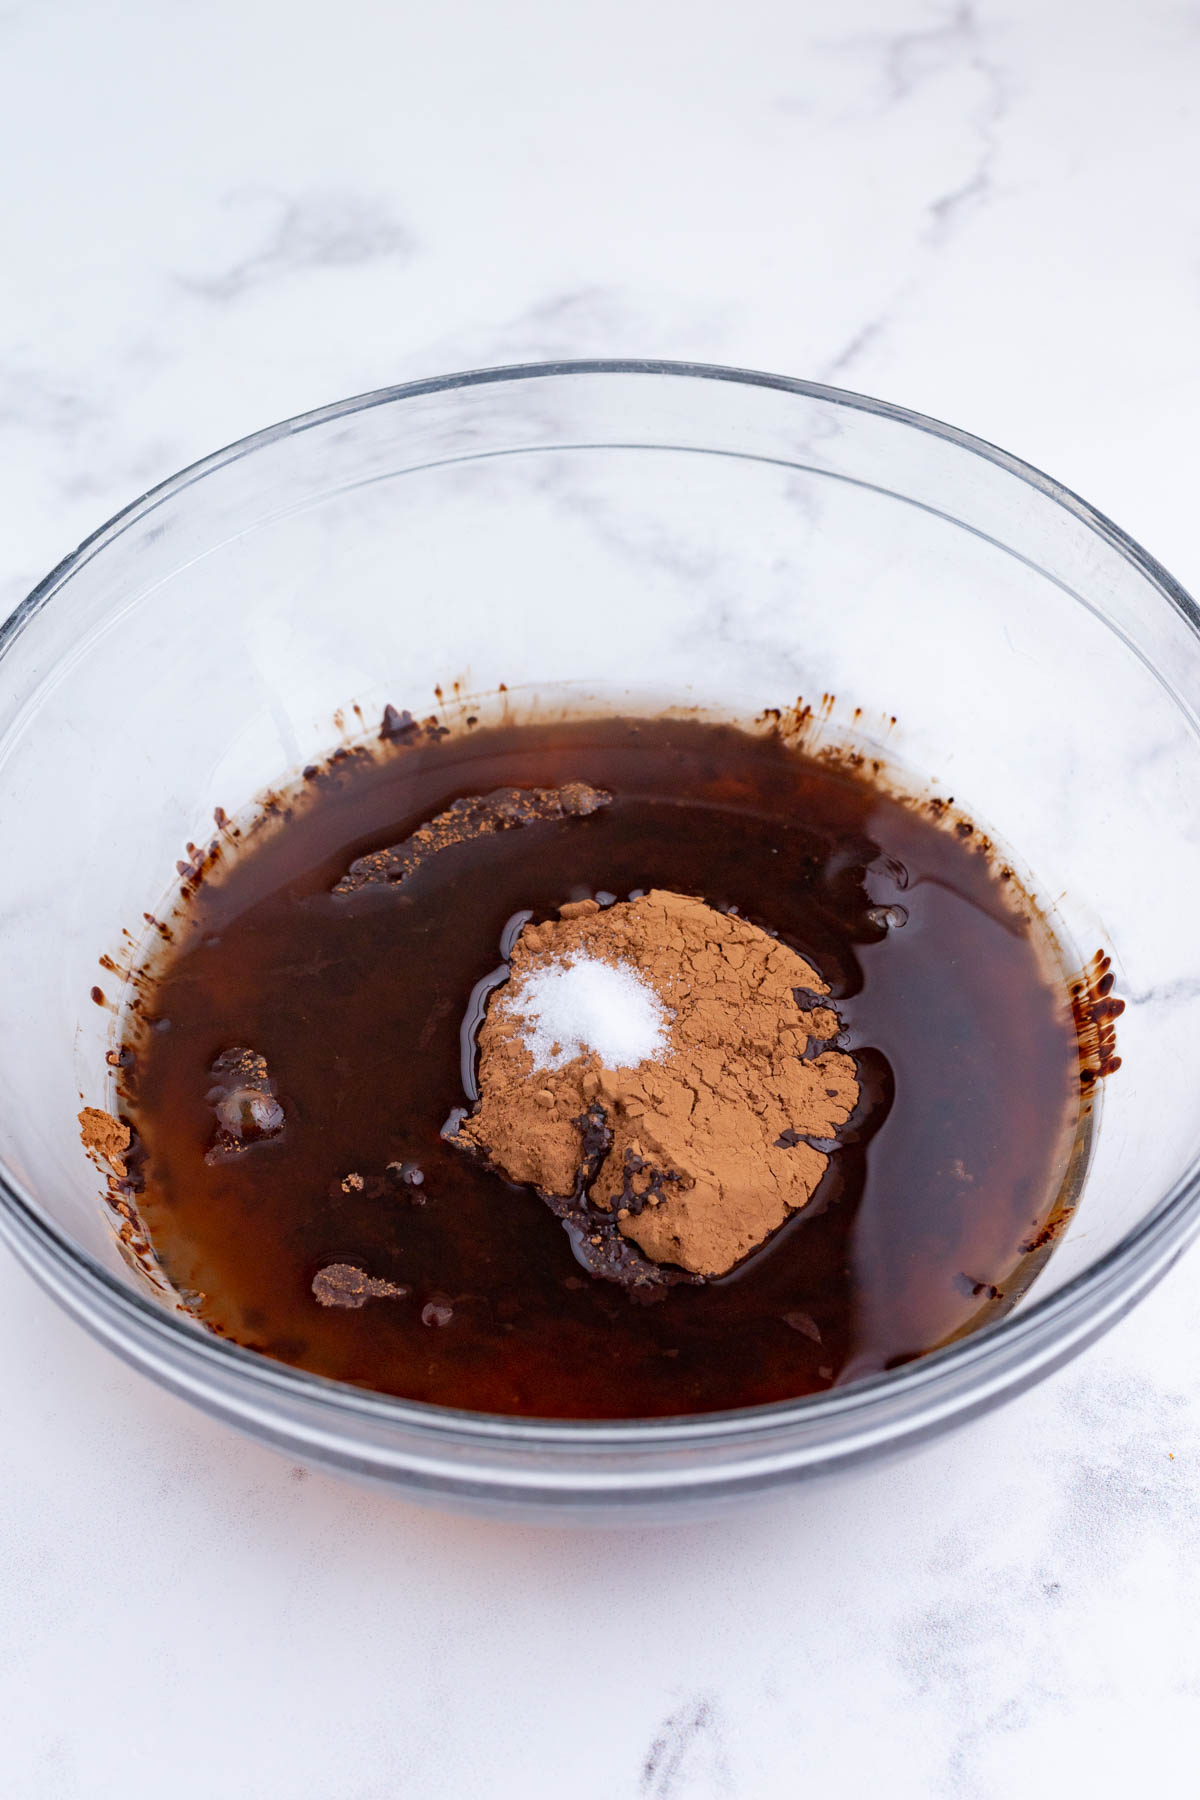
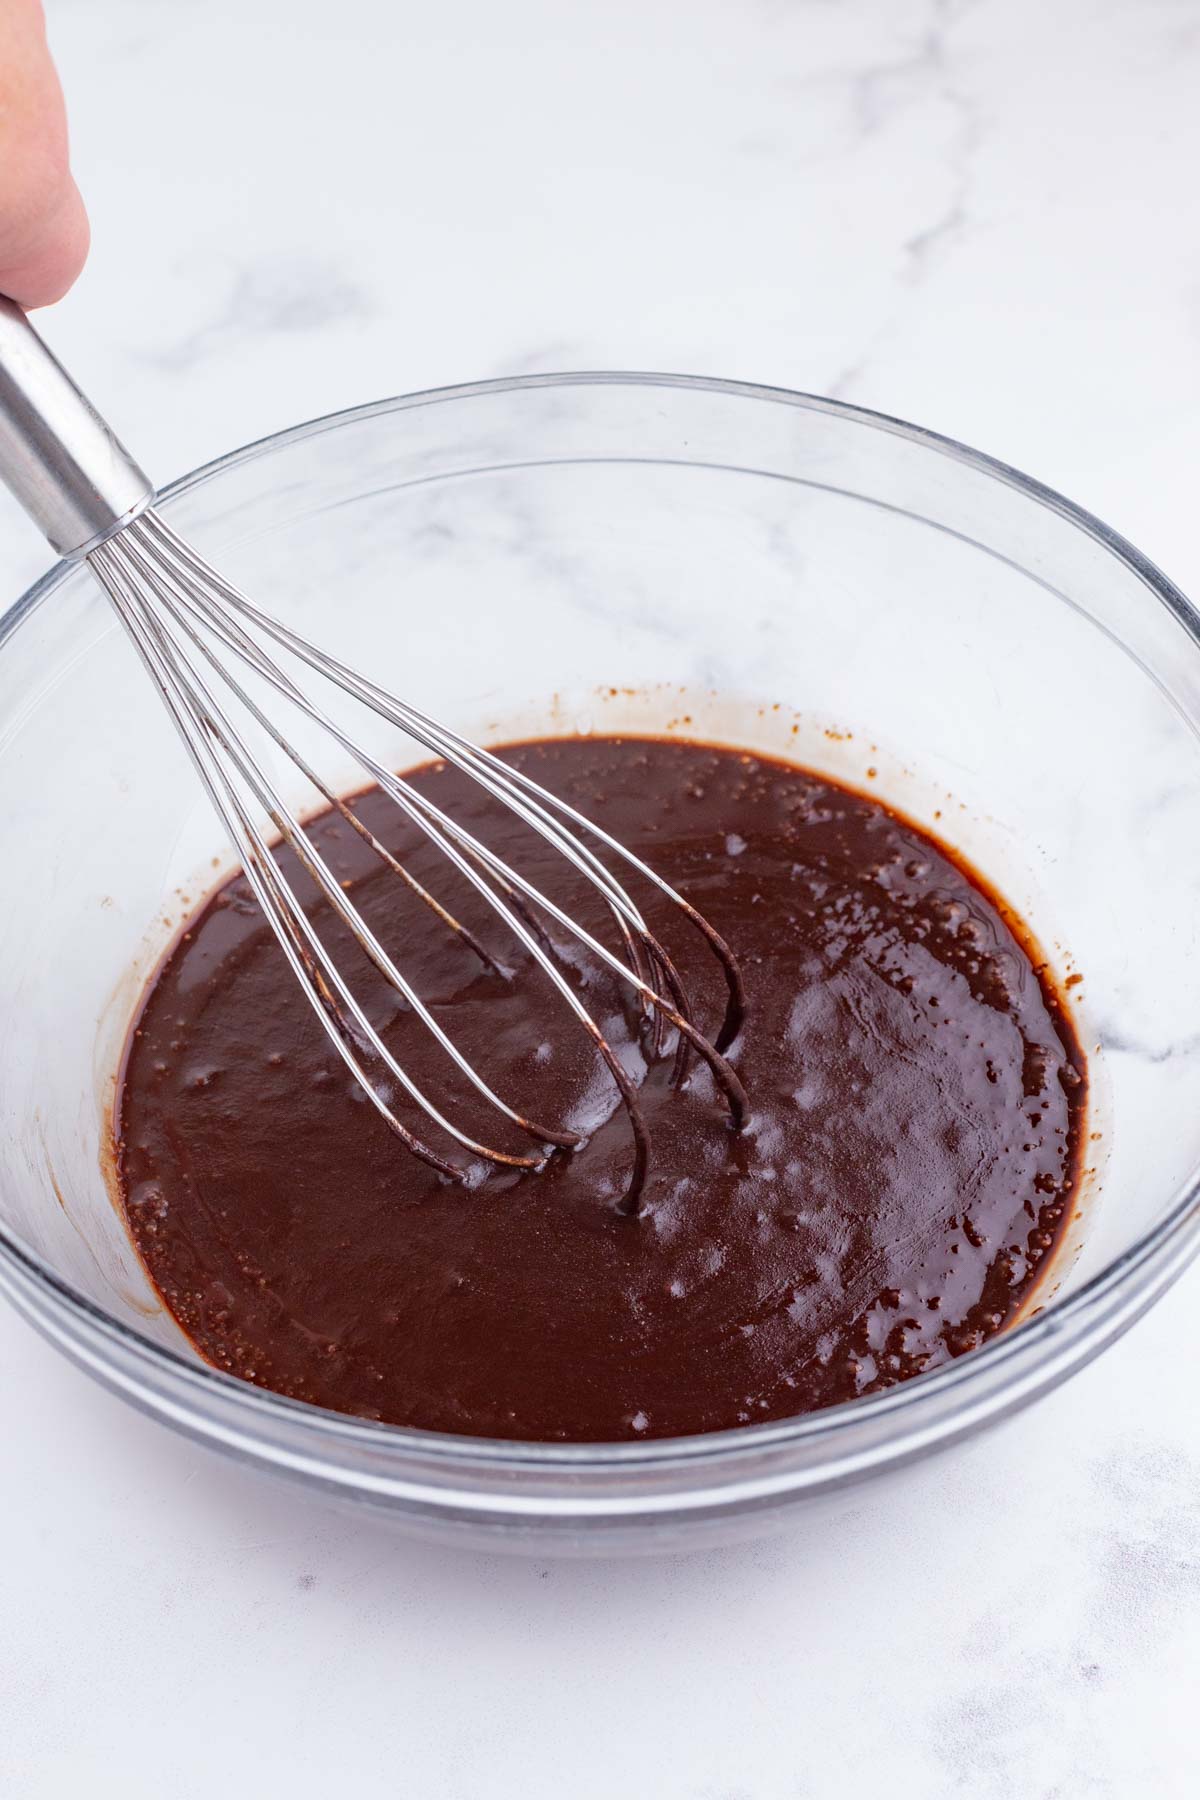
In another medium or small bowl, add the cocoa powder, oil, ½ cup of maple syrup, and salt. Stir with a whisk until a smooth mixture forms.
Again, be sure the sweetener is at least at room temperature, so it mixes evenly with the cocoa powder.
Build the Peanut Butter Cups
You want to work fairly fast here because the chocolate will start to harden. It’s also okay if the chocolate layer is a little lumpy. It should smooth out as it hardens up.
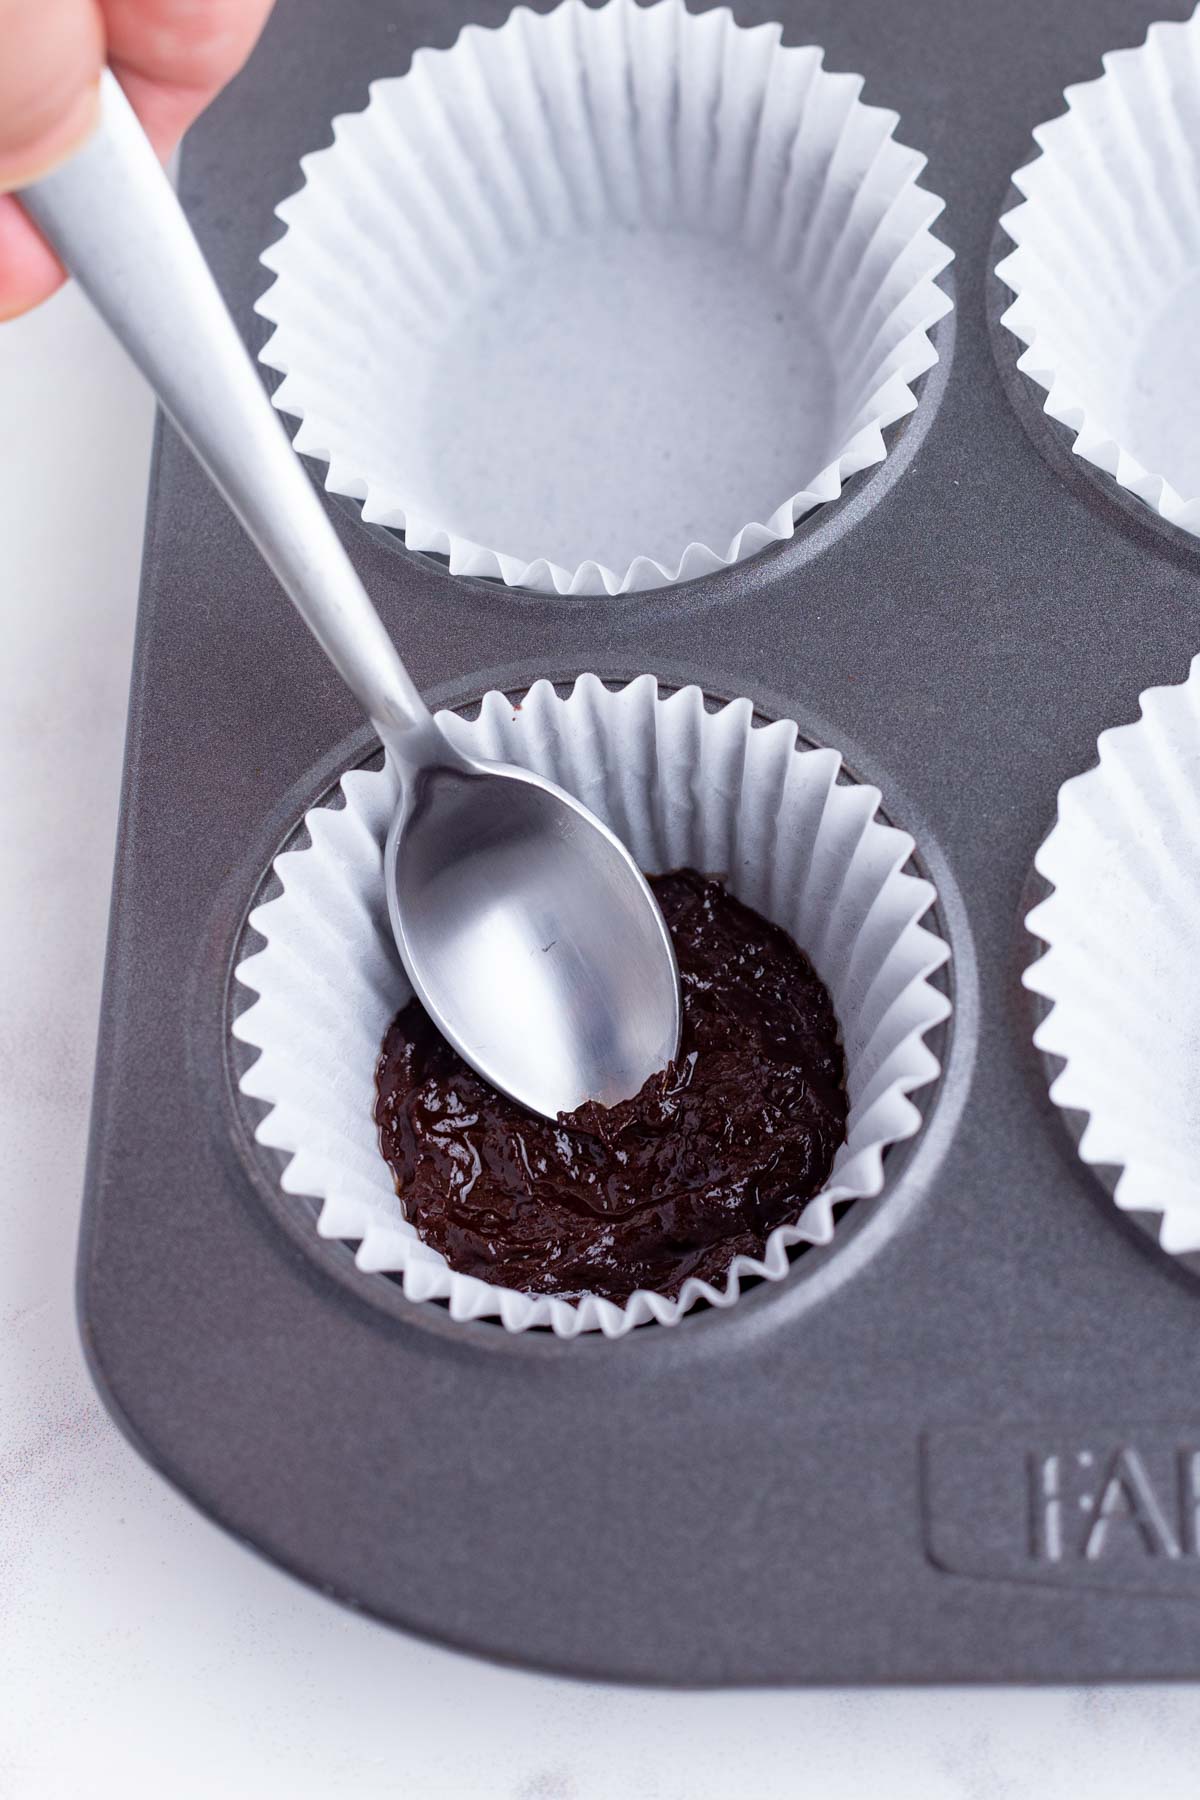
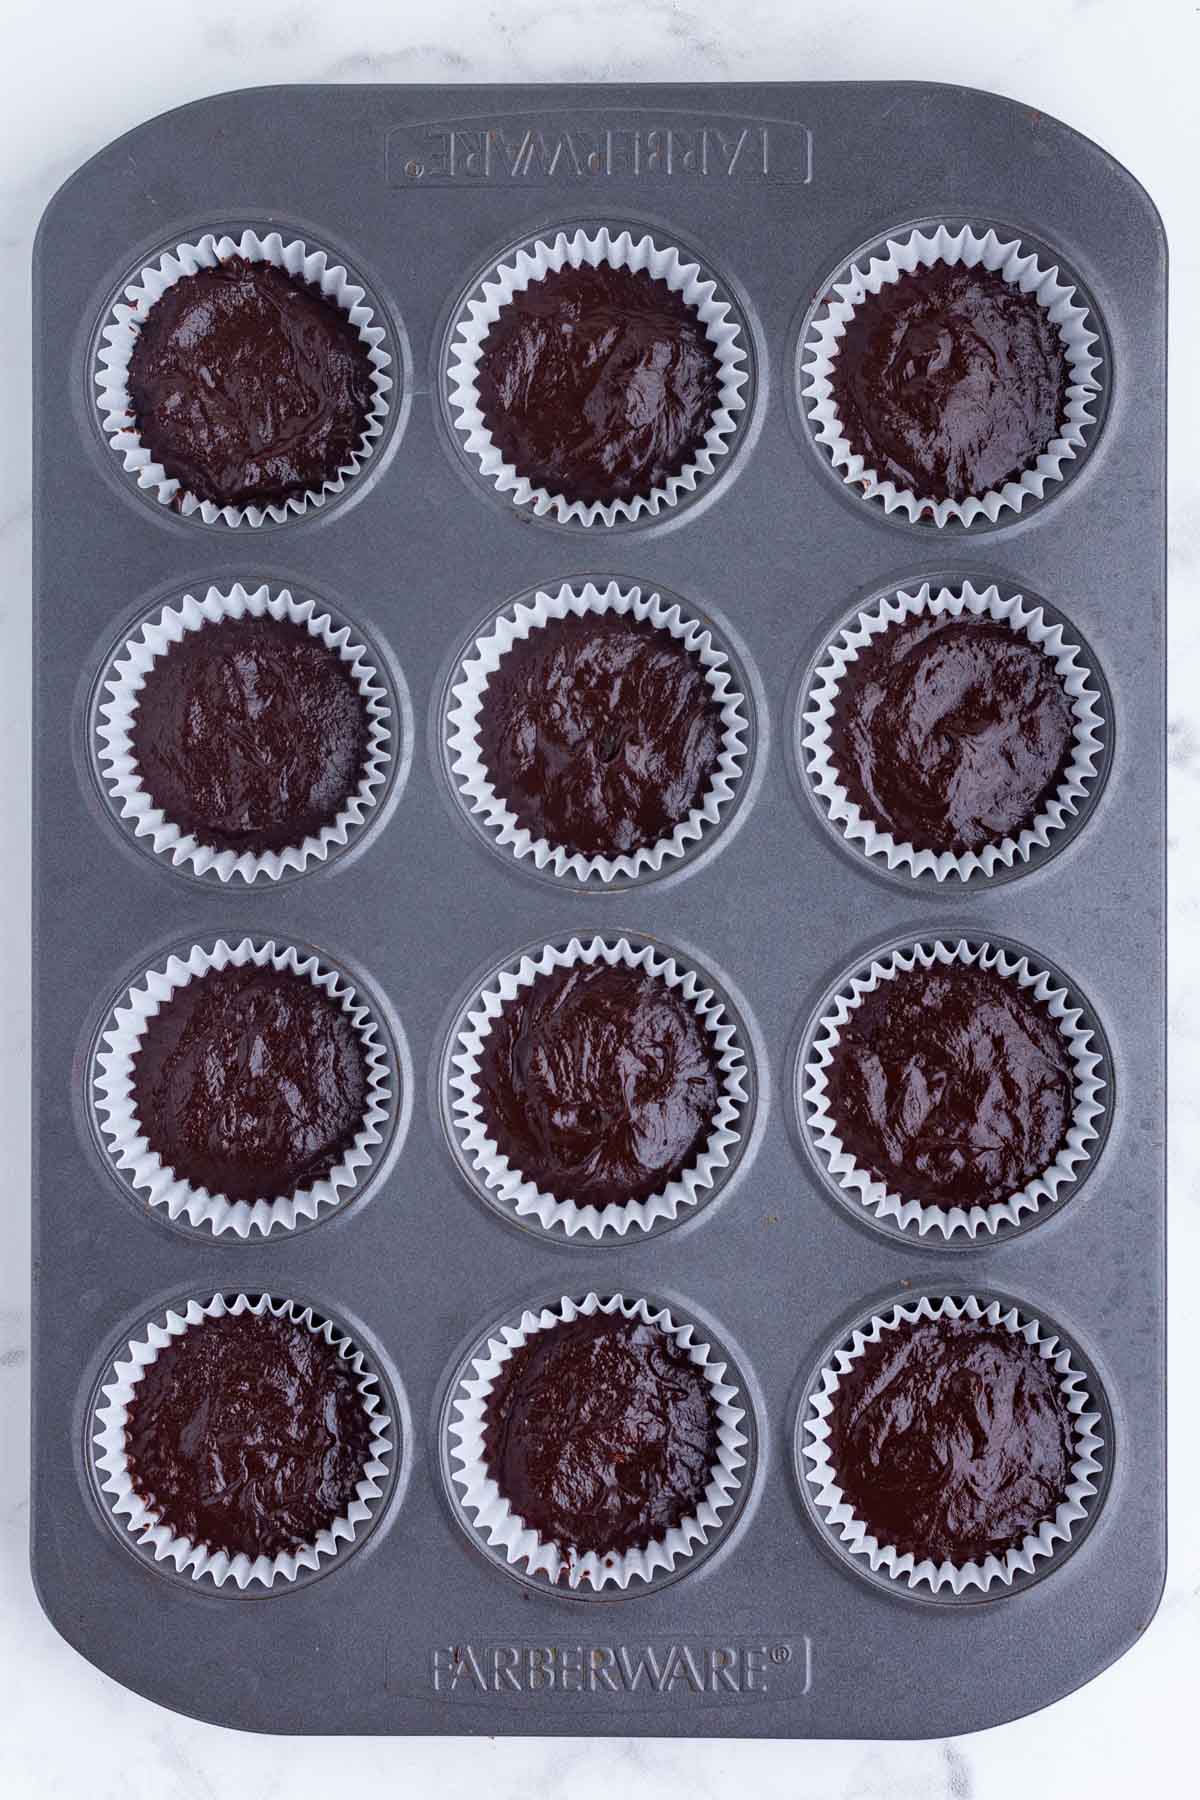
Start by filling the muffin cups with 2 teaspoons of the chocolate mixture in the bottom of each liner. Use the back of a spoon to smooth it out as much as possible.
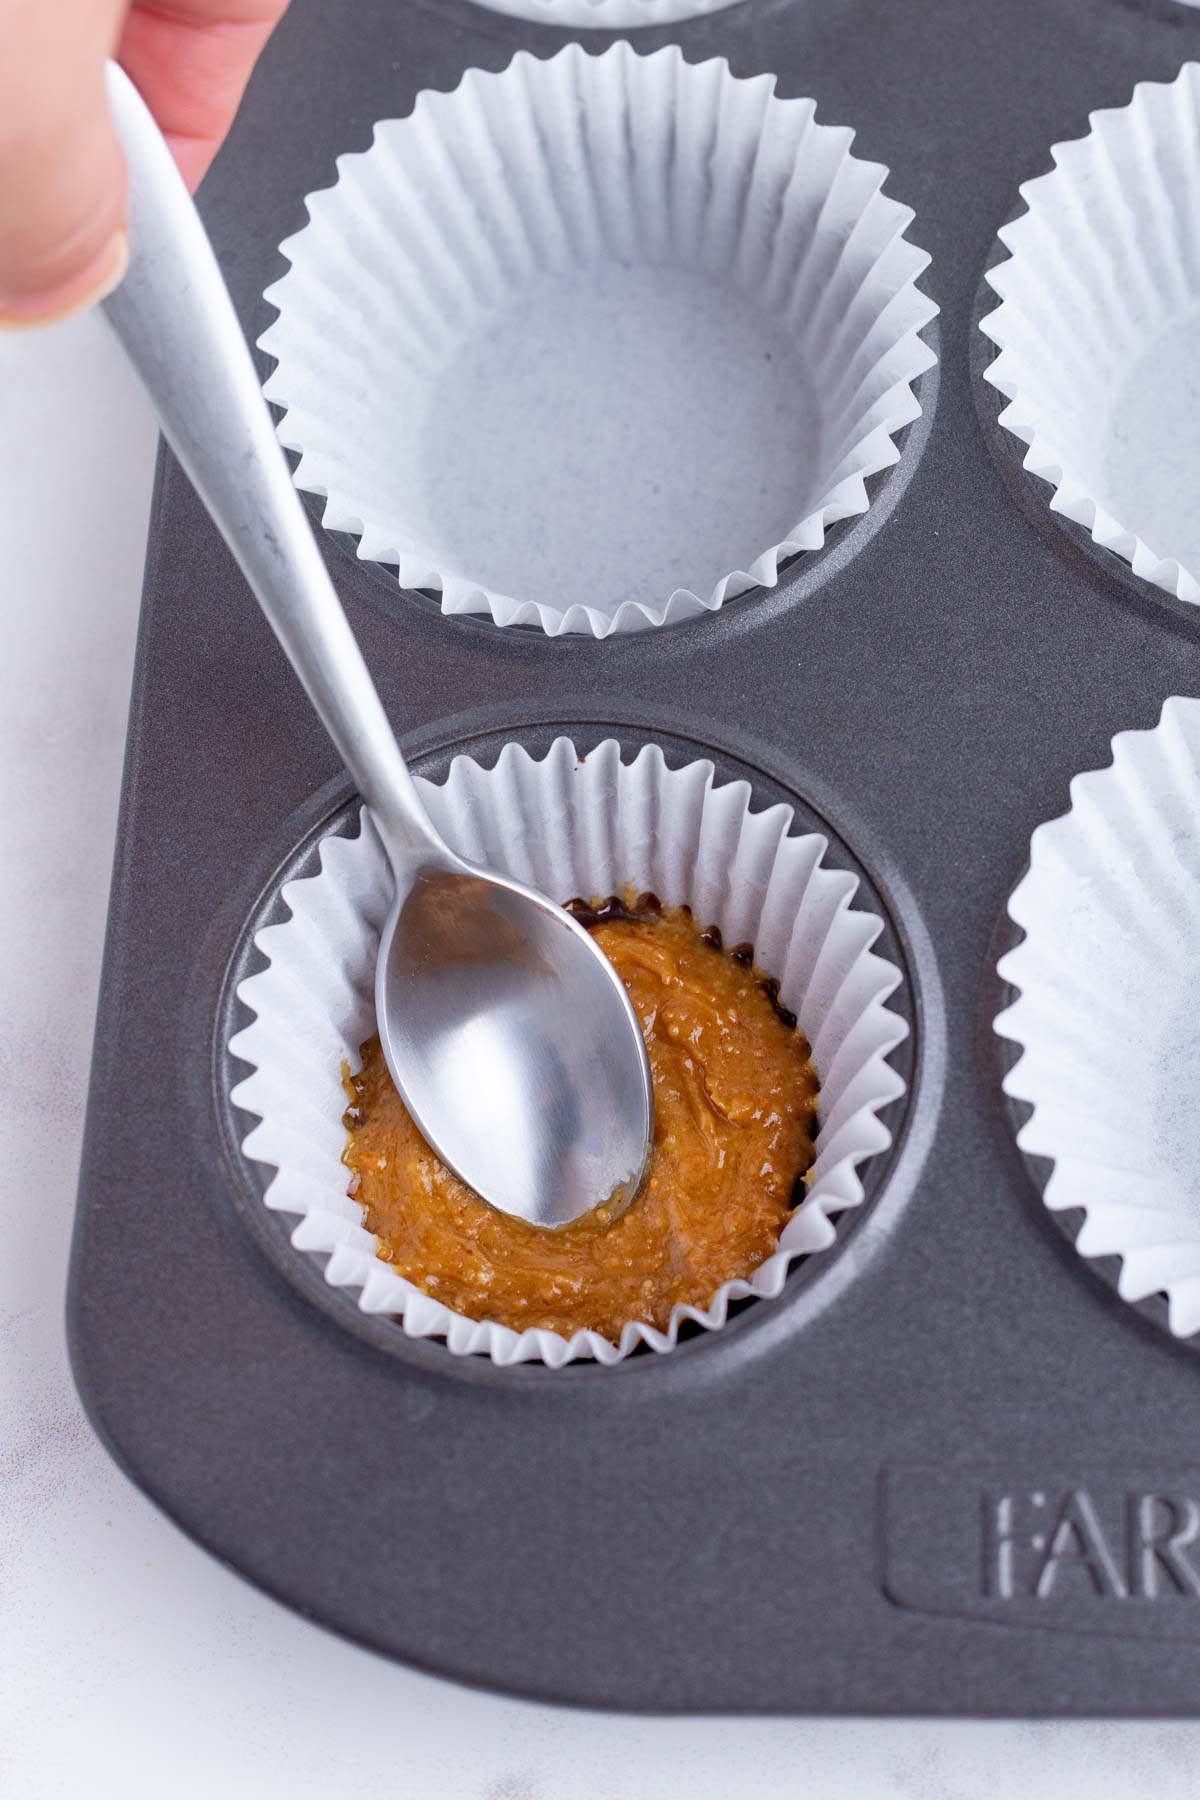
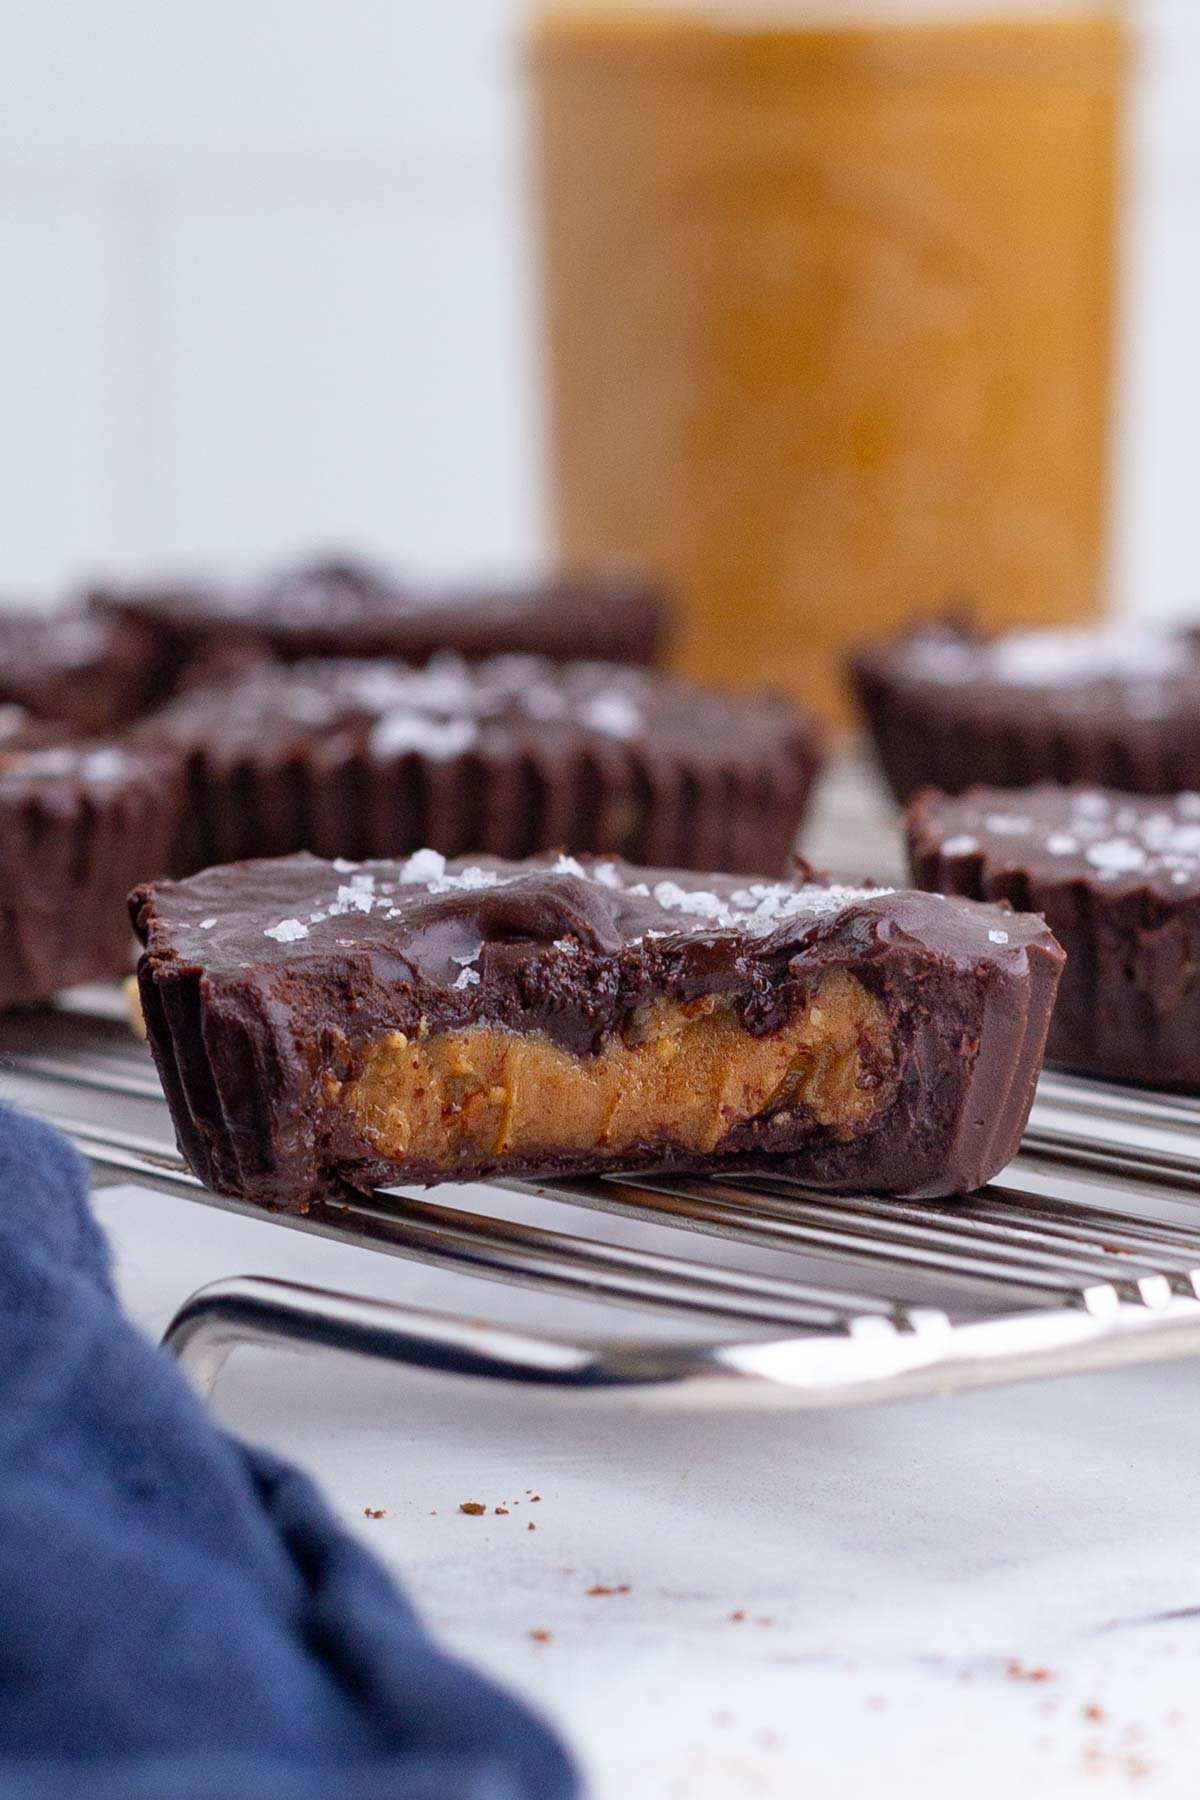
Then, add 2 teaspoons of the peanut butter filling to the center. Carefully push it down so it spreads as close to the edges as possible.
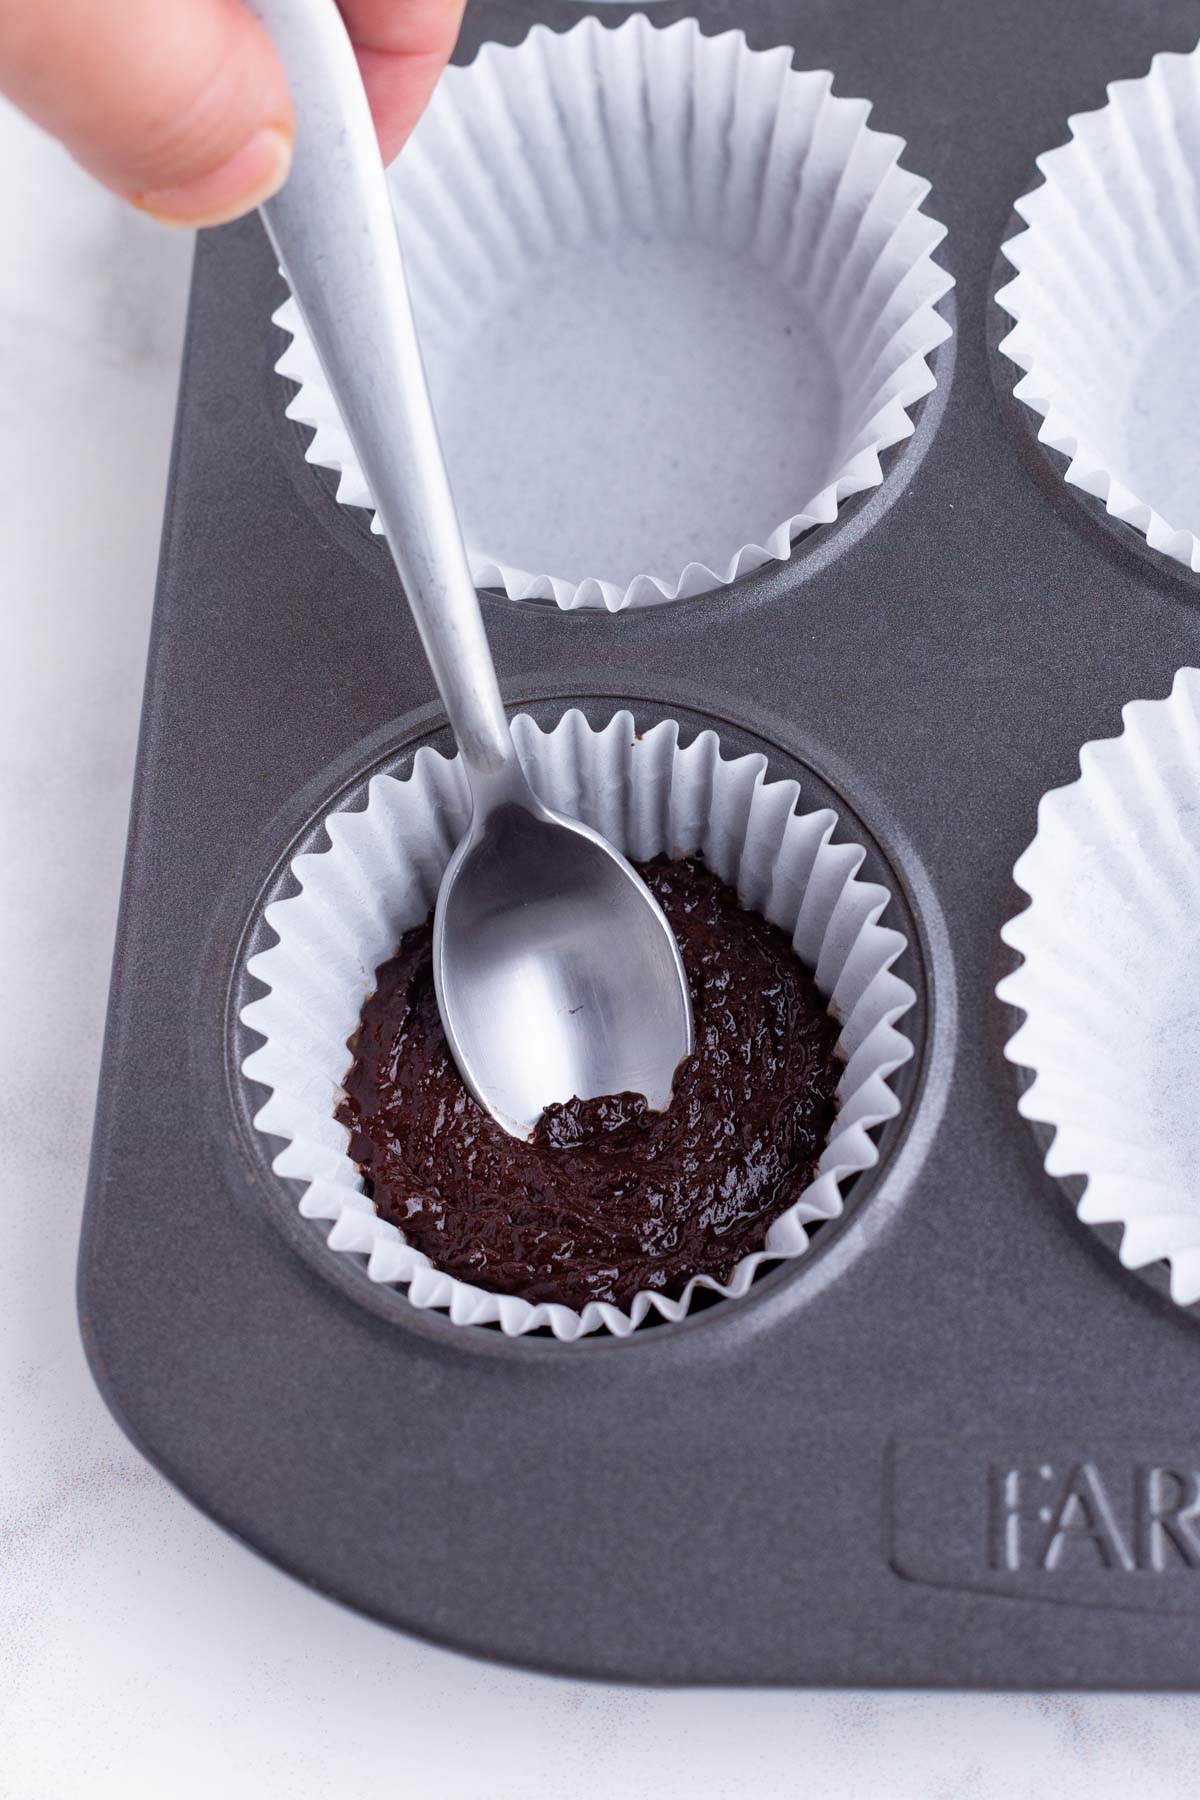
Finally, top each one with another 2 teaspoons of the chocolate. Again, use the back of a spoon to smooth out the chocolate.
Refrigerate to Set
Set the tray of peanut butter cups in the fridge. These need at least 2 hours to fully set. However, you can leave them overnight to fully harden. If you’re leaving them more than a couple of hours, you can cover the tray with plastic wrap for freshness.
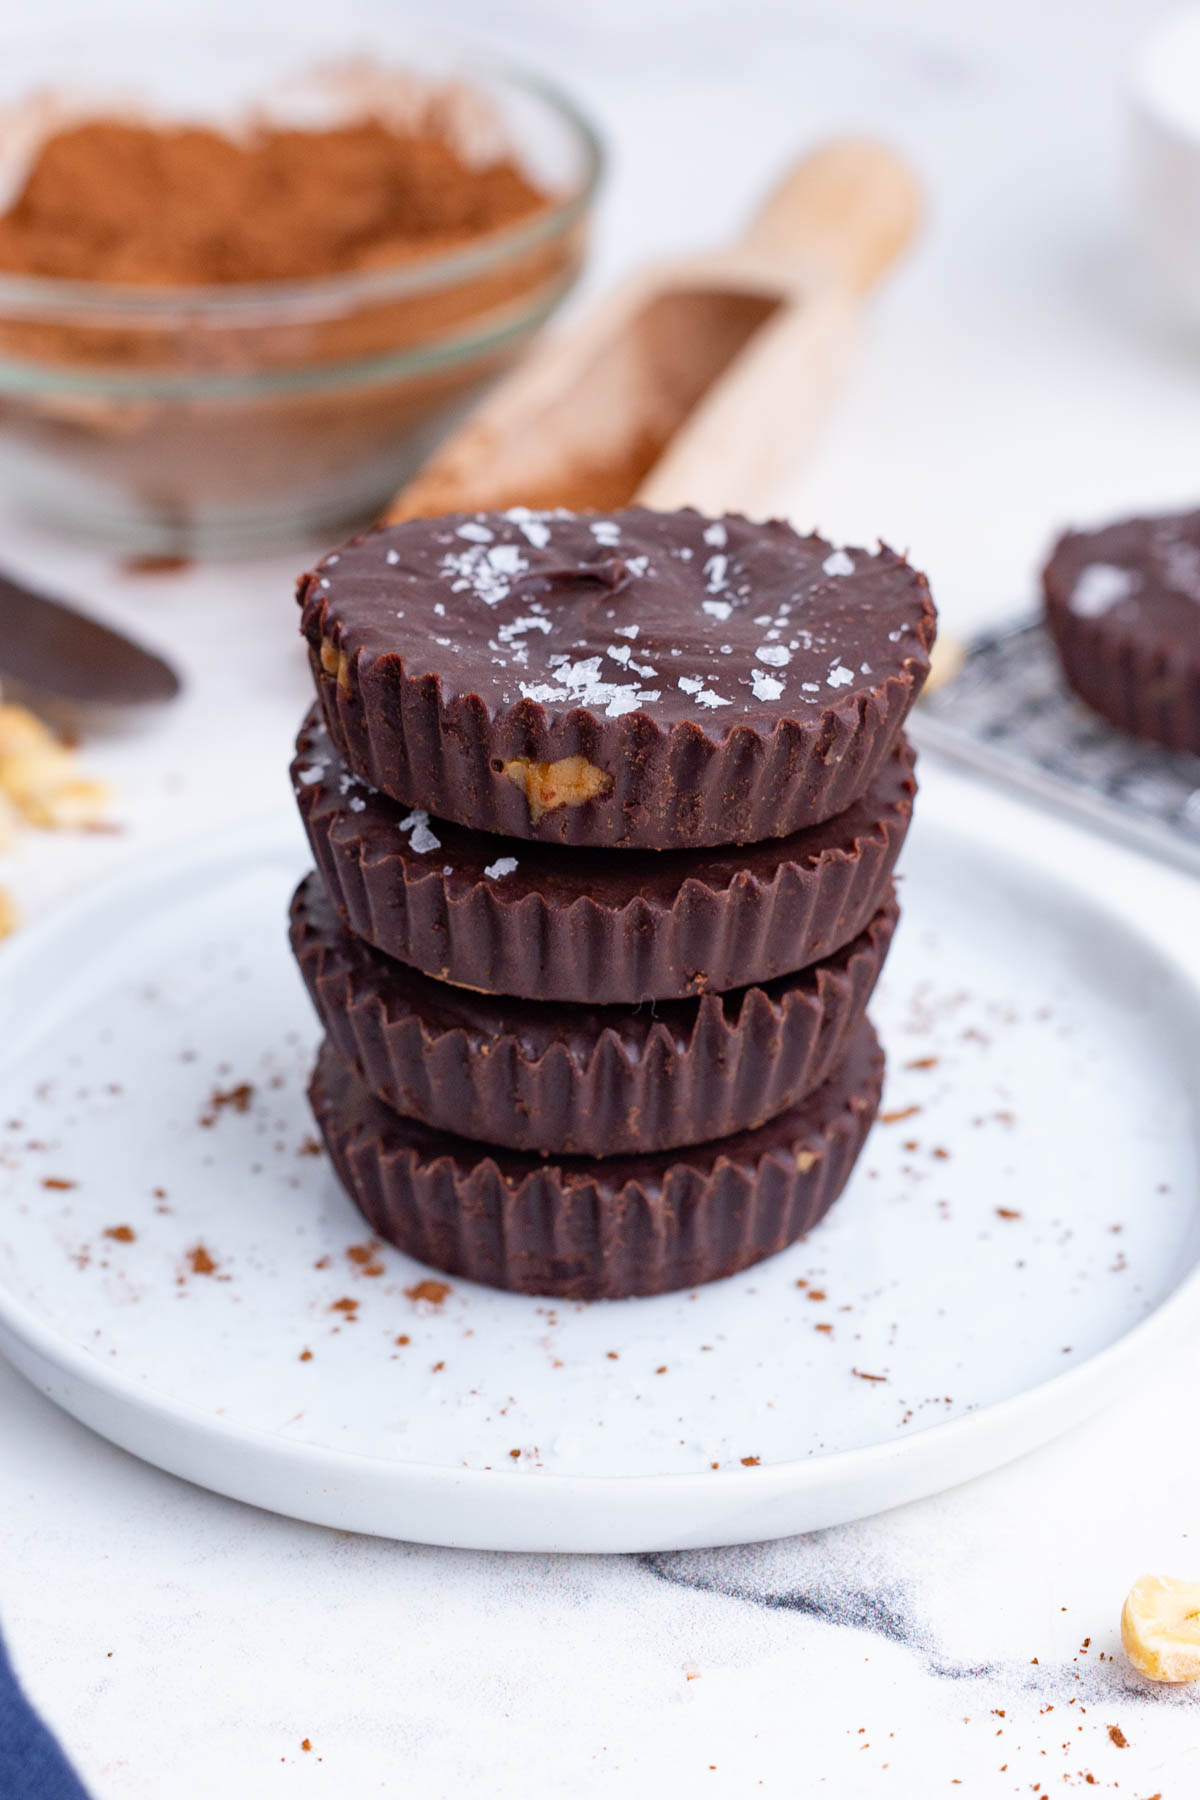
Before serving, sprinkle each one with some coarse sea salt if desired. Be sure to leave these cups in the fridge between servings.
Meal Prep and Storage
- How to prep ahead of time: This recipe is best made ahead of time! Whip up a batch and keep the whole thing in the fridge until you’re ready to enjoy.
- How to store: Homemade peanut butter cups can be stored in an airtight container in the fridge for up to 2 weeks.
- How to freeze: The cups can be frozen in a freezer-safe airtight container or Ziploc freezer bag for up to 6-9 months.
What is the ratio of peanut butter to chocolate in Reese’s peanut butter cups?
Standard store-bought Reese’s cups utilize a 50/50 ratio between chocolate and peanut butter. However, the benefit to homemade peanut butter cups is that you can opt for whatever ratio you like!
Are peanut butter cups healthy?
Traditionally, peanut butter cups are not considered healthy. While this recipe isn’t full of vitamins, it is a MUCH healthier alternative to the classic favorite. It does have healthy fats, though. Plus, these vegan peanut butter cups can be enjoyed by everyone.
Do I have to refrigerate healthy peanut butter cups?
Yes, this healthy twist on peanut butter cups definitely needs to be stored in the fridge. Otherwise, the cups will melt slightly and stick together.
Dietary Modifications
The recipe you’ll find below is already vegan, gluten-free, and dairy-free as written. Here are some adjustments and substitutions you can make to help it fit your other dietary requirements:
- Low-Carb: Opt for natural, sugar-free peanut butter.
- Nut-Free: For peanut allergies, go with a different variety of nut butter, such as almond butter or cashew butter. For all nut allergies, try using a brand of sunflower seed butter, or even cookie butter.
Expert Tips and Tricks
- Not too cold. Be sure the sweetener is at room temperature before adding it to the mixes for the smoothest consistency.
- Don’t jump ahead. Make the peanut butter layer first, otherwise the chocolate will harden before you can put it together.
- Get salty. A sprinkle of flaky sea salt at the end really takes these cups over the top.
- Wrap them up. To prevent the cups from sticking together or getting misshapen, keep them contained in their paper liners until ready to be eaten, just like normal Reese’s cups.
- Change things around. Consider making additions and substitutions like crunchy peanut butter, cashew butter, pretzel pieces, white chocolate, or even a small dab of fruity jam to bring new flavor combinations to this classic candy.
More Chocolate Dessert Recipes
Chocolate is such a satisfying treat no matter how you enjoy it. Try one of these healthy dessert recipes next.
For that classic peanut butter and chocolate combination, try Peanut Butter Eggs or Peanut Butter Chocolate Chip Cookies.
Easy Chocolate Mousse and Chocolate Chia Seed Pudding are impressive and easy to whip up and serve.
Chocolate Chip Pecan Pie is the perfect holiday dessert.
Tap stars to rate!
Healthy Peanut Butter Cups
email this recipe!
Ingredients
- 1 cup cocoa powder regular or dark
- ½ cup coconut oil melted
- ½ cup + 3 Tbsp. pure maple syrup room temperature, divided
- ½ tsp. salt
- ⅓ cup peanut butter smooth
Instructions
- Add cocoa powder, oil, ½ cup of the maple syrup, and salt to a medium-sized bowl. Whisk until smooth and well combined.
- In a separate medium-sized bowl whisk together the peanut butter and 3 tablespoons of maple syrup.
- Line a 12-cup muffin tray with cupcake liners, fill each one with 2 teaspoons of the chocolate mixture and then smooth it out into a flat layer. Next, fill each one with 2 teaspoons of the peanut butter mixture in the center, pushing it down slightly, and then top with 2 additional teaspoons of the chocolate. Gently smooth out the chocolate layer over the peanut butter using the back of a small spoon until it’s completely flat.
- Refrigerate the peanut butter cups for at least two hours or up to overnight until hardened. Sprinkle with coarse sea salt, if desired and keep in the refrigerator between servings.
Tap stars to rate!
Video
Notes
Meal Prep and Storage
- How to prep ahead of time: This recipe is best made ahead of time! Whip up a batch and keep the whole thing in the fridge until you’re ready to enjoy.
- How to store: Homemade peanut butter cups can be stored in an airtight container in the fridge or at room temperature for up to 2 weeks.
- How to freeze: The cups can be frozen in a freezer-safe airtight container or Ziploc freezer bag for up to 6-9 months.
Nutrition
Nutrition information is automatically calculated, so should only be used as an approximation.


I always loved chocolate peanut butter cups but could not have any with the dairy, refined sugar, and other ingredients. These are delicious with no bad ingredients! I used allulose sweetener to make them even healthier. Thank you for this wonderful recipe!
Yay! So happy to hear you enjoyed the recipe, Jennifer! Thanks so much for taking the time to leave a comment and rating!
This looks amazing! My late mother would have loved it.
Question: A family member can’t have coconut (I know), so what is an acceptable substitute for coconut oil? The only thing I can think of is vegetable shortening, which just sounds icky in something this wonderful. (She’s also dairy-free.)
Thanks!
While I haven’t personally tried it, you could do a vegan butter alternative such as Miyokos or Earth Balance. Just make sure to use the sticks and not the tub. Let me know how it turns out!
I tried vegan butter alternative sticks and it worked! They’re probably quite a bit softer than using real butter, and they should be eaten cold from the refrigerator, but still yummy!
Thanks for the creative recipe!
These were so easy to make and tasted like the real deal! I used almond butter instead of peanut butter.
That’s wonderful… So happy you enjoyed them 🙂
These look delicious! I bet the coconut flour adds a nice softness to the layers. I definitely need to try them! 🙂
Ya, the subtle coconut flavor is definitely delicious! Thanks Lauren!
These look so delicious, a perfect satyrdau treat! I might try these out, but swapping the honey for agave syrup for a vegan version. 🙂 Thanks!
Thanks Sofia! Agave nectar should work perfectly.
I’m curious why honey is not vegan since it’s made from flower nectar?
I’m not a vegan myself but the research I have done (i.e. Googling it) says the most strict vegans do not want anything to do with any product that has been touched by an animal. Hope this helps!