
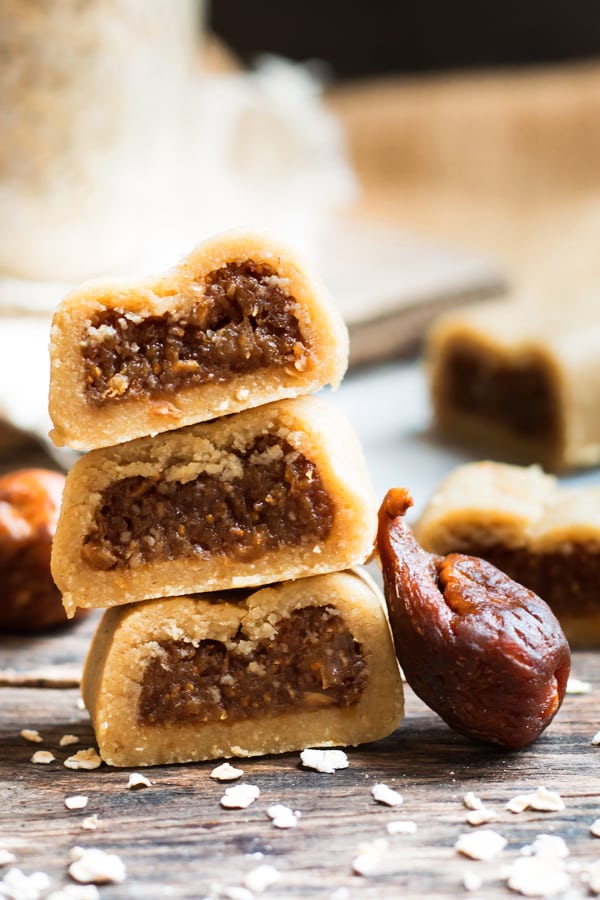
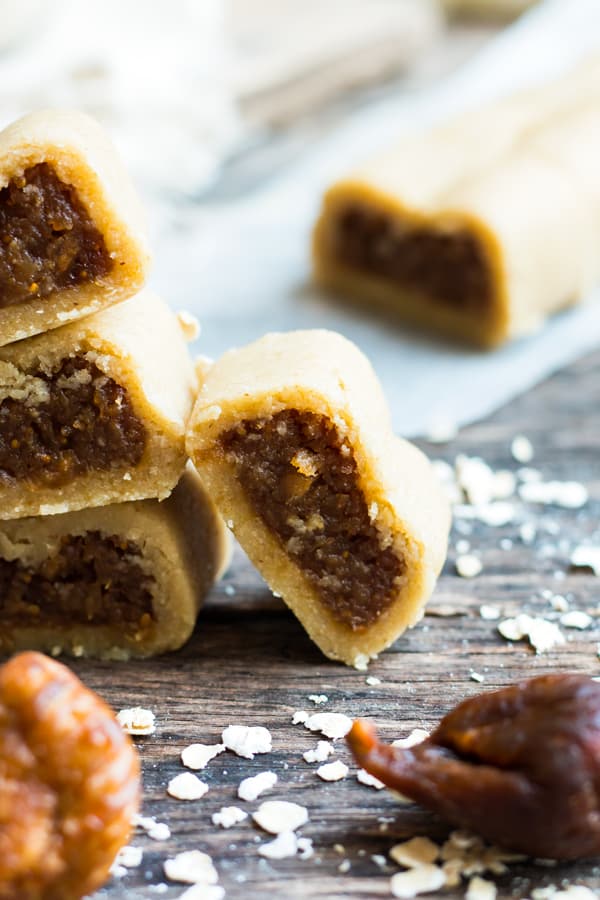
These healthy gluten-free Fig Newtons are a wonderful adult and kid-friendly cookie recipe. They do not require any baking, are refined sugar-free (i.e. naturally sweetened), vegan, and dairy-free, too!
Now that I am a little more grown up I find myself craving foods from childhood that I never liked very much. Part of that probably stems from the fact that I am a bit hard-headed and do not take “No” for an answer. Can you relate?!
When you tell my taste buds, “No, you can’t crave that cookie because they don’t make it gluten-free,” something within me throws a hissy fit and I find myself craving it even more.
So what is the secret to making a healthy gluten-free fig newton really taste like a fig newton?! There’s a special ingredient I found that does wonders for re-creating the classic taste.
What is that secret ingredient?!… Orange juice!
Orange juice is used in both the cookie crust as well as the fig filling in this recipe. Feel free to use fresh orange juice or previously squeezed orange juice that is not from concentrate and pulp free.
What is the shelf-life of these healthy gluten-free Fig Newtons?
At least a month in the refrigerator!
Who will you be making these fig newtons for? Maybe your kiddo for an afternoon school snack? Or maybe even for your family member who needs a little pre-workout bite. I would love to hear in the comments section below 🙂 Have a fig-tastic day!
DID YOU MAKE THESE HEALTHY GLUTEN-FREE FIG NEWTONS?
I would love to know!! Tag a picture @glutenfreewithlb and #glutenfreewithlb
or leave a comment below!!
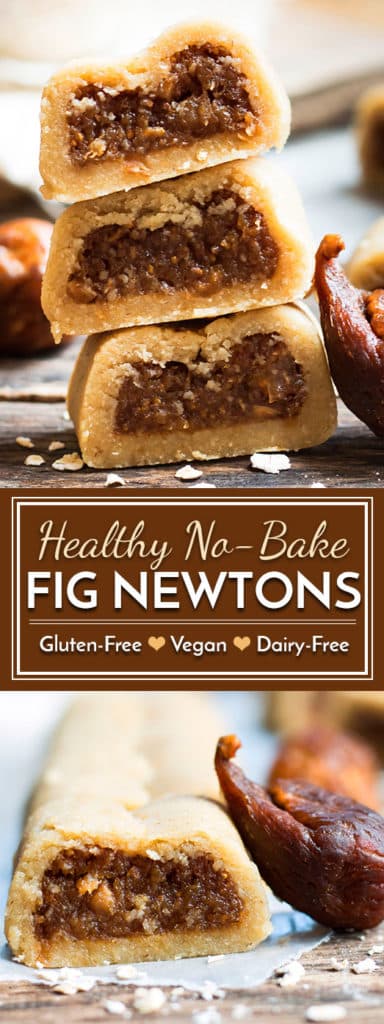
PIN THESE HEALTHY GLUTEN-FREE FIG NEWTONS
Tap stars to rate!
No-Bake Healthy Gluten-Free Fig Newtons

email this recipe!
Ingredients
- 1 ¾ c almond flour
- 1 ½ c oat flour gluten-free
- 2 T coconut oil melted
- 1/3 c honey or maple syrup
- 1-2 T orange juice
Fig Filling:
- 1 ½ c dried figs soaked in warm water for 30 minutes
- 1 T orange juice
- 1 T honey or maple syrup
- ½ t cinnamon
- 3-4 T water
Instructions
- Before you start preparing your fig newton cookie crust, soak 1 ½ c. dried figs in water for 30 minutes. Make sure the water covers the figs by at least 1 inch.
For the Cookie Crust:
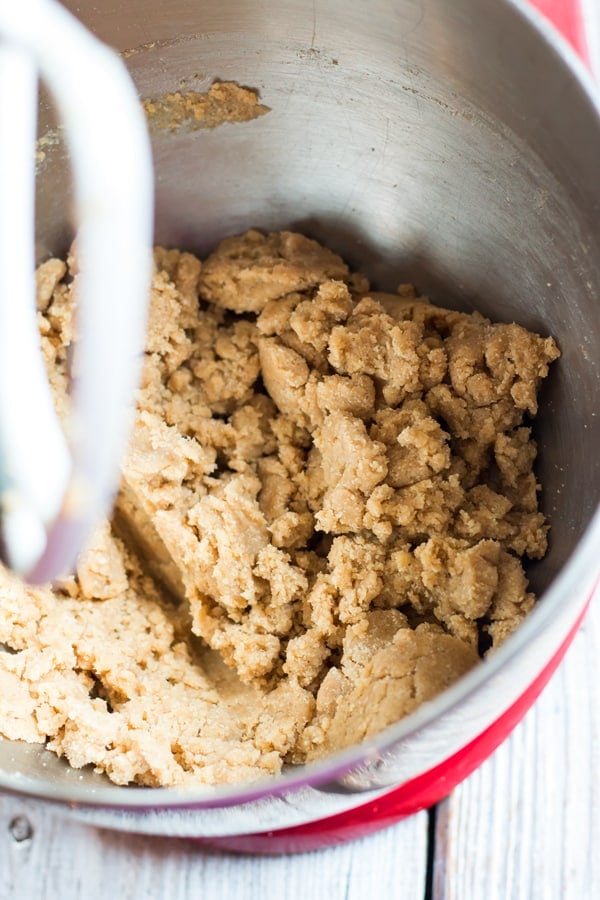
- In a large bowl, combine both flours and toss to combine. Add oil, honey or syrup, and orange juice to the bowl and mix with a hand held blender or by hand until the mixture is well incorporated and resembles the consistency in the picture below.

- On a 1 ½ ft. long piece of wax paper place your cookie crust mixture. Roll the mixture out to make a 9 x 14 inch rectangle. The cookie crust will be about ½ inch thick. Refrigerate the fig newton crust while preparing the fig filling.
For the Fig Filling:
- Drain figs and place all ingredients in a food processor or high-speed blender. Process until almost smooth, but still slightly chunky.
- (Make sure you are using a HIGH-speed blender such as a NutriBullet or Vitamix.)
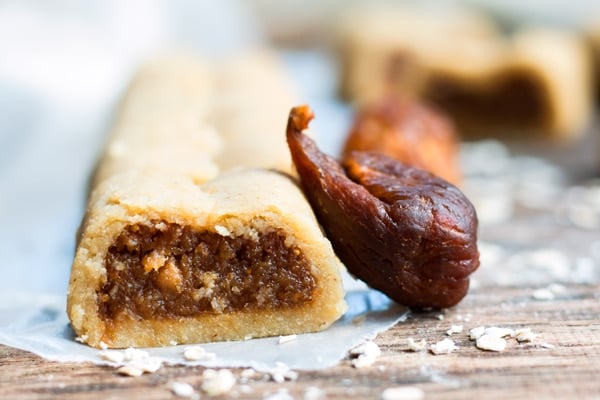
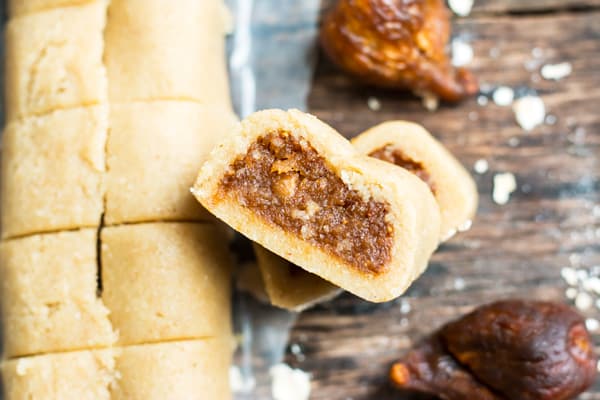
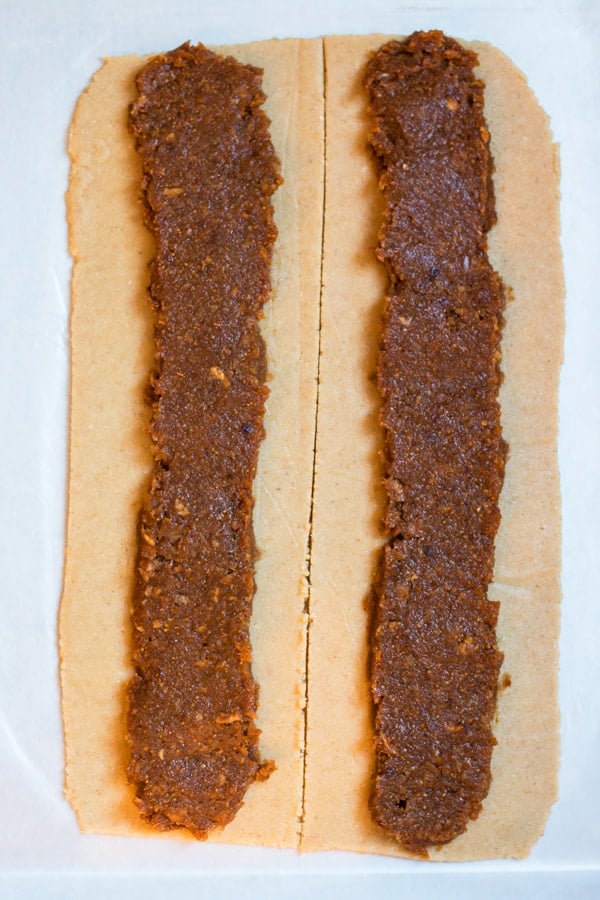
- Retrieve the cookie crust from the refrigerator and cut a line down the middle of the rectangle, making two 4.5 inch x 14 inch rectangles. Place half of filling down the center of each new rectangle as pictured below.
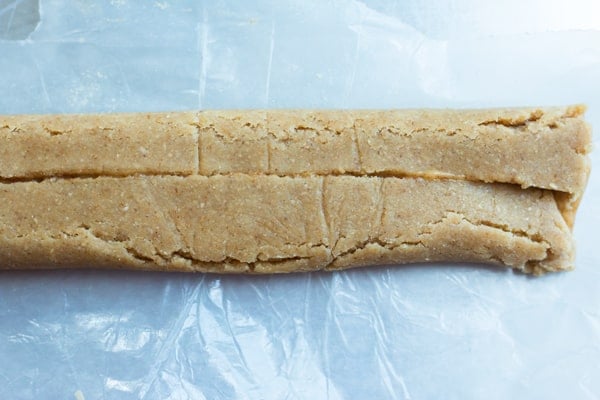
- Roll up each rectangle, using the wax paper to help guide your crust, until the two sides meet. See picture.

- (Sometimes it is easier to completely cut through the wax paper and separate the two halves before attempting to roll them.)
- Once both rectangles are rolled into a log, refrigerate for at least 2 hours before cutting into 1-inch wide fig newtons.
- Keep cookies refrigerated between servings for best texture.
- Cookies can last for up to 1 month if kept refrigerated.
Tap stars to rate!
Notes
Nutrition
Nutrition information is automatically calculated, so should only be used as an approximation.
Want a few more quick snack ideas that are also healthy?
No-Bake Paleo Molasses Cookies | Vegan & Gluten Free
Healthy German Chocolate Bars with Almond Butter
4-Ingredient Almond Butter Cookies
Peanut Butter Cinnamon Roll Oatmeal Bites


These are delicious! Made them tonight and liked them so much more than I thought I would (looking at them prior to cutting). I had a bag of dried figs that was a little shy of the called for amount so I threw in a few dates, per another reviewers suggestion. My crust broke slightly but it didn’t matter in the end, especially after cutting. For the fig layer, I had a difficult time with my vitamix because there isn’t enough liquid to really get the base whirling so I kind of pulsed it on the lowest number. I might try a food processor next time. I was very happy with the end result though! Yummy!
Yay! So happy to hear you enjoyed the recipe, Jen! I’m glad you could make it work, even with finicky gadgets. Thanks so much for taking the time to leave a comment!