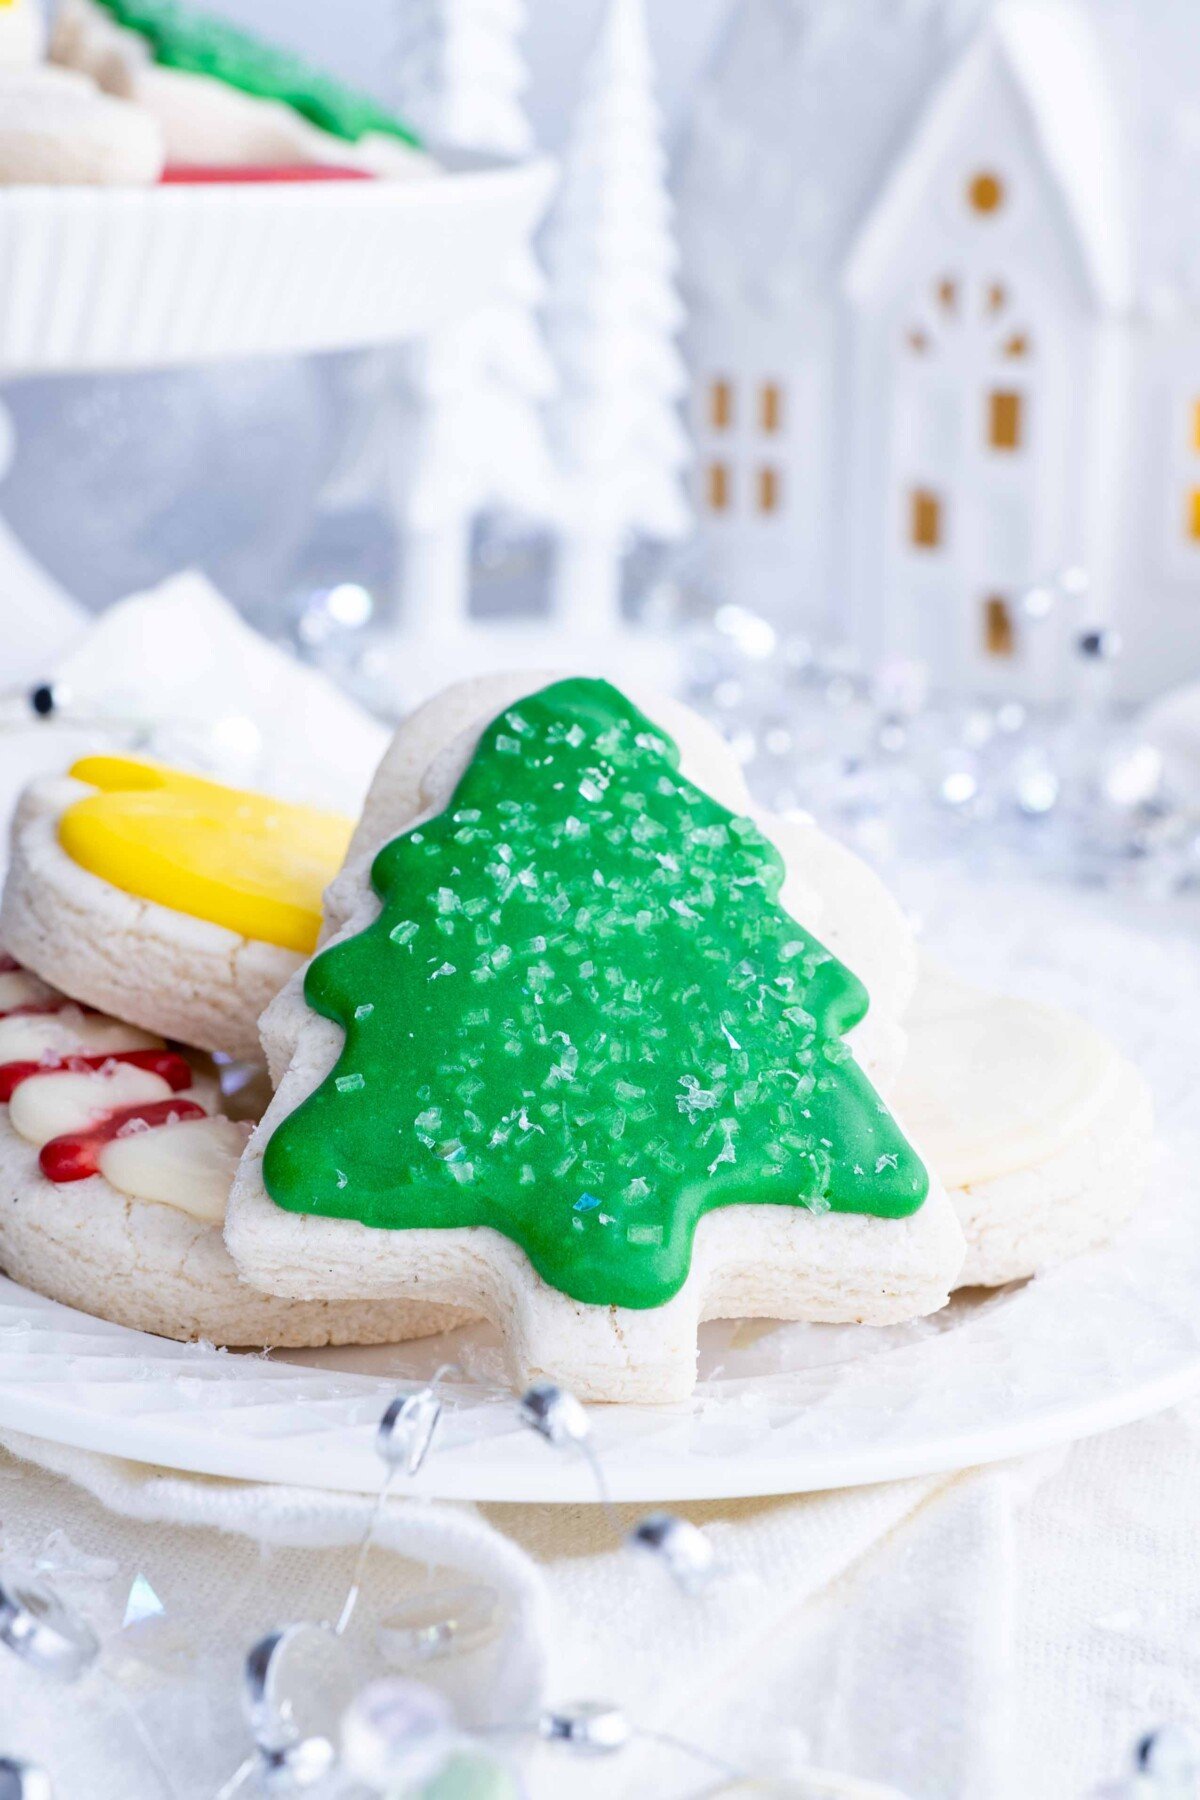
This is my family’s GO-TO Gluten-Free Sugar Cookies recipe for soft, buttery cookies with a hint of almond extract that are easy to cut-out into shapes and then decorate for Christmas. You’ll learn all the tips and tricks for getting the cookies to hold their shape and not spread out while baking, as well as the best icing for decorating!
Cut-Out Sugar Cookies (Gluten-Free Recipe)
This is hands down the BEST sugar cookie recipe I have ever tasted… and no one will ever be able to tell that they’re gluten-free. (I know this for a fact because I make these every year at Christmas!)
Not only is the flavor wonderful, full of buttery goodness and hints of almond extract, but the texture is perfectly soft and the cookies don’t spread out while baking.
Making them absolutely perfect to decorate for Christmas or other holidays!
And it’s all thanks to using the right ingredients and a few simple tips: no leavening agents, cold cubed butter, metal cookie cutters, and a dusting of powdered sugar! (Don’t worry- I’ll go over all of these tricks with you below!)
So if you’re ready to make the most impressive gluten-free sugar Christmas cookies ever, keep reading and find out all the tips and tricks!
Table of Contents
Ingredients
The simple ingredients you need to make the best gluten-free sugar cookies include:
- Flour. A gluten-free 1-to-1 blend is the best option for the chewiest, most flavorful cookies. Bob’s Red Mill is easy to find at the grocery store. You can also use regular, all-purpose flour for traditional sugar cookies if you don’t need a gluten-free option.
- Sugar. Regular, white sugar is best. Do not replace with a sugar alternative such as coconut or even turbinado sugar.
- Egg. These will give the cookies their lift. Make sure you get large eggs.
- Salted Butter. This is where a large majority of the flavor comes from. You can try substituting with vegan “buttery sticks” or margarine if you are dairy-free. Avoid unsalted butter if at all possible.
- Extracts. Both clear vanilla extract and almond extract are used to give this recipe a unique taste. DON’T skip the almond extract or you won’t get that classic flavor.
How to Make Gluten-Free Sugar Cookies
Please see the recipe card for more detailed ingredient amounts.
Make the Cookie Dough (No Need to Chill!)
First, preheat the oven to 375°F.
Take your butter straight from the refrigerator. Cut it into cubes and load into a large mixing bowl or bowl of a stand mixer along with the sugar. (This is the secret to not having to chill the dough!)
Cream the butter and sugar with the paddle attachment on a stand or handheld electric mixer on medium speed for 1-2 minutes, or until the dough resembles coarse crumbs.
Add in the egg and extracts and continue to mix for 1-2 more minutes.
Little by little pour in the flour allowing it to fully combine after each addition.
Once the flour is completely absorbed and the ball of dough sticks together, you are ready to roll. You don’t have to worry about chill time.
If needed, you can either refrigerate the gluten-free sugar cookie dough by covering it in plastic wrap at this stage for up to 3 days or freeze it for up to 2-3 months until ready to use.
Roll Out Cookie Dough
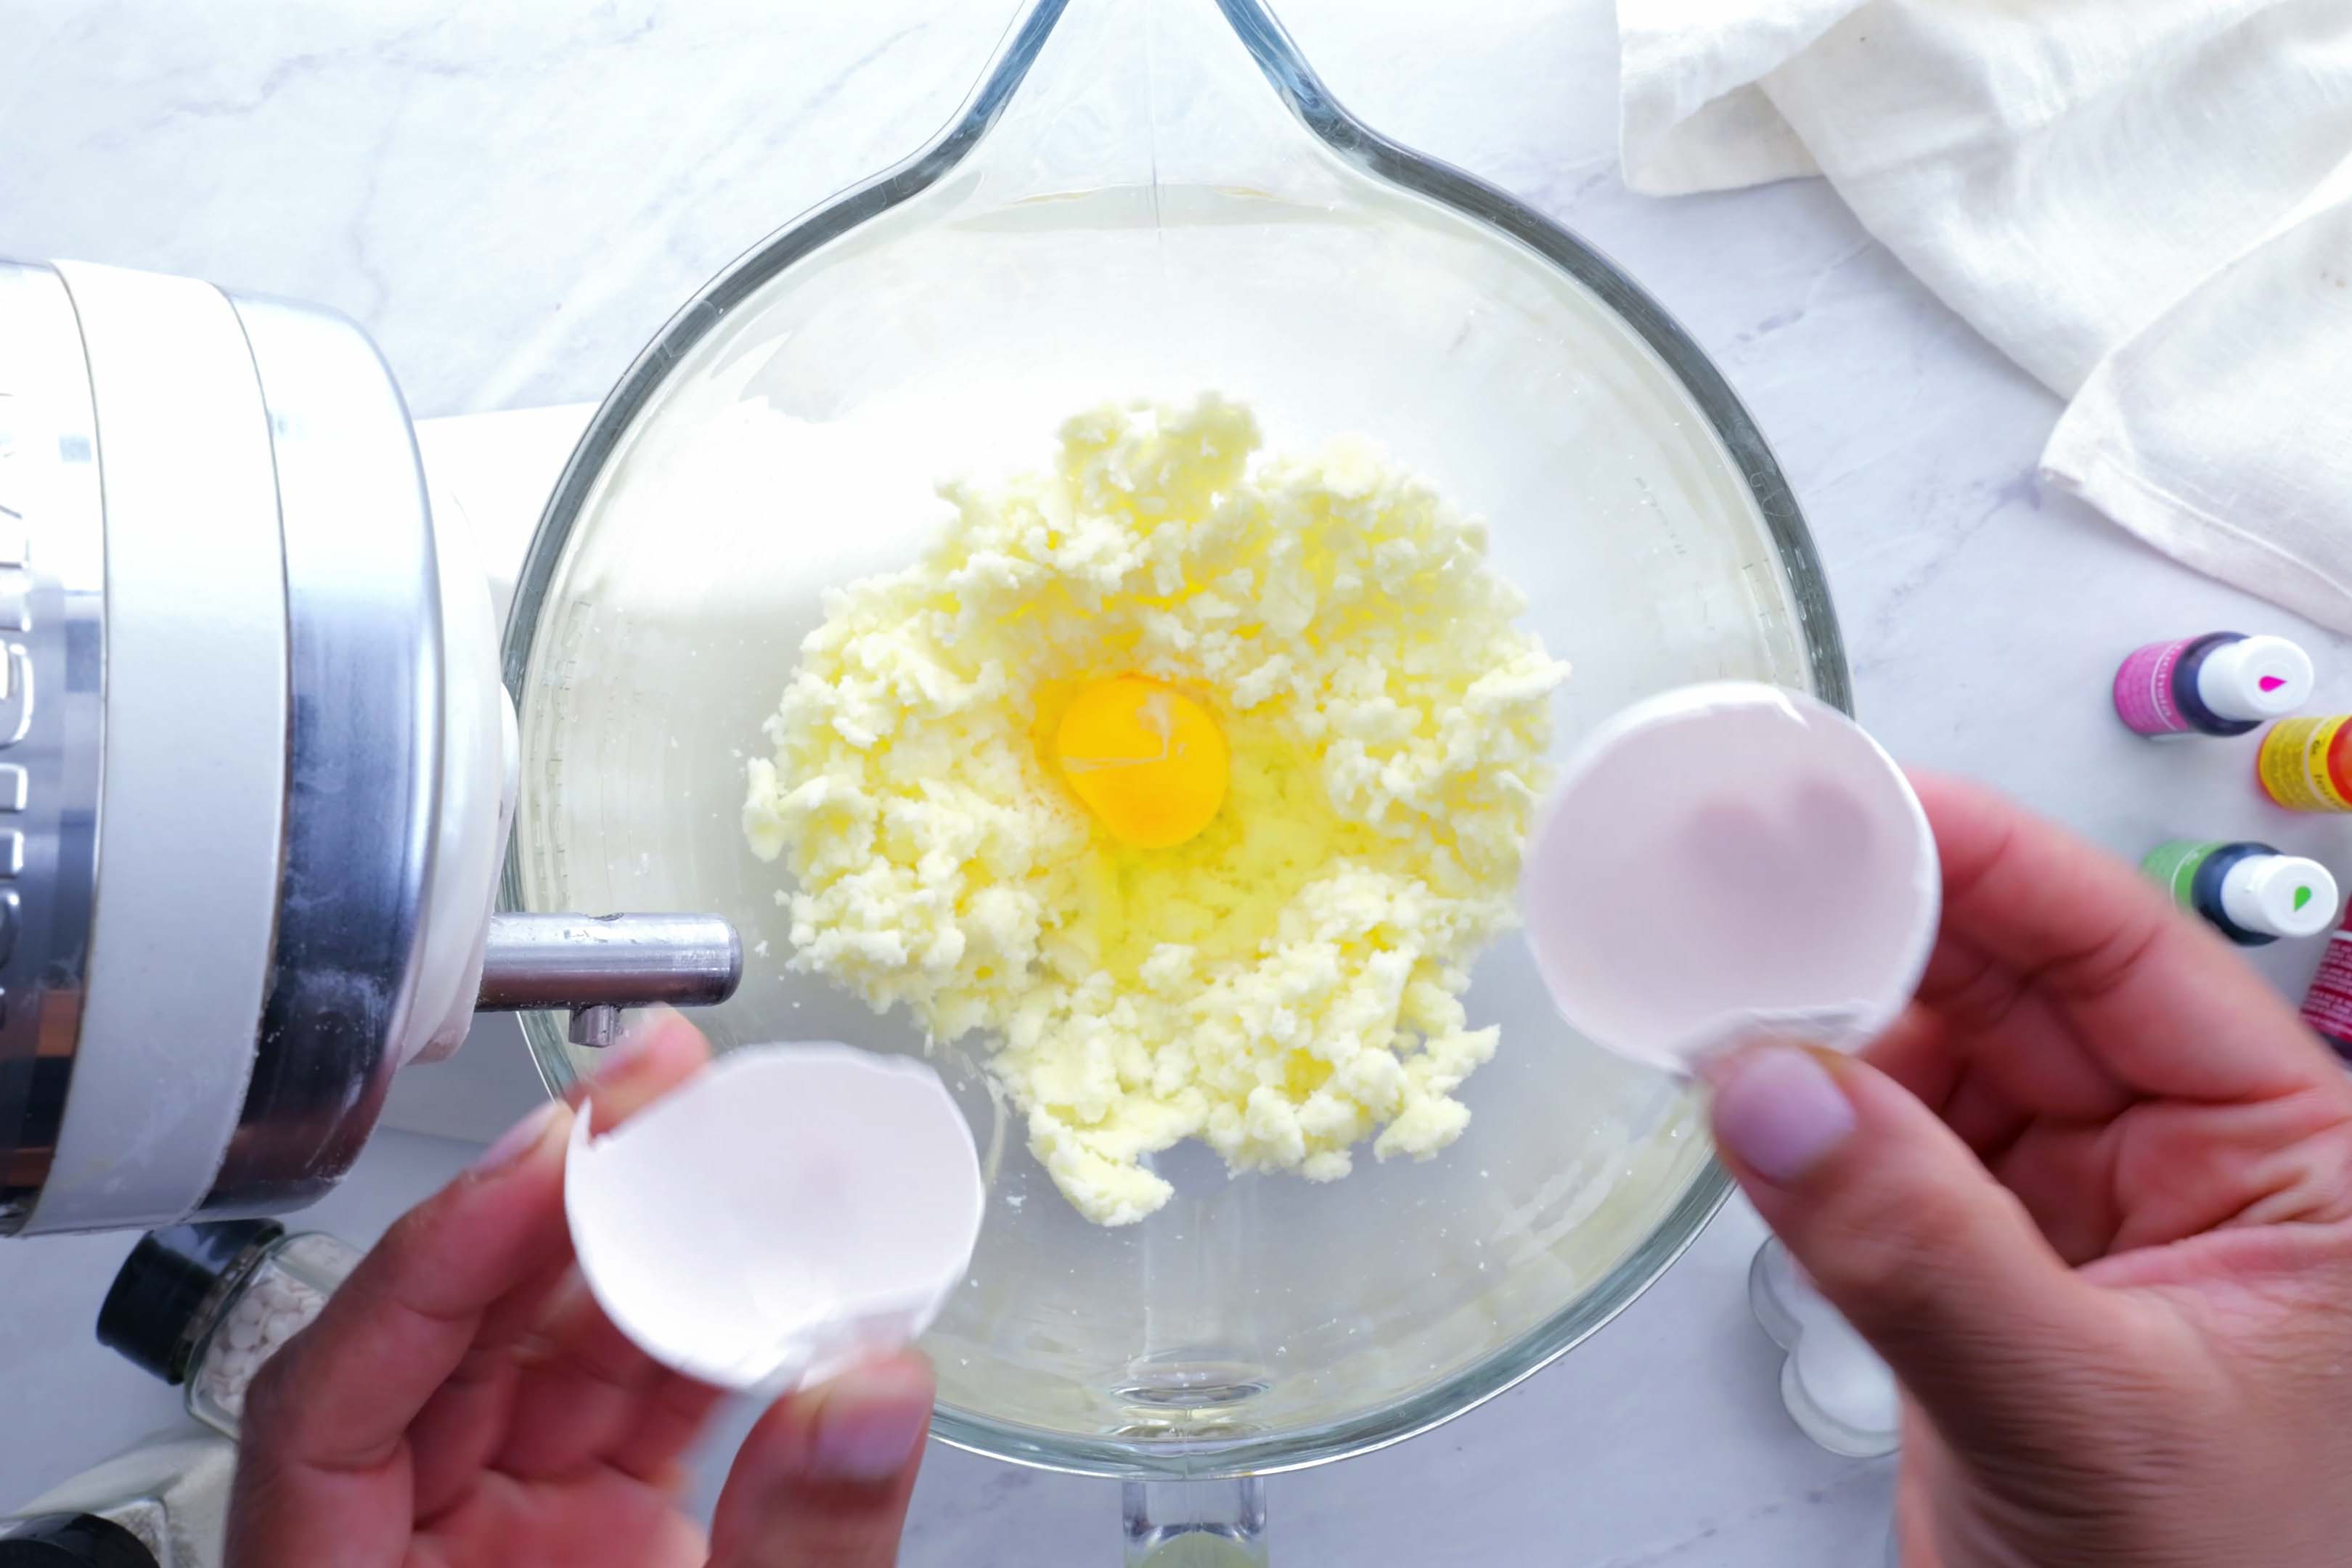
Sprinkle powdered sugar over a cutting board before you start rolling. By skipping flour and using powdered sugar you prevent sticking while adding even more flavor to your cookies!
Place half of the dough onto the surface and sprinkle with another 2-3 tablespoons of powdered sugar.
Roll out the cookie dough using a rolling pin until the dough is ¼- to ⅓-inch thick.
Cut into Shapes
Cut dough into shapes with metal cookie cutters. The metal ones make cleaner cuts than the plastic ones and are easier to use.
Use those cute cookie cutters to make these gluten-free gingerbread cookies next! You can use your favorite cookie cutters in any shape you want all year, as well.
Bake in Oven
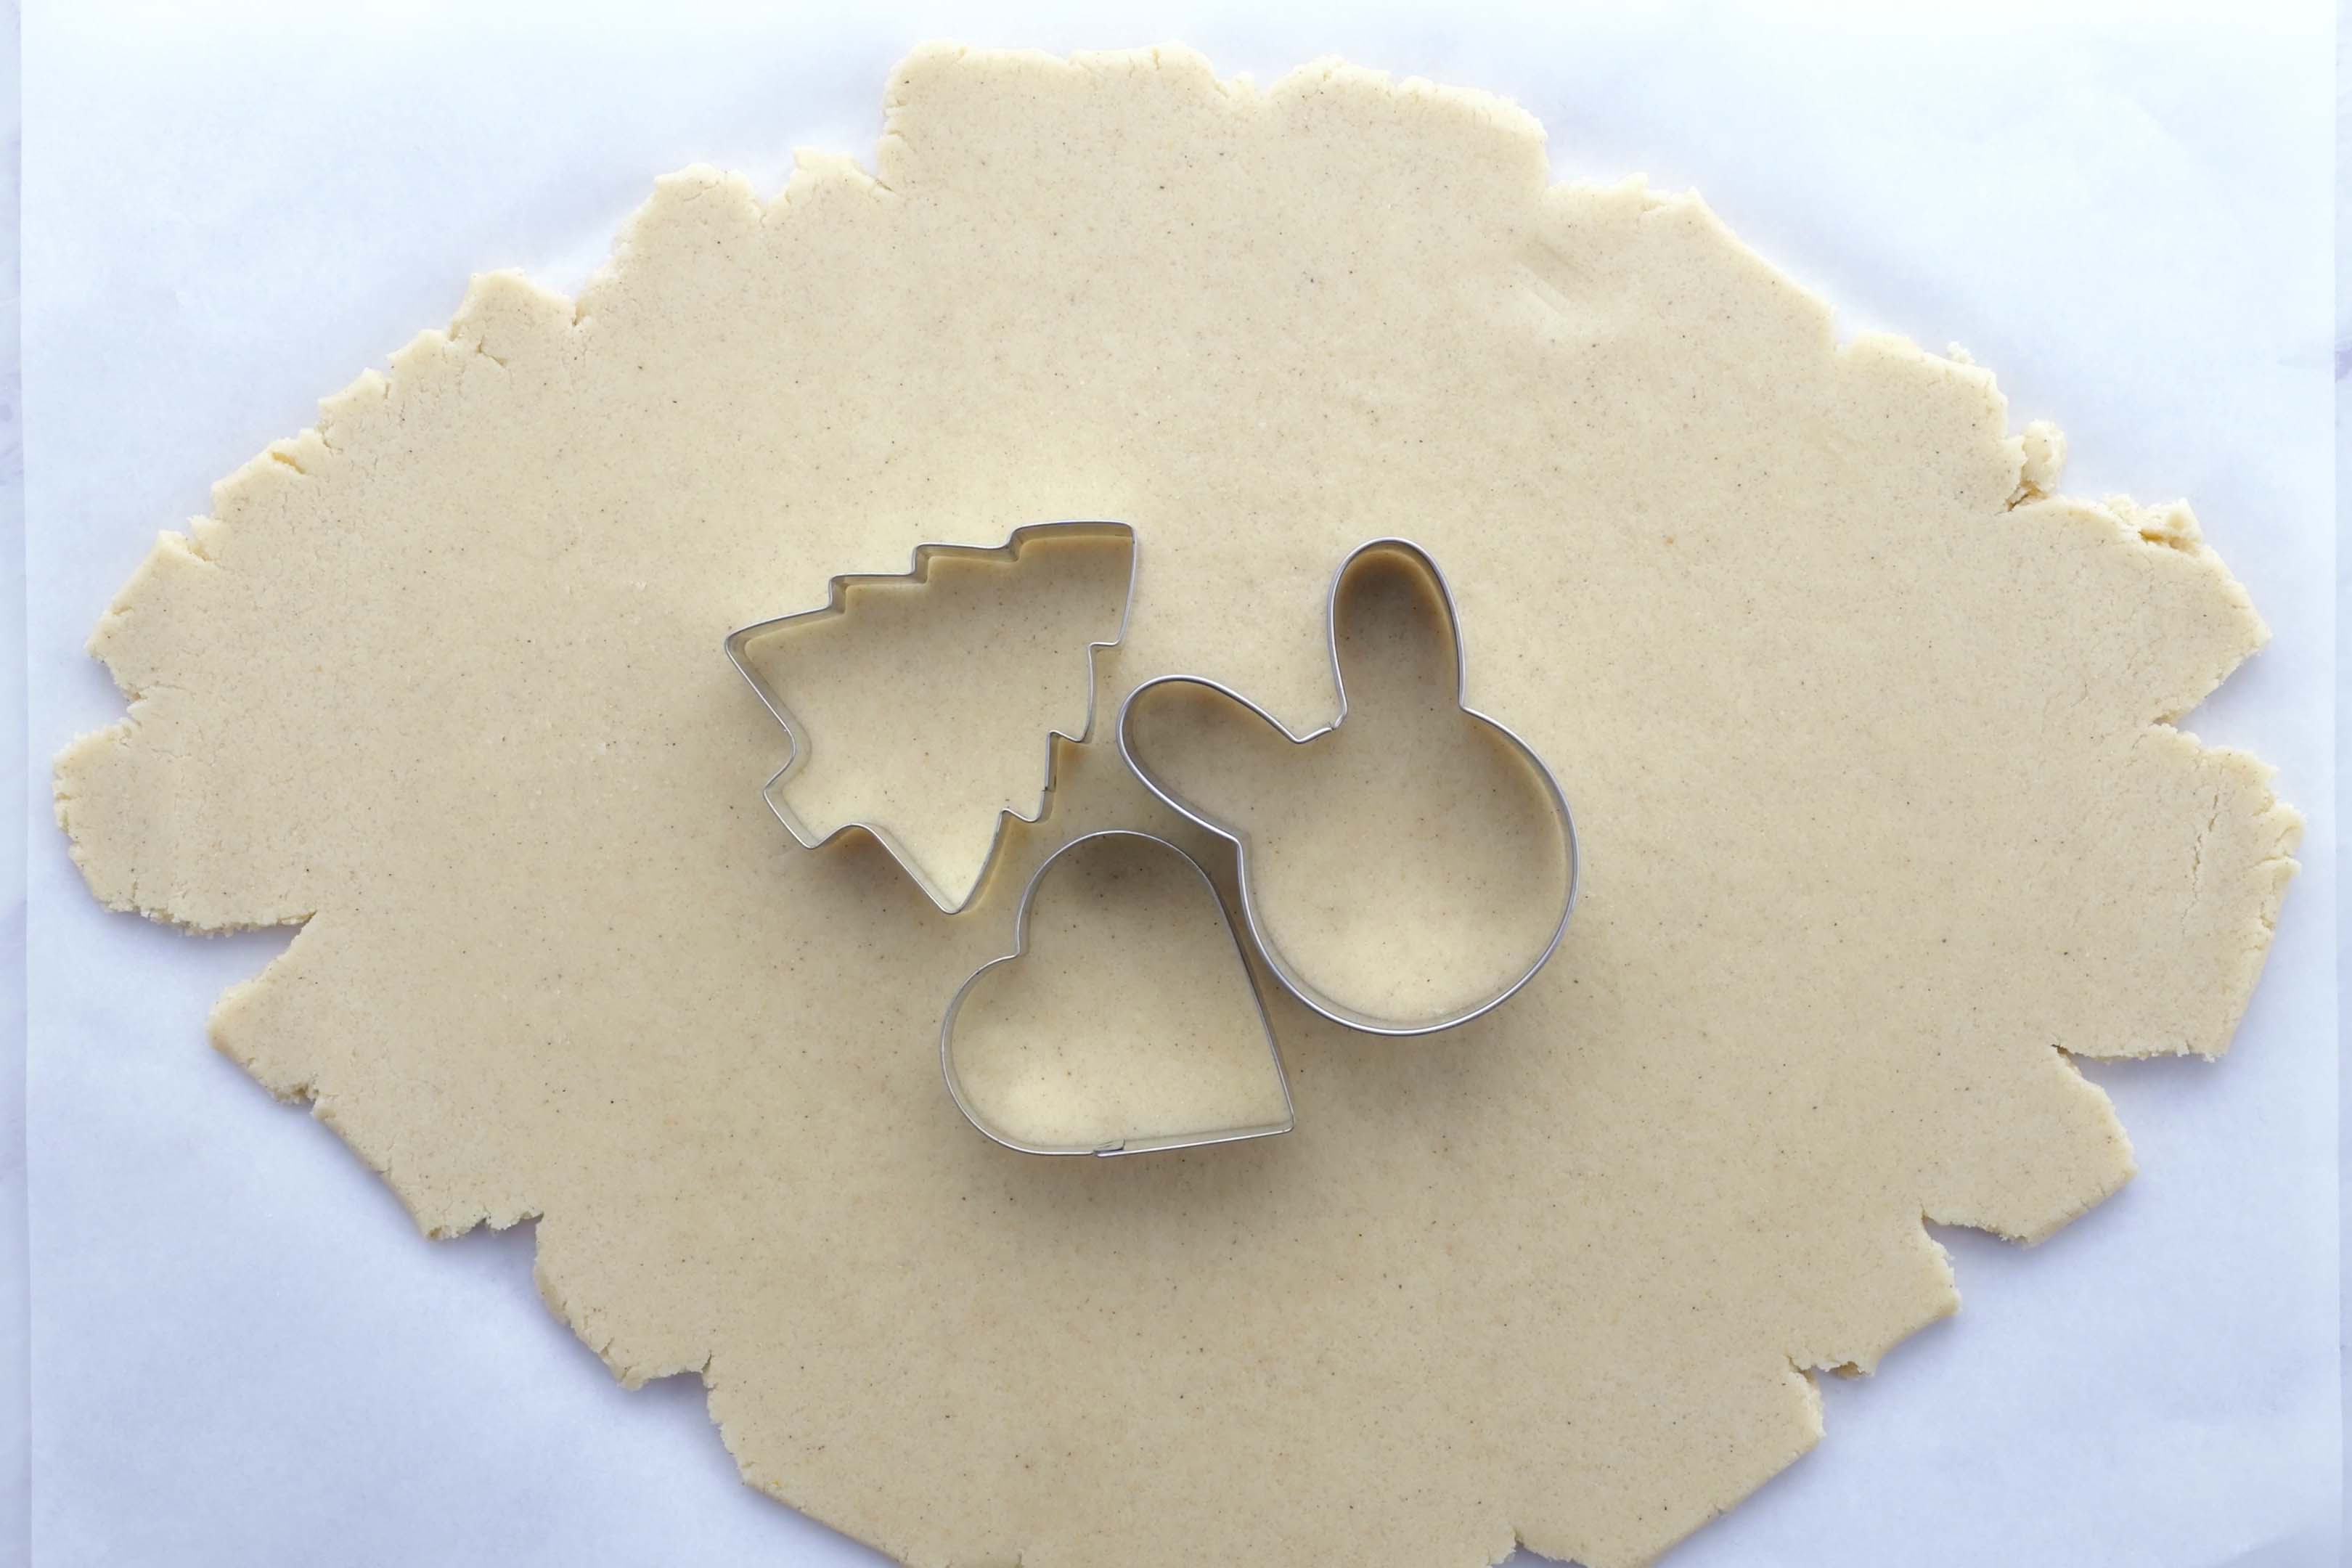
Place the shapes on a parchment paper-lined baking sheet about 1-inch apart. You can also use a silicone mat, if you’d prefer.
Bake the cookies on the prepared baking sheet in a preheated 375°F oven for 9-11 minutes, or until the crisp edges of the cookie begin to turn golden brown slightly. Cook on the longer side if they are thicker, and for less time if they are thinner.
Let the fluffy sugar cookie batch rest on a wire rack until they come to room temperature. To save on cleanup, spread some wax paper under the rack while these easy sugar cookies cool down.
Sugar Cookie Icing
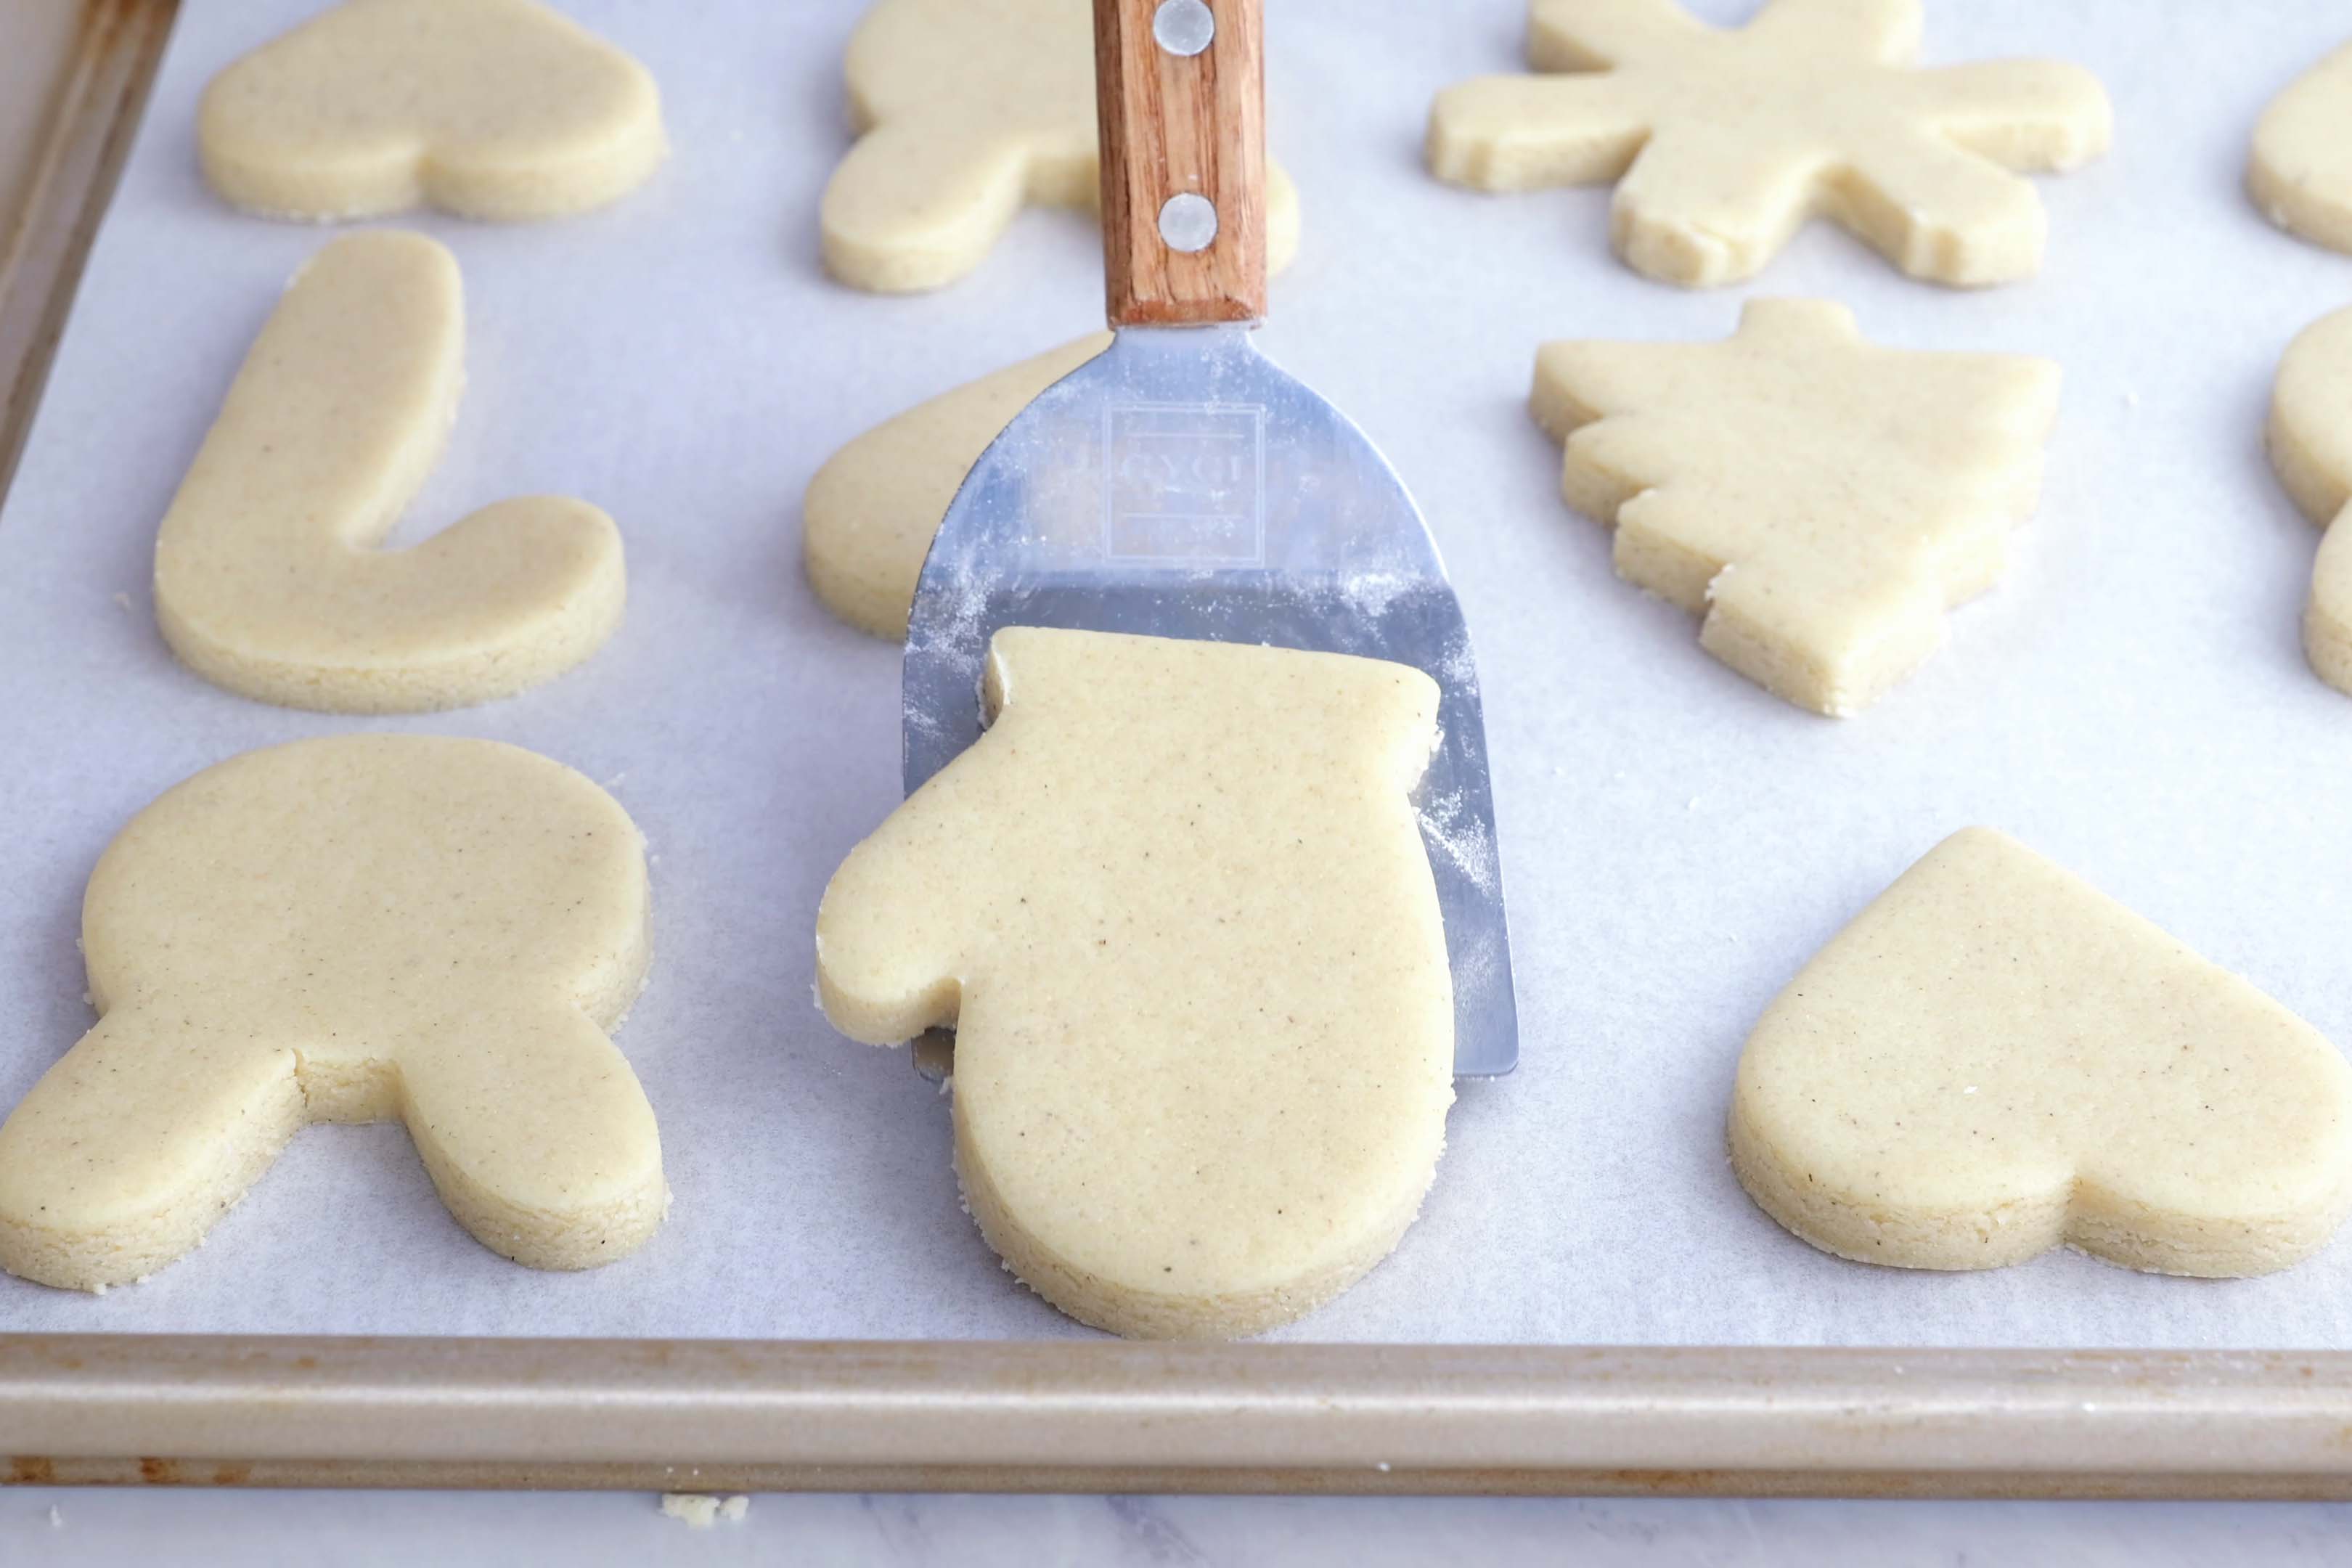
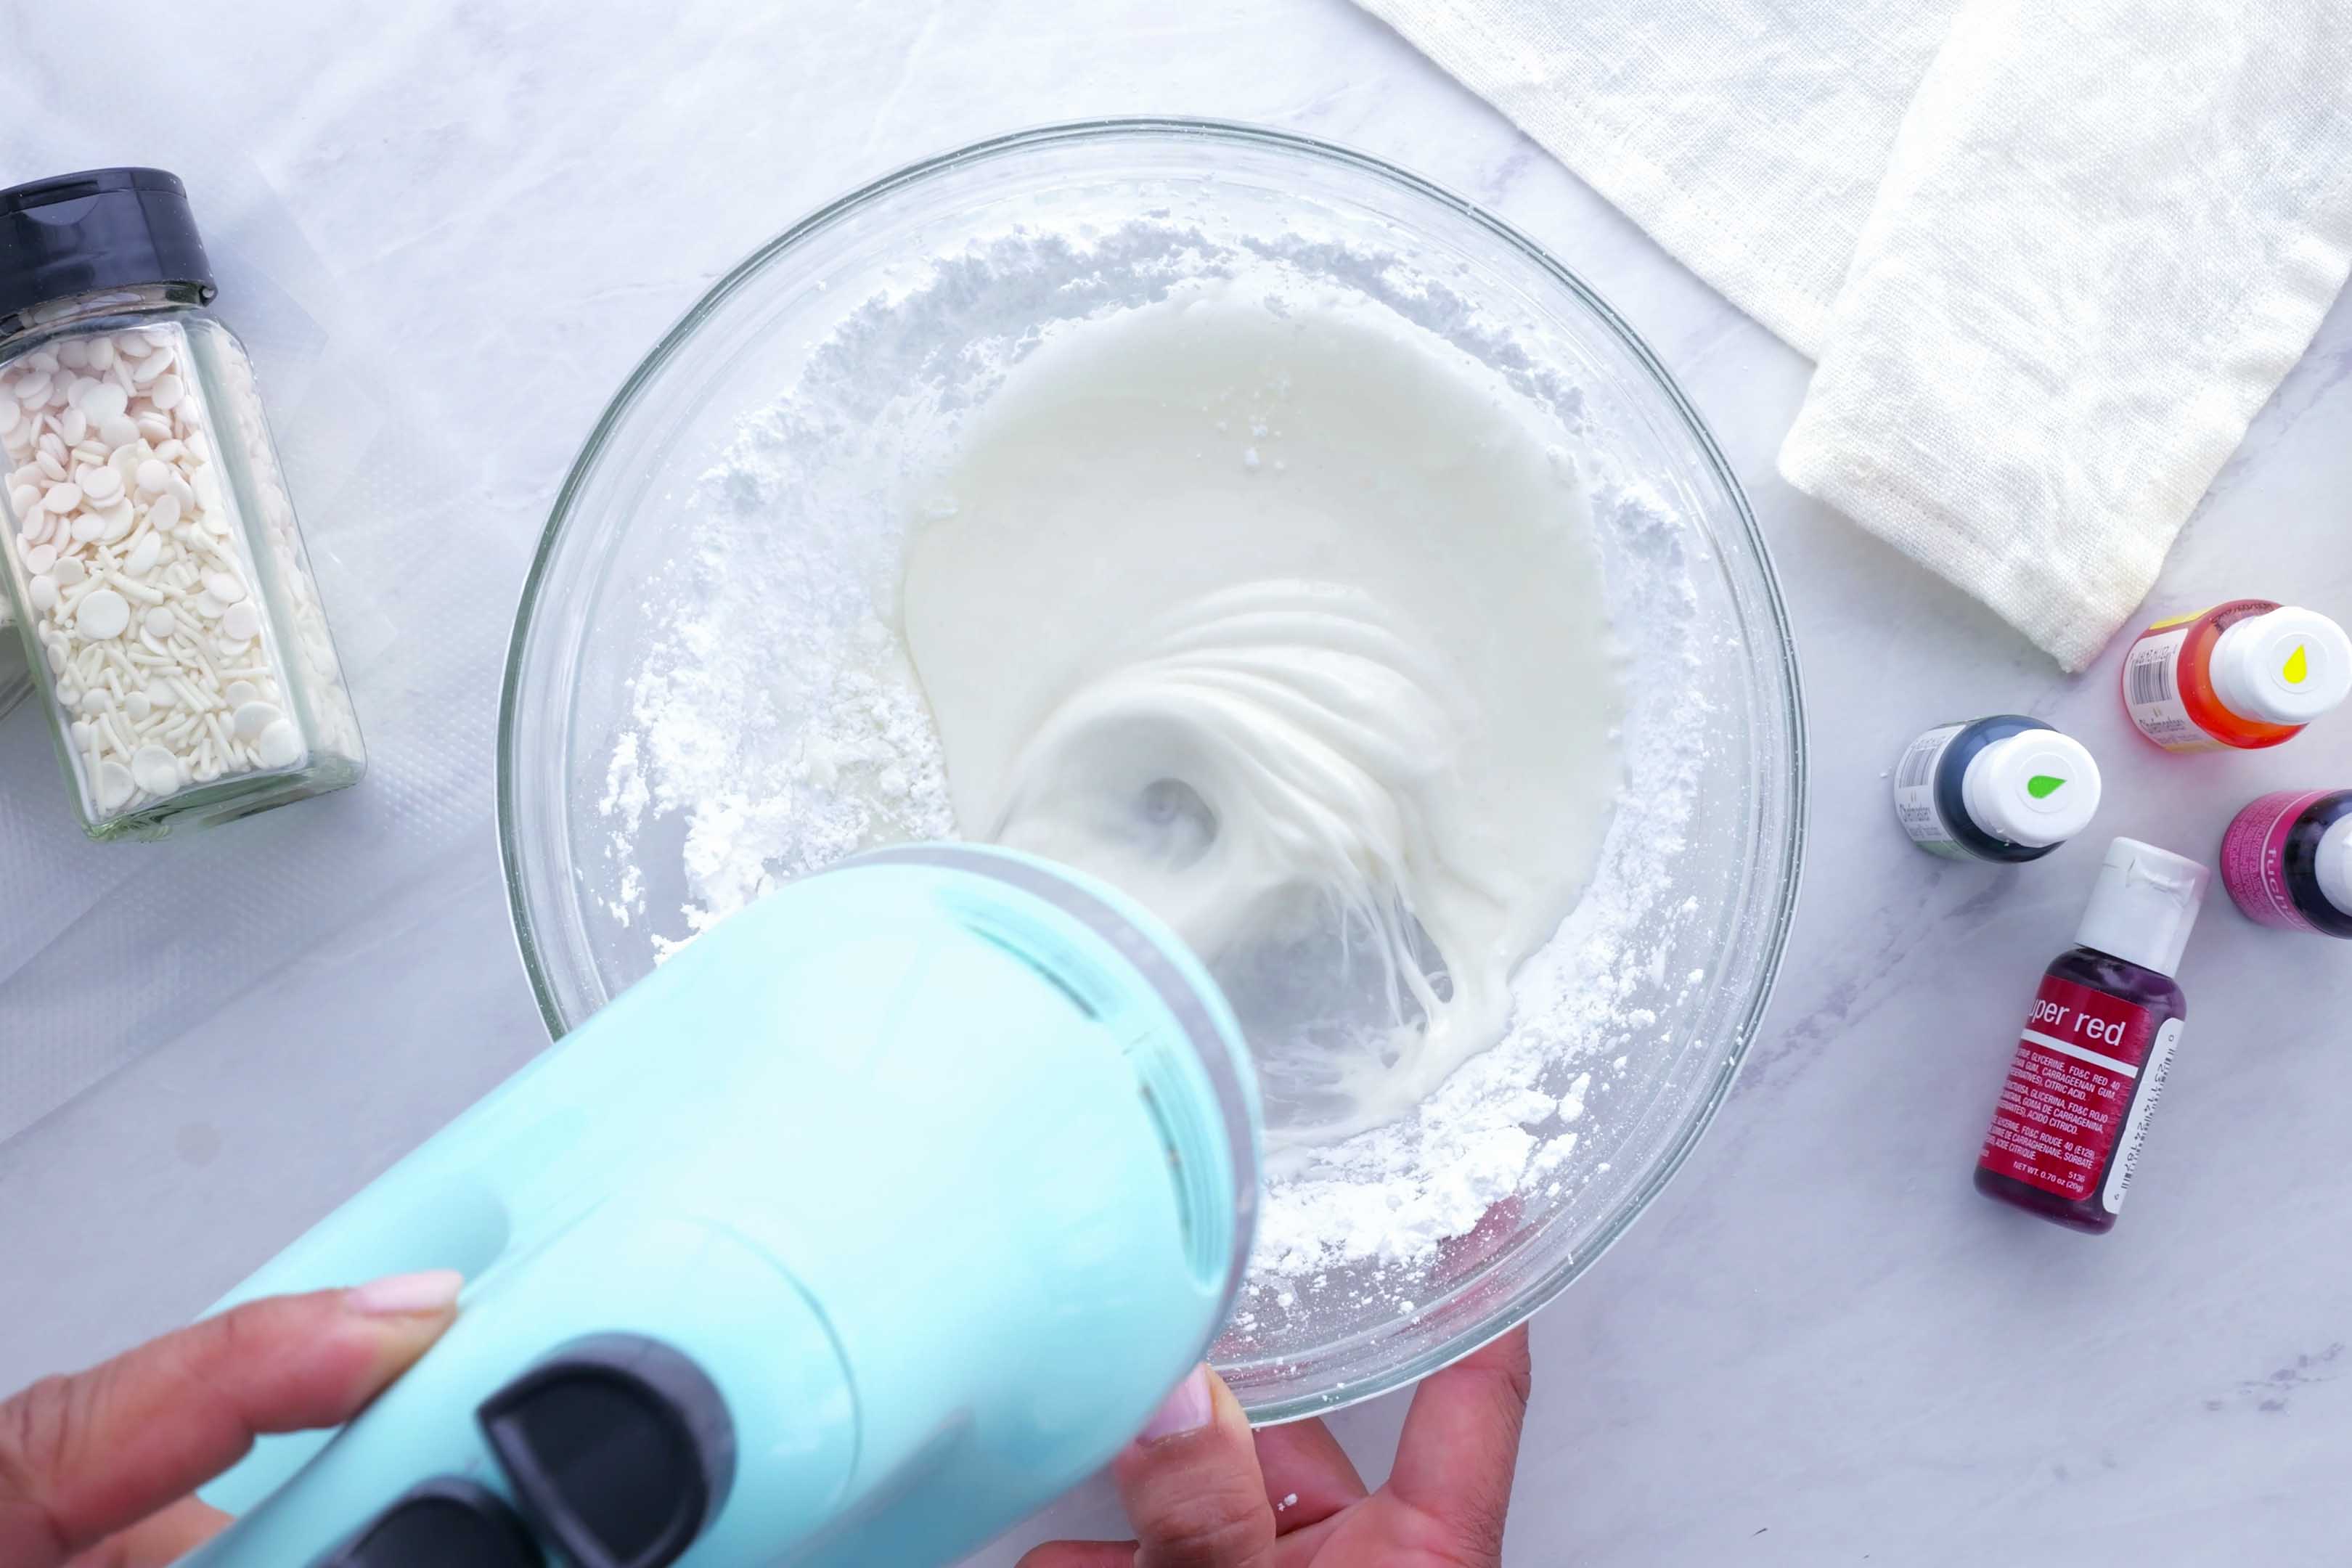
Mix egg whites on medium speed for 1 minute. Add the butter (for the family icing), vanilla, and 1-cup of powdered sugar. Combine until the sugar is fully incorporated.
Add the remaining sugar incrementally and stir well each time. If the frosting is too thick, add 1 to 2 tablespoons of milk until the desired consistency is reached.
Finally, drop in your desired food coloring (gels work the best!) and stir until combined.
Decorating Christmas Cookies
Use a piping bag fitted with a 3M piping tip to outline where you would like the family icing to fill. Then use a toothpick to spread it all over evenly.
You can also just spread it on with a butter knife or a spoon if the kiddos are helping you out!
Once it has set you can pipe designs with the royal icing.
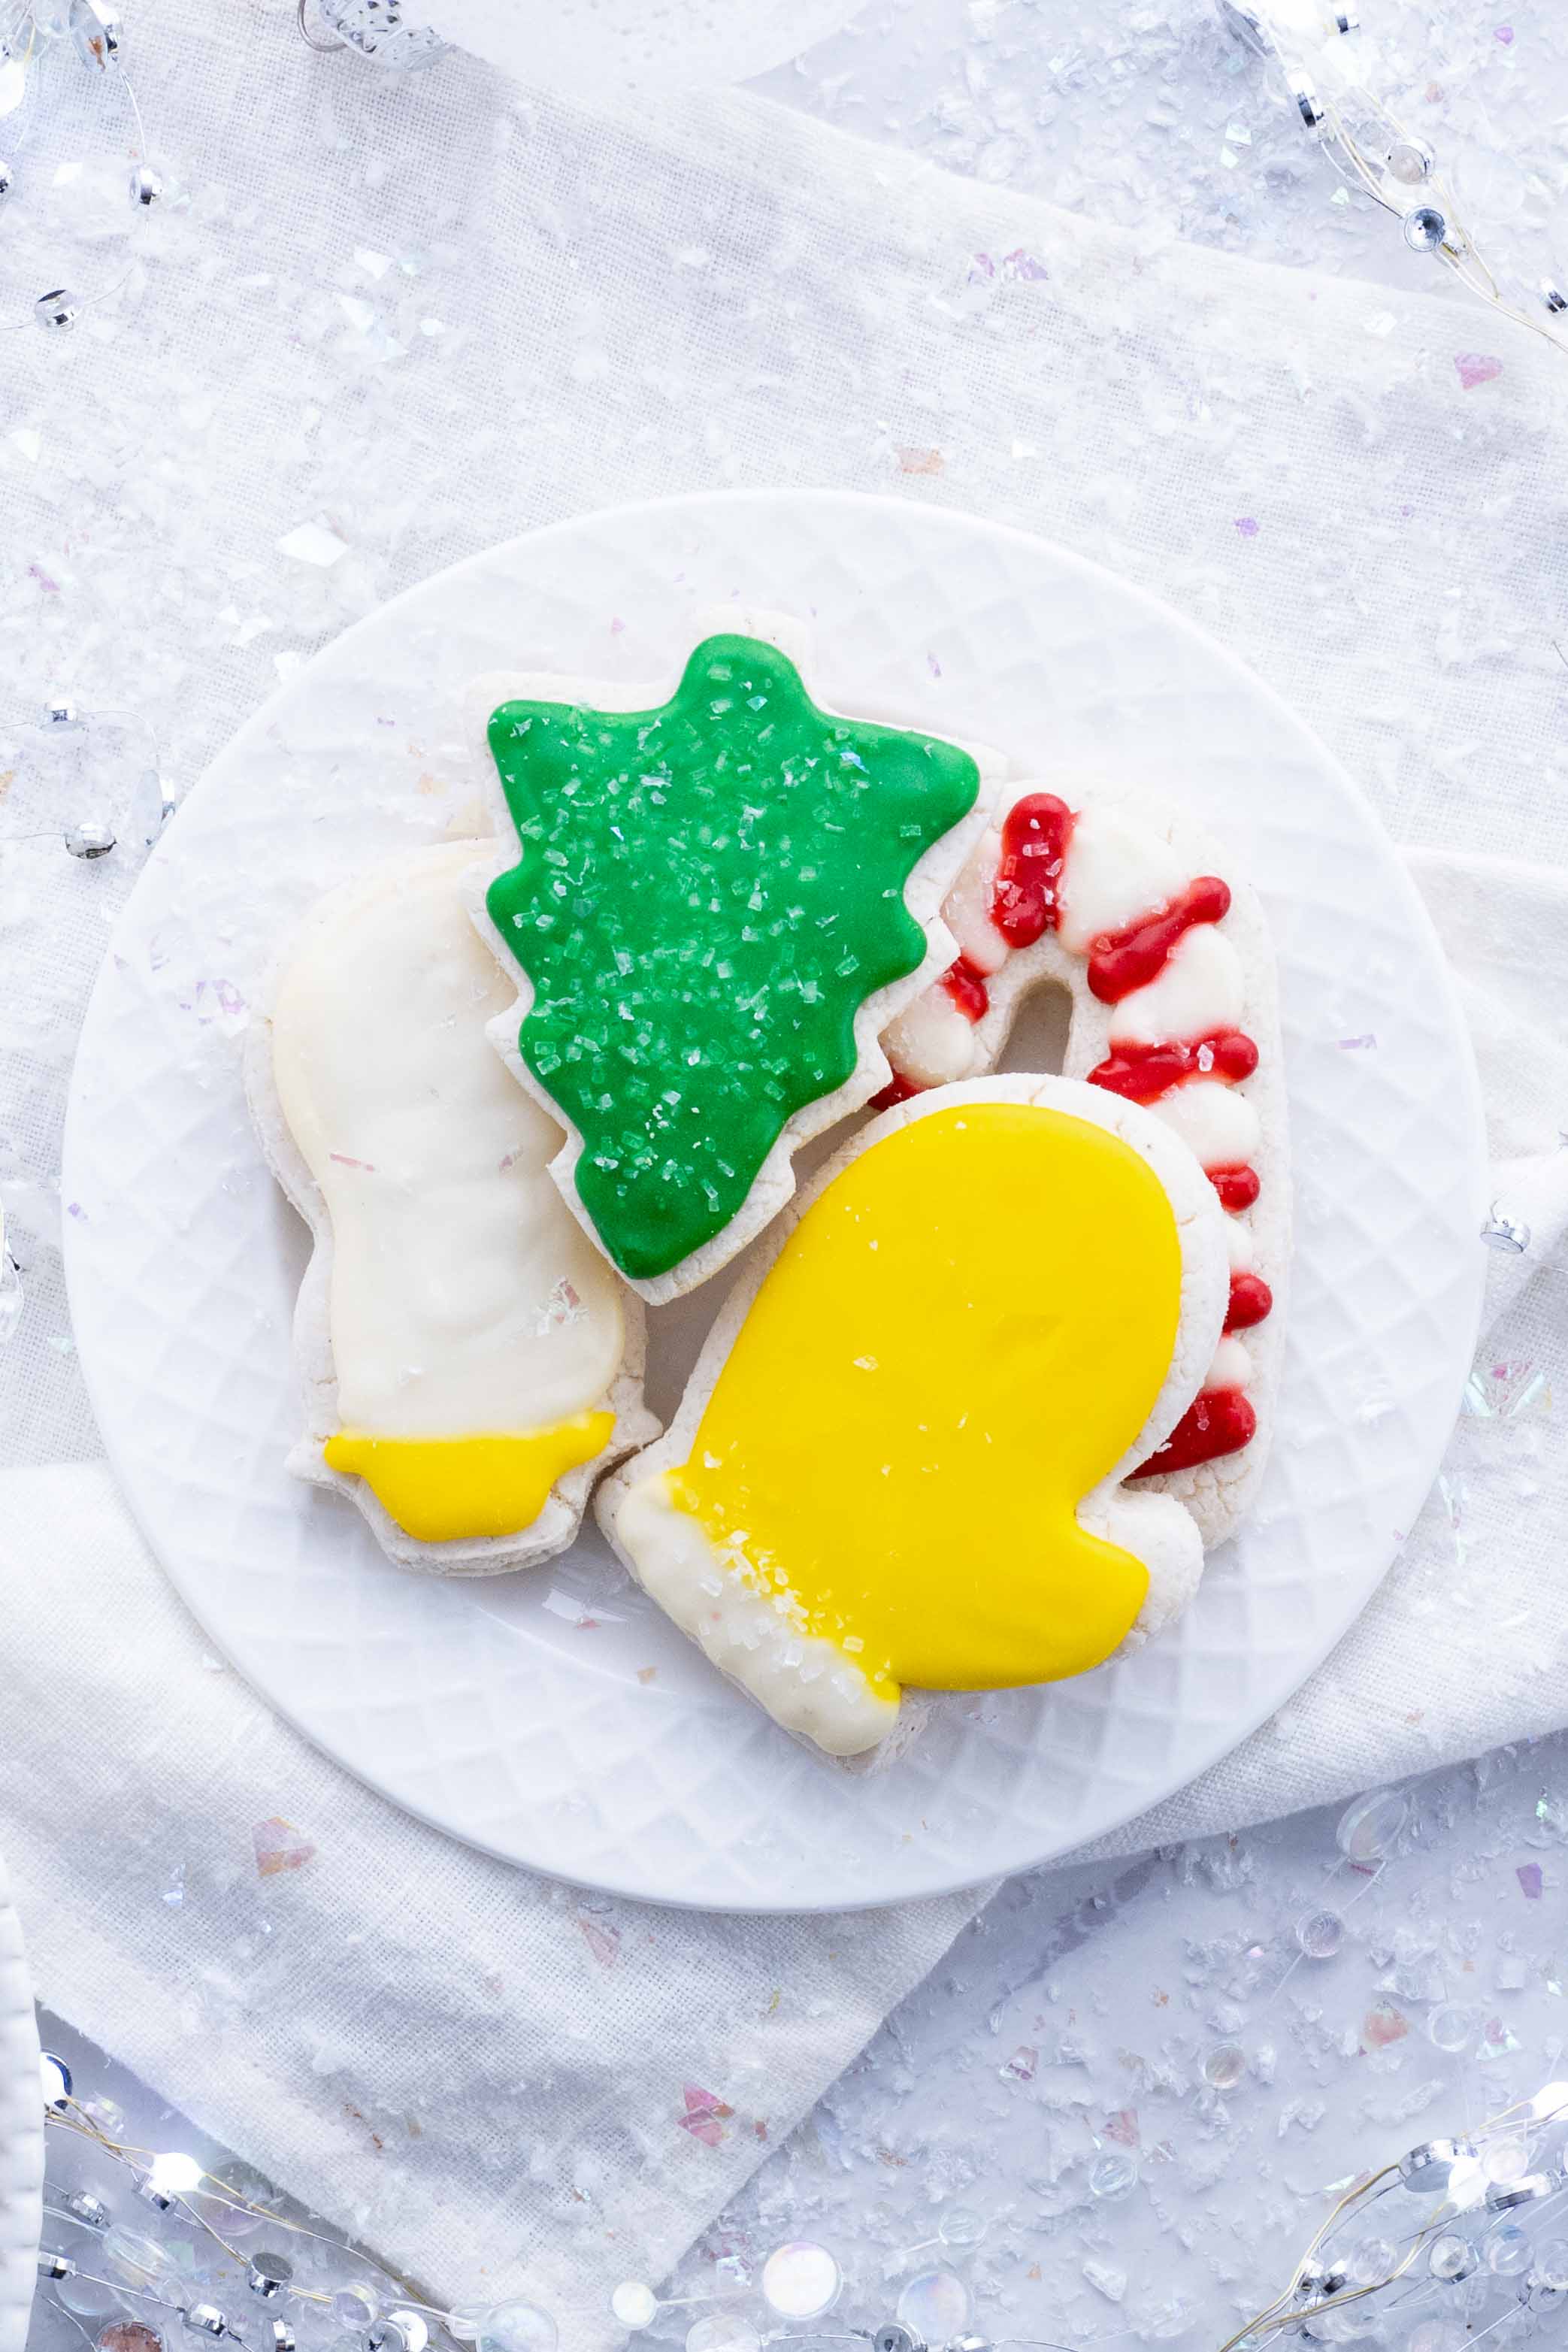
Place white nonpareils on the wet icing with tweezers.
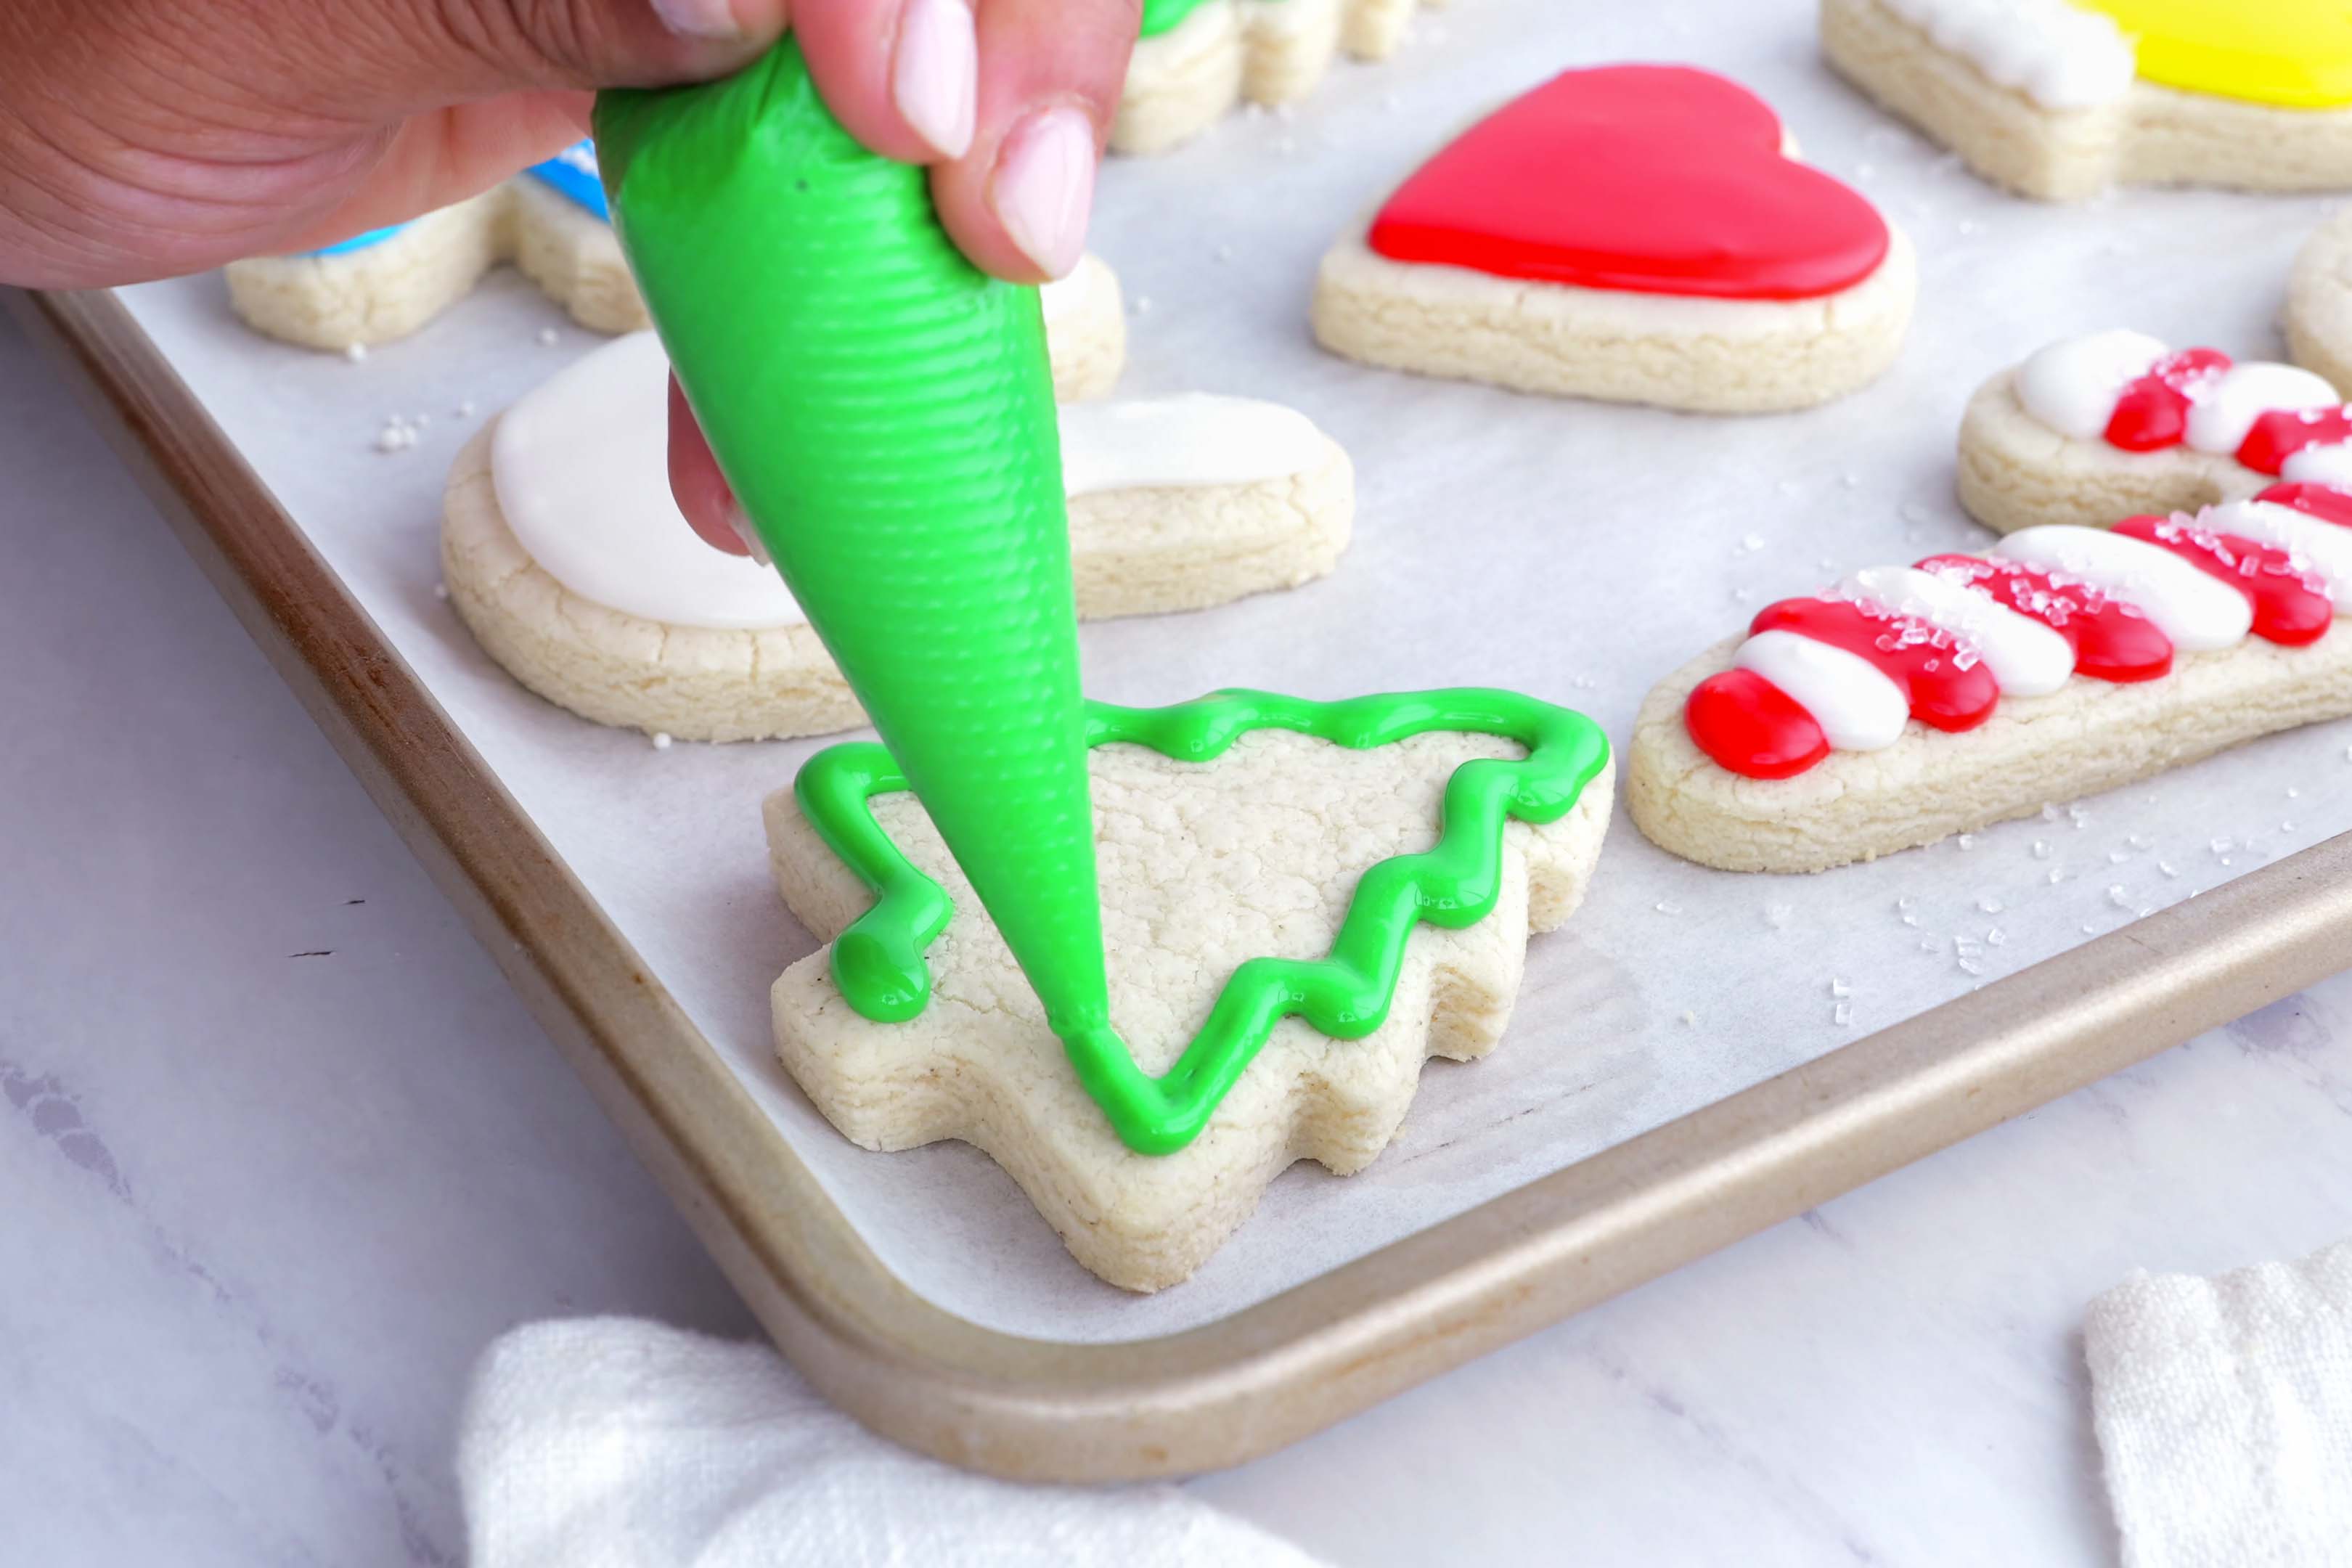
Shake on sprinkles and enjoy!
FAQs
Cut-out sugar cookies are made by rolling out the dough and cutting it into shapes before baking. Drop sugar cookies are simply made by dropping the dough onto the cookie sheet, and are generally thicker.
Sprinkle powdered sugar on a wooden surface and use a rolling pin to press and roll the dough until it is flattened. You can use flour to roll them out, but it will dull the sweetness of the cookies or make them more brittle.
To avoid burnt or undercooked cookies try to roll the dough so that it is ¼- to ⅓-inch thick. You can check the thickness of cookie dough by measuring with a ruler.
The trick to getting cut-out sugar cookies to hold their shape is to use relatively cold or chilled butter. You don’t want the cookie batter to be too warm before it goes into the oven. Also, avoid using leavening agents, such as baking powder and baking soda. These make the cookies inflate artificially; upon deflating they will spread out.
Recipe Tips
- Forget the leaveners!! Baking soda and baking powder have a tendency to make cookies spread.
- Keep it cold. Use cold butter and keep the dough chilled until you are ready to bake so the cookies hold their shape.
- Sugar not flour. Dust powdered sugar on your rolling surface to prevent the dough from drying out and add even more flavor.
- Line the sheet. Bake the cookies on parchment paper to maintain shape, avoid sticking, and keep cleanup easy.
- Smooth it out. Toothpicks work great for evenly spreading the icing.
More Gluten-Free Christmas Cookie Recipes
There’s never a bad time for cookies! And these cookies can all be made gluten-free, as well. So whip up a batch today.
PB lovers will go crazy for Peanut Butter Blossoms and Peanut Butter Chocolate Chip Cookies.
The holidays get a lot sweeter with Cinnamon Roll Cookies, Taylor Swift Chai Cookies, and these Easy Gingerbread Cookies.
Or, stick with a classic like Gluten-Free Chocolate Chip Cookies or Pecan Sandies.
No-Bake Chocolate Oatmeal Cookies and Almond Butter Oatmeal Cookies are surprisingly simple.
Tap stars to rate!
Gluten-Free Sugar Cookies (Cut-Out Recipe)

Email this recipe!
Ingredients
- ½ cup butter cold, but not frozen, cubed*
- 1 cup granulated sugar
- 1 large egg
- 1 tsp. vanilla extract
- ½ tsp. almond extract
- ½ tsp. salt
- 2 ¼ cups gluten-free 1-to-1 baking blend such as Bob's Red Mill
Family Icing Recipe:
- 2 egg whites
- 2 Tbsp. butter melted*
- 3 cups powdered sugar sifted
- ½ tsp. vanilla extract
- 1-2 Tbsp. milk if needed
- food coloring
Royal Icing Recipe:
- 1 egg white
- 2 cups powdered sugar sifted
- ½ tsp vanilla extract
- 1 tbsp milk optional
Instructions
- Preheat oven to 375 degrees.
- Mix the Wet Ingredients: In the bowl of an electric mixer combine cubed butter and sugar. Mix on medium for 1-2 minutes, or until butter and sugar are just combined. Add egg, vanilla extract, almond extract, and salt. Continue mixing for 1-2 more minutes.½ cup butter, 1 cup granulated sugar, 1 large egg, 1 tsp. vanilla extract, ½ tsp. almond extract, ½ tsp. salt
- Add in Flour: Slowly add the flour to the butter sugar mixture. Continue mixing on medium until dough starts to form a ball.2 ¼ cups gluten-free 1-to-1 baking blend
- Cut Dough into Shapes: Place dough onto a lightly powdered sugar-coated surface. Use a rolling pin to roll dough to ¼- to ⅓-inch thickness. Cut dough into desired shapes using cookie cutters. (The metal ones work the best!) Place cookies on a parchment paper-lined baking sheet at least ½-inch apart.
- Cook in the Oven: Bake cookies for 9-11 minutes or until edges just begin to brown on the edges. Let cookies cool completely before frosting.
For the Family Icing:
- Mix Whites, Butter, Sugar: In a medium-sized bowl place, mix egg whites over medium speed for 1 minute. Add butter, vanilla and 1 cup powdered sugar. Mix until sugar is incorporated.2 egg whites, 2 Tbsp. butter, ½ tsp. vanilla extract, 3 cups powdered sugar
- Thicken Icing and Add Coloring: Add remaining sugar incrementally and mix well between each addition. If frosting is too thick, add 1-2 tbsp milk until desired consistency is reached. Add food coloring as desired.1-2 Tbsp. milk, food coloring
- Decorate Cookies: Frost cookies while the icing is still wet, using a toothpick to spread it delicately across the cookies.
For the Royal Icing: (optional)
- Beat Egg Whites: Place egg white in a medium bowl. Beat with a hand-held electric mixer for 1-2 minutes or until it becomes frothy. Add vanilla and mix for another minute.1 egg white, ½ tsp vanilla extract
- Mix in Sugar: Add powdered sugar and mix over medium-low speed for 4-5 minutes. If icing is too thick, add milk as needed to reach an easy piping consistency.2 cups powdered sugar, 1 tbsp milk
- Pipe Designs: Place royal icing in a piping bag fitted with a 3M piping tip or another round tip. Pipe designs on cookies and enjoy!
Tap stars to rate!
Video
Notes
- You can also use 1 1/2 cups sweet white rice flour, 3/4 cup tapioca starch, and 1 teaspoon of xanthan gum instead of the gluten-free flour blend.
- Food coloring gel works best when getting really vibrant colors in your icing.
- Use tweezers when placing small nonpareils onto the cookies.
- These sprinkles and these white nonpareils were used to decorate the cookies you see pictured.
- You can also use vegan “buttery” sticks or margarine if dairy-free.
Meal Prep and Storage
- To Prep-Ahead: The cookie dough can be made in advance and refrigerated for up to 3 days or frozen for up to 3 months. Defrost in the refrigerator before rolling out.
- To Store: Baked sugar cookies taste best when kept in an airtight container at room temperature for up to 3-4 days.
- To Freeze: Seal in a freezer-safe airtight container and freeze for up to 3 months.
Nutrition
Nutrition information is automatically calculated, so should only be used as an approximation.




These look great! Can you sub Ghee or a dairy free butter for the butter?
Thank you!
Merrill
Hi Merrill!! I have not personally tried it, but others have used vegan “butter” with great results. Would love to know how it turns out for you!
Great cookie recipe – only problem for me was 375 degrees burnt my cookies, before my timer even went off! Lowered the heat to 350 degrees and the results were perfect!
Hi Erin! So sorry the first round didn’t turn out well. Do you happen to live at a high elevation? Sometimes the altitude can require a few alterations to the recipe. Also, a lighter baking sheet (not a dark one) will work best. Thanks for your feedback!
These were the best cookies ever! I made them with my 5 and 2 1/2 year old grandsons. Instead of using a mixer, we washed our hands and all took turns mixing the ingredients with them, which was gooey and fun for them. I was the last to mix the dough, getting the leftover big clumps of butter mixed in, and they came out perfect and delicious……did not spread in the oven.
Yay!! So so happy you and your grandsons enjoyed the cookies and the cookie making process so much. Sounds like ya’ll had a blast! Thanks for your comment and rating. 🙂
Made these with the kids. LOVED IT! The dough seemed sticky to me at first, but was perfect when I rolled it using the powdered sugar on the parchment. I see what a few said about tasting “starchy” but I thought they were great and not too too sweat!!! We didn’t even ice them, just ate them. We plan to make them again this week, lat week was a test run for holiday baking. This was the first time I got the experience of making cut out cookies with my kids, because it’s the first time a recipe that is gluten free that I could also make dairy and soy free that worked. Note: I used a coconut based “butter” replacement and brown rice flour and it was lovely.
Yay!! So so happy you and the kids enjoyed them. Love the idea to use the coconut based “butter!” Thanks so much for your comment and rating 🙂
Sorry, me again—just to clarify, I want to bake and ice a batch of cookies, then freeze them for about a week. Wondering how that will affect them….
Hello! I am about to make these cookies and have two questions:
1) After baking, what’s the cookie lifespan? (: How many days do we have to eat them? I have only one child and it will take a while to go through a batch…
2) I want to make a batch of these a week ahead of time and save them for thawing out on Christmas weekend. Can I wrap them and freeze them? Or when they thaw, will they fall apart from being dried out in the freezer? I know gluten-free baked goods can be super sensitive to freezing or refrigerating.
Hi Michelle!! I just made this last weekend on a Thursday night and by Tuesday they were pretty much on their last day. For optimal texture and flavor, I would say they last 3-4 days and up to 5. As far as freezing them… my suggestion would be to freeze the dough and bake them when you’re ready for the second half of the batch or freeze the baked cookies BEFORE decorating. Hope you enjoy the cookies!
Excellent!! Followed recipe and helpful tips exactly as given, and this was hands down, my most successful gluten-free baking experience to date – and there have been more prior attempts than I care to recall. Thank you so much for allowing me to share Christmas cookies with my celiac family and friends!
Yay, Sharon!! I am SO excited you enjoyed the cookies so much. I hope your family and friends love the cookies, too. Thanks for your comment and rating 🙂
Hello! Can I sub arrowroot for the tapioca starch? Thank you!
N
Hi Nicole! Normally I would say you definitely can substitute, but since it is such a large amount of starch, it may come out just a tad different in texture and I have not personally tested this one out to know. If you do try it out, I would love to know! Thanks so much for your question!
What different results will I get if I use the 1 to 1 GF mixture?
Hi Karen! It totally depends on the type of 1 to 1 flour you get. I would suggest getting Bob’s Red Mill for the best result! Depending on the brand, you may need to adjust the flour and/or butter ratio slightly. Thanks for asking!
Just made these with my kids, [7 and 4] and they LOVED the dough, it rolled out easy, didnt stick to the pin or the parchment paper, and my kids made 26 cookies from this recipe! The cookies were thinner than yours, but they were still tasty! I did sub corn starch for tapicoa since my store didnt have that, and also i could only find brown rice flour, but they were still delicious! Also we loved the family recipe icing! Thanks again!!
Yay, Samantha!! I am SO happy you and your little ones enjoyed the recipe so much. Thanks for letting me know and for leaving a rating!!