
The secret to the quickest boiled green beans

The biggest mistake you can make when boiling green beans is not knowing how LONG they need to cook. Boil them even a minute or two too long and you’ll end up with mushy beans.
A good rule of thumb is to bring a pot of salted water to a boil, add your green beans, and set a timer for 4 minutes.
You’ll find more in-depth step-by-step photos and instructions below to ensure you get the most beautiful, crisp but also tender beans!
Green Bean Varieties
The method you’ll find below for boiling green beans works with just about any variety. However, the cook time may vary slightly depending how thick the beans are. A few common green beans and ways you might need to alter the boiling times:
- Wax Beans and Purple String Beans – Very similar to the traditional green beans, but they do have a more fun color.
- Green Beans (Snap Beans or String Beans) – What you see pictured here in this post and simply different names for the same bean.
- French Green Beans (Haricot Verts) – These are quite a bit thinner and will cook up more quickly.
Step-by-step Instructions
For the exact measurements and detailed instructions, please see the recipe card below.
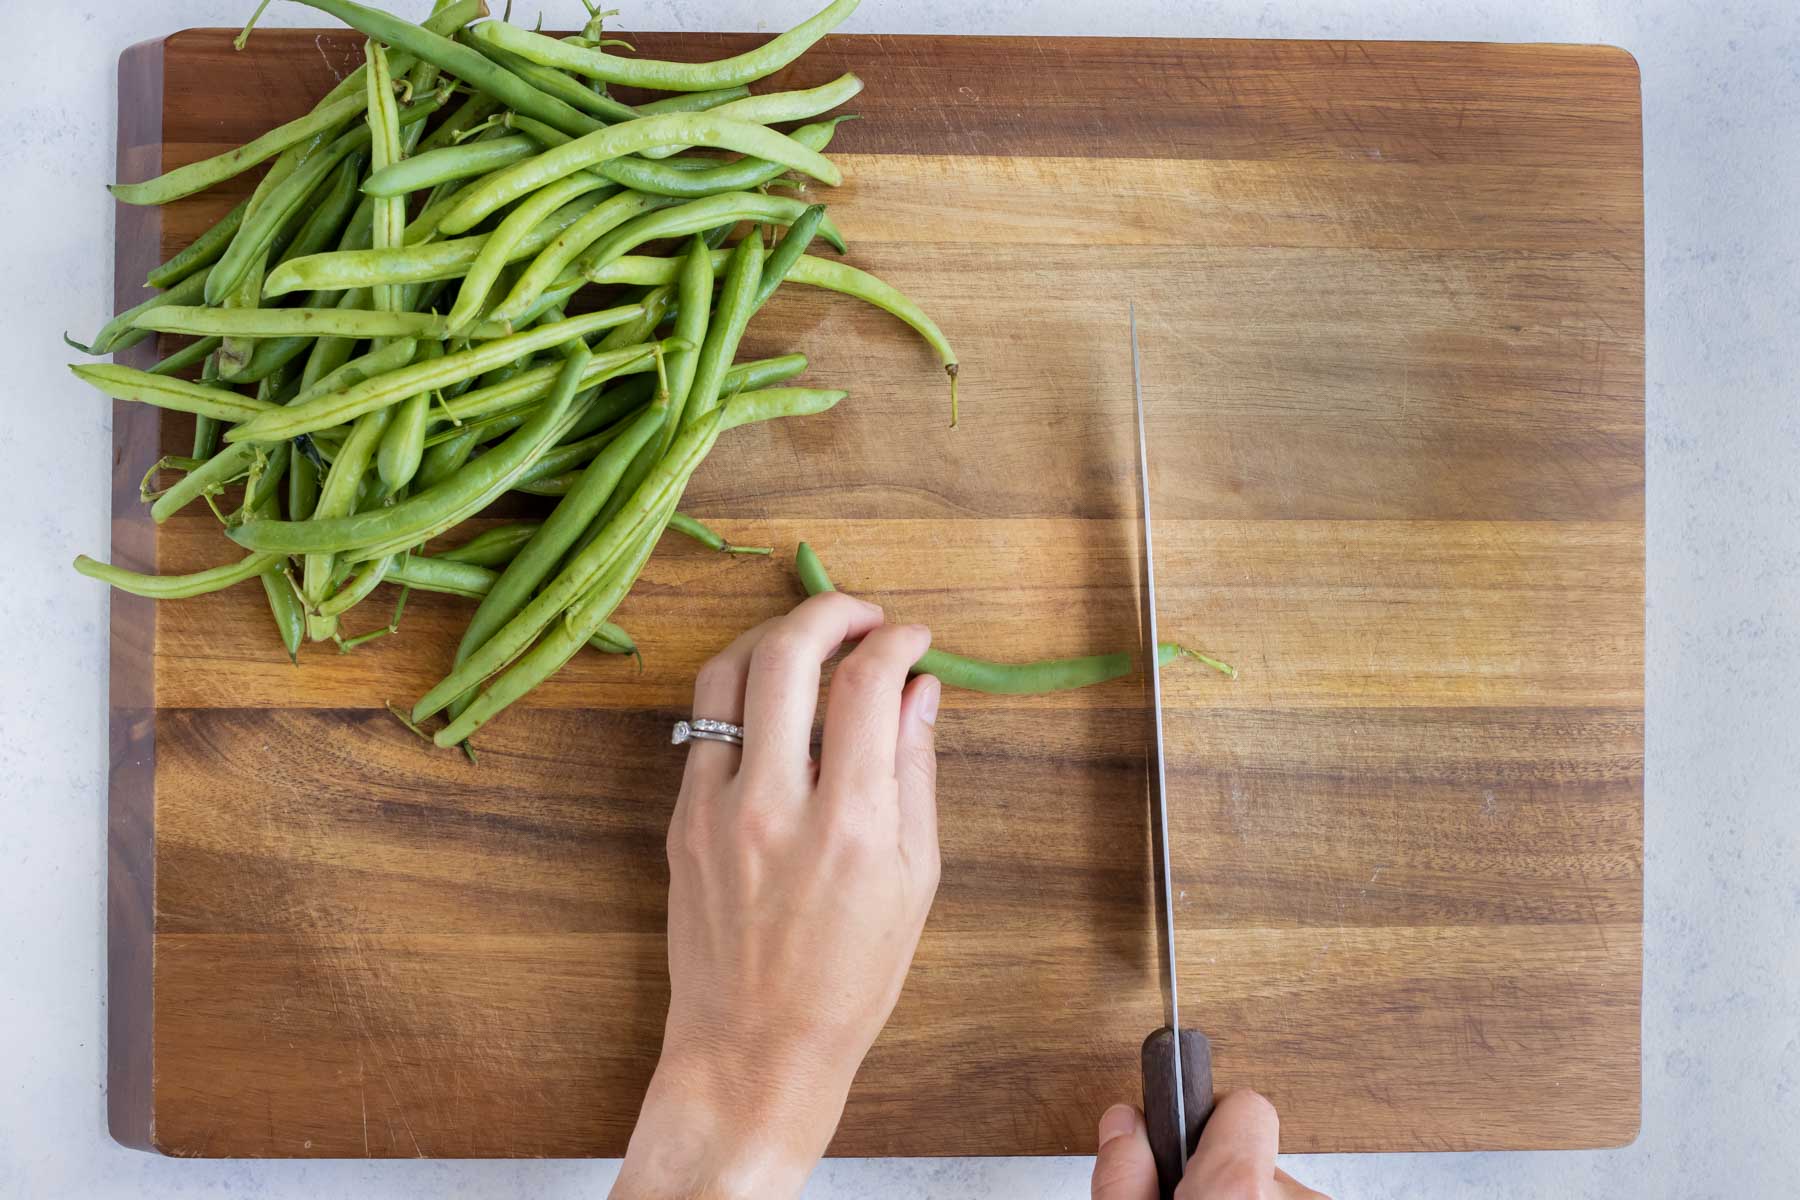
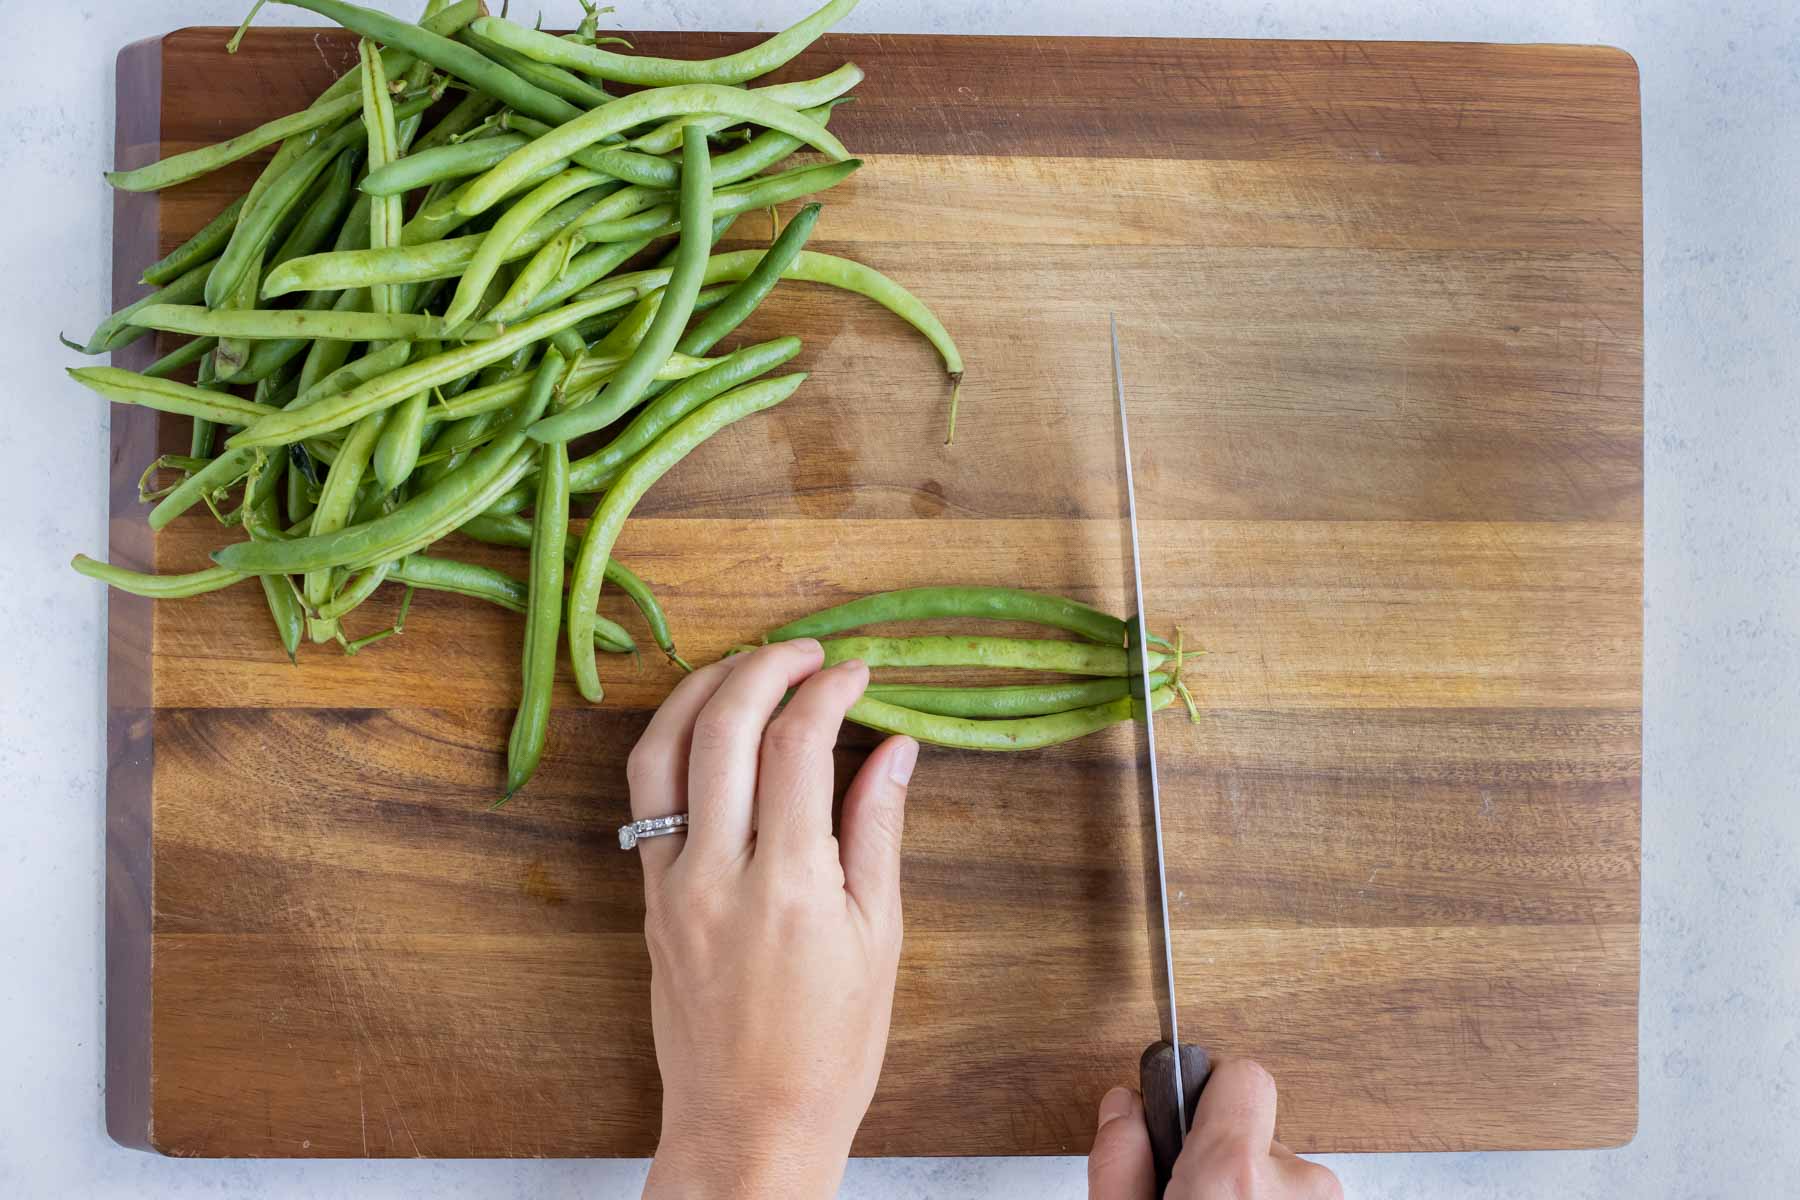
Snap or trim the ends.
You can gather a few green beans at a time and cut off the ends with a knife. Or, snap them off individually with your hands. Remove about ¼-½ inch from the end. It is only necessary to trim off the stem end, but you can also take off the tail end if preferred.
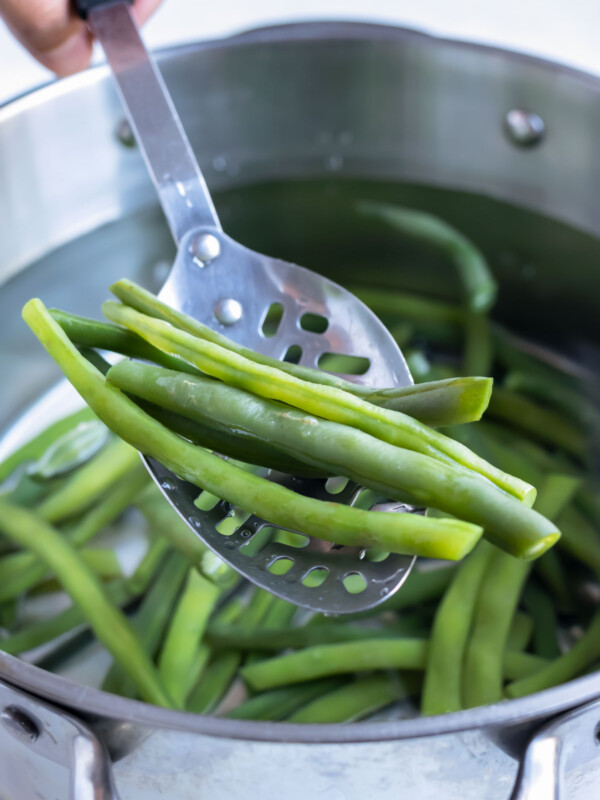
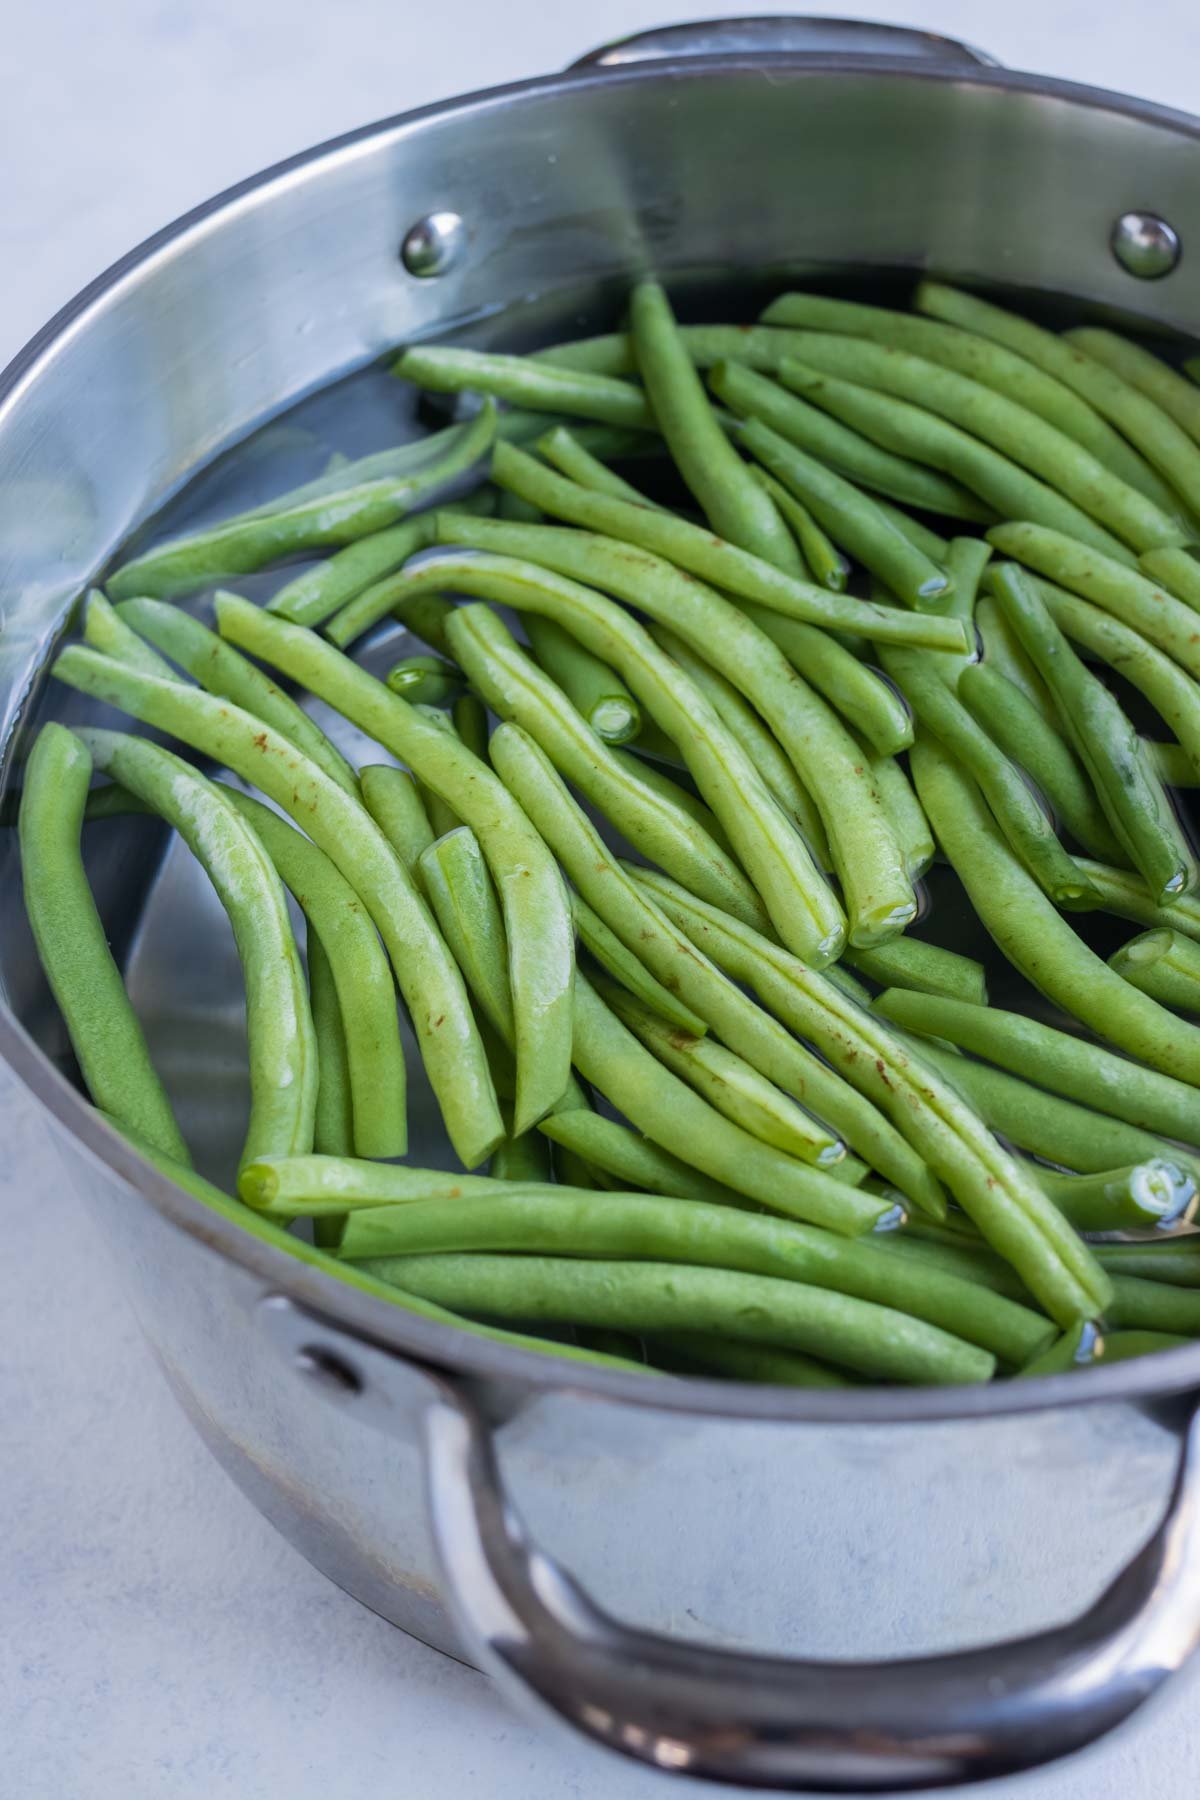
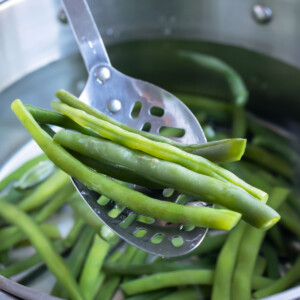
Boil the green beans.
Bring a large pot of water to a boil over medium-high heat. Make sure it’s large enough to comfortably fit the green beans.
Carefully add the beans to the water using a slotted spoon and boil for 3-5 minutes.
They’ll also start to turn a beautiful bright green color. Be sure to start checking on them after 3 minutes to ensure they do not overcook.

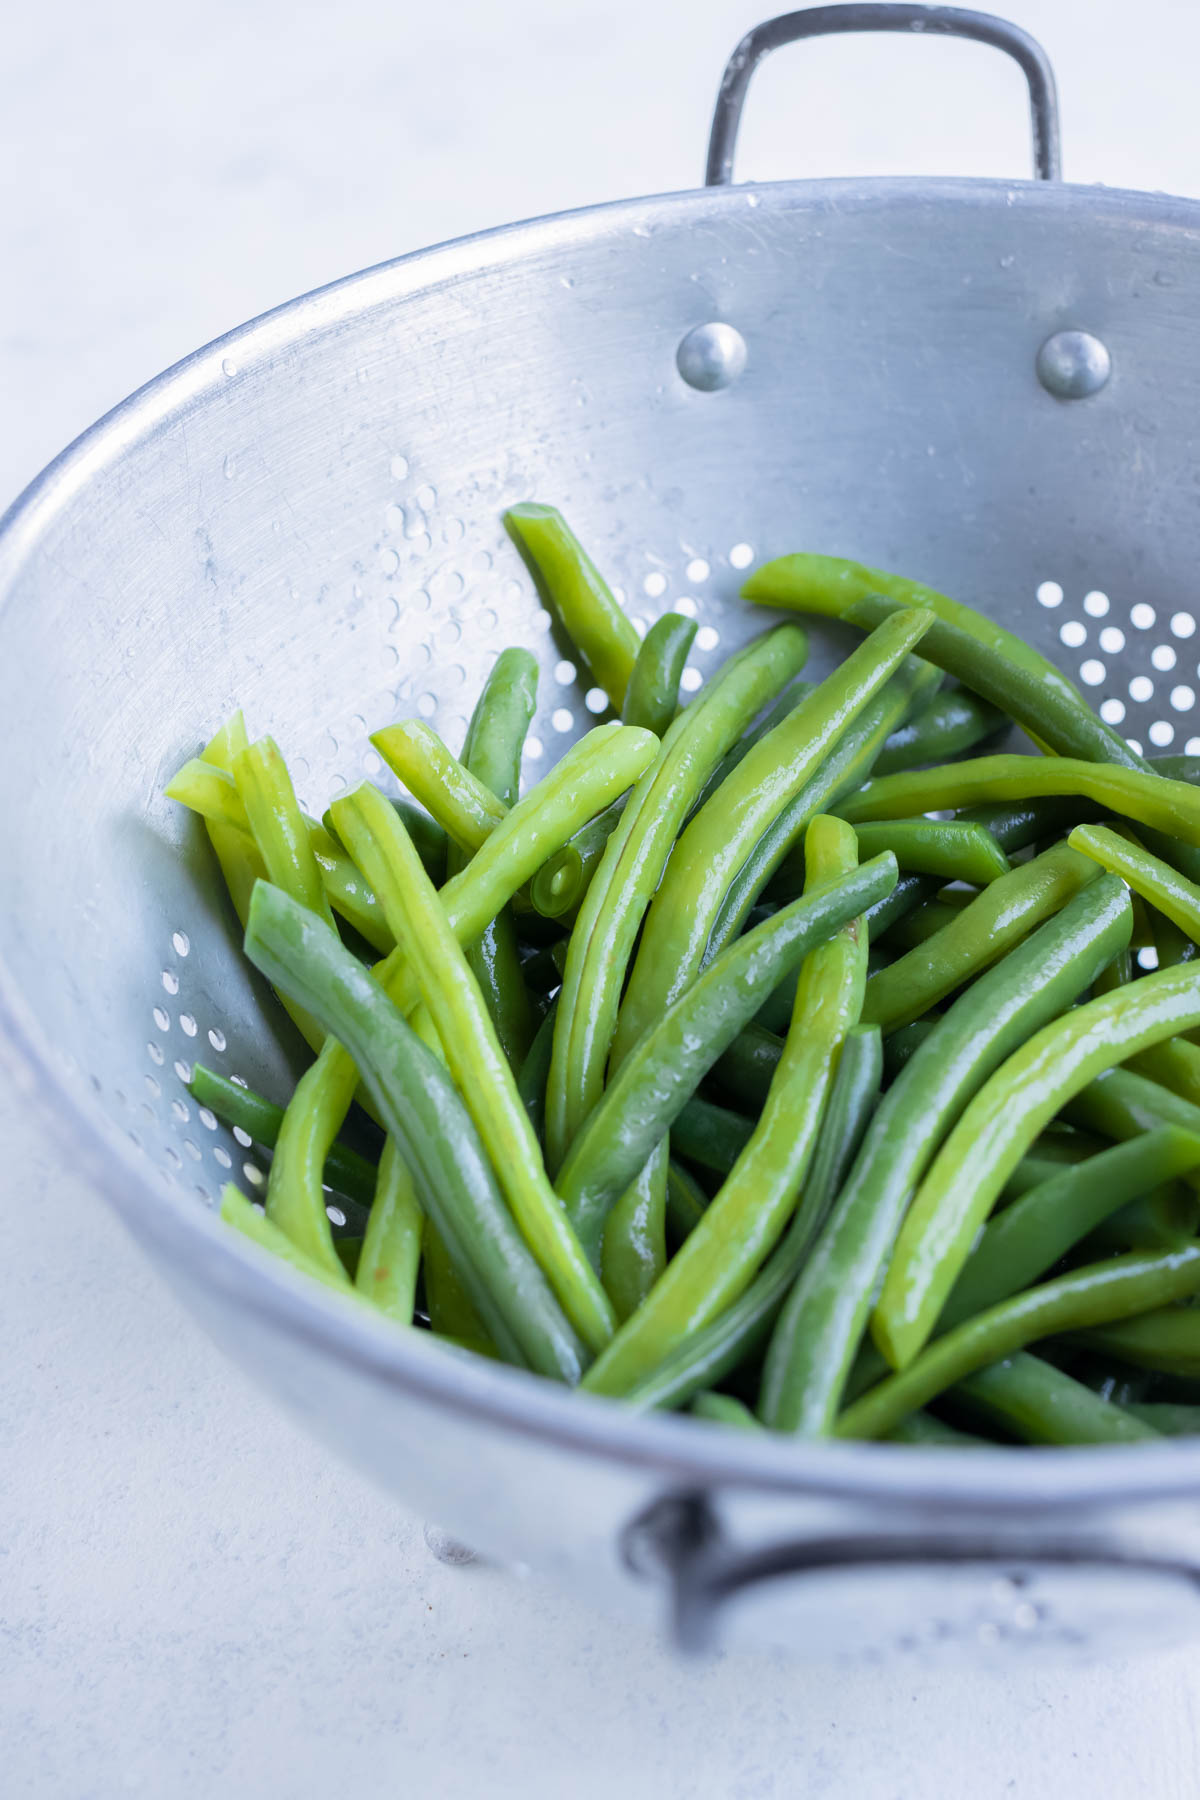
Drain, dry, and season.
Pour the water and green beans into a colander in the sink so that it can drain. You can also pat the beans dry to ensure all of the extra water is removed before serving.
Serve with a pat of butter, some salt and black pepper or get fancy and top with a homemade Garlic Herb Butter.
Pro Tip: Learn How to Blanch Green Beans with ice water and a large bowl to stop the cooking process!
FAQs
Fresh green beans should be boiled for approximately 4-5 minutes, or until they are bright green and crisp tender.
No, it is not necessary to soak green beans before cooking. It only takes a few minutes for them to cook.
After boiling green beans, you can top them with olive oil, parmesan cheese, and garlic, or add flavor with lemon juice or red pepper flakes.
Seal leftovers in an airtight container and refrigerate for up to 3-5 days.
To freeze, arrange the cooked green beans in a single layer on a baking sheet and freeze for 4 hours. Then transfer them to freezer-safe ziplock bag for up to 3 months.
Ways to Use Boiled Green Beans
Put these boiled green beans to use in some easy recipes:
- Green Bean Casserole
- Green Beans Almondine
- Sauteed Green Beans
- To dip in hummus or ranch dressing.
- Niçoise Salad
Don’t want to stop at just green beans? Learn how to boil beets, tips on how to boil carrots, how to boil potatoes and how to boil sweet potatoes.
Tap stars to rate!
How Long to Boil Green Beans
email this recipe!
Ingredients
- 1 lb. green beans fresh
- 1 tsp. salt plus more for serving
- 1-2 Tbsp. butter optional
Instructions
- Bring a large pot of water to a boil along with the salt.
- While the water is heating up, snap off the stems of the green beans by hand or trim and remove the ends with a knife.
- Carefully add the green beans to the water using a slotted spoon and boil for about 4-5 minutes, or until crisp tender. Begin checking on them after 3 minutes to ensure they do not overcook.
- Drain the green beans in a colander in the sink. Serve with butter and additional salt, to taste. Enjoy!
Tap stars to rate!
Notes
Meal Prep and Storage
- To Serve: Top the warm green beans with a pat of butter and salt. One pound of green beans will result in 4 servings.
- To Prep-Ahead: Wash and trim the ends off of the green beans and keep in the refrigerator for up to 2-3 days in advance.
- To Store: Seal leftovers in an airtight container and refrigerate for up to 3-5 days.
- To Freeze: Arrange the cooked green beans in a single layer on a baking sheet and freeze for 4 hours. Then transfer them to freezer-safe ziplock bag for up to 3 months.
- To Reheat: Warm in a pan on the stovetop over medium heat, or simply microwave until hot.
Nutrition
Nutrition information is automatically calculated, so should only be used as an approximation.


Top tip leave them in the plastic bag they come in and chop the ends off in the bag as it keeps them all tight together