One of the most difficult trials I ever faced in the kitchen was tackling the challenge of a perfect hard-boiled egg.
It seemed so simple in theory, yet no matter how many accredited websites I scoured, it seemed there was still no universal answer for what the perfect time and method were for making hard-boiled eggs.
Conflicting messages abounded, and it took over three dozen eggs of my own to figure out the best way
In time, I worked out How to Boil Eggs and how to make Air-Fryer Hard-Boiled Eggs. But I still stand by the Instant Pot as being one of the easiest methods for beginners to get perfect, reliable eggs every single time!
Rather than boiling the eggs directly in water, the pressure cooker functions the same as any standalone egg cooker and generates steam, which helps gently and evenly cook them all at the same rate. This way, you get a predictable result every single time.
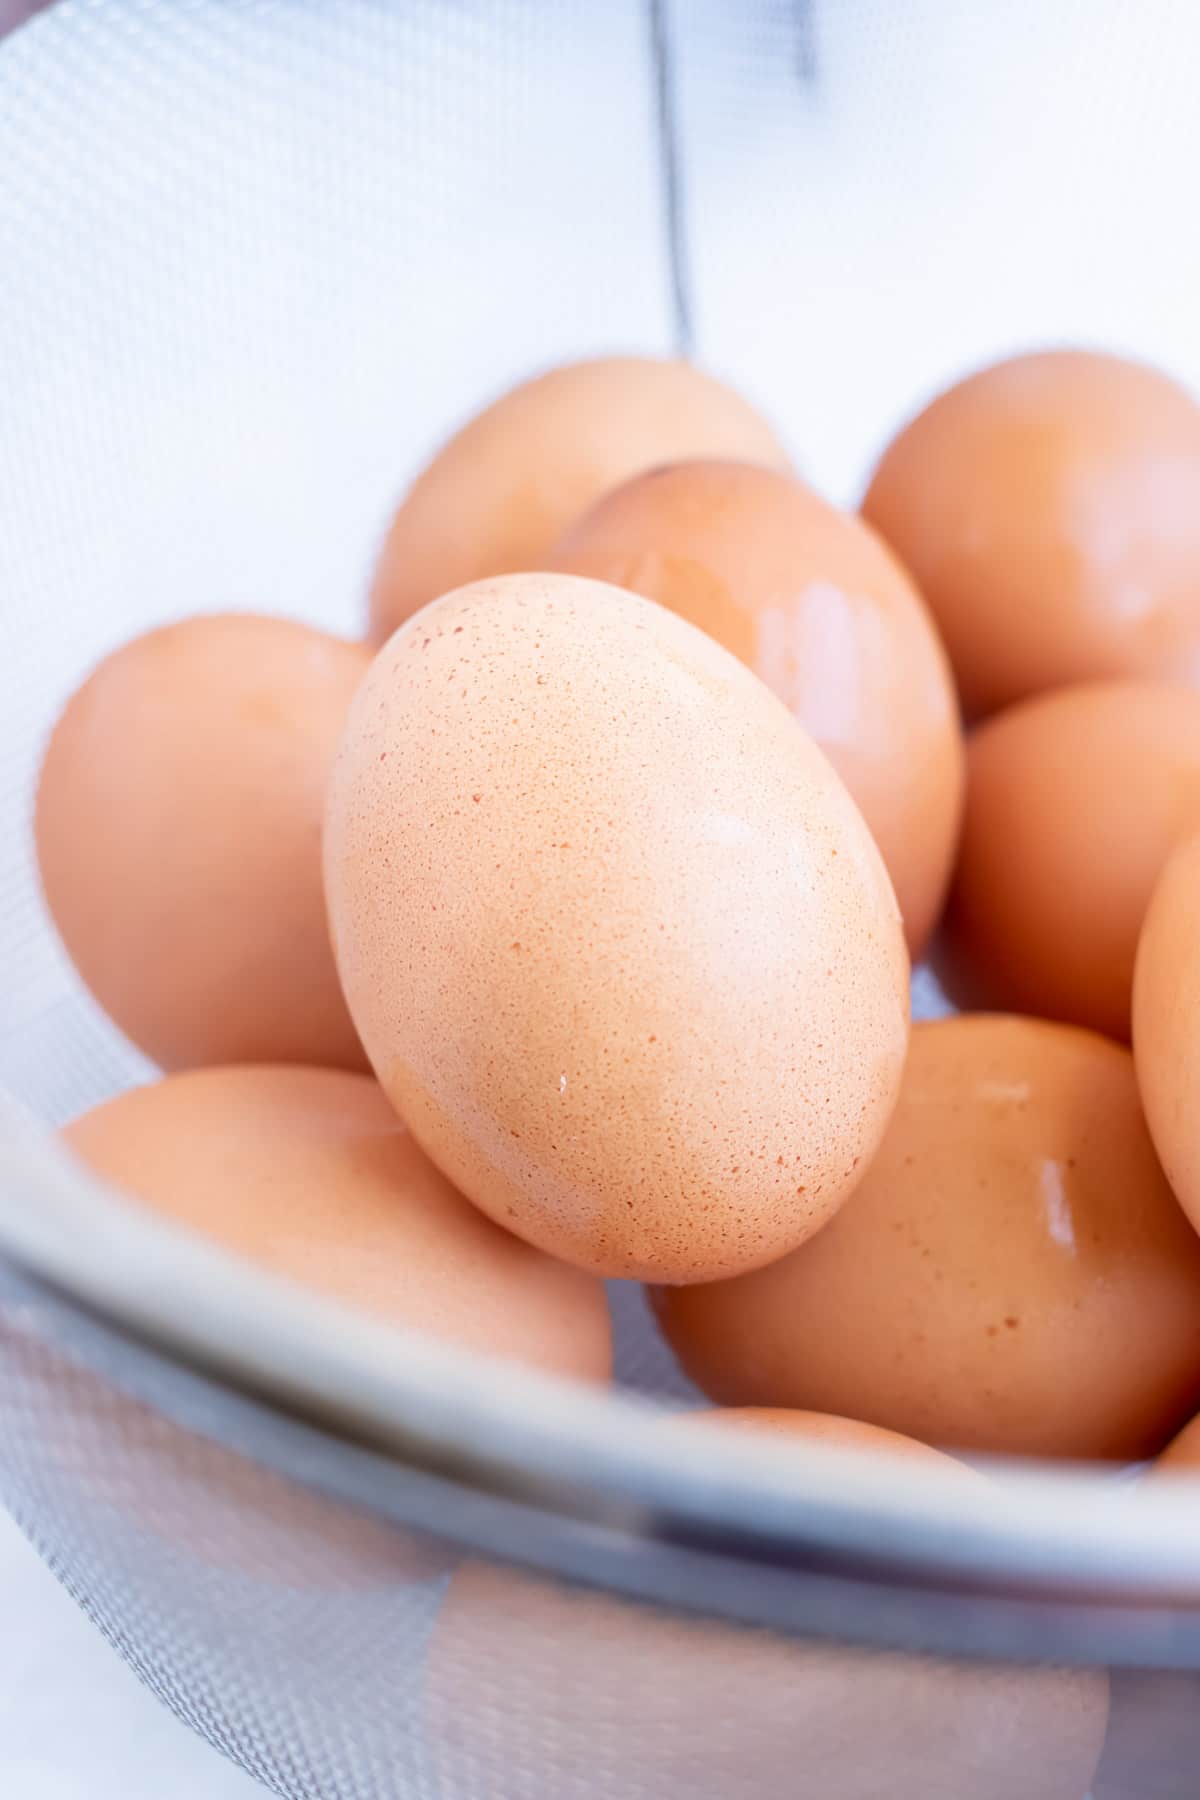
Ingredients
To make these easy Instant Pot Hard-Boiled Eggs you need:
- Eggs. Pasture-raised or organic eggs are recommended, as they taste the best and are the healthiest, but any variety of medium or large eggs will work.
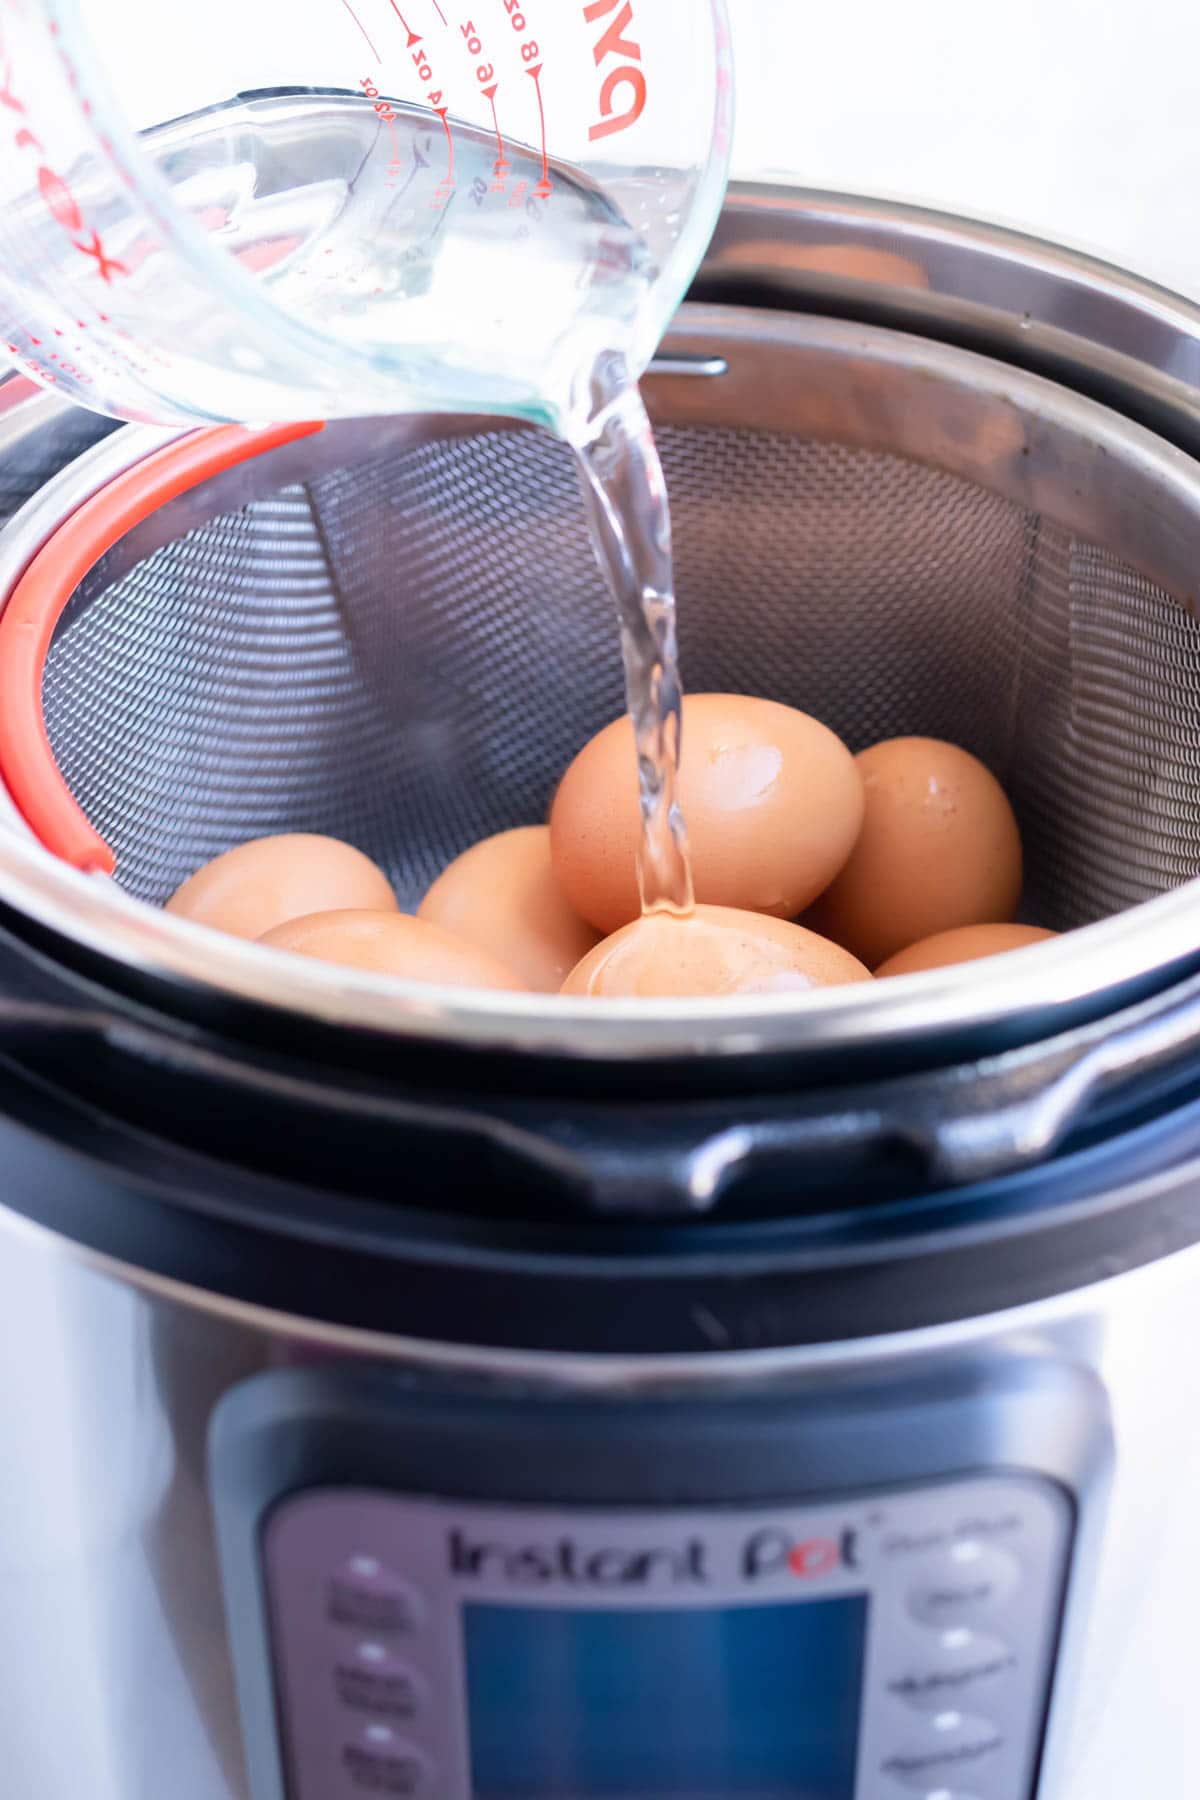
- Cold water. This is needed to help generate the steam inside of the Instant Pot which will be used to cook the eggs.
- Ice. Preparing plenty of ice ahead of time is crucial to this recipe, as an ice bath at the end helps to stop the residual cooking process and makes the eggs easier to peel.
How to Make Instant Pot Hard-Boiled Eggs
The basic steps for making Hard-Boiled Eggs in the Instant Pot are simple to follow:
Prep the Pot
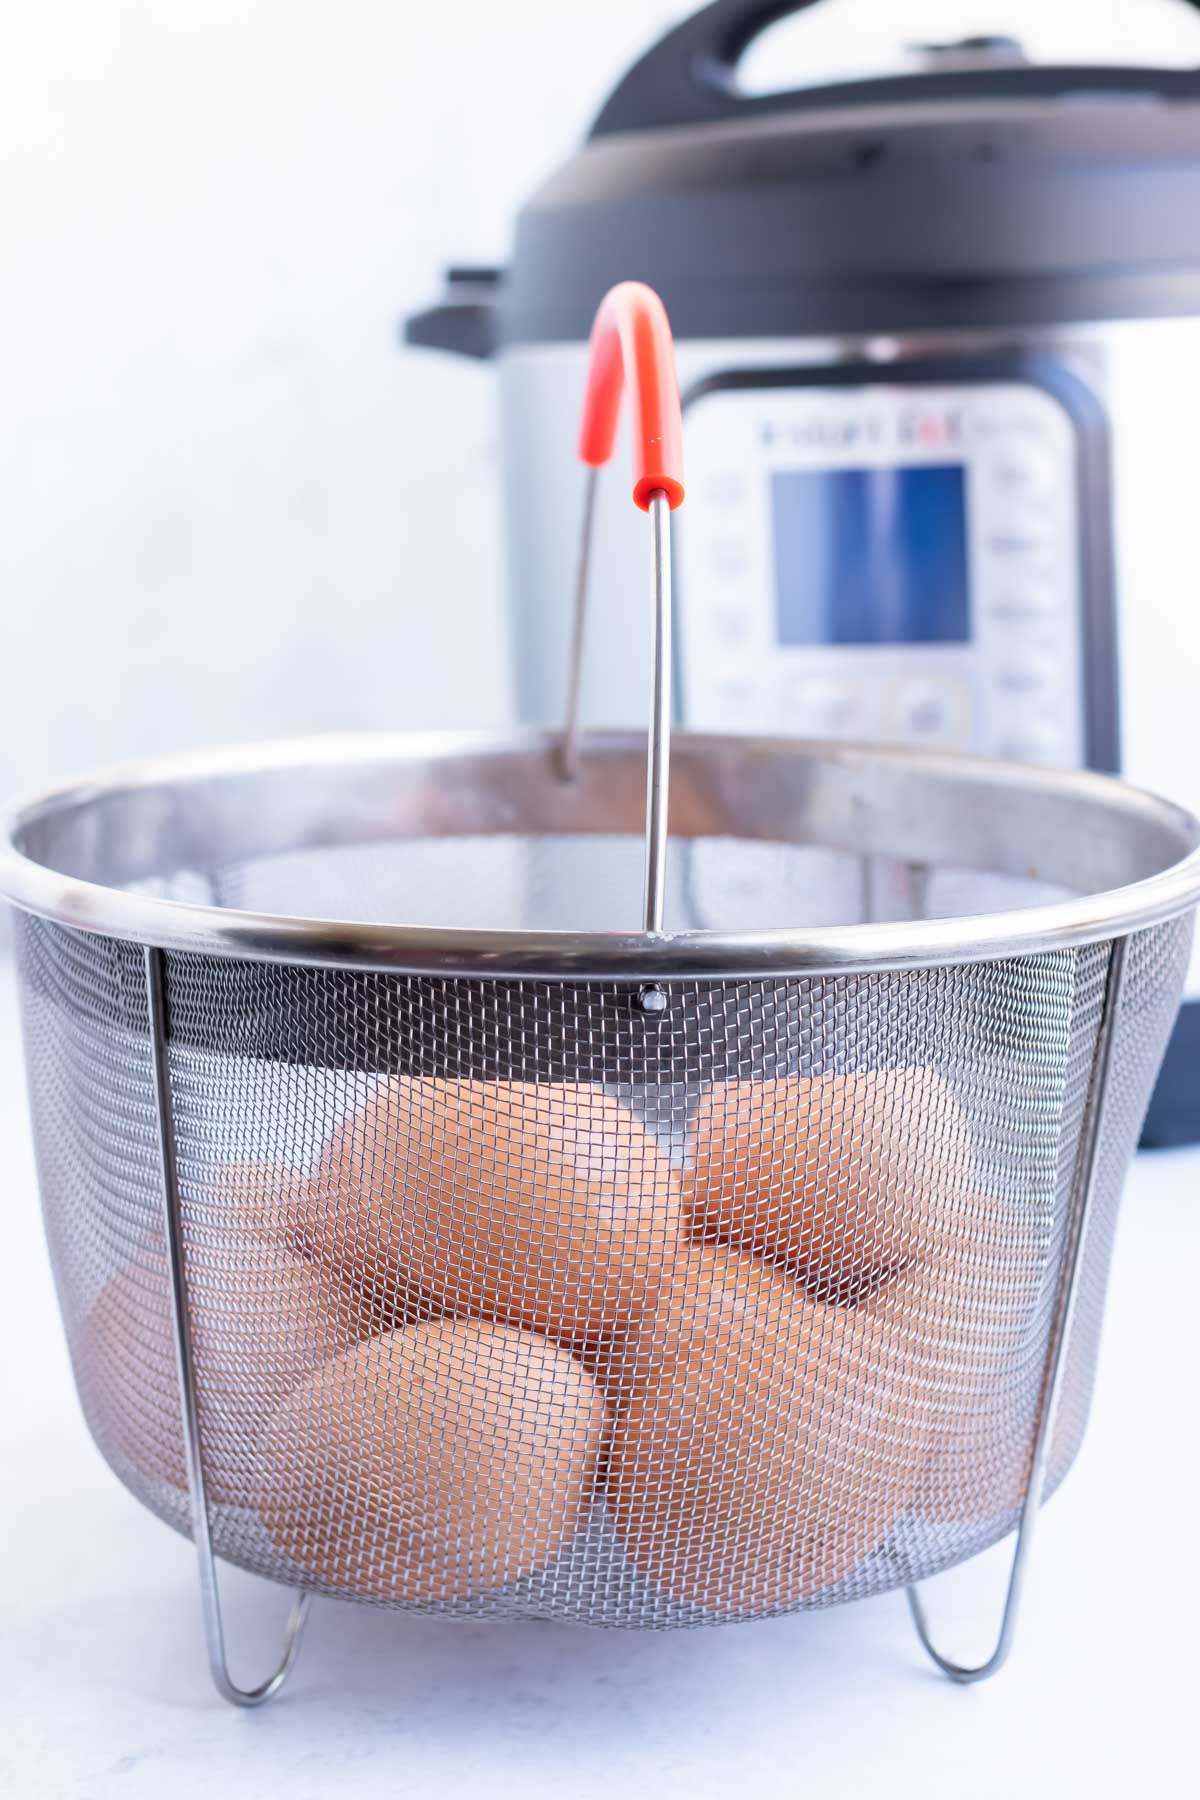
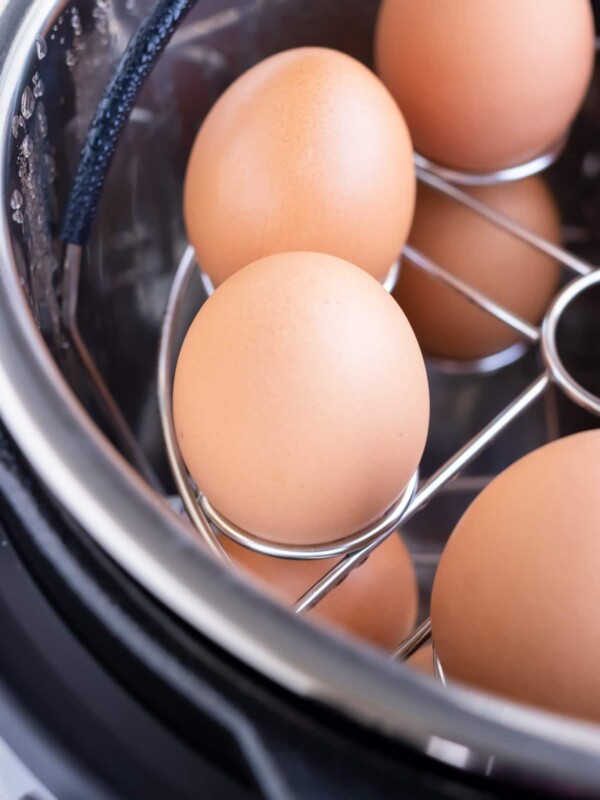
To make hard-boiled eggs in the Instant Pot, some kind of metal or plastic insert that keeps the eggs suspended from the bottom of the pot will be needed.
A steamer basket, egg rack, or Instant Pot-friendly trivet are all great options that are super easy to find. The important thing is for the eggs to remain suspended above both the bottom of the pot and the water, so that they cook evenly.
Into a 6-quart Instant Pot, pour 1 cup of cold water. This will be just enough to generate the steam needed for cooking the eggs, without submerging them.
Cook the Eggs
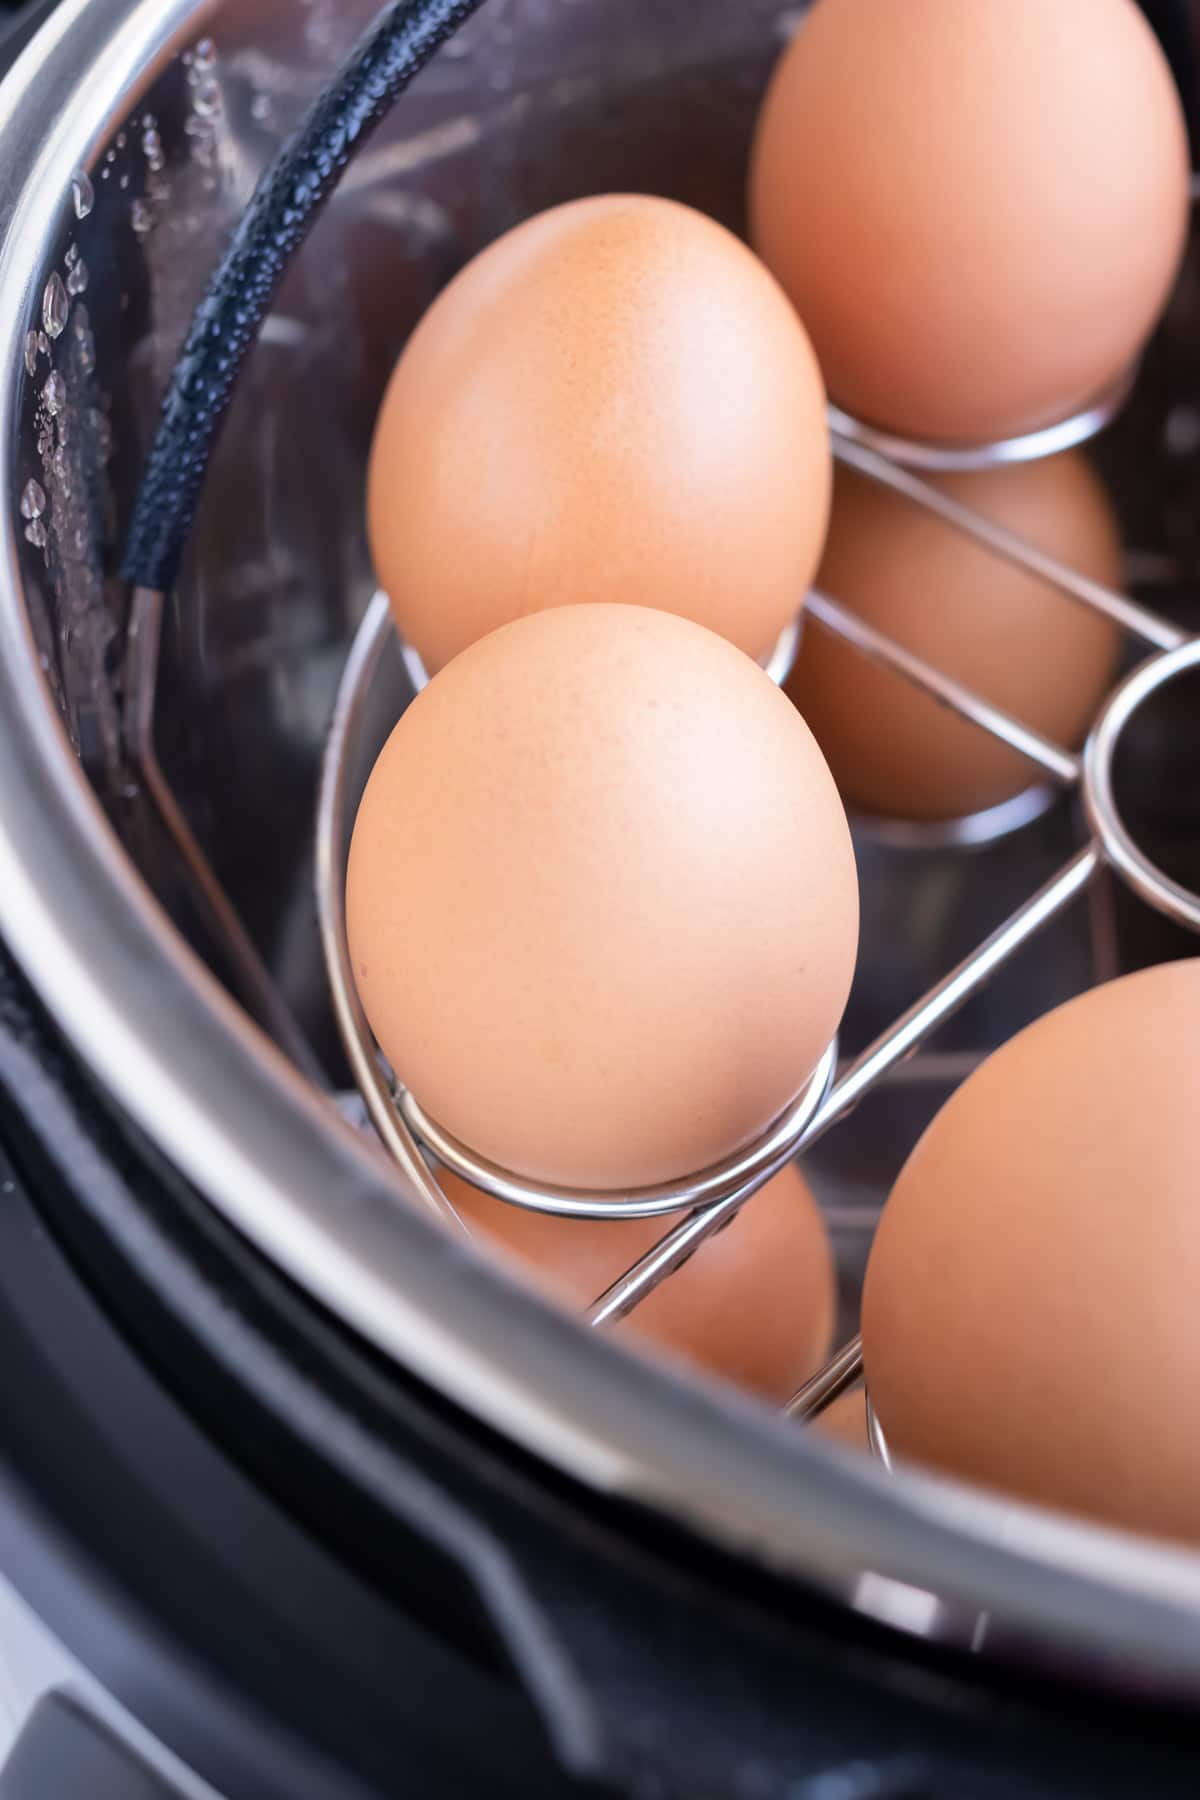
Place the steamer basket, egg rack, or trivet into the Instant Pot and carefully arrange the eggs inside. Roughly a dozen eggs can be cooked at once, no matter which method is used, but an egg rack provides the most evenly distributed space for the eggs.
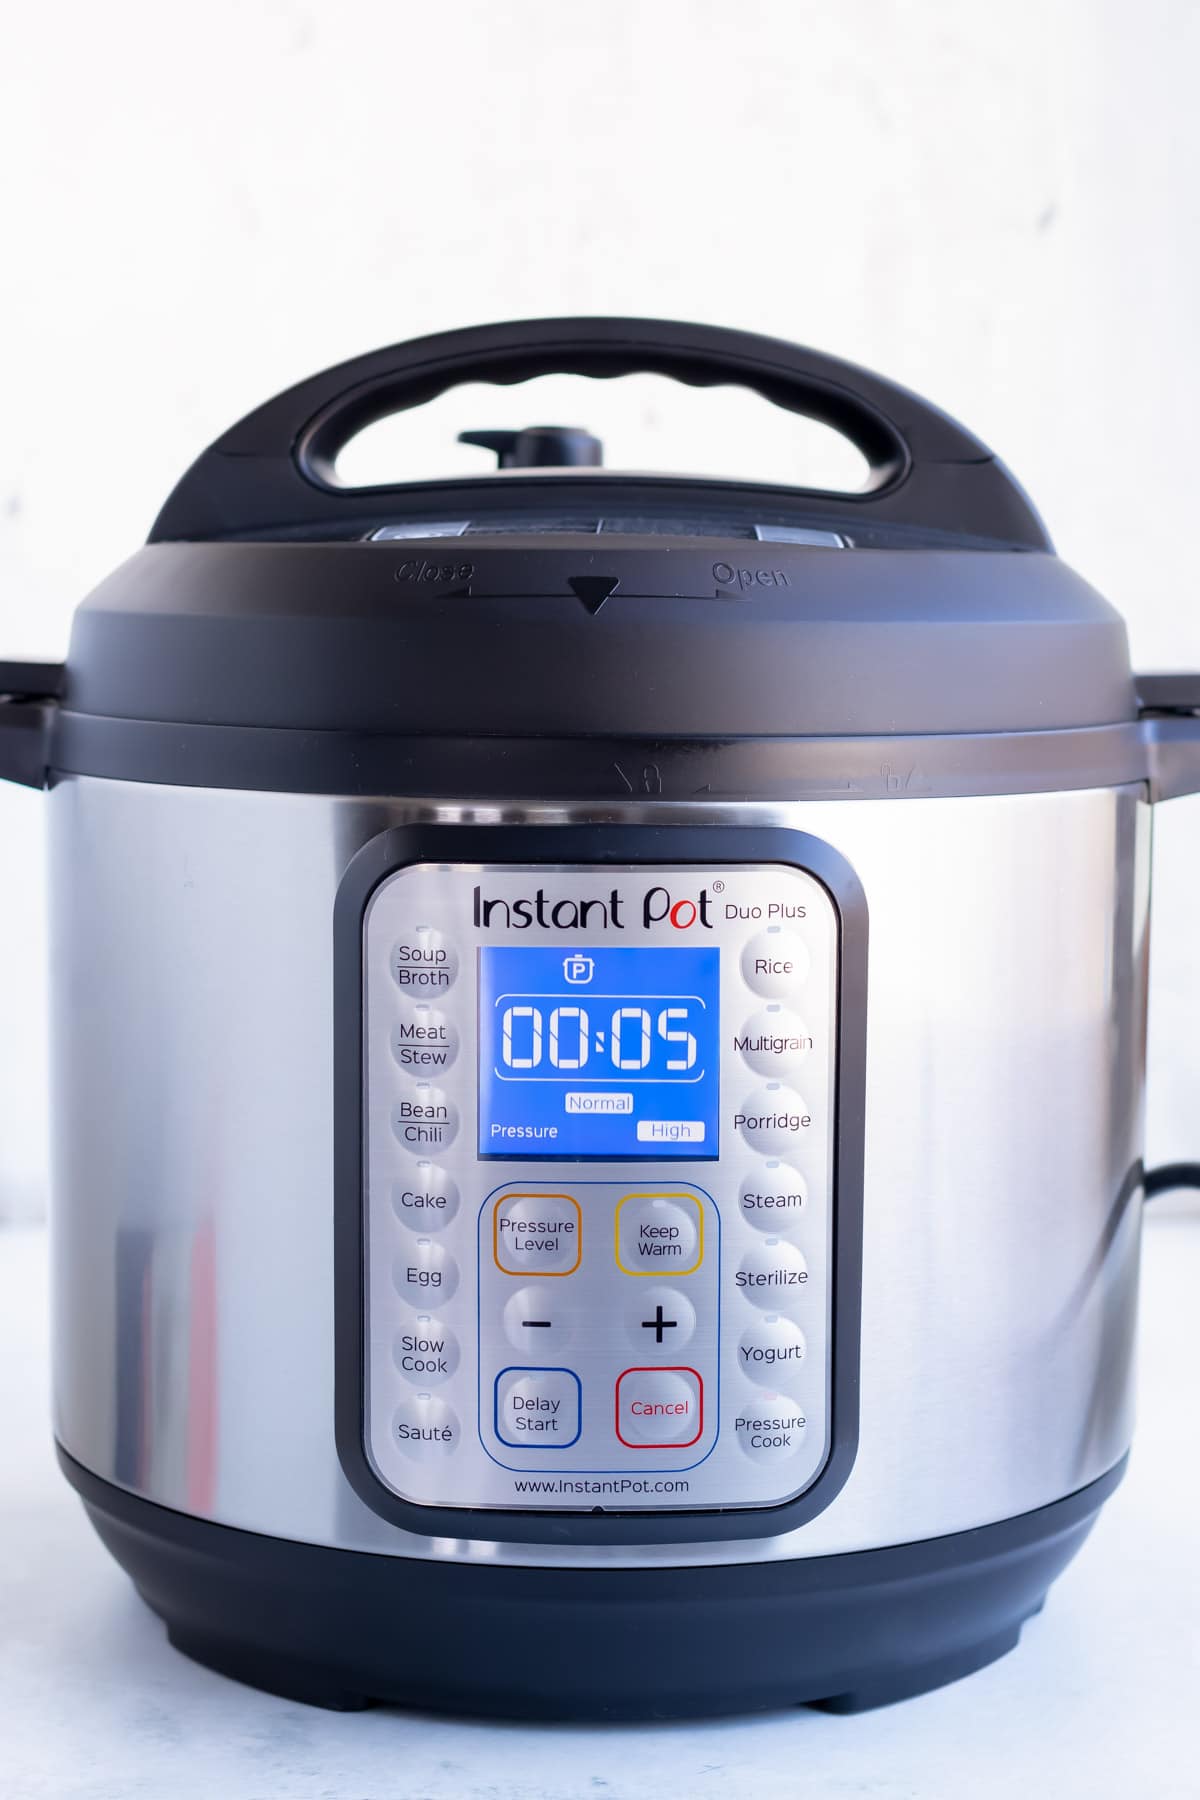
Cover the Instant Pot with the lid, and ensure the pressure release valve is in the sealed position. Set the Instant Pot to Manual or Pressure Cooking mode, with the pressure on High.
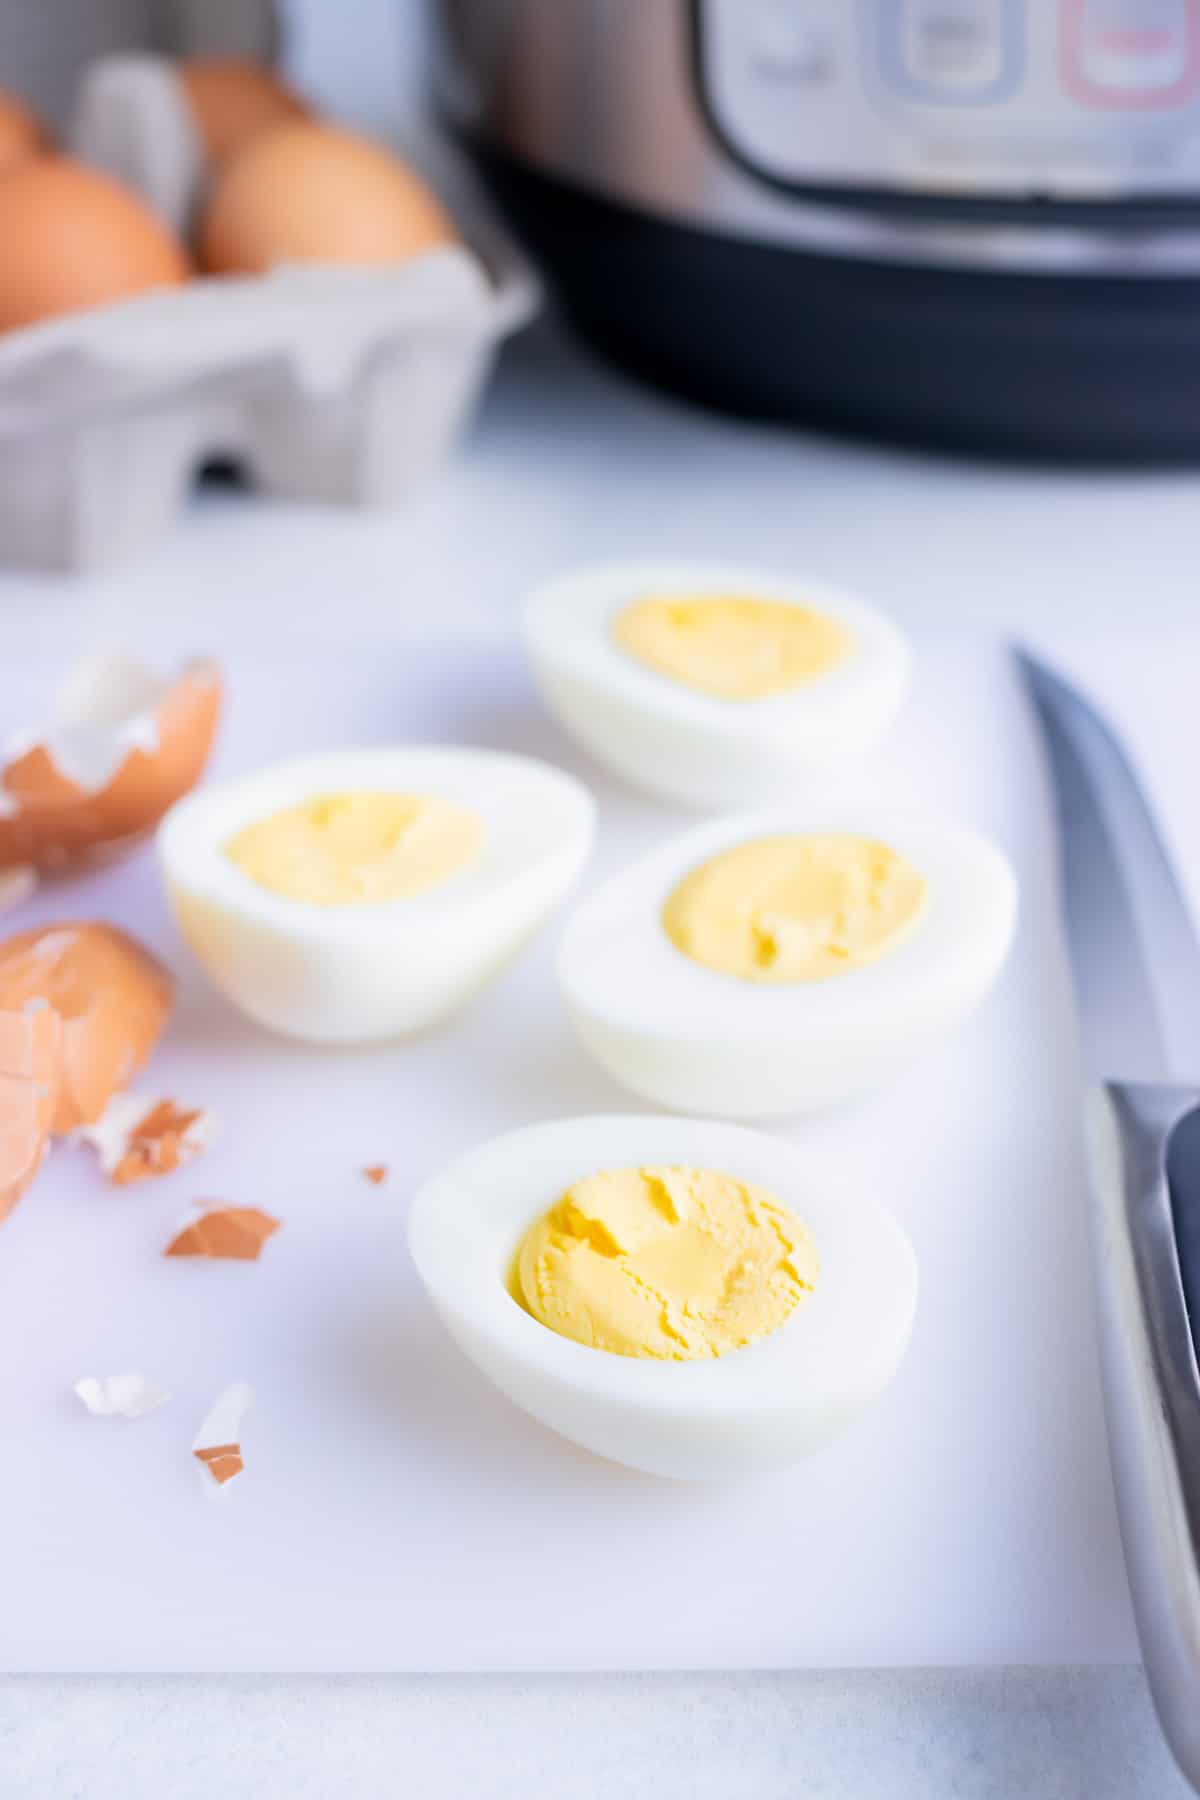
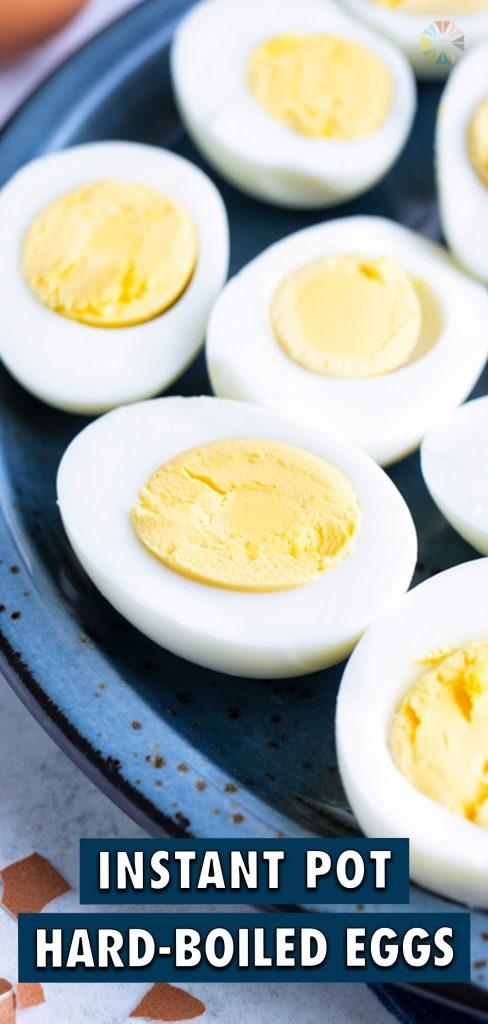
Set the cooking timer for 5 minutes for a slightly softer yolk, or 6 minutes for a more creamy, well-done yolk. Keep in mind that it will take an additional several minutes for the Instant Pot to heat up, pressurize, and begin the cooking process.
Submerge in Ice Bath
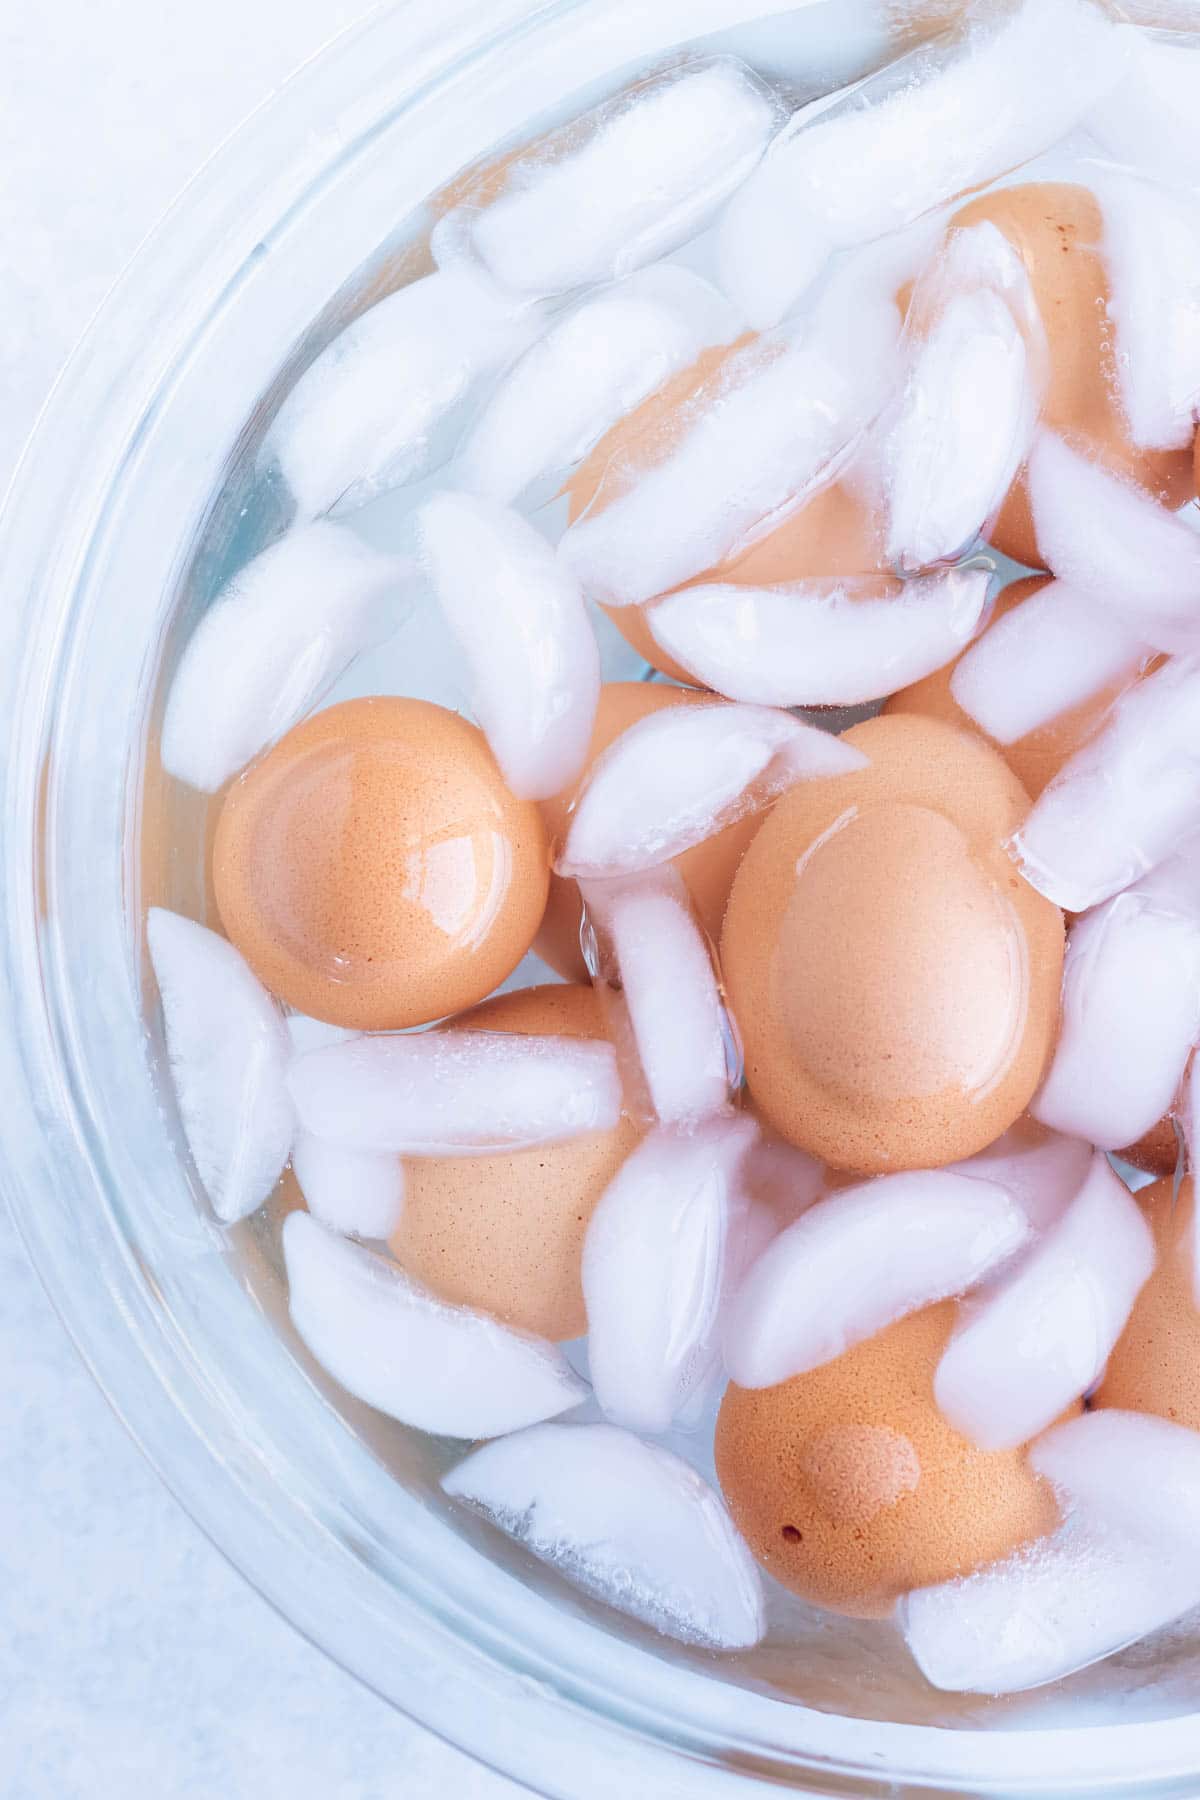
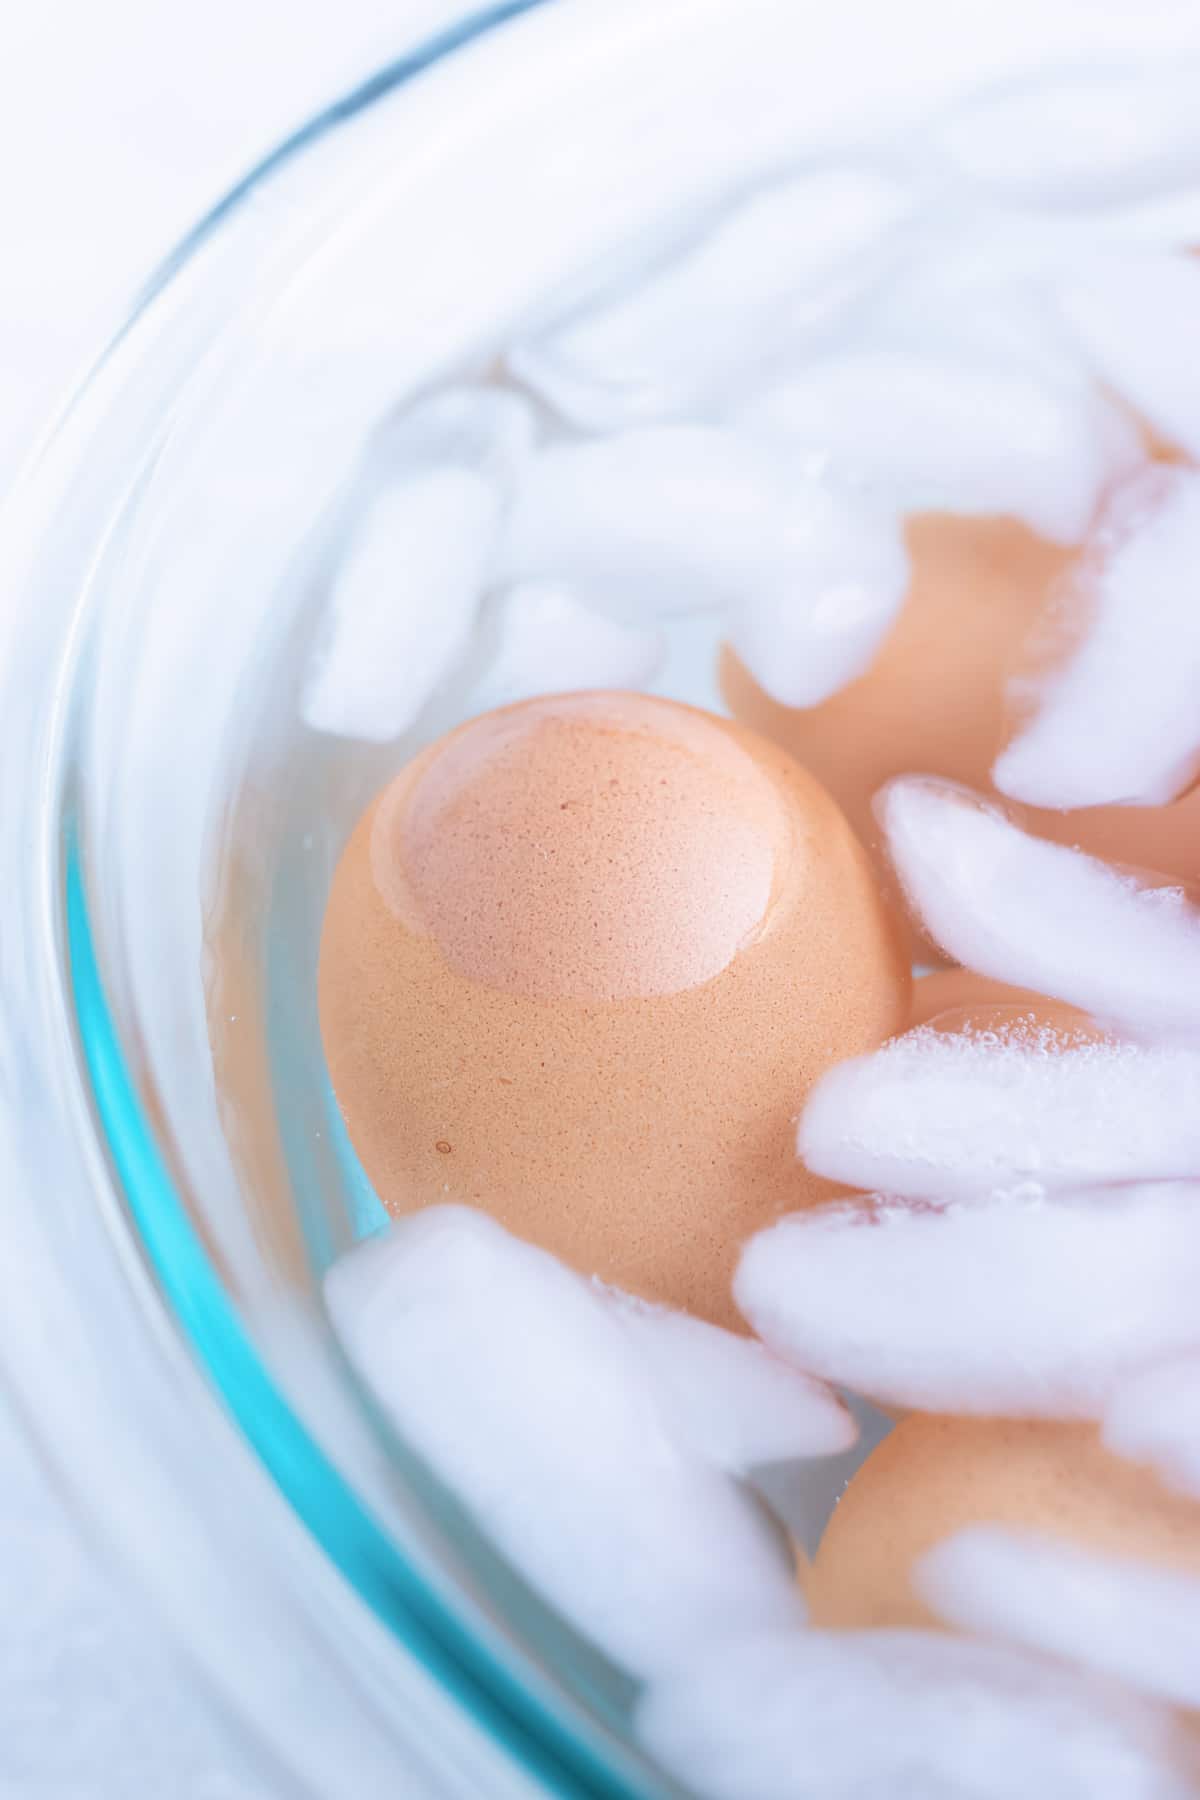
When the Instant Pot timer goes off, allow an additional 5 minutes for it to depressurize before opening the pressure release valve on the lid. While waiting, fill a large bowl with plenty of ice and water to create the ice bath.
Using heat-safe pot holders, towels, or oven mitts, carefully remove the hot eggs from the Instant Pot and immediately transfer them into the ice water bath.
Soaking the eggs in an ice bath helps to stop the cooking process from any residual heat, and loosens the shell. The eggs should be kept in the water for at LEAST 5 minutes or up to 10 – the longer they sit, the easier they will be to peel later.
When the eggs are fully cooled down, transfer them to an airtight container in the fridge.
Peel the Eggs
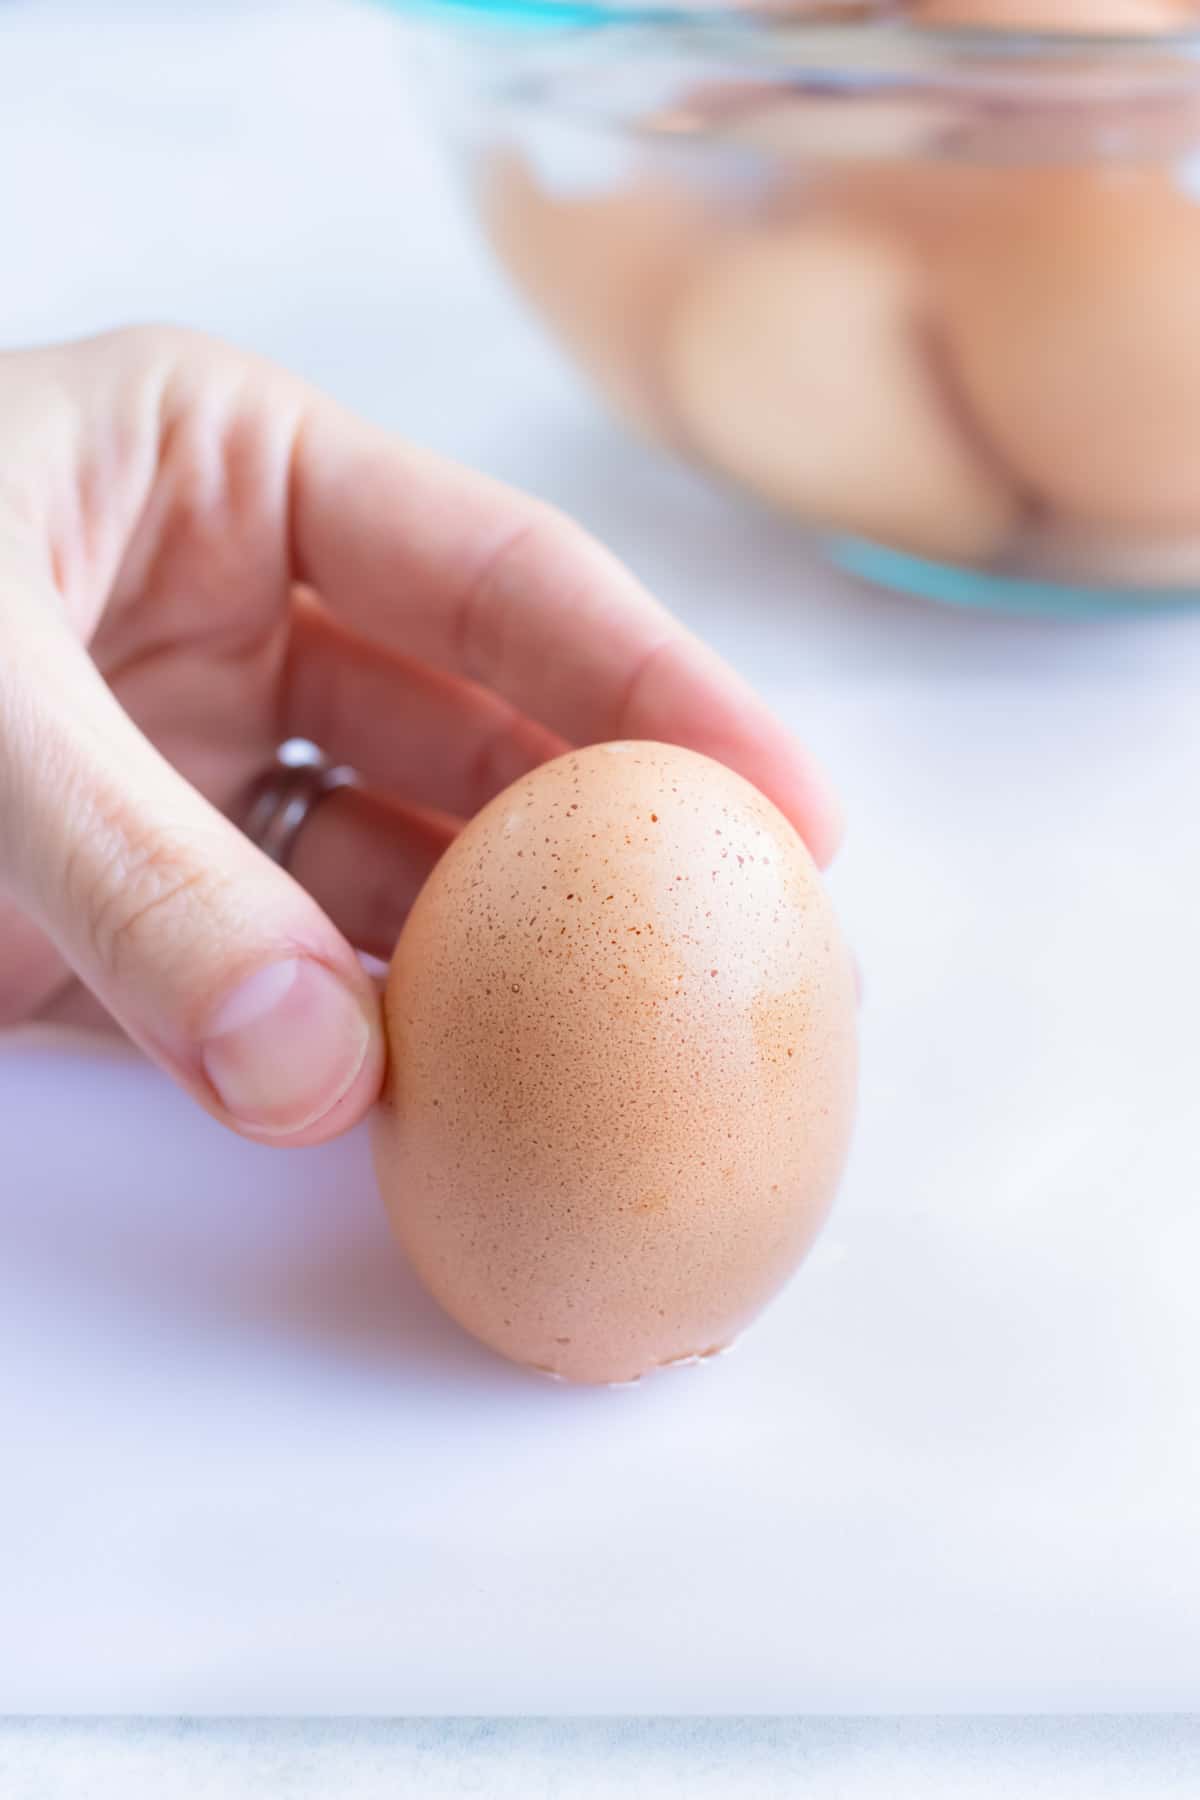
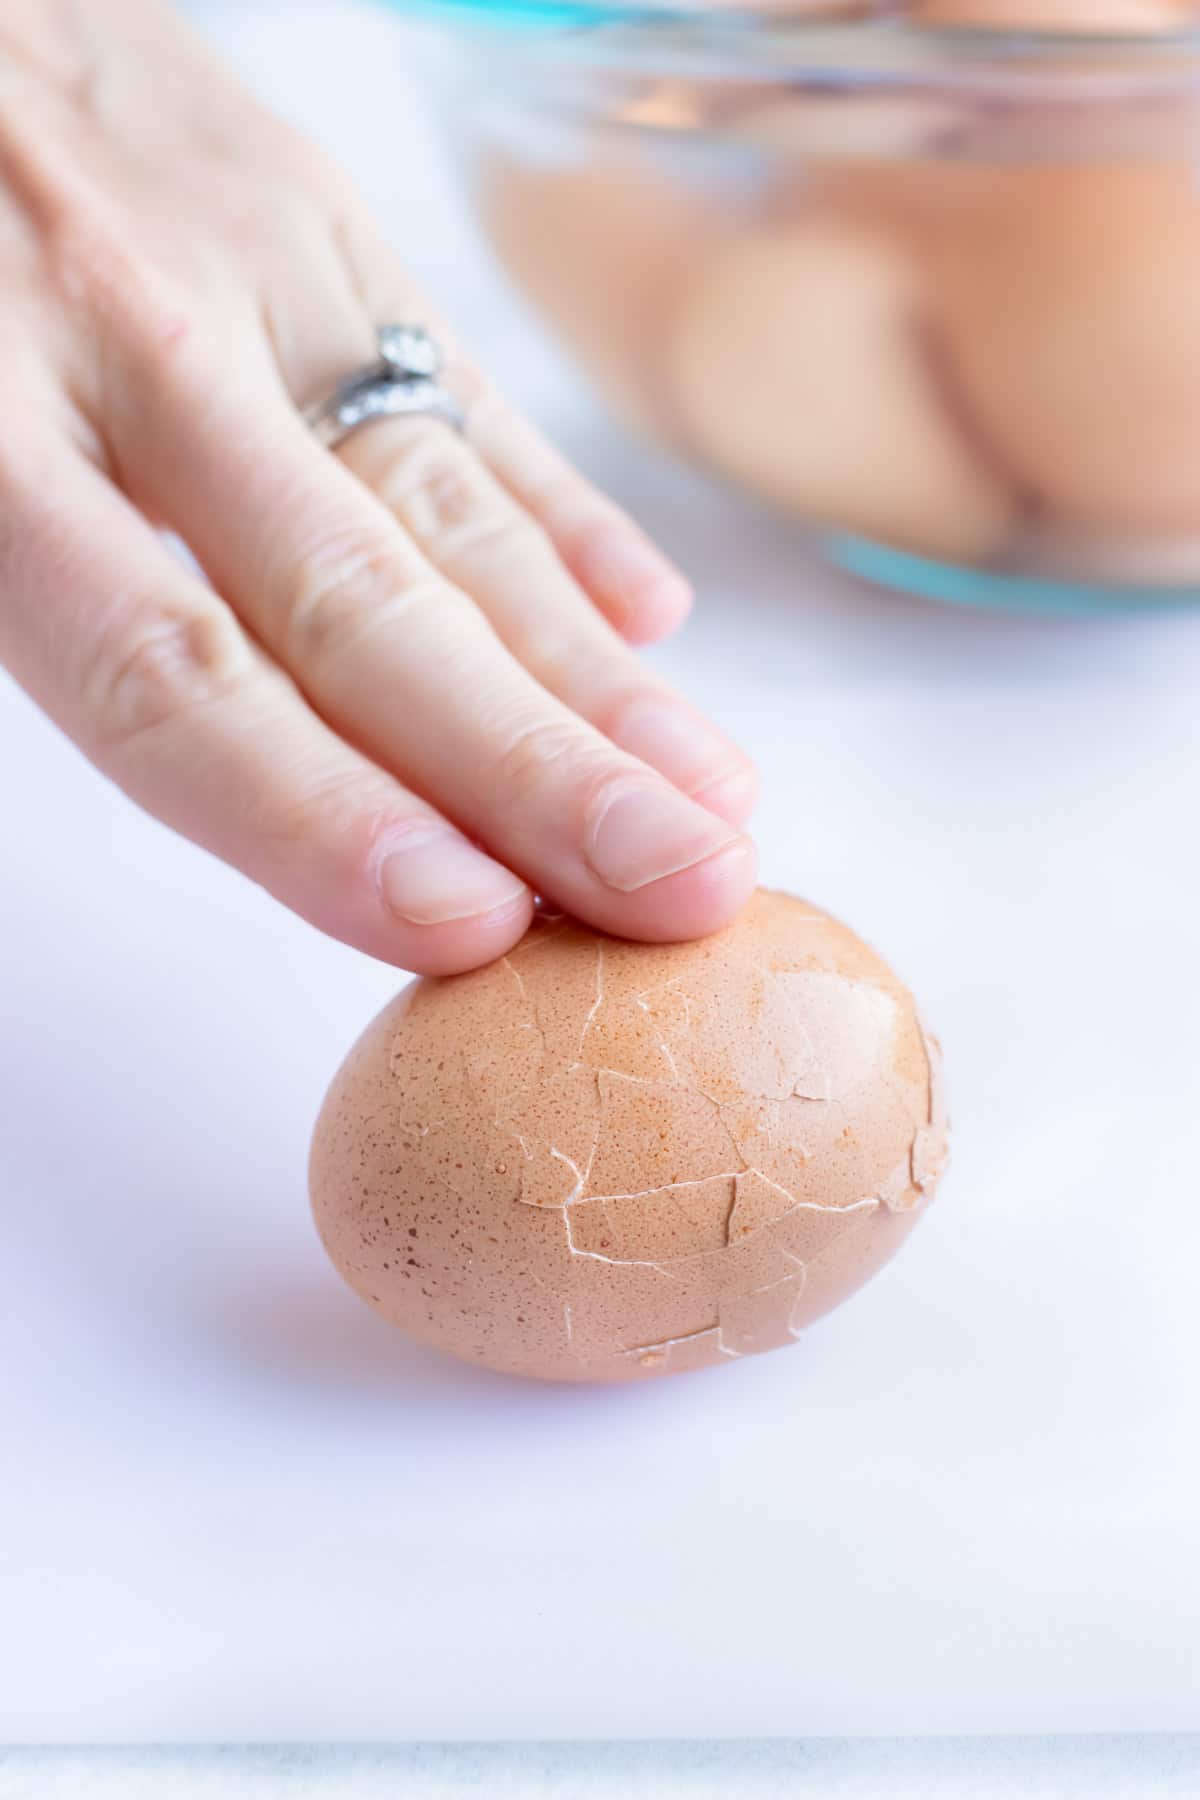
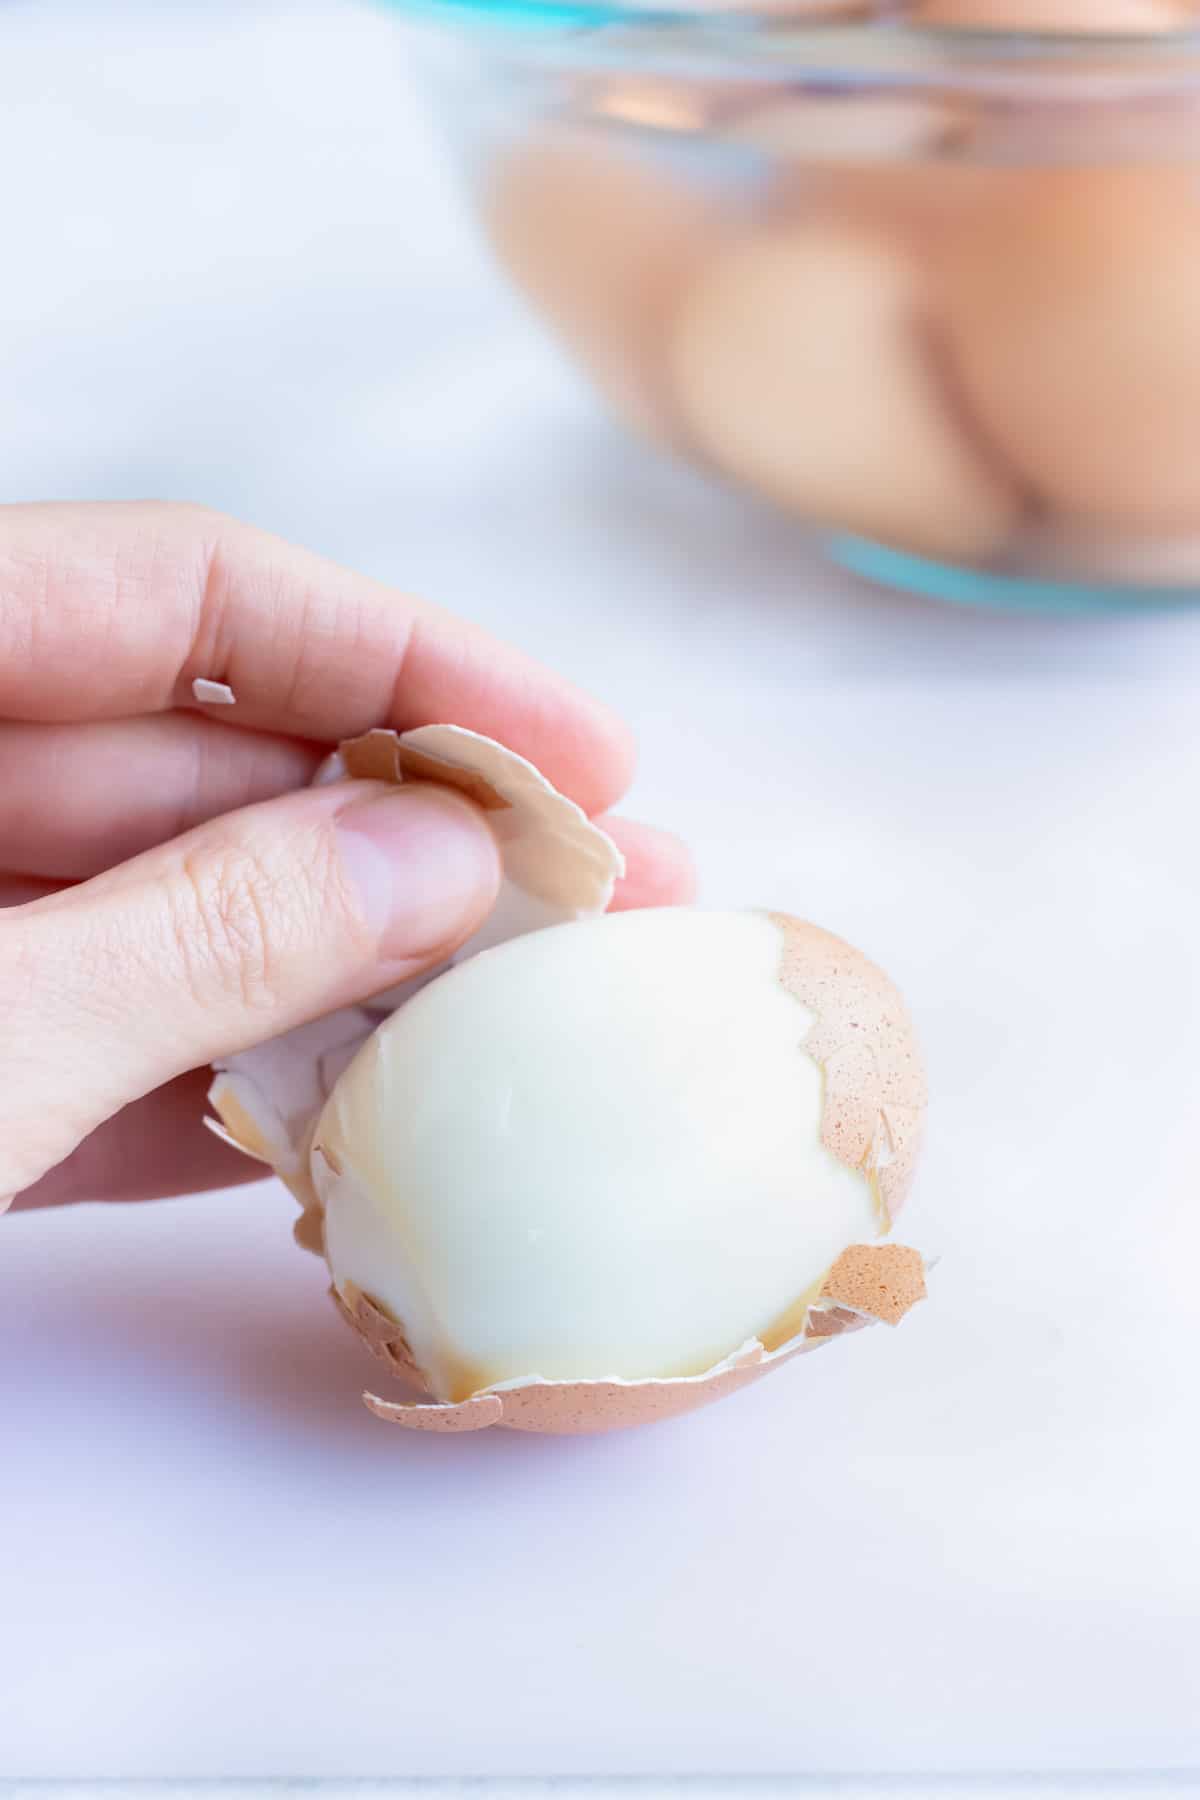
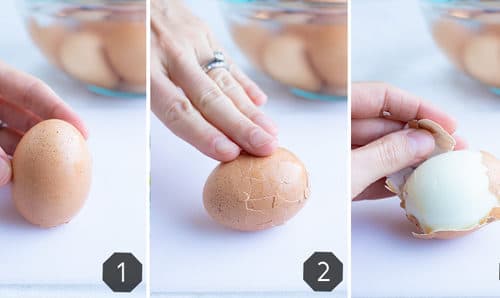
When the eggs are ready to be used or eaten, gently hitting the rounded bottom of the egg and then vigorously rolling the egg between your palm and the counter will help create cracks all over the shell.
Run each egg under a stream of cold water while peeling it, to help loosen the shell and membrane from the cooked egg whites. Using your fingertips and the edges of your fingernails, gently pull away the fragments of shell until only the smooth, cooked egg remains.
From there, the eggs can be sliced, chopped, deviled, or eaten directly as desired. Enjoy!
Meal Prep and Storage
- To Store: Hard-boiled eggs will last in the fridge for up to 1 week. If already peeled, they should be stored in an airtight container with a damp paper towel covering them on the top and bottom to keep them moist.
- To Freeze: It is not recommended to freeze hard-boiled eggs, as the texture of the whites will become rubbery and unpleasant in the process.
FAQs
There are lots of accessories that are amazing for making hard-boiled eggs in the Instant Pot. A steamer basket works great and is multi-functional, able to be used for steaming vegetables, making dumplings, and much more. A dedicated egg rack is tailored specifically to this purpose, but eggs should always be placed with the rounded side down in the holes to ensure even cooking. A trivet is a little less stable, and care must be taken when stacking the eggs, but most Instant Pots already come with one included.
A green ring around the yolk of a hard-boiled egg is the result of the hydrogen in the egg white and the sulfur in the yolk interacting, generally because of being boiled for too long or because of a high amount of iron in the water. Hard-boiled eggs with a green ring around the yolk are still perfectly safe to eat.
Brown spots developing on the shell or in the white of a hard-boiled egg is an indication of overcooking, usually as the result of insufficient water for steaming, or overexposure to a direct heat source. This is why using a suspending insert like an egg rack or steamer basket is most recommended, to prevent the eggs from coming in direct contact with the bottom or sides of the Instant Pot.
Expert Tips and Tricks
- Use older eggs. Some sources say that using older eggs as opposed to fresh ones makes them easier to peel, so the hard-boiled method is a great way to use up any eggs that you’ve had for a week or two.
- Let them soak. Making use of an ice bath immediately after hard-boiling eggs helps loosen the shell from the whites – the longer they sit, the easier they will peel.
- Keep it cool. Using both cold water and cold eggs at the beginning of the cooking process allows them to cook more evenly, as the water and eggs will come up to temperature together.
- Experiment with timing. The cooking time and conditions will remain the same regardless of whether you cook batches of three eggs or a dozen, so experiment with different cooking times to find your perfect level of soft- or hard-boiling in the Instant Pot.
- Consider altitude Those who live in higher-altitude locations may find they have to cook eggs for longer to achieve the same result, on account of a lower boiling point – and cooking temperature – in those conditions.
Recipes with Hard-Boiled Eggs
Once you have your hard boiled eggs cooked and peeled, you can either eat them on their own with a bit of salt and pepper or utilize them in one of these many delicious recipes:
- Classic Deviled Eggs
- Avocado Egg Salad
- Southern Potato Salad
- Chicken Cobb Salad
Tap stars to rate!
Instant Pot Hard-Boiled Eggs
email this recipe!
Ingredients
- 12 eggs
- 1 cup cold water
- Ice bath
Instructions
- Pour cold water into a 6-quart Instant Pot. Place the steamer basket, egg rack, or trivet full of eggs into the Instant Pot.
- Cover Instant Pot with lid and ensure the pressure release valve is sealed.
- Turn the Instant Pot onto High Pressure and set the timer for 5 minutes if you like a slightly less done yolk, or 6 minutes if you like them a bit more creamy.
- The Instant Pot will take a few minutes to heat up, and then will start the cooking process (5-6 minutes.) Once the Instant Pot timer goes off, wait an additional 5 minutes before releasing the pressure valve.
- Quickly remove your eggs using towels (the eggs will be hot!) and transfer them to an ice water bath. Make sure the eggs are completely covered with water/ice and let them cool in the ice bath for at least 5 minutes.
- Once completely cooled, hit the rounded bottom of the egg on a hard surface and then vigorously roll the egg so it has cracks ALL over it. Peel the egg under cold running water for best results.
- Make classic deviled eggs, egg salad sandwiches, or enjoy them on their own!
Tap stars to rate!
Video
Notes
Meal Prep and Storage
- To Store: Hard-boiled eggs will last in the fridge for up to 1 week. If already peeled, they should be stored in an airtight container with a damp paper towel covering them on the top and bottom to keep them moist.
- To Freeze: It is not recommended to freeze hard-boiled eggs, as the texture of the whites will become rubbery and unpleasant in the process.
Nutrition
Nutrition information is automatically calculated, so should only be used as an approximation.




Ohhhhh that’s genius! I never thought to make them in there! Trying this tomorrow.
Thanks, Shannon!! They’re SUPER easy in the IP. Hope you enjoy them!