
The Mexican beef and rice skillet that became a weeknight repeat by accident

Little did I know the first night Justin made this Mexican Beef and Rice Skillet for us that we’d be eating it literally WEEKLY in our house. (Check out more of Justin’s Recipes!)
You know how some dishes just sort of become staples on accident? Yup, that was this one.
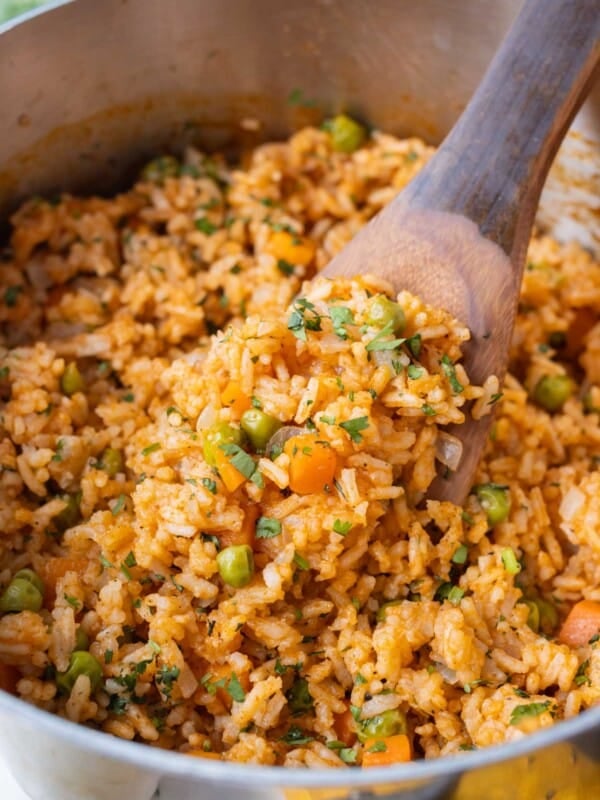
It’s as if you combined taco-seasoned ground beef with the best Mexican rice, tossed in a bit of black beans and canned corn, and then let it all cook up together.
A few things set this one apart from the other Mexican beef and rice skillets out there: a whole jar of salsa carries the flavor (no plain tomato sauce in sight), basmati rice gives every bite a little texture and aroma, and the whole meal cooks together in one single pot. No sides required.
Once you see how easy it is to make, how soul-satisfying it is to eat, and how much leftovers it pulls off in one go? I think you’re about to hop onto team weeknight repeat, too.
Ingredients and Substitutions
For the exact measurements and detailed instructions, please see the recipe card below.

- Ground beef. The best option is an 85/15 or 90/10 blend. You want some of the fat, but still a leaner option. Change it up with ground pork or even ground turkey.
- Onion. A finely diced onion is sautéed to create a rich flavor. A sweet onion is the best balance, but you can opt for yellow or white, as well. (Here’s more info on how to cut an onion.)
- Taco seasoning. Make your own homemade taco seasoning, or grab a store-bought jar from the grocery store.
- Rice. Long grain white rice was used to test this recipe. Don’t sub in brown rice or minute rice, the liquid ratio is very different. Remember to rinse the rice first.
- Salsa. A mild or medium jar of salsa works, and you can choose your desired spice level. Or, make your own like this Roasted Tomato Salsa Recipe.
- Bell pepper: Adds a little sweetness and color. A green, red, or yellow bell pepper all work; just dice it on the small side so it cooks down with the onion.
- Garlic: Fresh, minced. Three cloves is the sweet spot.
- Chicken broth: Low-sodium is my go-to since the taco seasoning and salsa are already bringing the salt. Vegetable or beef broth work too.
- Corn: Canned, rinsed and drained. Frozen corn works too. Just thaw and pat dry first so it doesn’t water down the pot.
- Black beans: Canned, rinsed and drained. Pinto beans are an easy swap if that’s what’s in the pantry.
- Cilantro: Fresh, finely chopped. Stirred in at the end so it stays bright. Not a cilantro person? Flat-leaf parsley is a fine swap.
- Lime: Fresh, never bottled. The squeeze at the end is what pulls everything together.
Step-by-step Instructions
Please see the recipe card below for the full instructions, ingredient amounts, and a printable recipe.
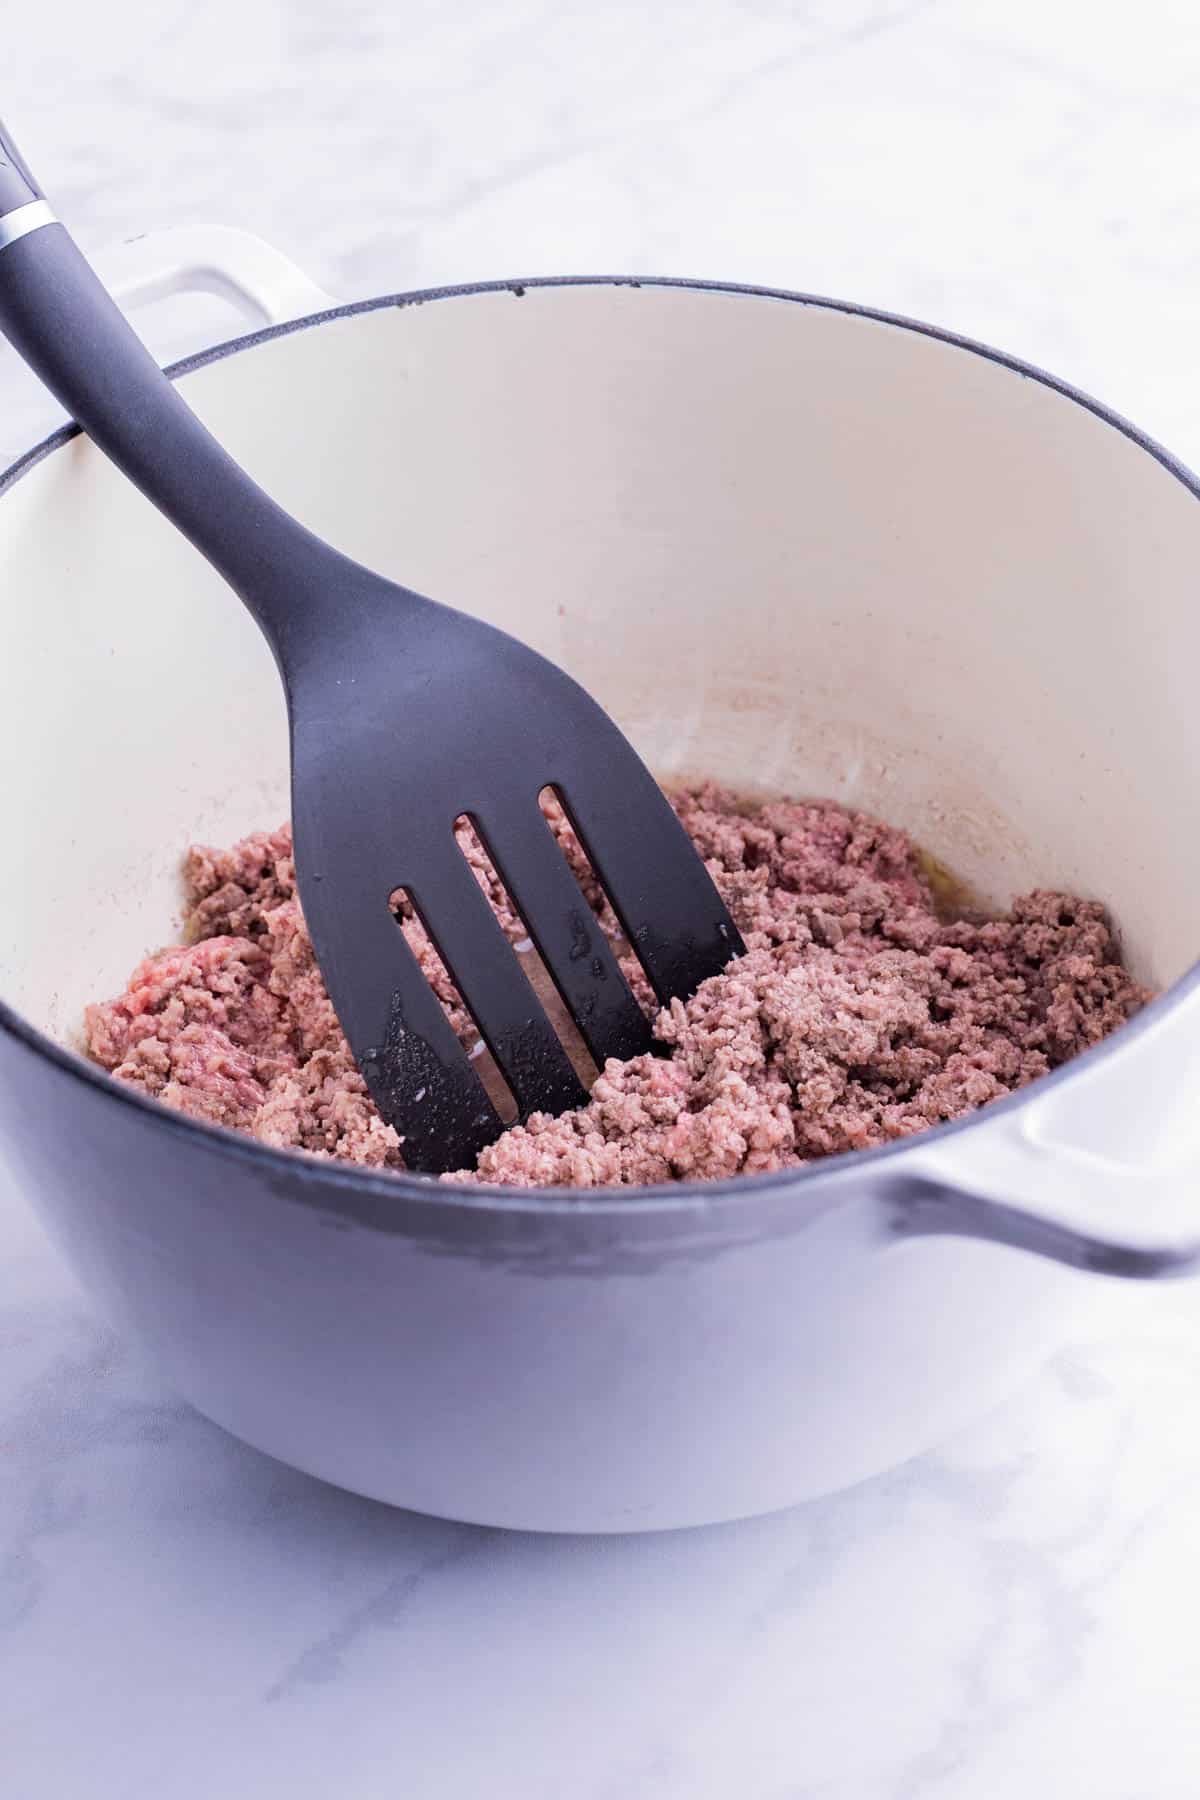
Cook the meat.
Add the ground beef to a large pot or Dutch oven and cook for 7-8 minutes. It should no longer be pink.
Use a potato masher to crumble the meat into small pieces. Remove the beef from the skillet and set aside on a plate.
Don’t skip browning the beef well. Those deep, browned bits are where the flavor lives.
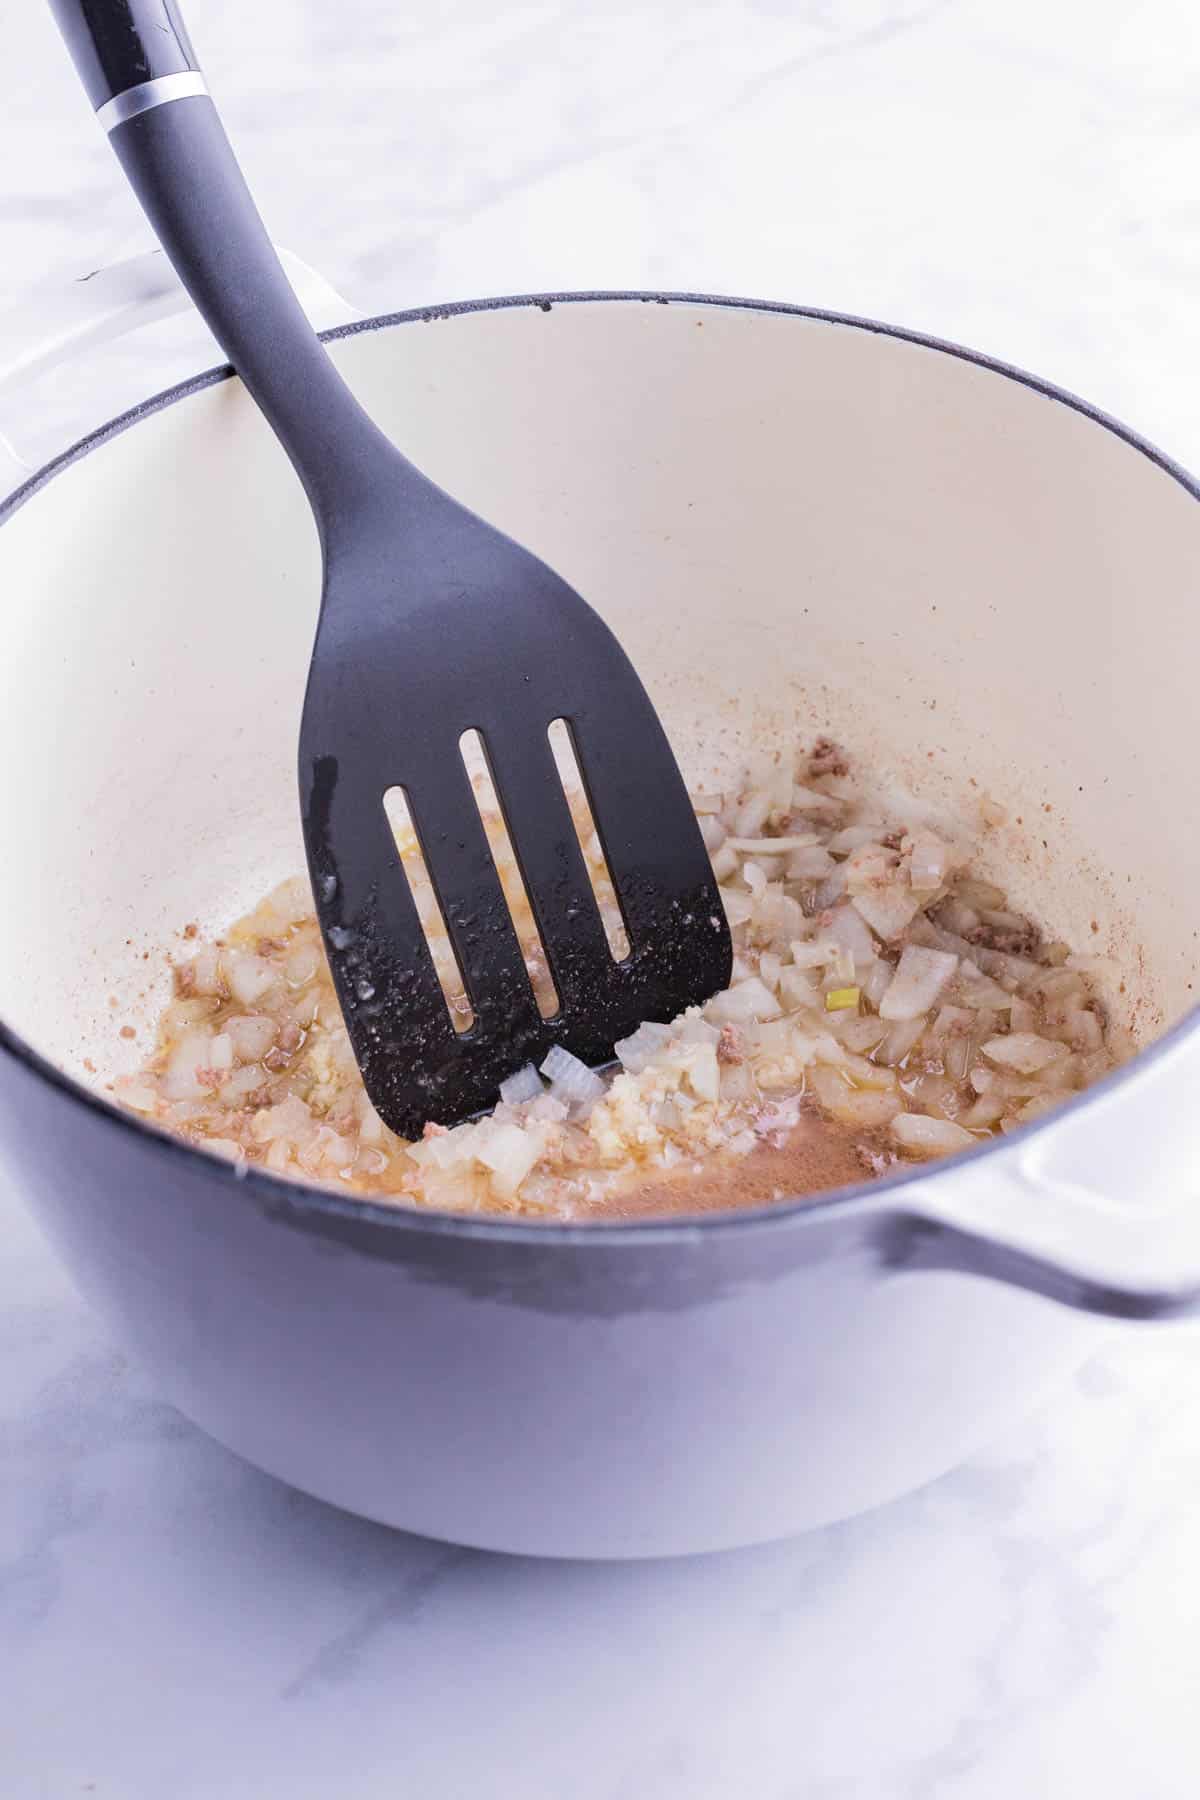
Sauté the onion.
While the beef is cooking, finely dice the fresh onion. Add the chopped onion and bell pepper to the grease left behind by the beef, and sauté for 2 to 3 minutes.
Add the minced garlic and cook for another 30 seconds.
Rinse the basmati rice in a fine-mesh strainer until the water runs clear. Skipping this gives you gummy rice.
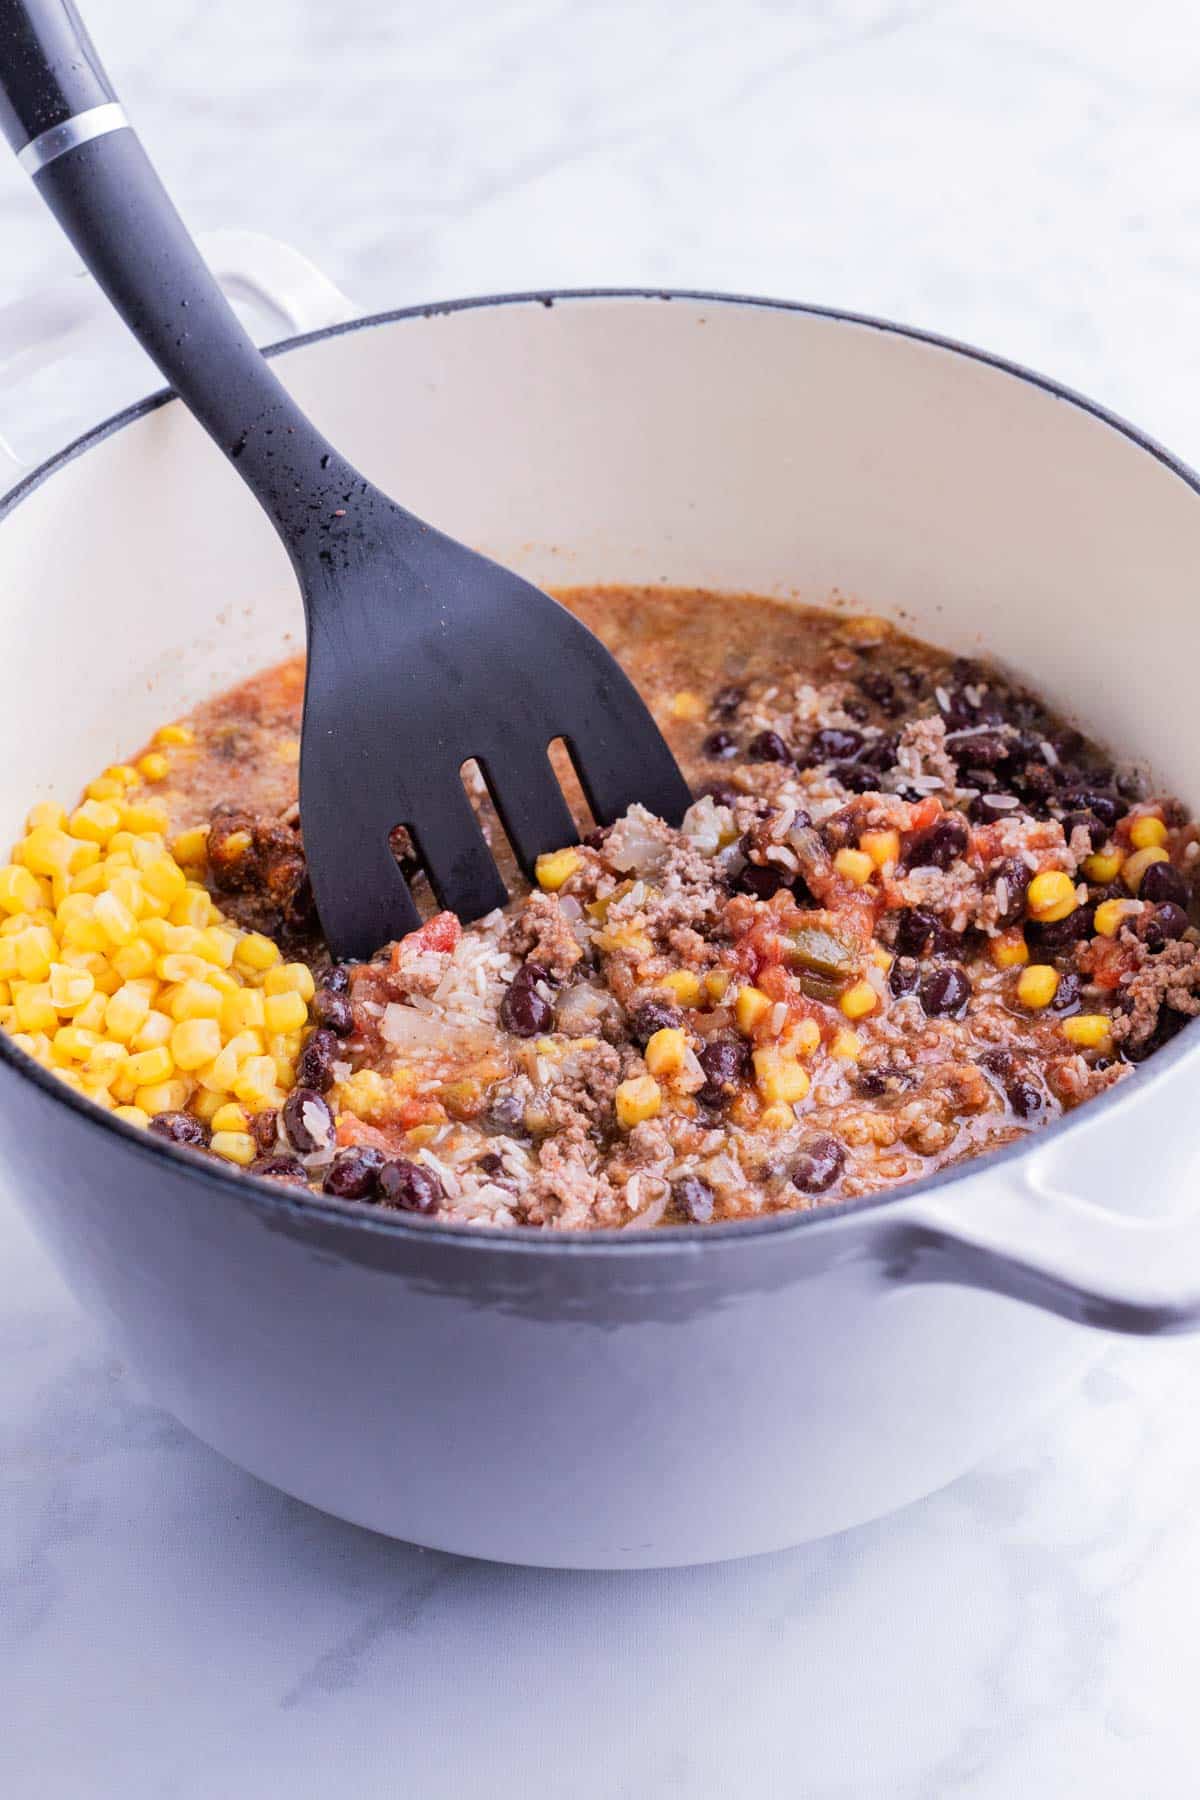
Add the remaining ingredients.
Pour the chicken broth into the skillet, then add the uncooked rice, salsa, corn, black beans, cooked beef, taco seasoning mix, and salt to the Dutch oven. Stir everything together with a wooden spoon.
Turn the heat to high and bring to a boil. Then, reduce the heat to low. Cover the pot with a lid and let the rice mixture simmer for 25 to 30 minutes. The rice should be tender.
Resist the urge to peek under the lid while it simmers. The trapped steam is what cooks the rice evenly.
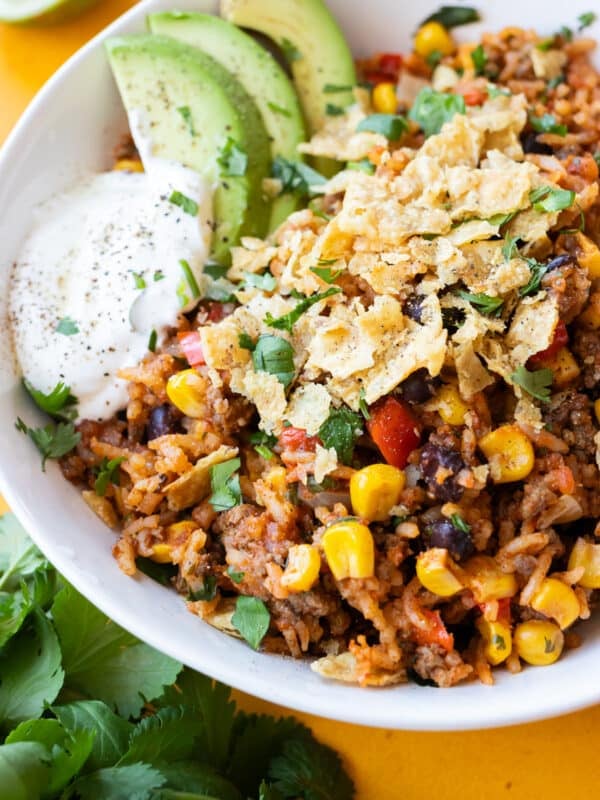
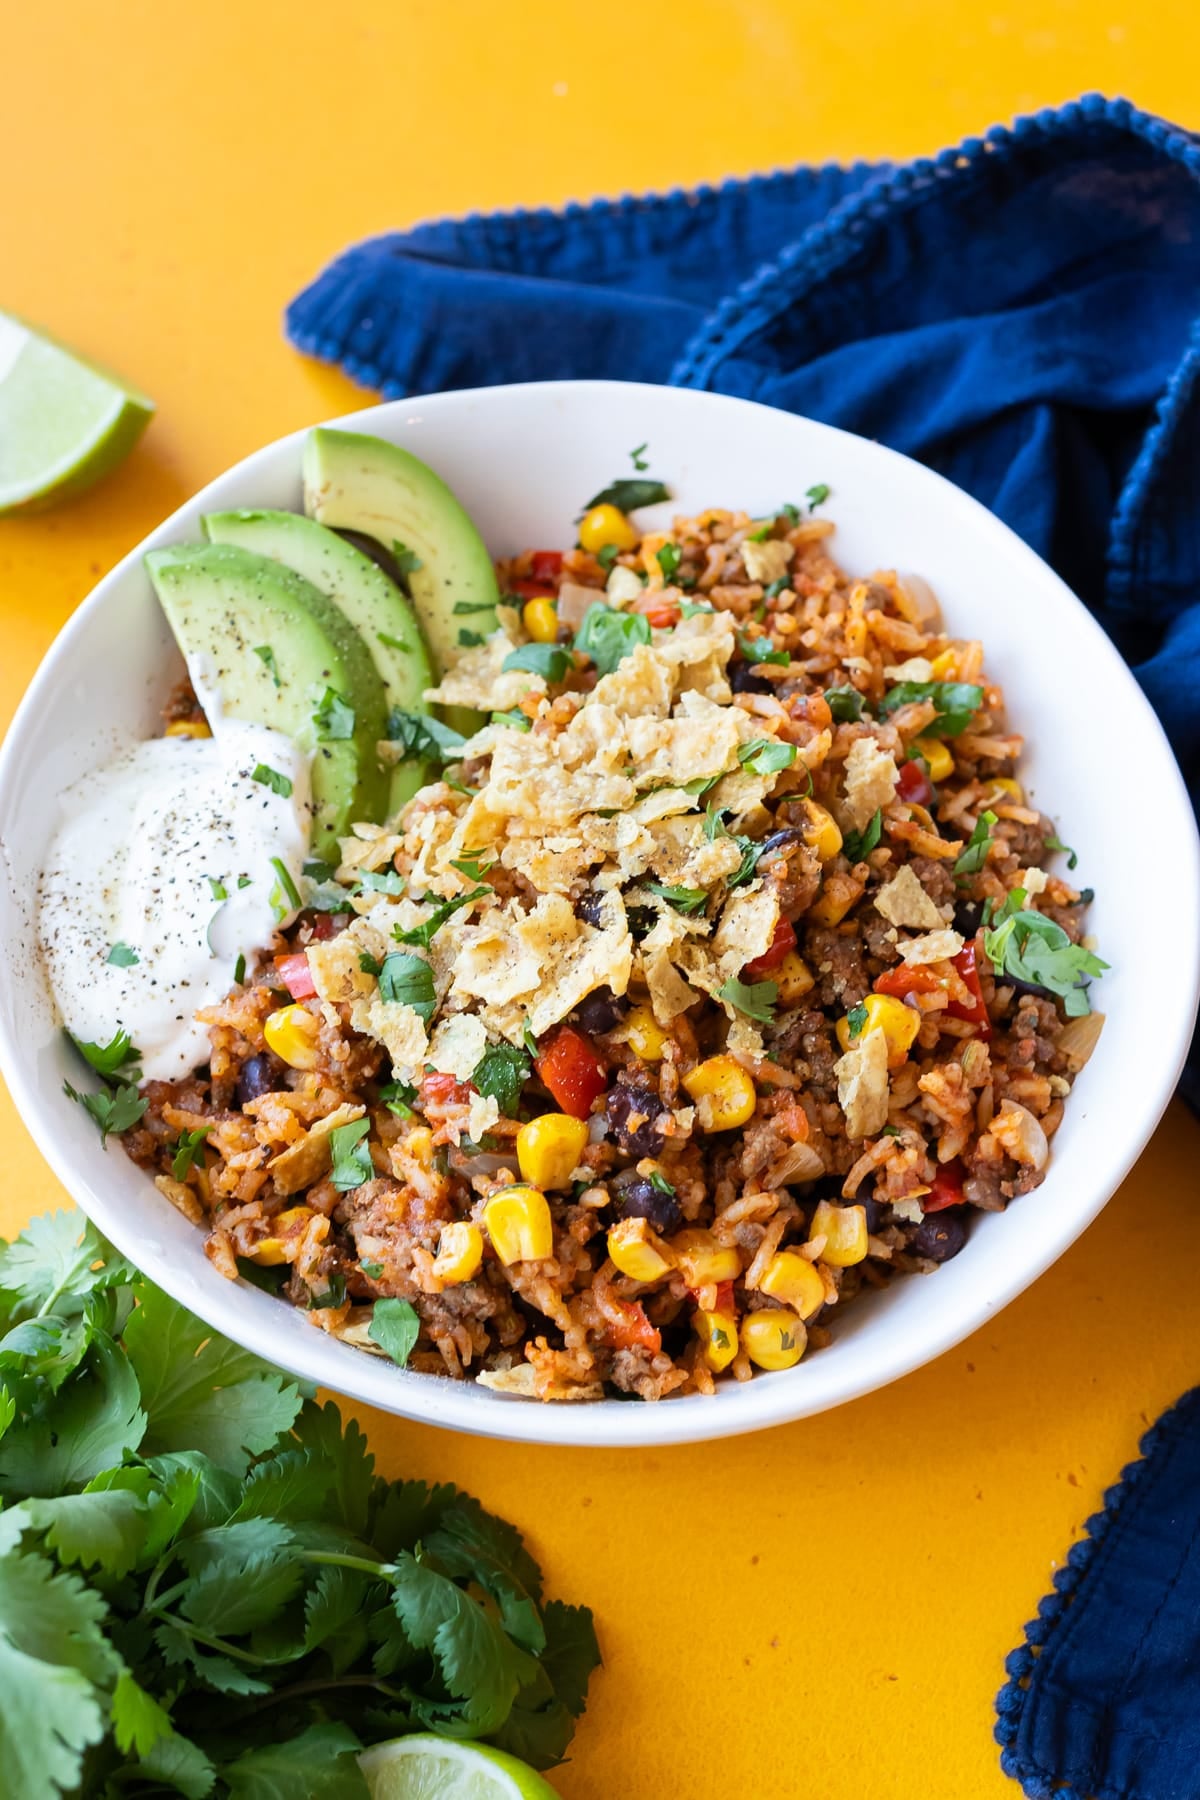
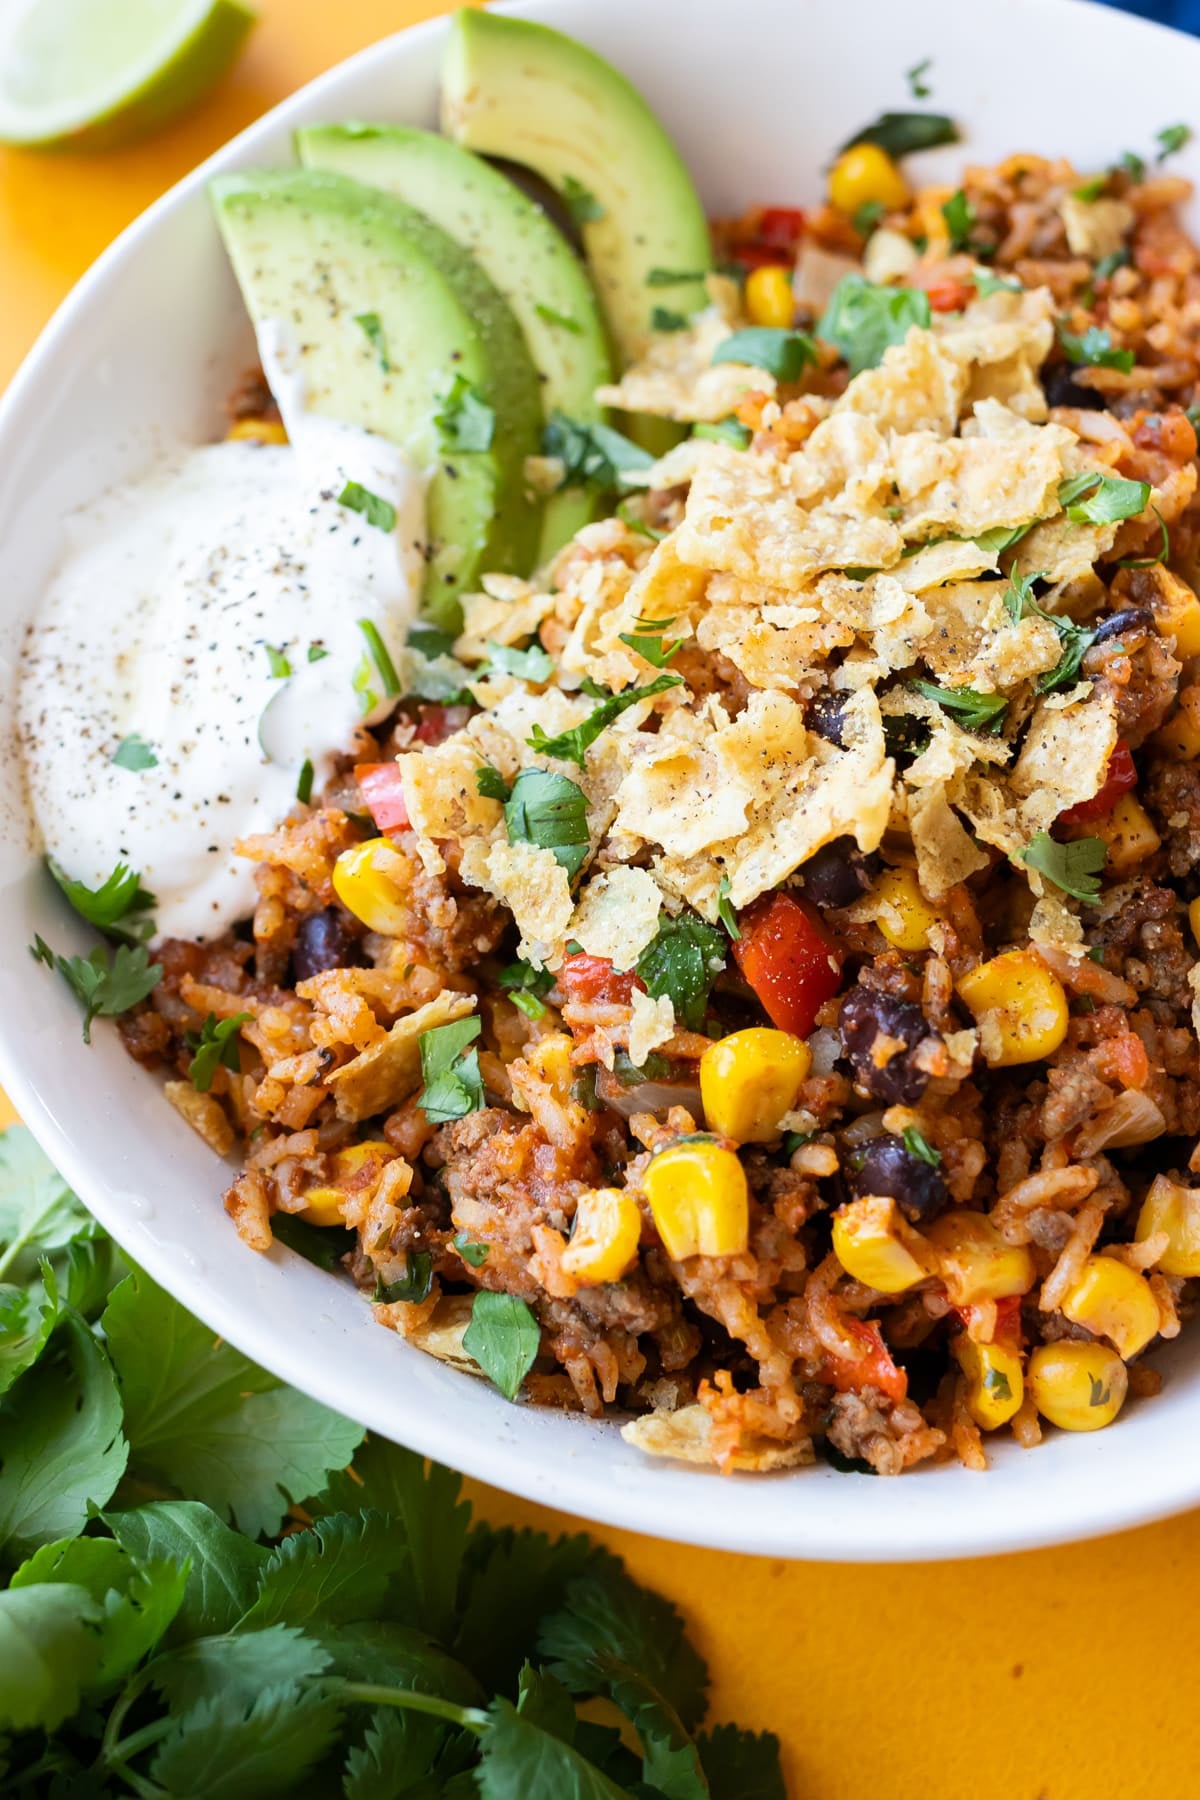
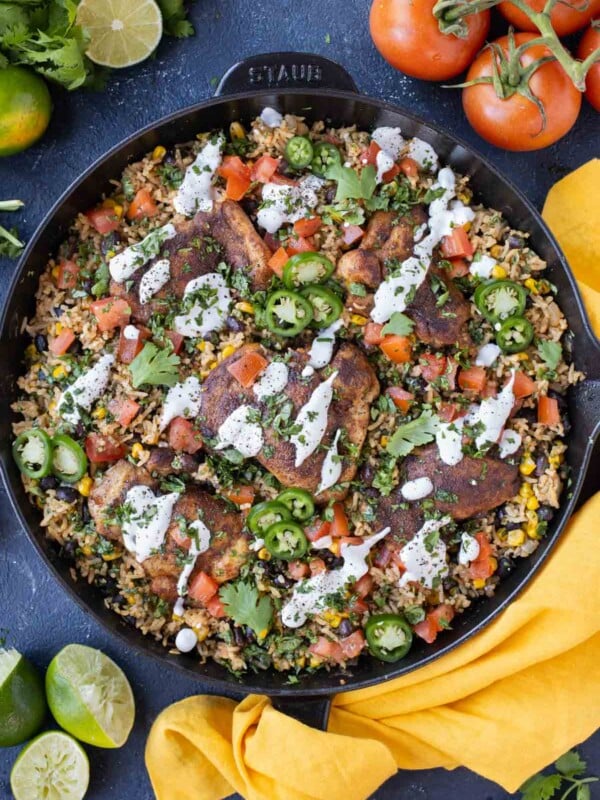
Serve with toppings.
After the rice is fully cooked, you’re ready to dig in. Stir the chopped cilantro into the Mexican ground beef skillet and serve with some freshly squeezed lime. You can’t go wrong with your favorite taco toppings, like some chopped green onions, sour cream, diced tomatoes, hot sauce, or even homemade tortilla chips.

FAQs
The best way to season Mexican beef and rice is with taco seasoning, either homemade or store-bought. Of course, don’t forget the fresh cilantro and lime juice.
Yes! Rinsing the rice before cooking removes the extra starch, ensuring the best possible texture.
Not really. Brown rice needs a longer cook time and more liquid, and minute rice cooks too fast. Long-grain white rice (I love basmati) gives you the best texture in the 25-30 minute simmer.
Yes! Ground turkey is the easiest swap. Use a drizzle of olive oil since both are leaner than beef.
Yes, for up to 2 months in a freezer-safe container. The rice texture softens after thawing but the flavor holds up well.
Salsa is the easiest dial: mild for kid-friendly, medium for the middle, or hot for a kick. A diced jalapeño in the beef step takes it up another notch.
Oops! What Did I Do Wrong?!
My rice is undercooked. The pot probably didn’t simmer long enough or the heat dropped too low. Add a splash of broth, cover, and give it 5-7 more minutes.
My rice is mushy. Too much liquid or too much peeking. Stick to a tight-lidded simmer next time and let the steam do its job.
It’s sticking to the bottom of the pot. The heat was probably too high. Once it’s simmering, drop the burner to low and let it ride.
It’s too spicy (or too mild). Salsa choice is the big lever. Swap to mild for less heat, hot salsa or a diced jalapeño for more.
How to Store Mexican Beef and Rice Skillet
Fridge: Cool to room temperature, then store leftovers in an airtight container for 3-4 days. The flavor gets even better on day two.
Reheat: Warm gently on the stovetop over low heat with a splash of broth to loosen the rice. Microwave works too: 1-2 minutes, stirring halfway.
Freeze: Portion into freezer-safe containers and freeze up to 2 months. The rice texture softens a bit after thawing, but the flavor holds up well.
Make-ahead: This is a solid Sunday-cook-once-eat-twice option. It reheats really well for weeknight lunches.
What to Serve with Mexican Beef and Rice Skillet
Make it a taco-night spread. Set out a bowl of Homemade Pico de Gallo and Roasted Tomato Salsa, pile up Baked Tortilla Chips for scooping, and don’t forget a big bowl of Homemade Guacamole.
For a little crunch on top, Fish Taco Slaw doubles as a Mexican-style slaw that lightens up the beef and rice in the best way.
For a vegetable on the side, Air Fryer Broccoli is fast and roasty, Sautéed Green Beans hold their own next to bold flavors, or Air Fryer Brussels Sprouts bring caramelized edges.
Want to lighten things up? A Lemon Arugula Salad or Massaged Kale Salad cuts the richness of the skillet with bright, fresh greens.
On a hot night, Easy Shrimp Ceviche with Avocado makes a fresh starter that sets up the Mexican flavors before the main.
Tap stars to rate!
Easy Mexican Beef and Rice Skillet Recipe

email this recipe!
Ingredients
- 1 pound 85/15 ground beef
- 1 medium sweet onion diced
- 1 medium bell pepper diced
- 3 garlic cloves finely minced
- 1 ¼ cups basmati rice rinsed and drained
- 2 cups chicken broth
- 1 (16-ounce) jar salsa mild or medium
- 1 (15.25-ounce) can corn rinsed and drained
- 1 (15.5-ounce) can black beans rinsed and drained
- 3 tablespoons taco seasoning mix*
- ½ teaspoon salt to taste*
- 1 small bunch cilantro finely chopped
- 2 tablespoons lime juice from 1 lime, plus more for serving
Instructions
- Add the ground beef to a large pot or Dutch oven over medium heat. Cook for 7-8 minutes, or until no longer pink. Break the meat apart into smaller crumbles. Remove beef and place on a separate plate until needed.1 pound 85/15 ground beef
- Sauté the Onion: While the beef is cooking, prep the onion. Add onion to any grease remaining in the Dutch oven and saute for 2-3 minutes. Add the minced garlic and continue sauteing for another 30 seconds.1 medium sweet onion, 3 garlic cloves
- Add Remaining Ingredients: Pour in the rice, broth, salsa, corn, black beans, cooked beef, taco seasoning, and salt. Give it all a good stir. Increase heat to high and bring to a boil. Once boiling, reduce heat to low, cover the pot with a lid and simmer for 25-30 minutes, or until rice is tender.1 ¼ cups basmati rice, 2 cups chicken broth, 1 (16-ounce) jar salsa, 1 (15.25-ounce) can corn, 1 (15.5-ounce) can black beans, 3 tablespoons taco seasoning mix*, ½ teaspoon salt
- Finish and Serve: Once rice is fully cooked, mix in chopped cilantro and serve with freshly squeezed lime juice. Enjoy!1 small bunch cilantro, 2 tablespoons lime juice
Tap stars to rate!
Video
Notes
- Seasoning: This recipe is made using a homemade taco seasoning mix. If using a store-bought brand, you may need to adjust the amount of salt accordingly.
- Rice: Hold the rice under running water to remove the extra starch.
- Salsa: You can make your own salsa and taco seasoning to ensure the perfect amount of spice.
- Spice: Include chili powder, cayenne pepper, or even fresh jalapeño peppers for an added kick.
Nutrition
Nutrition information is automatically calculated, so should only be used as an approximation.
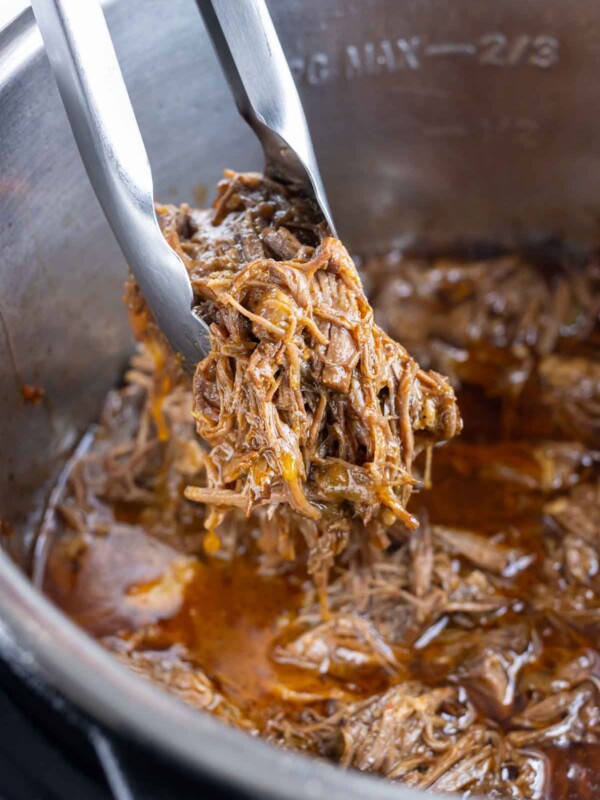
More Easy Mexican Recipes
Once you taste this Mexican-inspired dish, I’m sure you’ll be chomping at the bit for more like it!


When do you add the bell pepper?
Hi Terry! Add the bell peppers along with the onion after browning the meat. Hope you enjoy the recipe!
We really enjoyed this tonight, though made these changes:
Only 2 TBS of Taco seasoning…and it was spicy-hot enough, for us 🙂
Added at least another cup of broth, and 15 more minutes to get the rice cooked.
Then we covered the top with cheese, and served it up with guacamole, sour cream, more salsa, and tortilla chip, of course !! Delicious!! And it made a LOT, so we will enjoy it again!
Also, adding more broth would turn it into a hearty soup!!
That sounds absolutely delicious — thank you so much, Susan! I love how you adjusted the taco seasoning to fit your heat preference, and all those toppings are exactly how this skillet shines. Adding more broth to turn it into a soup is such a great idea, too. I’m so glad it made plenty for leftovers… sometimes it’s even better the second time around!