
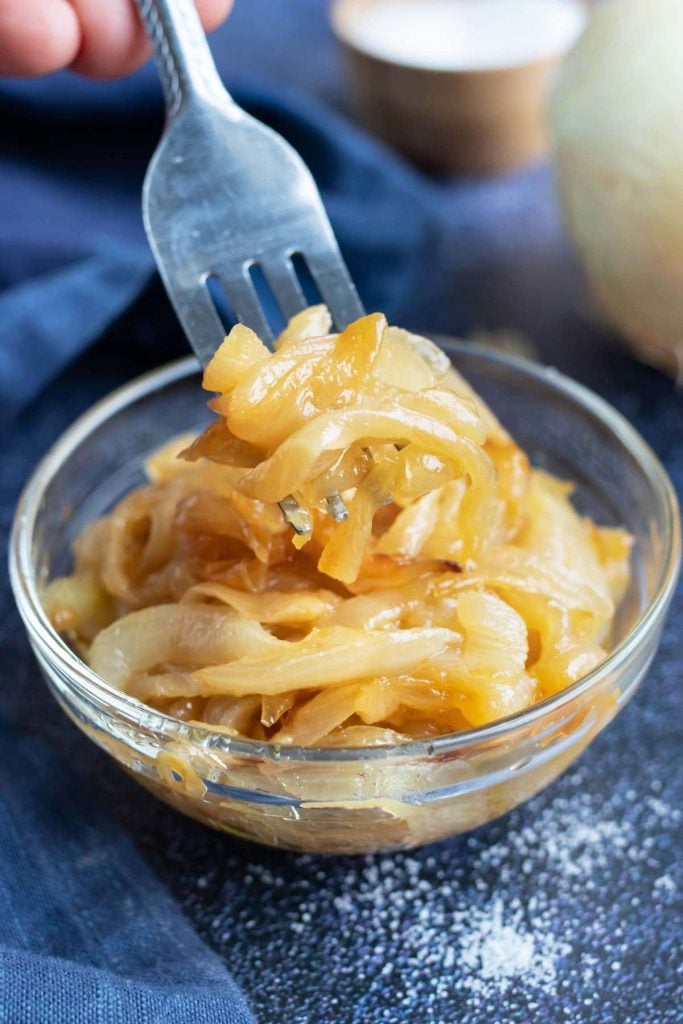
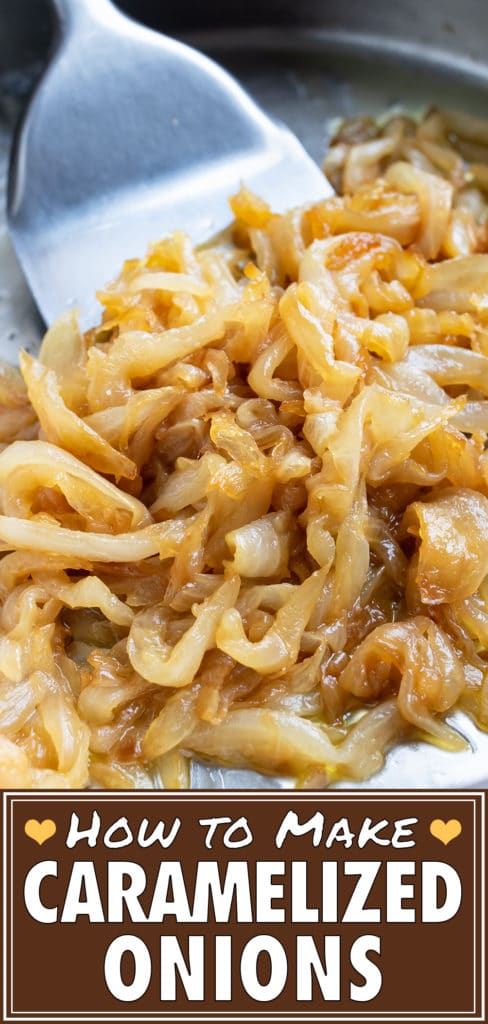
Golden, jammy onions with big flavor.

There are few things more addictive than a skillet of beautifully sautéed onions.
Oftentimes, I find their sweet and savory flavor to be the PERFECT accompaniment to bring a recipe to the next level. Whether as a topping for a steak or a burger, mixed into a quiche, or even served as the base to a rich French onion soup, they never disappoint.
It can be tempting to try and quickly whip up caramelized onions. Don’t! There’s simply no replacement for the rich depth of flavor that comes with a little time and patience.
Allow the pan-fried onions the time to fully release their natural sugars and brown all the way through. You can be assured that their flavor will far surpass that of any shortcut. And you can’t beat this simple recipe.
So while this isn’t a technique that can be done last-minute, it is still a super easy way to add a rich, savory, buttery flavor to your favorite recipes!
Ingredients and Substitutions
For the exact measurements and detailed instructions, please see the recipe card below.
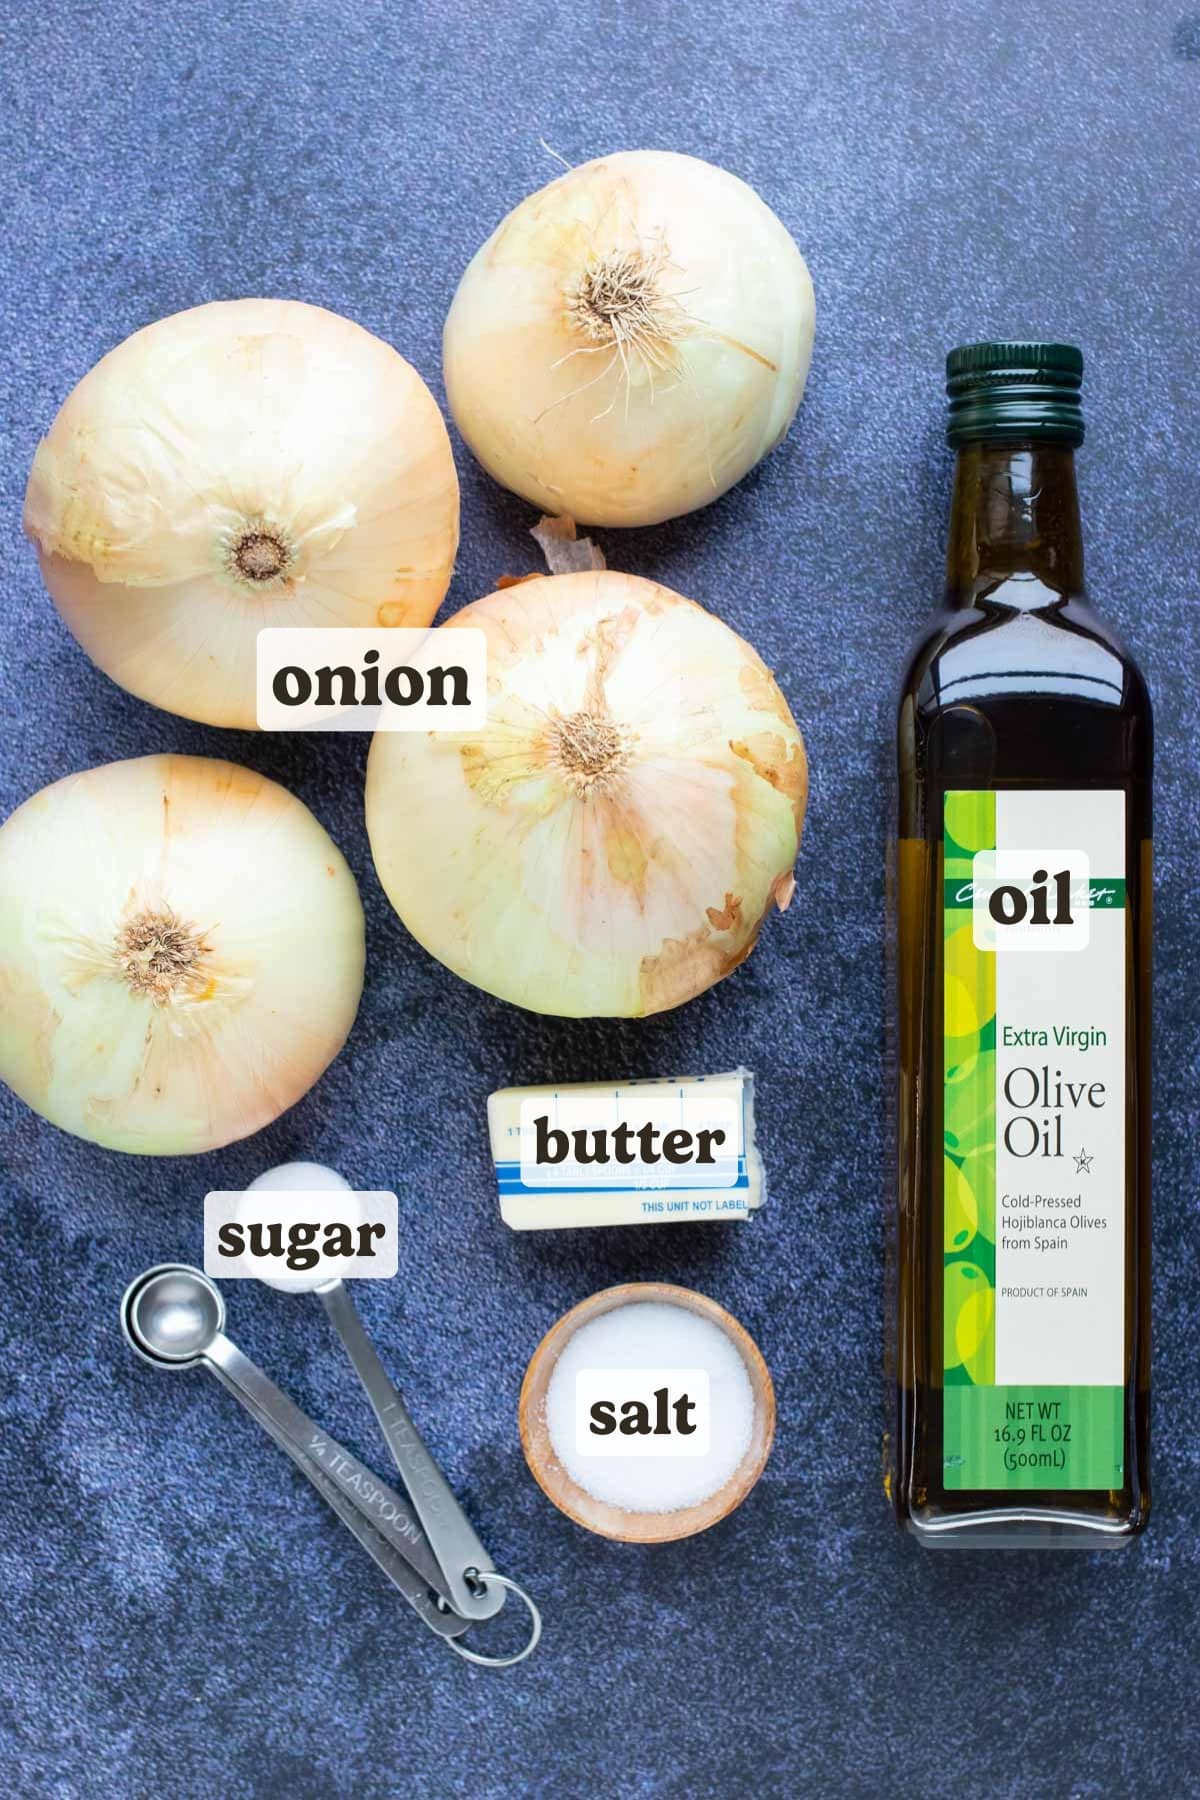
- Butter. A high-quality butter is added toward the end of cooking. It provides an extra layer of richness and flavor. This may be omitted or substituted with vegan butter for a dairy-free diet, or with ghee for a Paleo or Whole30 diet.
- Onions. Sweet onions like Vidalias are the best type to caramelize due to their high natural sugar content. Any other variety, like yellow or white onions, will work too. But you may need to supplement with a pinch of sugar to reach the desired sweetness level. Types with strong flavor, like red onions, aren’t the best option.
- Oil. Because of the relatively low temperature at which caramelization occurs, any type of oil may be used, regardless of smoke point. A more mildly flavored oil, like vegetable or avocado oil, is recommended in order to avoid overpowering the sweetness of the onions.
Step-by-step Instructions
Please see the recipe card below for the full instructions, ingredient amounts, and a printable recipe.
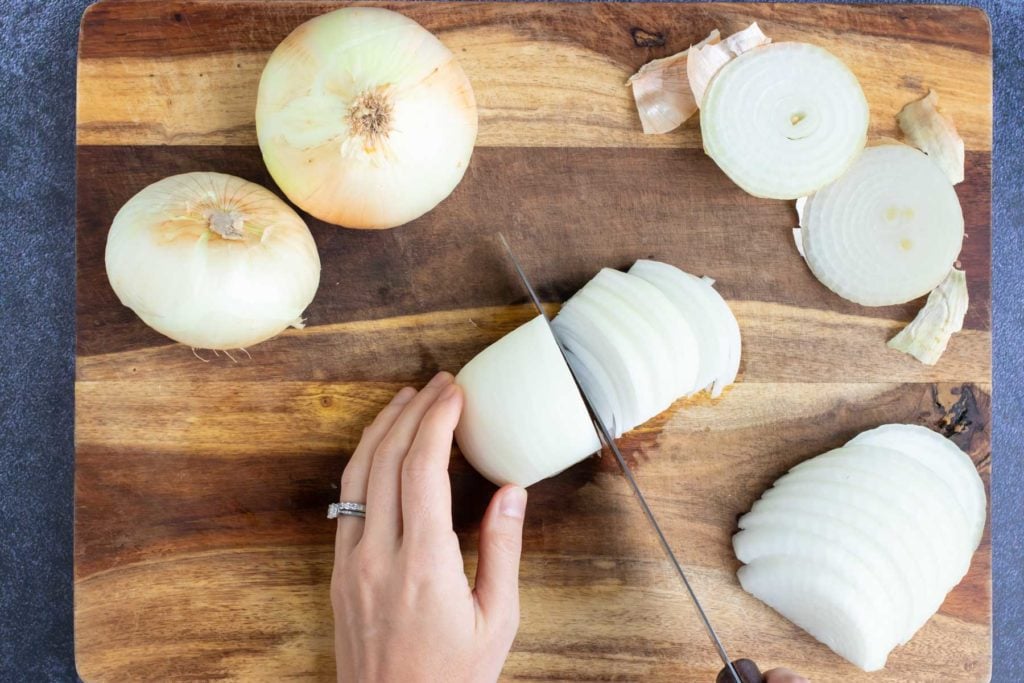
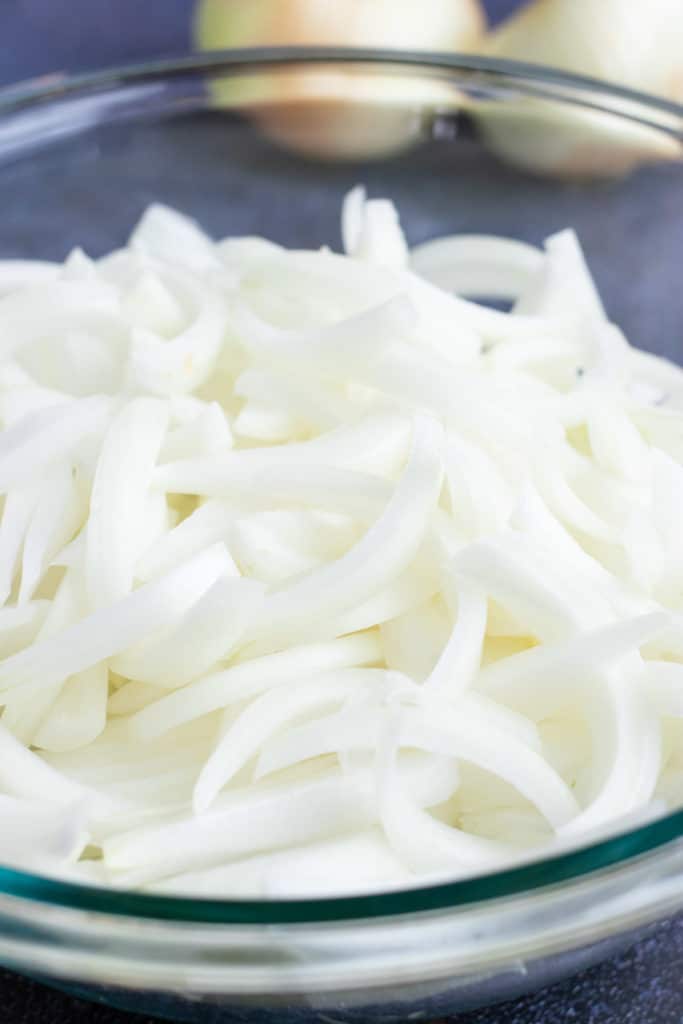
Slice the onions.
The thinner the onions are sliced, the more quickly they will caramelize. For the best results, cut the onions about ¼-inch thick with a sharp knife on a cutting board. Separate any slices that are stuck together so they cook evenly.
Pro Tip: For more information, learn how to cut an onion.
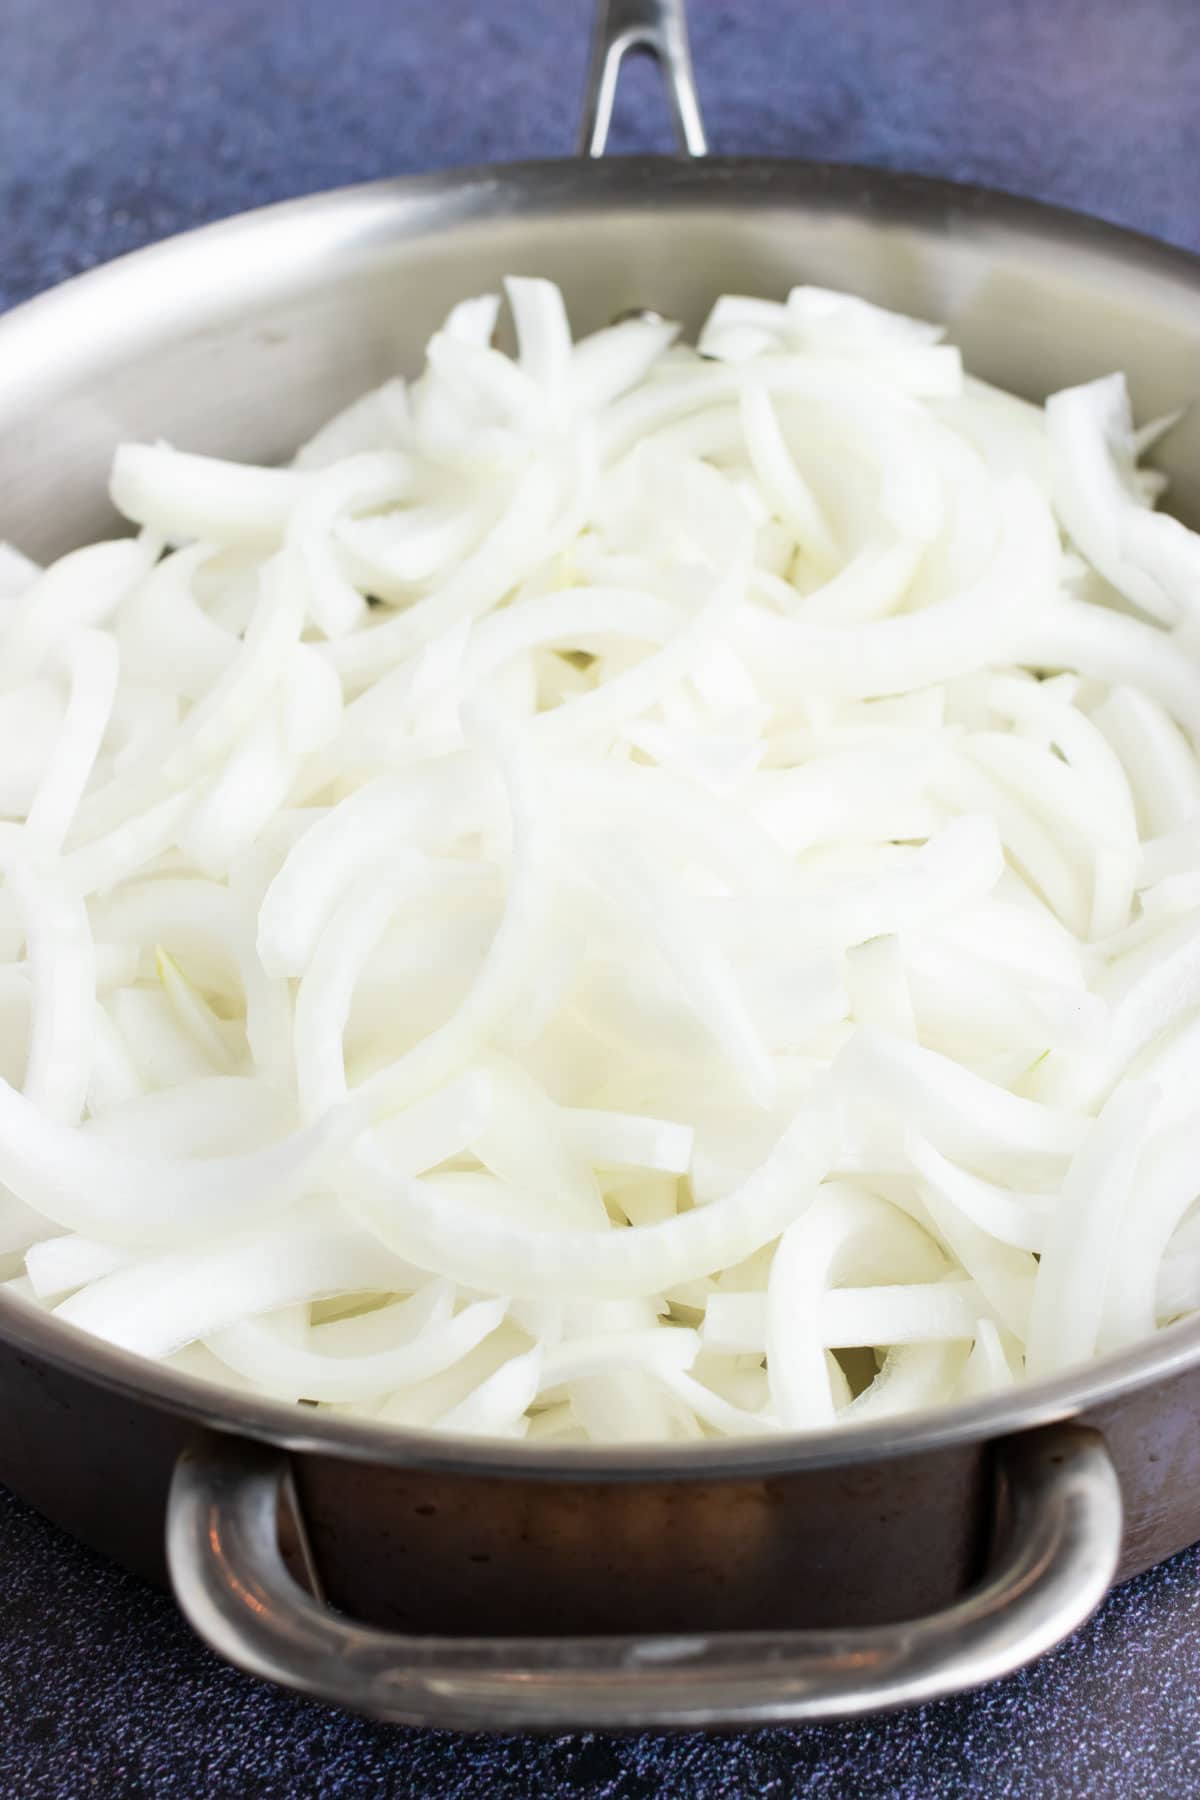
Start cooking the onions.
Heat oil in a large skillet over medium-low heat and add the onions, spreading them out evenly. Avoid higher heat so they don’t cook too fast. Add a pinch of salt early to draw out moisture and help them brown.
You want a gentle sizzle, not rapid browning. If they start cooking too fast, lower the heat, add a splash of water, and scrape up any browned bits back into the onions.
Pro Tip: Stainless steel works best because it conducts heat more evenly than a non-stick skillet, and allows the onions to develop that beautiful browning over time.
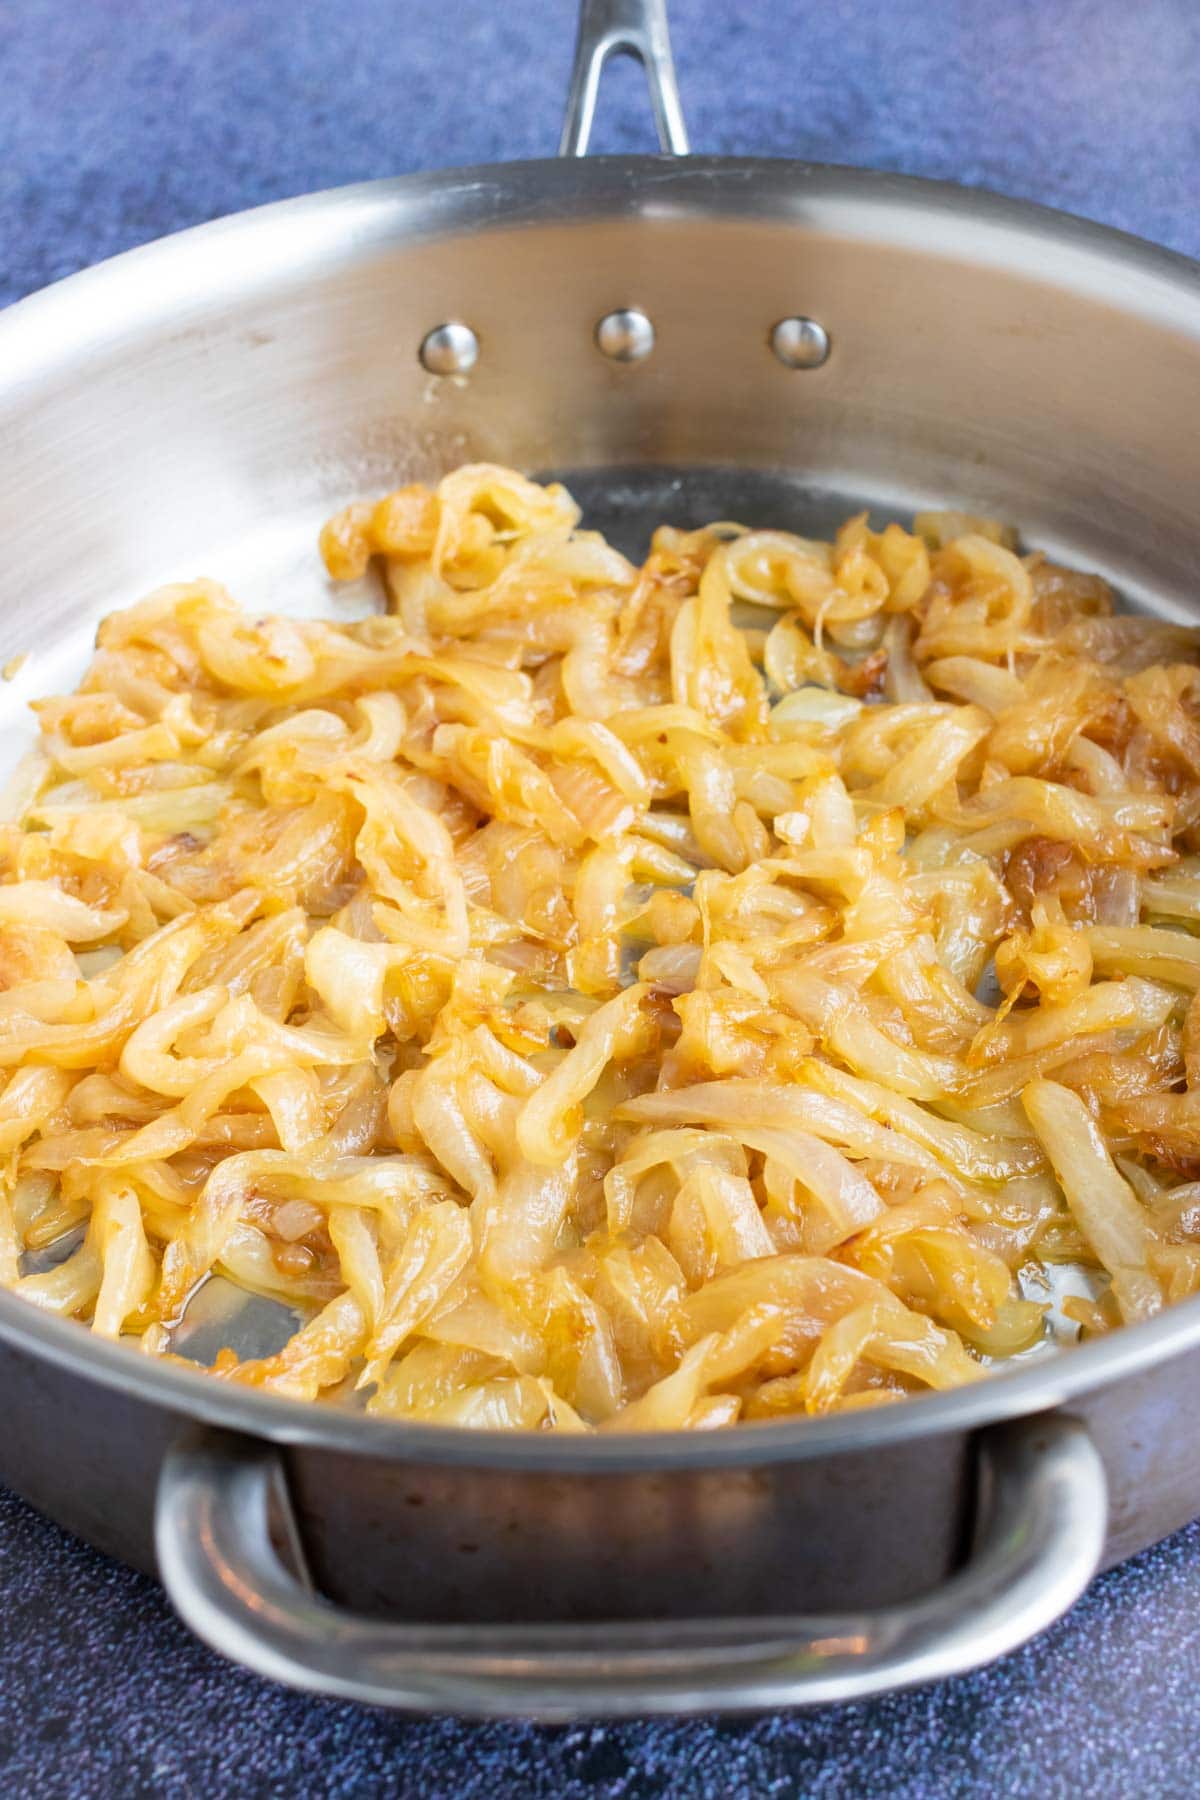
Cook low and slow.
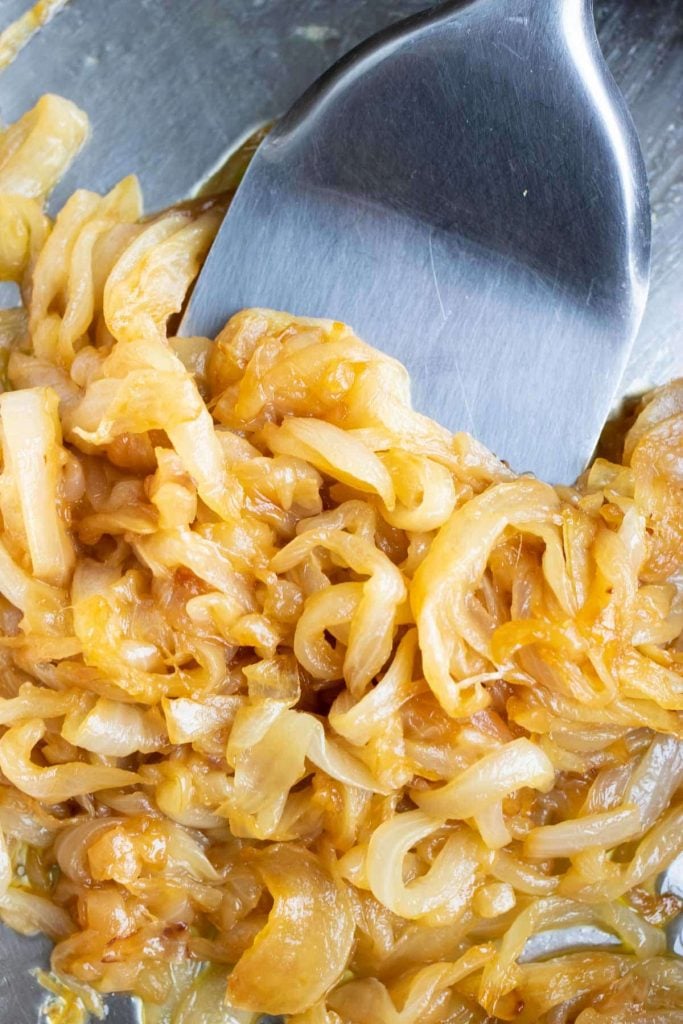
Sauté the onions for 40–50 minutes, stirring occasionally. Once softened, stir every few minutes. Around the 30-minute mark, when they turn pale yellow, add the butter and stir to combine.
Continue cooking until deep golden and sweet, watching closely so they don’t burn. Season with a pinch of salt or sugar to taste. Store leftovers in an airtight container in the fridge for 3–5 days.
FAQs
Sweet varieties of onions are best for sautéing or caramelizing due to their naturally high sugar content. Vidalia onions are recommended. They can be easily found at most grocery stores, but yellow onions are a good second best.
If you happen to burn some of the onions, you can save them by adding a few tablespoons of water to the skillet to deglaze it. Scrape the bottom of the skillet to remove any loose bits or pieces. Mix them in with the onions and continue cooking as directed. To avoid this altogether, make sure to use medium-low heat.
Generally, it should take from 45-60 minutes to get a pan of thoroughly, naturally caramelized onions. This varies depending on factors like how thin the onions are cut, the heat of the pan, whether any shortcuts are used, and more.
To reduce the cooking time by about 10 minutes, add ¼-cup of water to the skillet full of onions, cover with a lid, and cook over medium heat for 10 minutes. This speeds up the phase of simply softening and cooking the onions so that they can begin browning quickly. Once softened, uncover the onions and continue cooking them as directed for an additional 20-30 minutes, or until caramelized.
Additionally, a pinch of baking soda can be added to the onions once softened, to help encourage browning. This may change the texture of the onions, however.
What to serve with it?
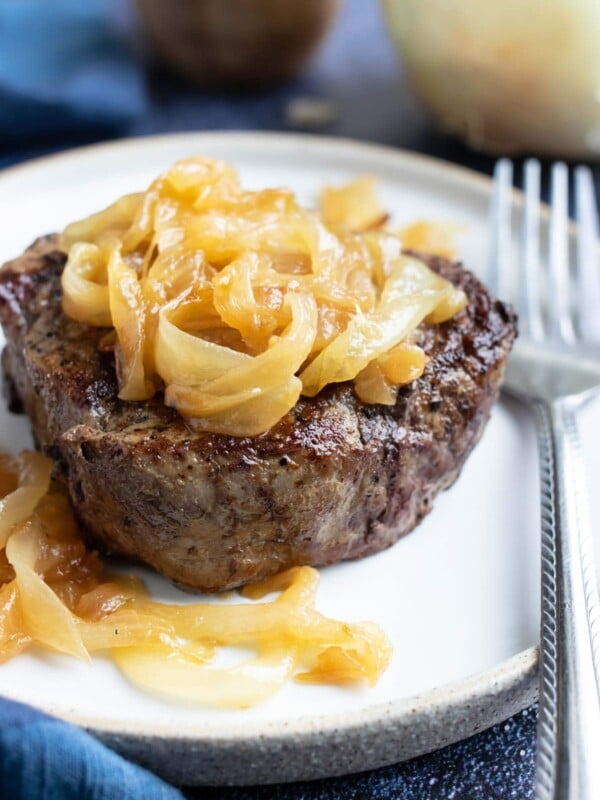
This sweet delicacy is most often known for accompanying a juicy piece of steak like a filet mignon (along with garlic herb butter and sautéed mushrooms!)
There are also quite a few other favorite dishes that can be taken over-the-top with the addition of the buttery, rich flavor of these onions. They’re the perfect addition to Air Fryer Burgers or Salmon Burgers.
You can pair this sautéed onions recipe with a Butternut Squash Pizza or with Honey Balsamic Chicken. I love these perfect sautéed onions on a baguette with Tomato Bruschetta, as well.
They also add great flavor and a little pizzazz to hot dogs!
Tap stars to rate!
Sautéed Onions for Steak

email this recipe!
Ingredients
- 2 pounds sweet onions about 4-5 small onions
- 2 tablespoons olive oil
- 1 tablespoon butter
- ½ teaspoon salt to taste
- sugar optional*
- water optional*
Instructions
- Prepare the Onions: Thinly cut onions into ¼-inch slices.2 pounds sweet onions
- Cook in a Skillet: Add olive oil and onions to a large stainless steel skillet over medium-low heat. Cook onions for 30-50 minutes, stirring every 3-5 minutes.* (In the beginning you can wait a little bit longer between stirs. Towards the end you will want to keep a close eye on the onions, to prevent burning.)2 tablespoons olive oil, ½ teaspoon salt
- Add Butter: After about 25 minutes, the onions will start to become a light yellow color. Add butter and stir to combine. You’ll know the onions are done cooking when they reach a caramel color and have a natural sweetness to them.1 tablespoon butter, sugar, water
- Serve sautéed onions with your favorite filet mignon, baked chicken, or recipe of choice.
Tap stars to rate!
Video
Notes
- Pan: A large stainless steel skillet conducts heat the best and helps food brown more easily than a non-stick pan.
- Oil and butter: While butter adds a lot of amazing flavor to caramelized onions, it tends to burn, so a normal cooking oil should be used for the initial cooking process.
- Baking soda: A pinch of baking soda can help them caramelize faster by encouraging browning, but remember that doing so will break them down and give them an almost jam-like consistency.
- Liquid: There is a TON of flavor packed into the brown bits at the bottom of the pan, so be sure to deglaze with water, stock, or even alcohol like white wine for a bit of extra flavor when making this caramelized onion recipe.
Nutrition
Nutrition information is automatically calculated, so should only be used as an approximation.
I made this and the onions turned to mush. I used a stainless steel pan, put the oil in and being a little short on time added 2 Tbs of water, after about 25 minutes I took off some of the liquid and added the butter and continued to cook and the end result was tastless mush. Please help me understand what could have happened.
Hi Rita! Thanks for giving the recipe a try. My guess is that the added water is what caused the onions to steam rather than sauté and caramelize. When onions cook in excess moisture, they tend to soften and break down before they have a chance to develop that rich, sweet flavor and golden color.
The good news is that your stainless steel pan likely wasn’t the issue! Next time, I’d skip the water and let the onions cook in the oil and butter as directed, stirring occasionally. If they seem to be browning too quickly, you can lower the heat a bit. Properly caramelized onions take some patience, but the flavor payoff is worth it. Hope that helps, and I’d love to hear how they turn out if you give them another try!
Love this recipe but I due my own thing to these onions, just a lil bit!!!
Thanks so much for leaving a comment, Vernette! I’m so glad you love the recipe — and I love that you put your own little spin on it. That’s the best part of cooking! Thanks for sharing!