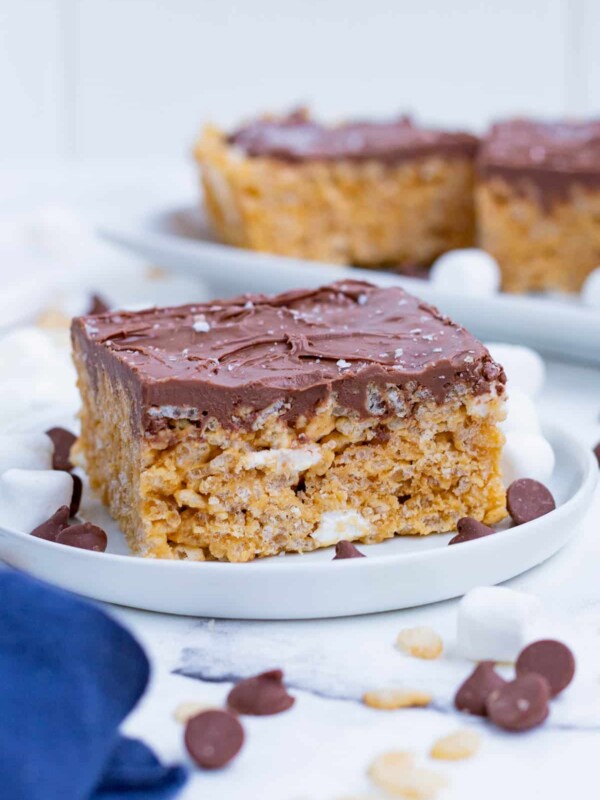
Chocolate Peanut Butter Rice Krispie Treats
This Peanut Butter Rice Krispie recipe should come with a warning label.
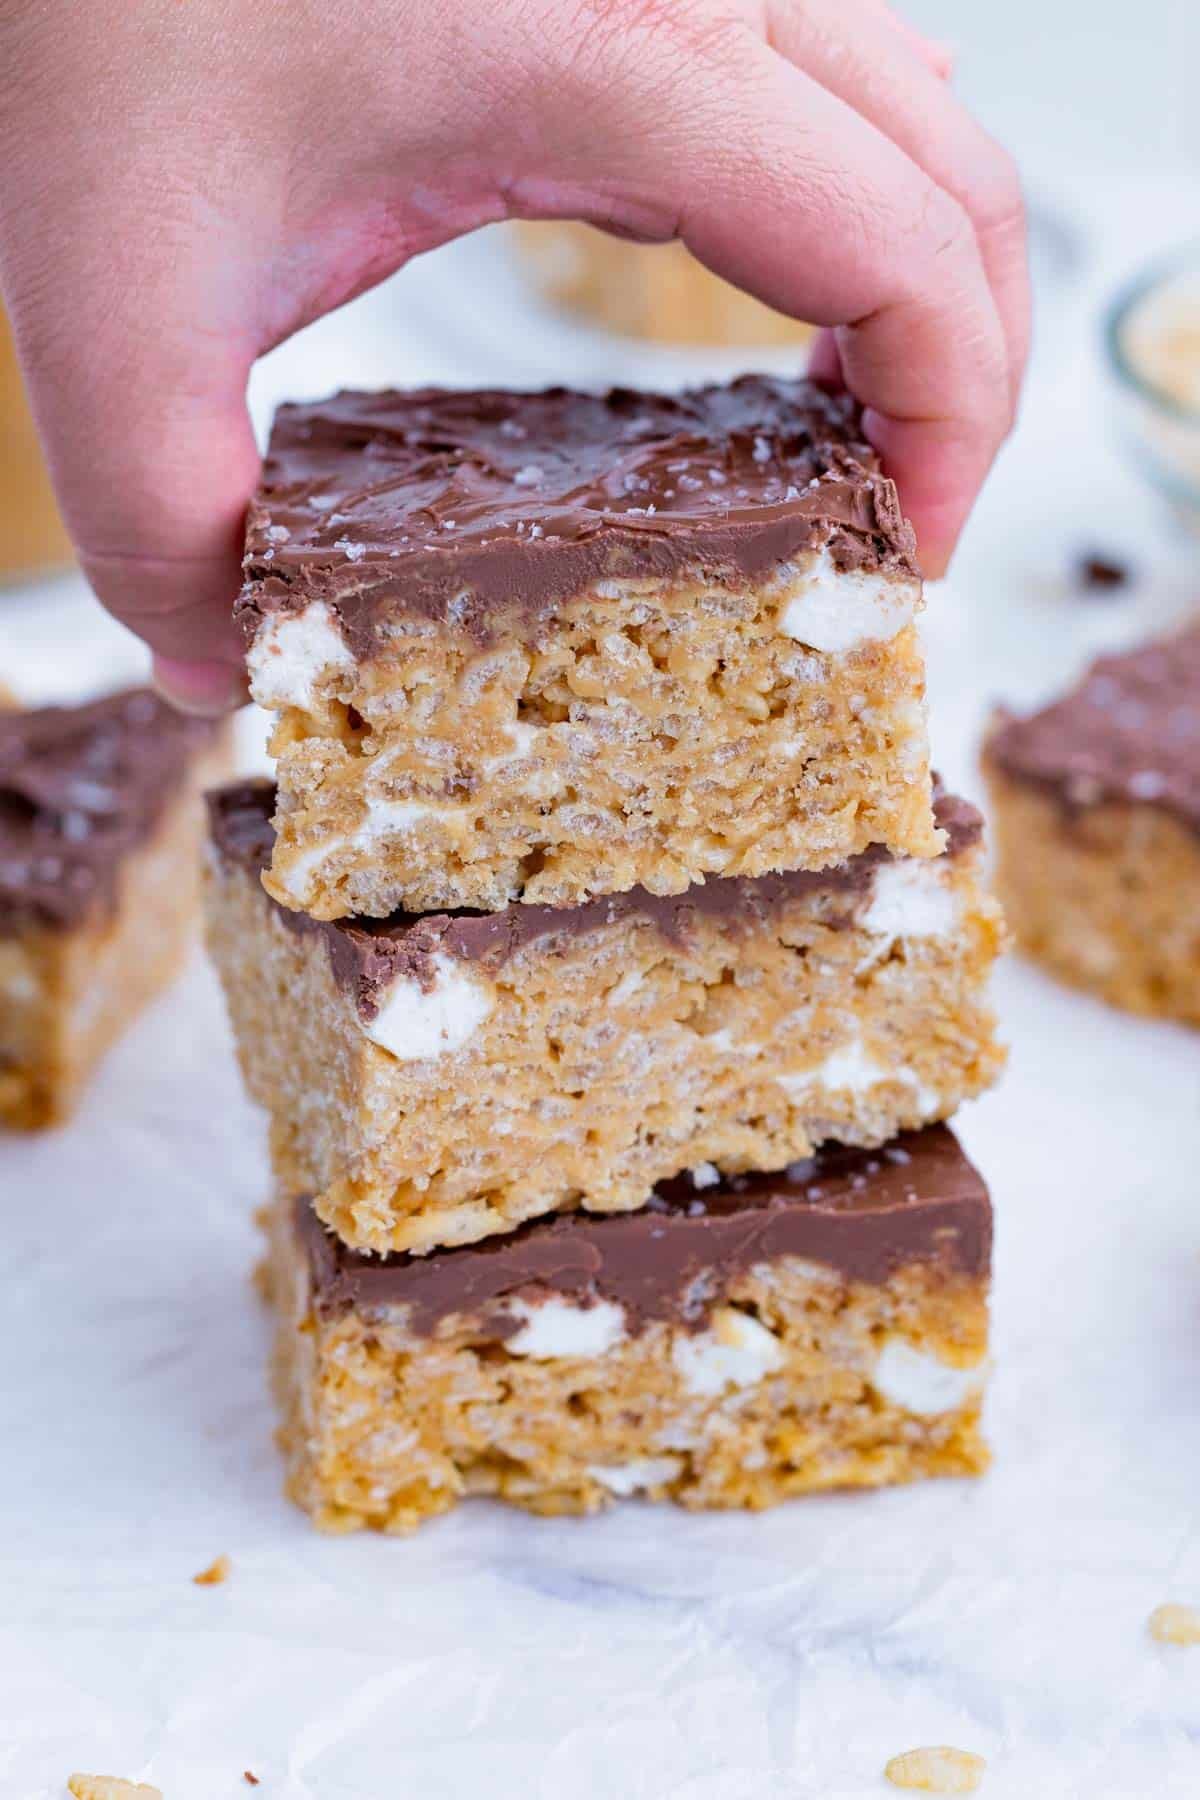
Once you take that first bite it is IMPOSSIBLE to have any self-control.
The sweetness of the marshmallows, the saltiness and the creamy goodness of peanut butter, and then the rich chocolate glaze. It is the perfect balance of flavors.
When I first tried my hand at this recipe it did not turn out that great. The bars were pretty dry and way too crunchy. So I upped the amount of peanut butter, decreased the amount of rice cereal, and voila!
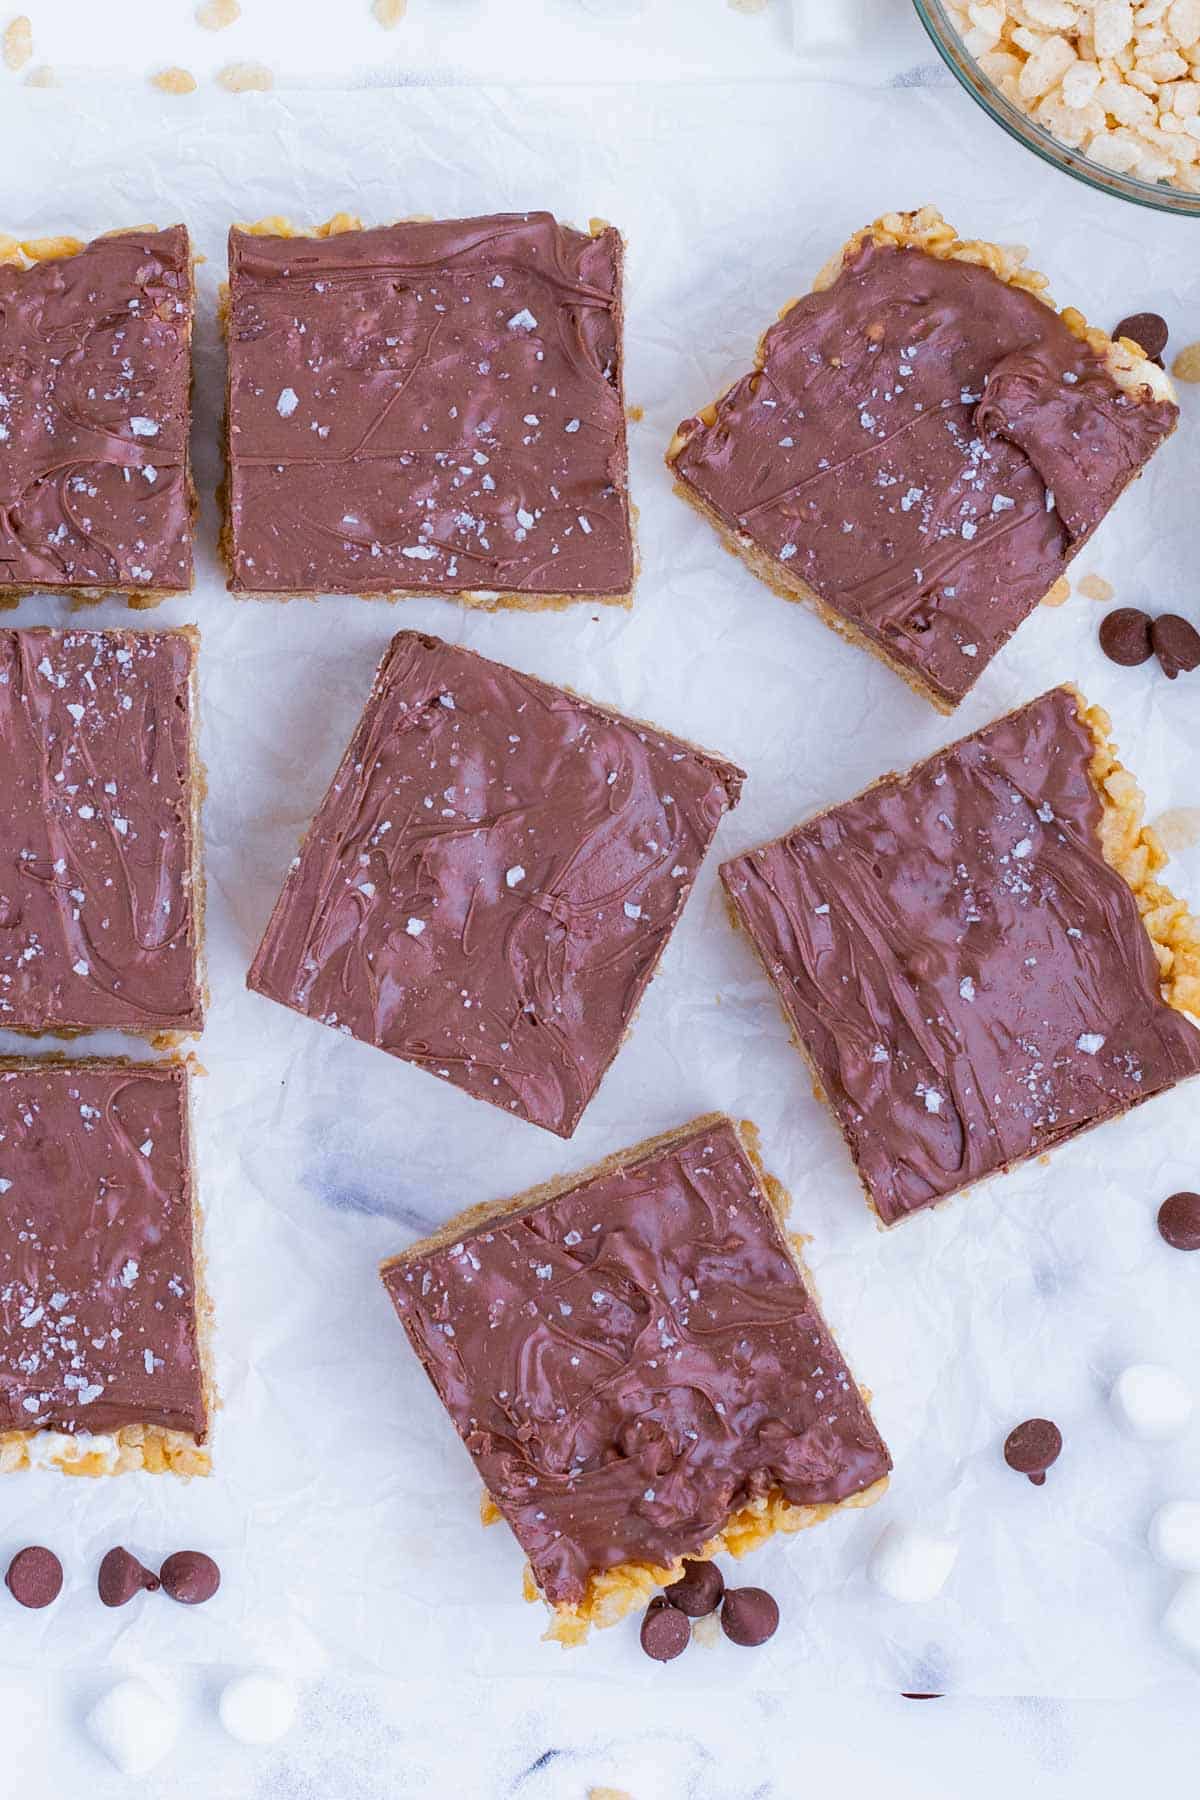
Rice Krispie treat perfection!!
Peanut butter lovers will love the nutty flavor of this no-bake recipe. They’re classic Rice Krispies taken up a level.
Kids and adults alike will be major fans of this tasty treat. And the best part is that they can be safe for those that are gluten-free and vegetarian with a few simple ingredient substitutions!
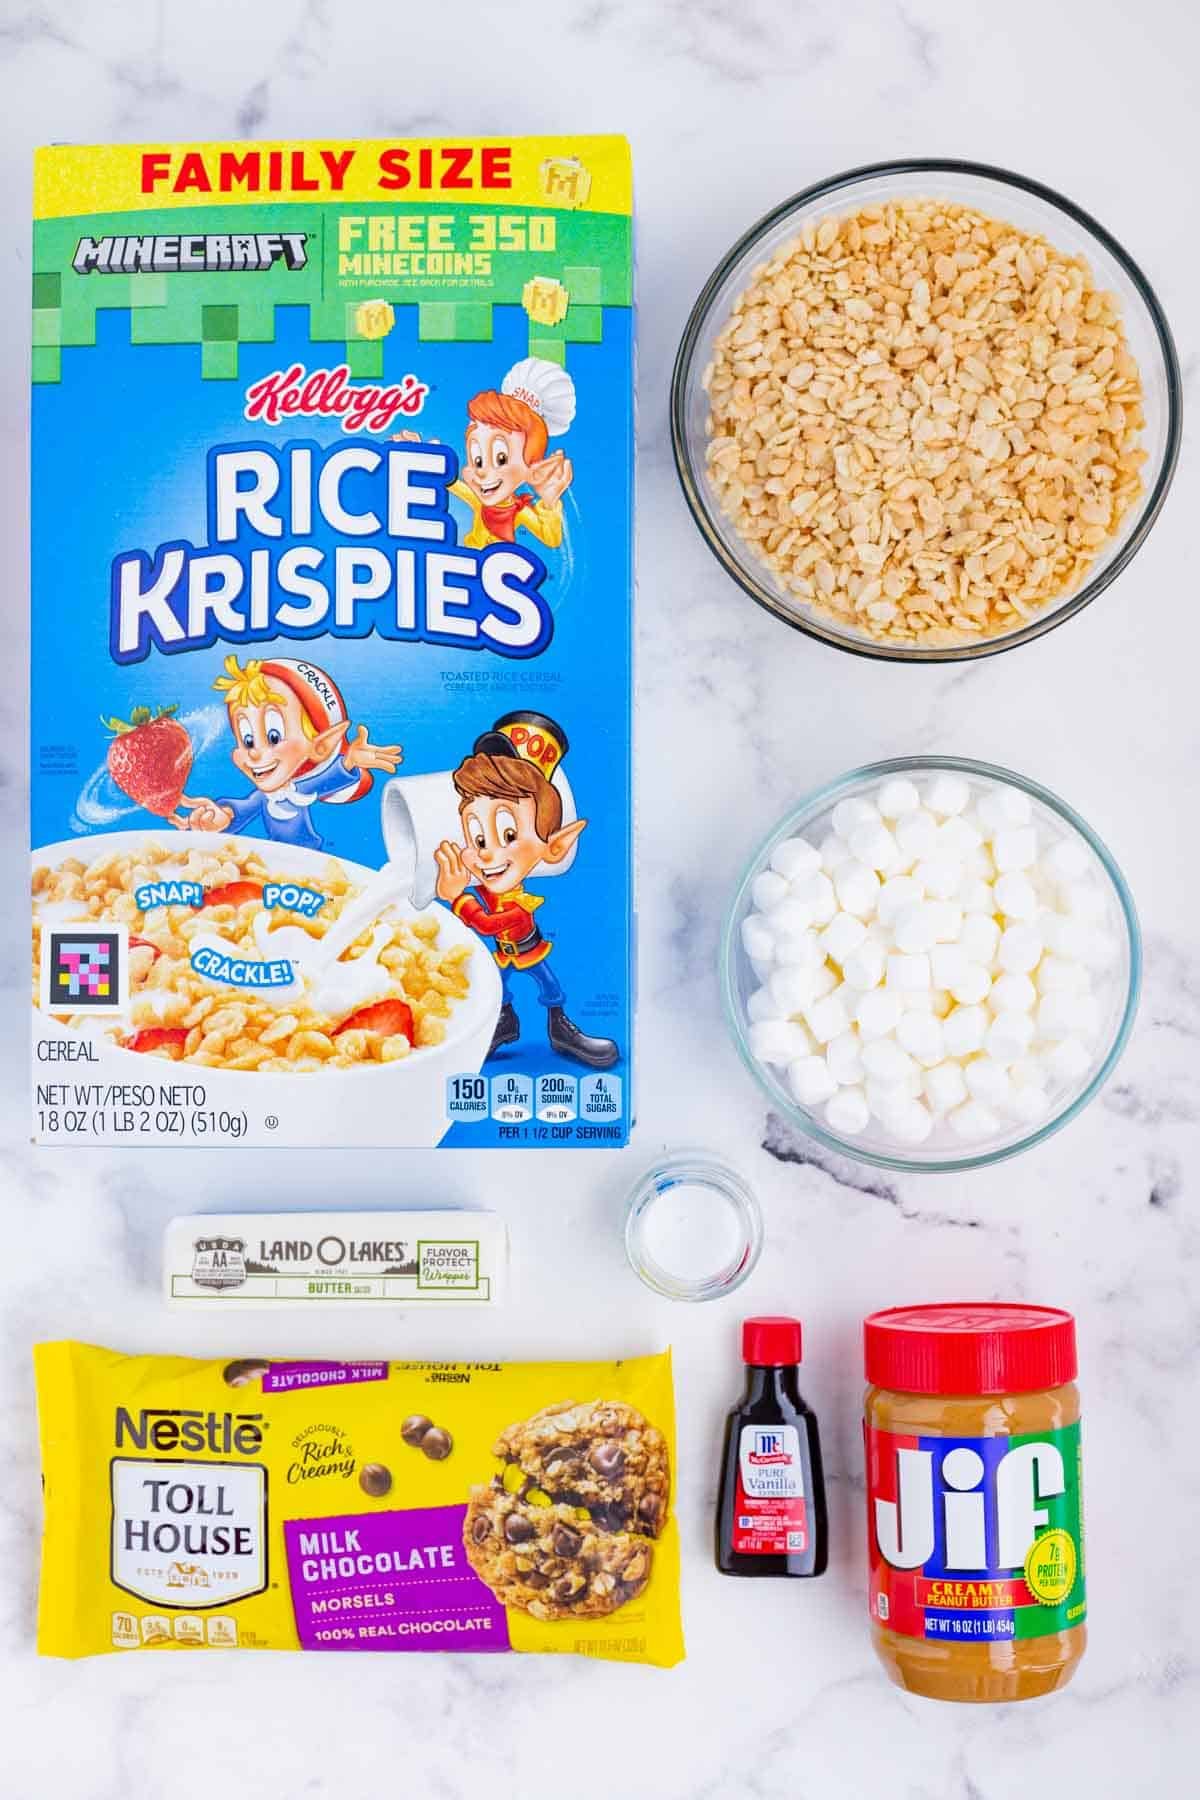
Ingredients
To make this homemade peanut butter rice crispy treats recipe you need:
- Butter. Browned butter is the base of this recipe, so opt for a salted type. You can use unsalted butter, but you’ll want to increase the salt later.
- Marshmallows. Mini marshmallows melt the easiest. While you can use a larger size, you’ll need to pay careful attention melting them.
- Peanut butter. Smooth and creamy PB is essential. If you opt for chunky peanut butter, you’ll taste the bits of peanut throughout the treats.
- Chocolate chips. Depending on the sweetness you like, you can choose either milk chocolate or semi-sweet.
- Rice Krispies. Crispy rice cereal makes up the bulk of the ingredients. You can go with the brand name or store brand, but keep in mind Kellogg’s Rice Krispies DO contain gluten.
How to Make Peanut Butter Rice Krispie Treats?
These are the steps to follow to make this homemade peanut butter Rice Krispie treat recipe:
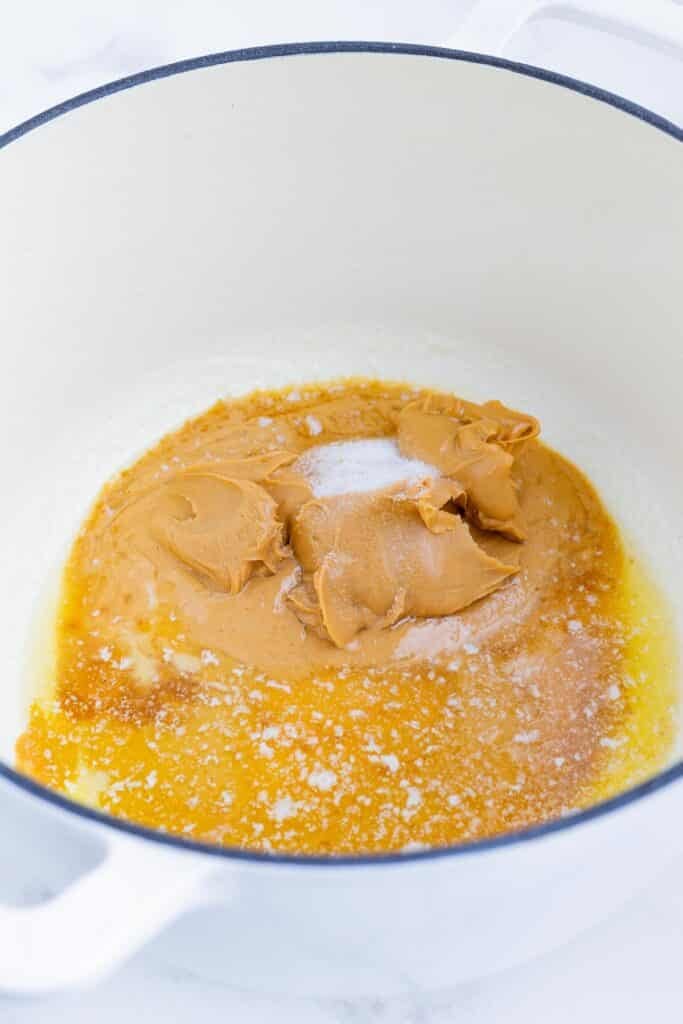
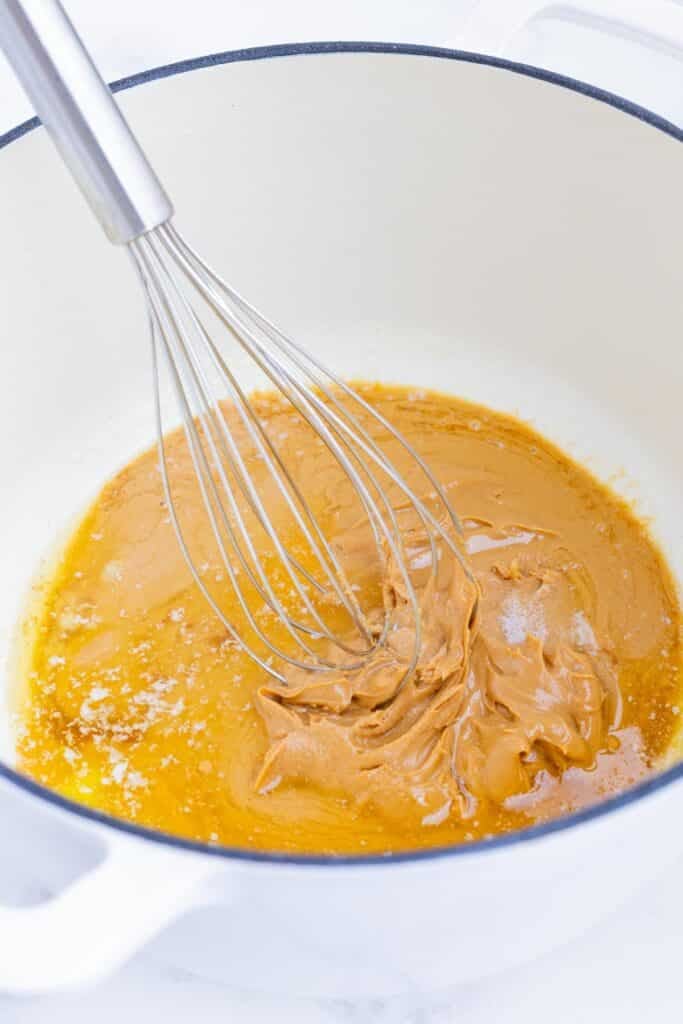
Melt the Butter and Peanut Butter
The first step is to prepare the pan. It’s best to do this before starting so it’s ready. The marshmallows cool quickly, so you’ll want to work fast.
Line a 9×9″-square pan with parchment paper or wax paper and set it aside.
Then, add the butter to a large saucepan or Dutch oven and melt it over medium heat. Be sure the pan is large enough to mix in all of the marshmallows with space to expand.
After a couple of minutes, the melted butter will start to bubble and foam. Allow it to cook for another minute, making sure to stir constantly to avoid burning.
You’re looking for a light brown color and nutty smell.
Turn the heat down and add the peanut butter, vanilla extract, and salt to the butter. Give it a stir.
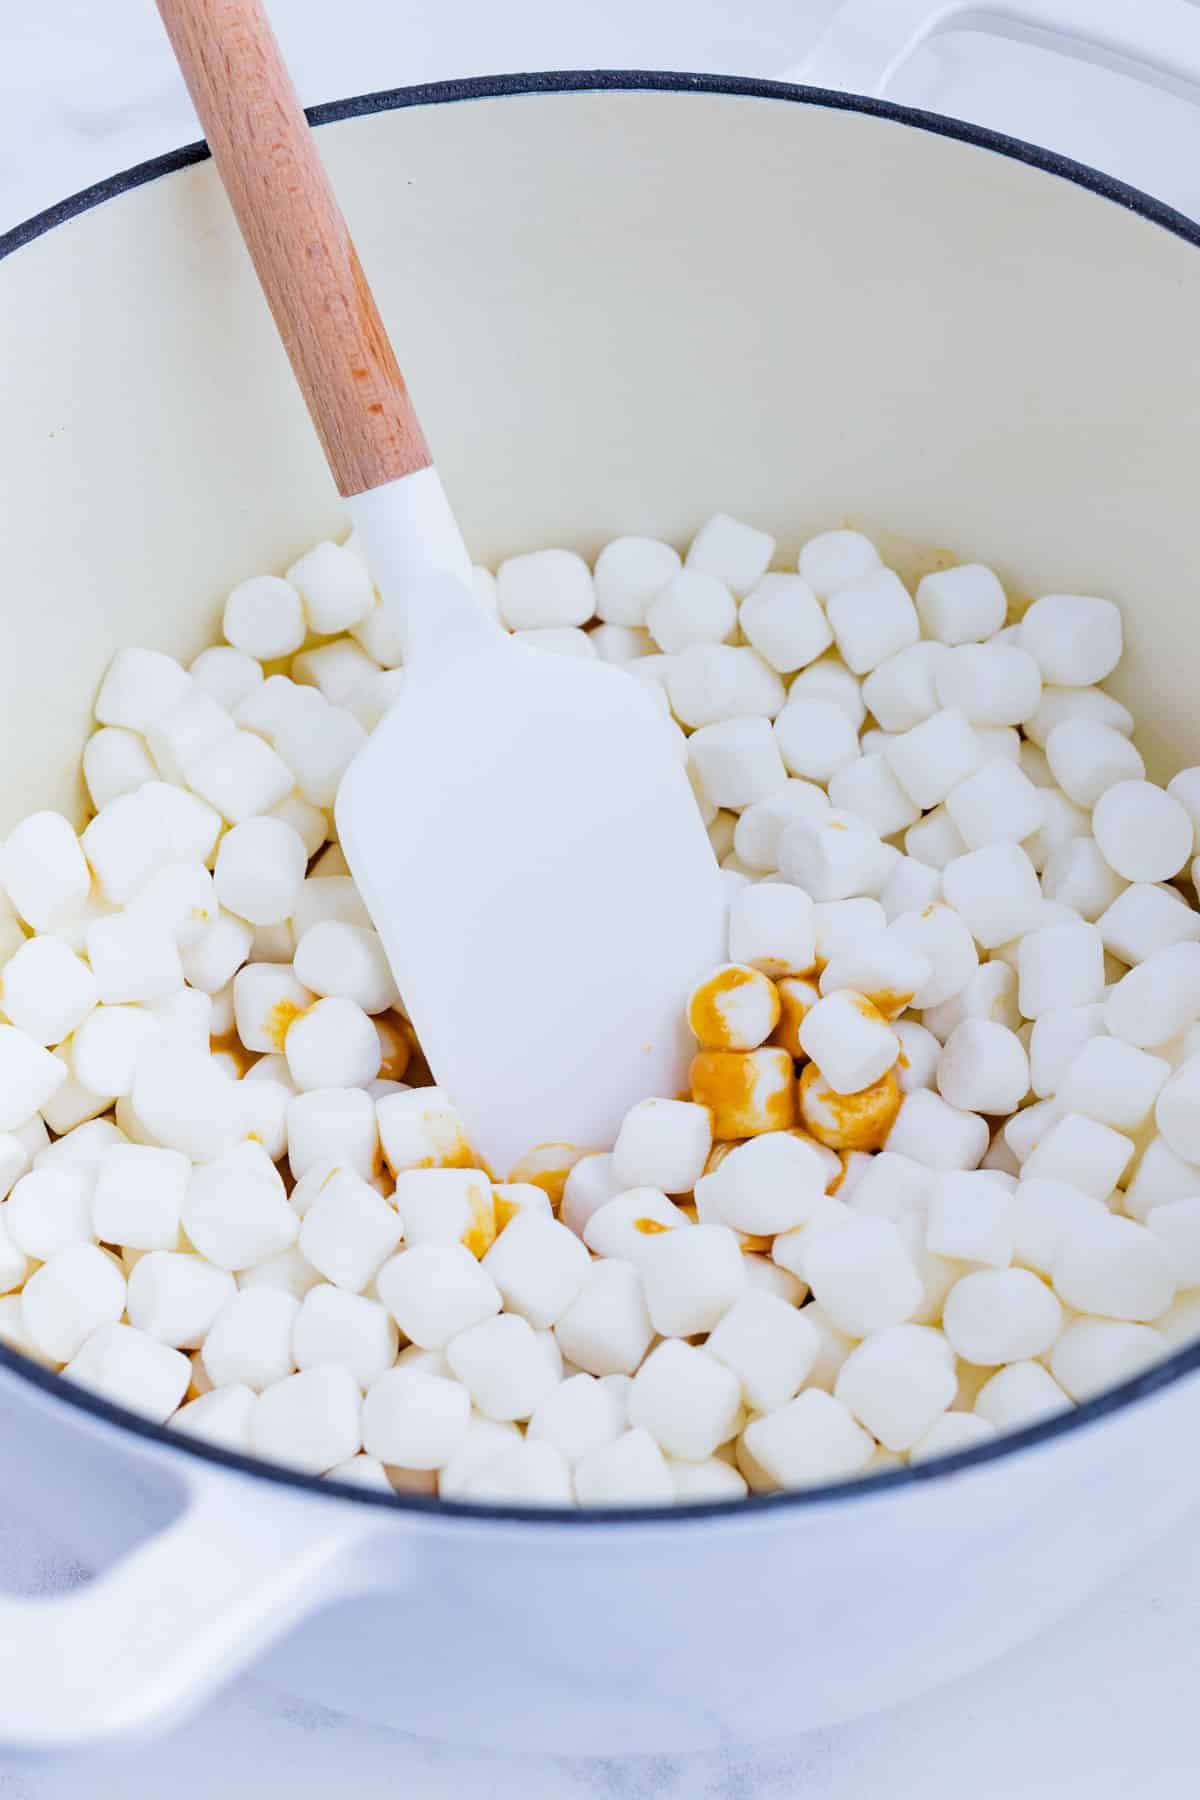
Add the Marshmallows
Pour in the marshmallows, reserving about one cup. Stir until they’re coated with the peanut butter mixture.
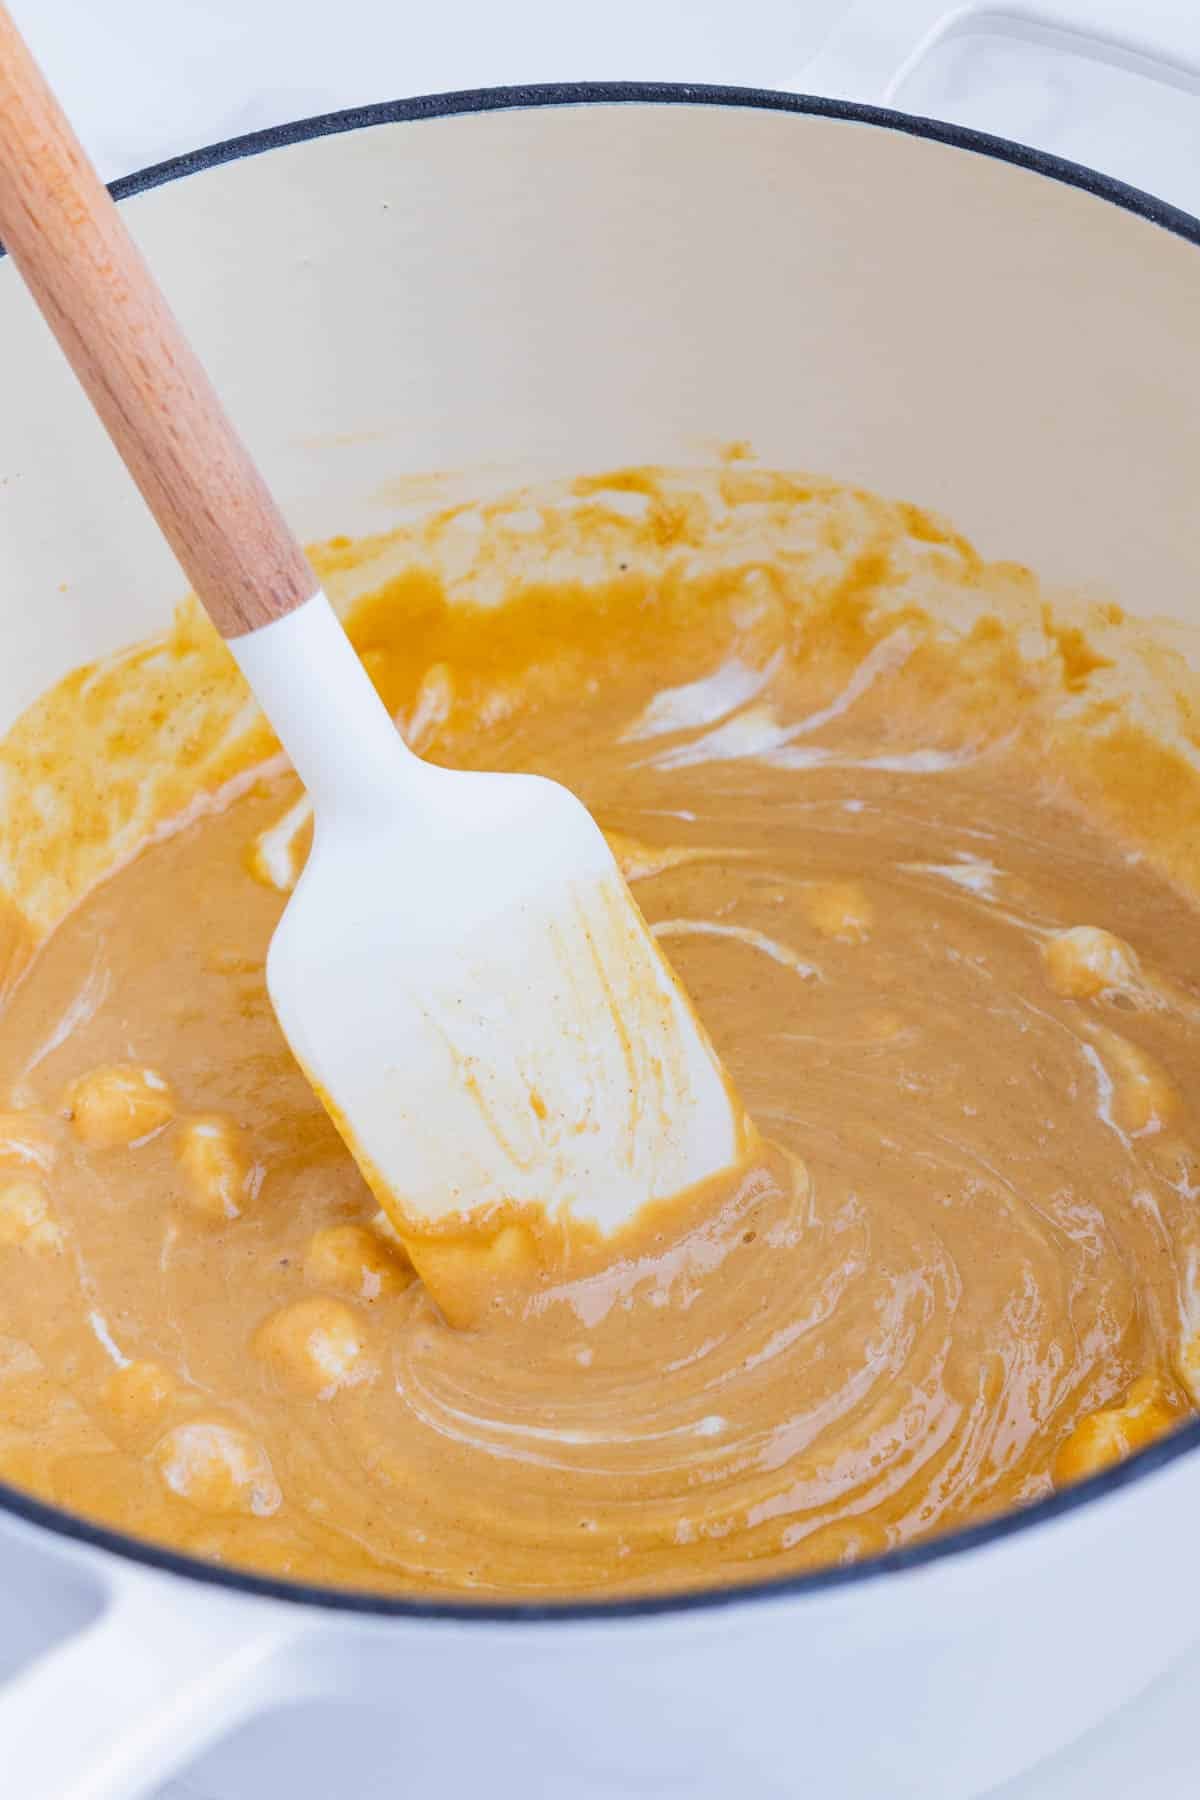
When the marshmallows begin to puff up, stir the mixture until it’s almost smooth. You might see some pieces of marshmallows, but that’s ok.
Remove the pot from the heat.
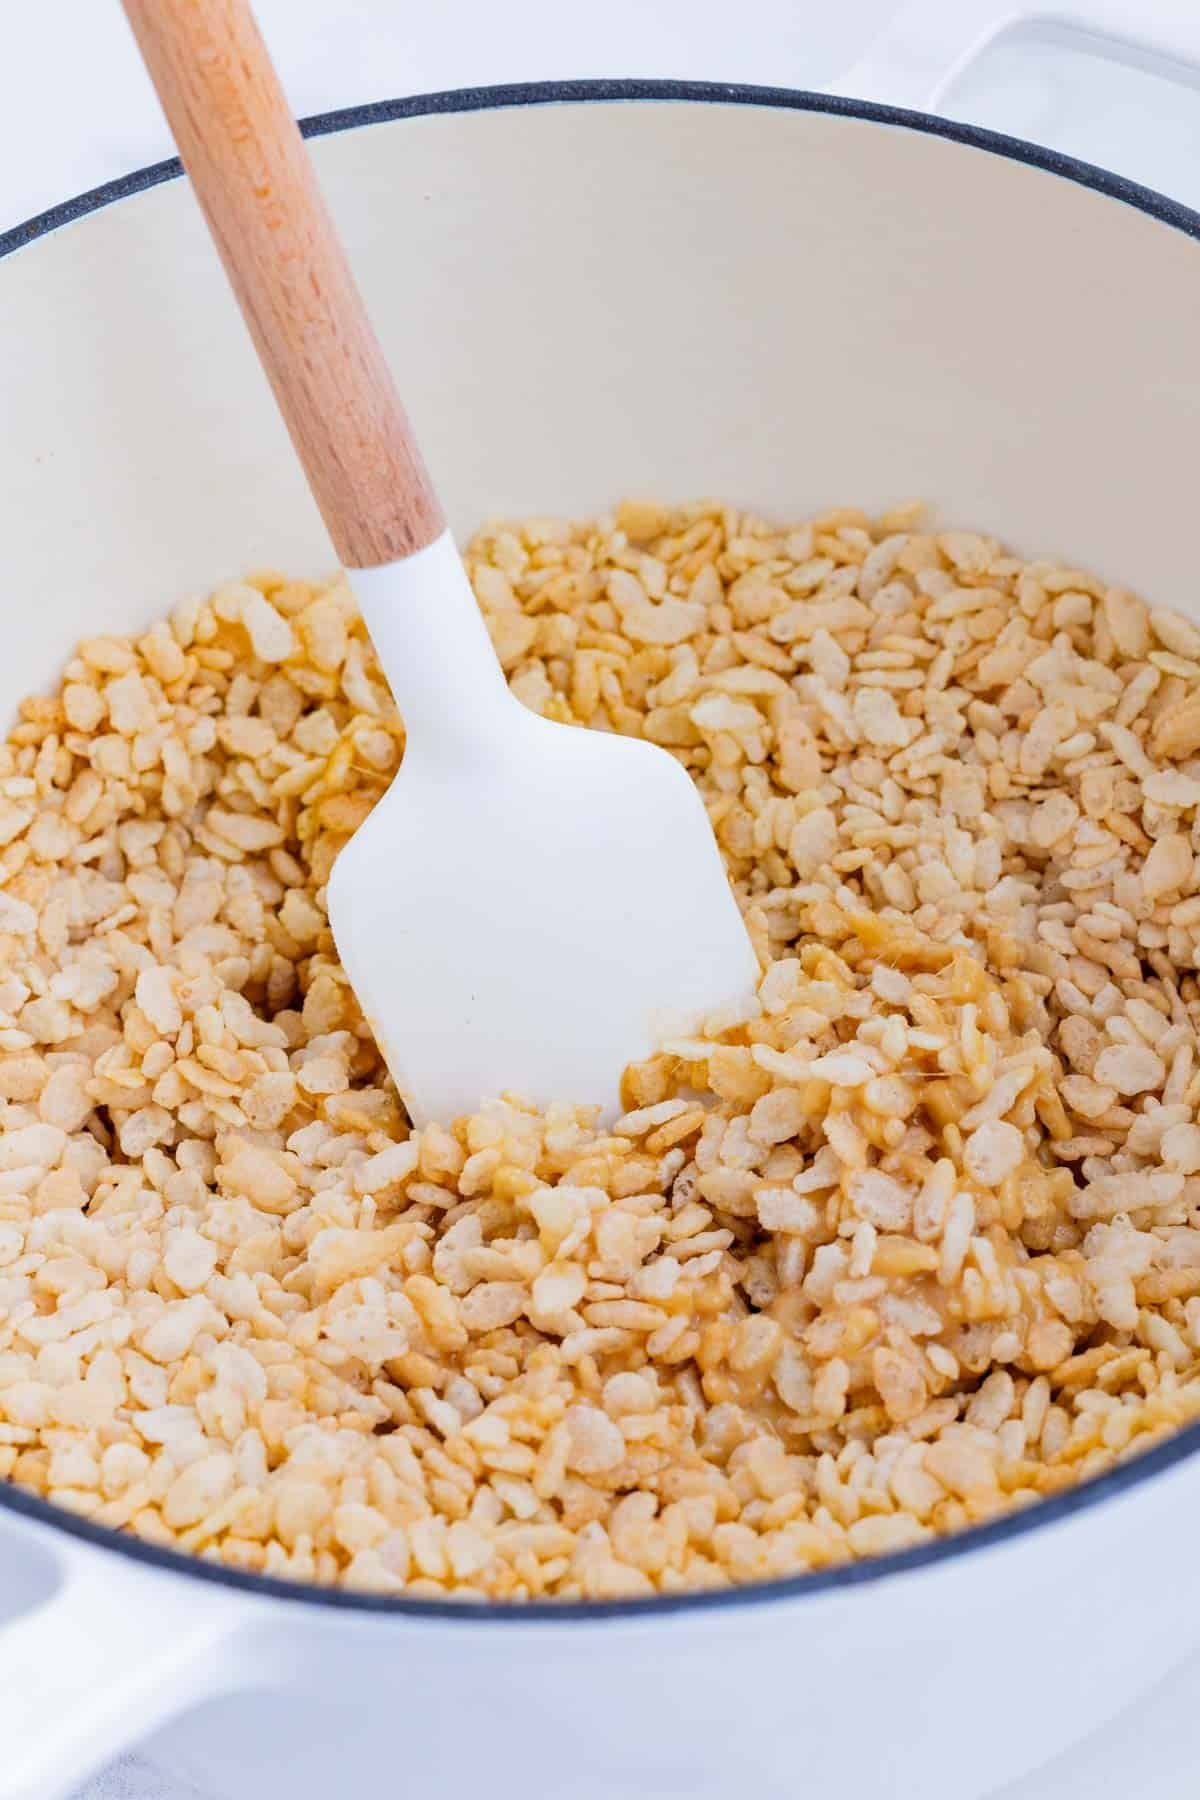
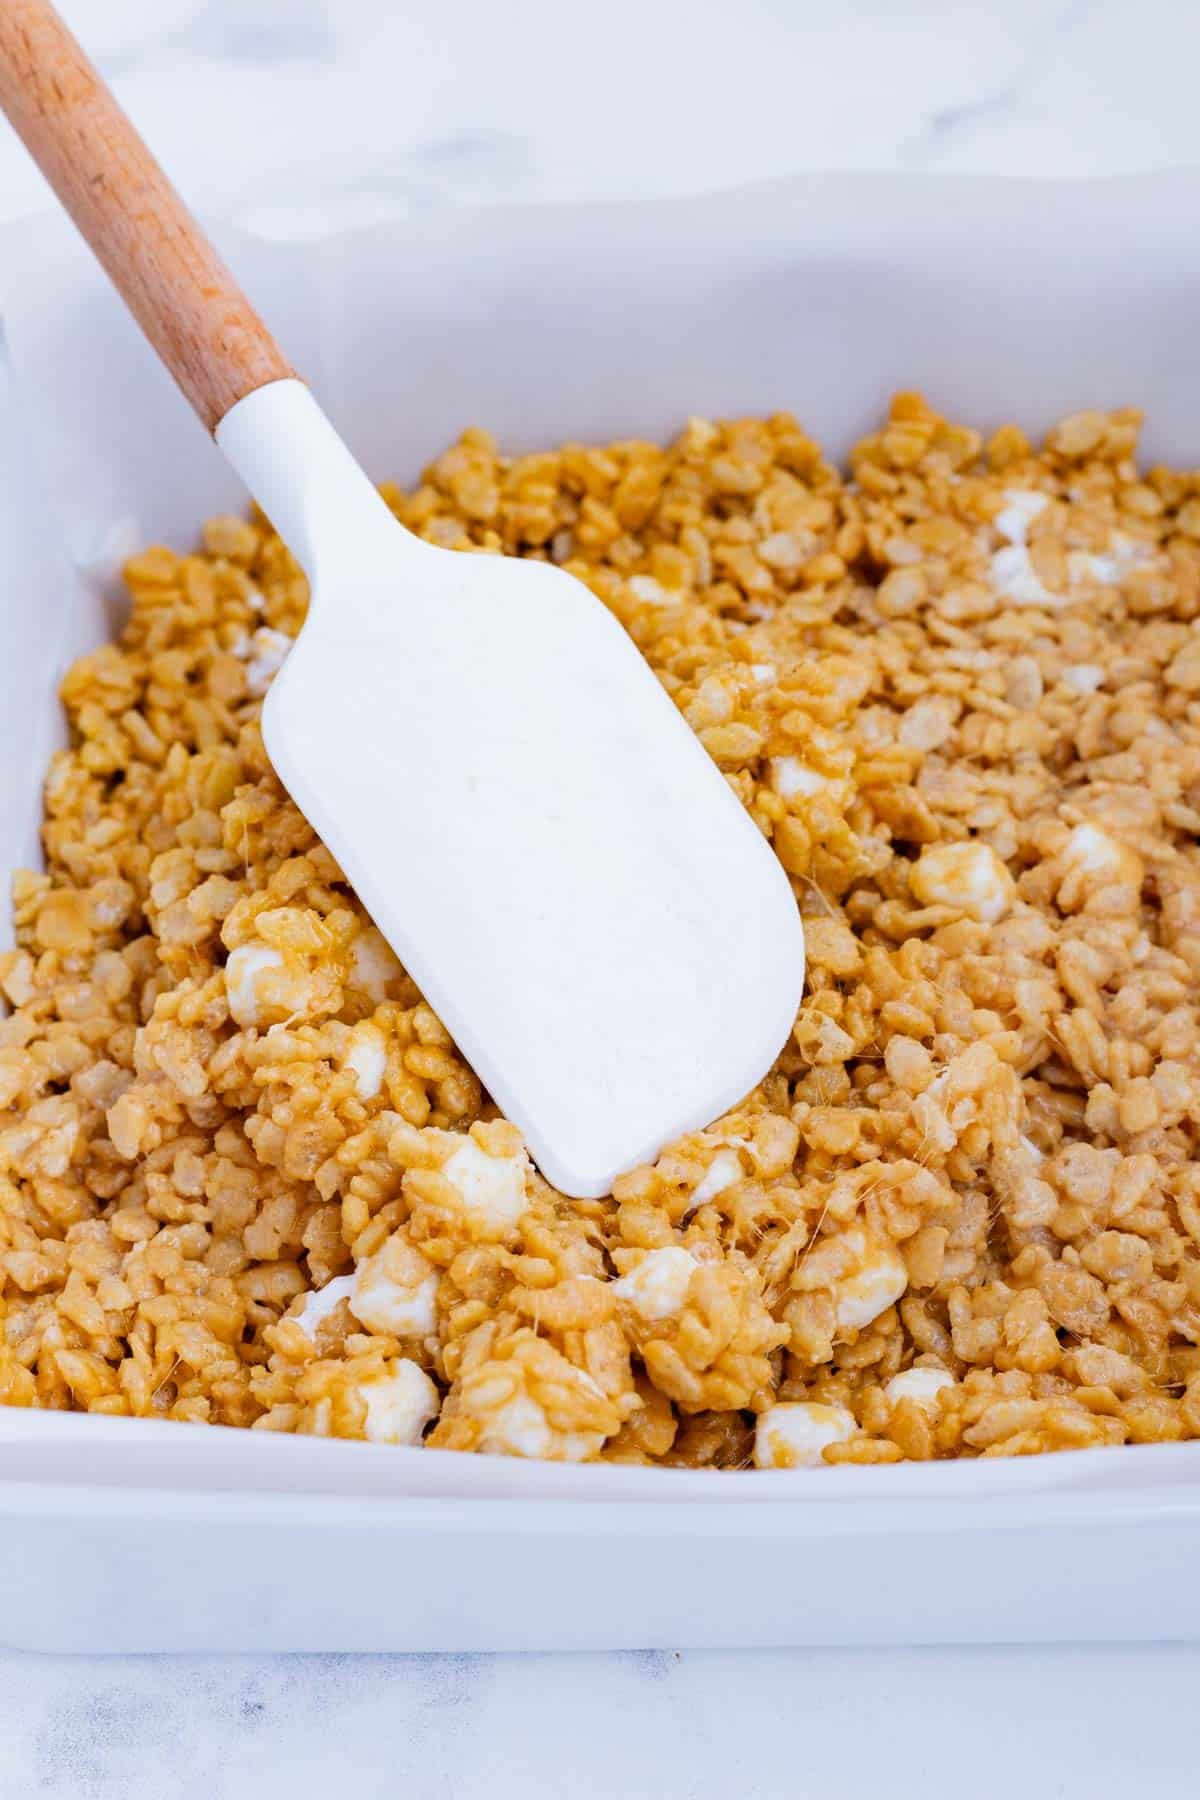
Mix in the Cereal
Pour the crisp rice cereal into the peanut butter and marshmallow mixture. Use a spatula to stir it well. Add the reserved marshmallows, as well.
Dump the mixture into the prepared pan. Press the mixture in an even layer in the bottom of the pan using a spatula or your hands. If it’s too sticky, you can use some nonstick cooking spray.
Allow the mixture to cool for 5 to 10 minutes before moving on to the next step.
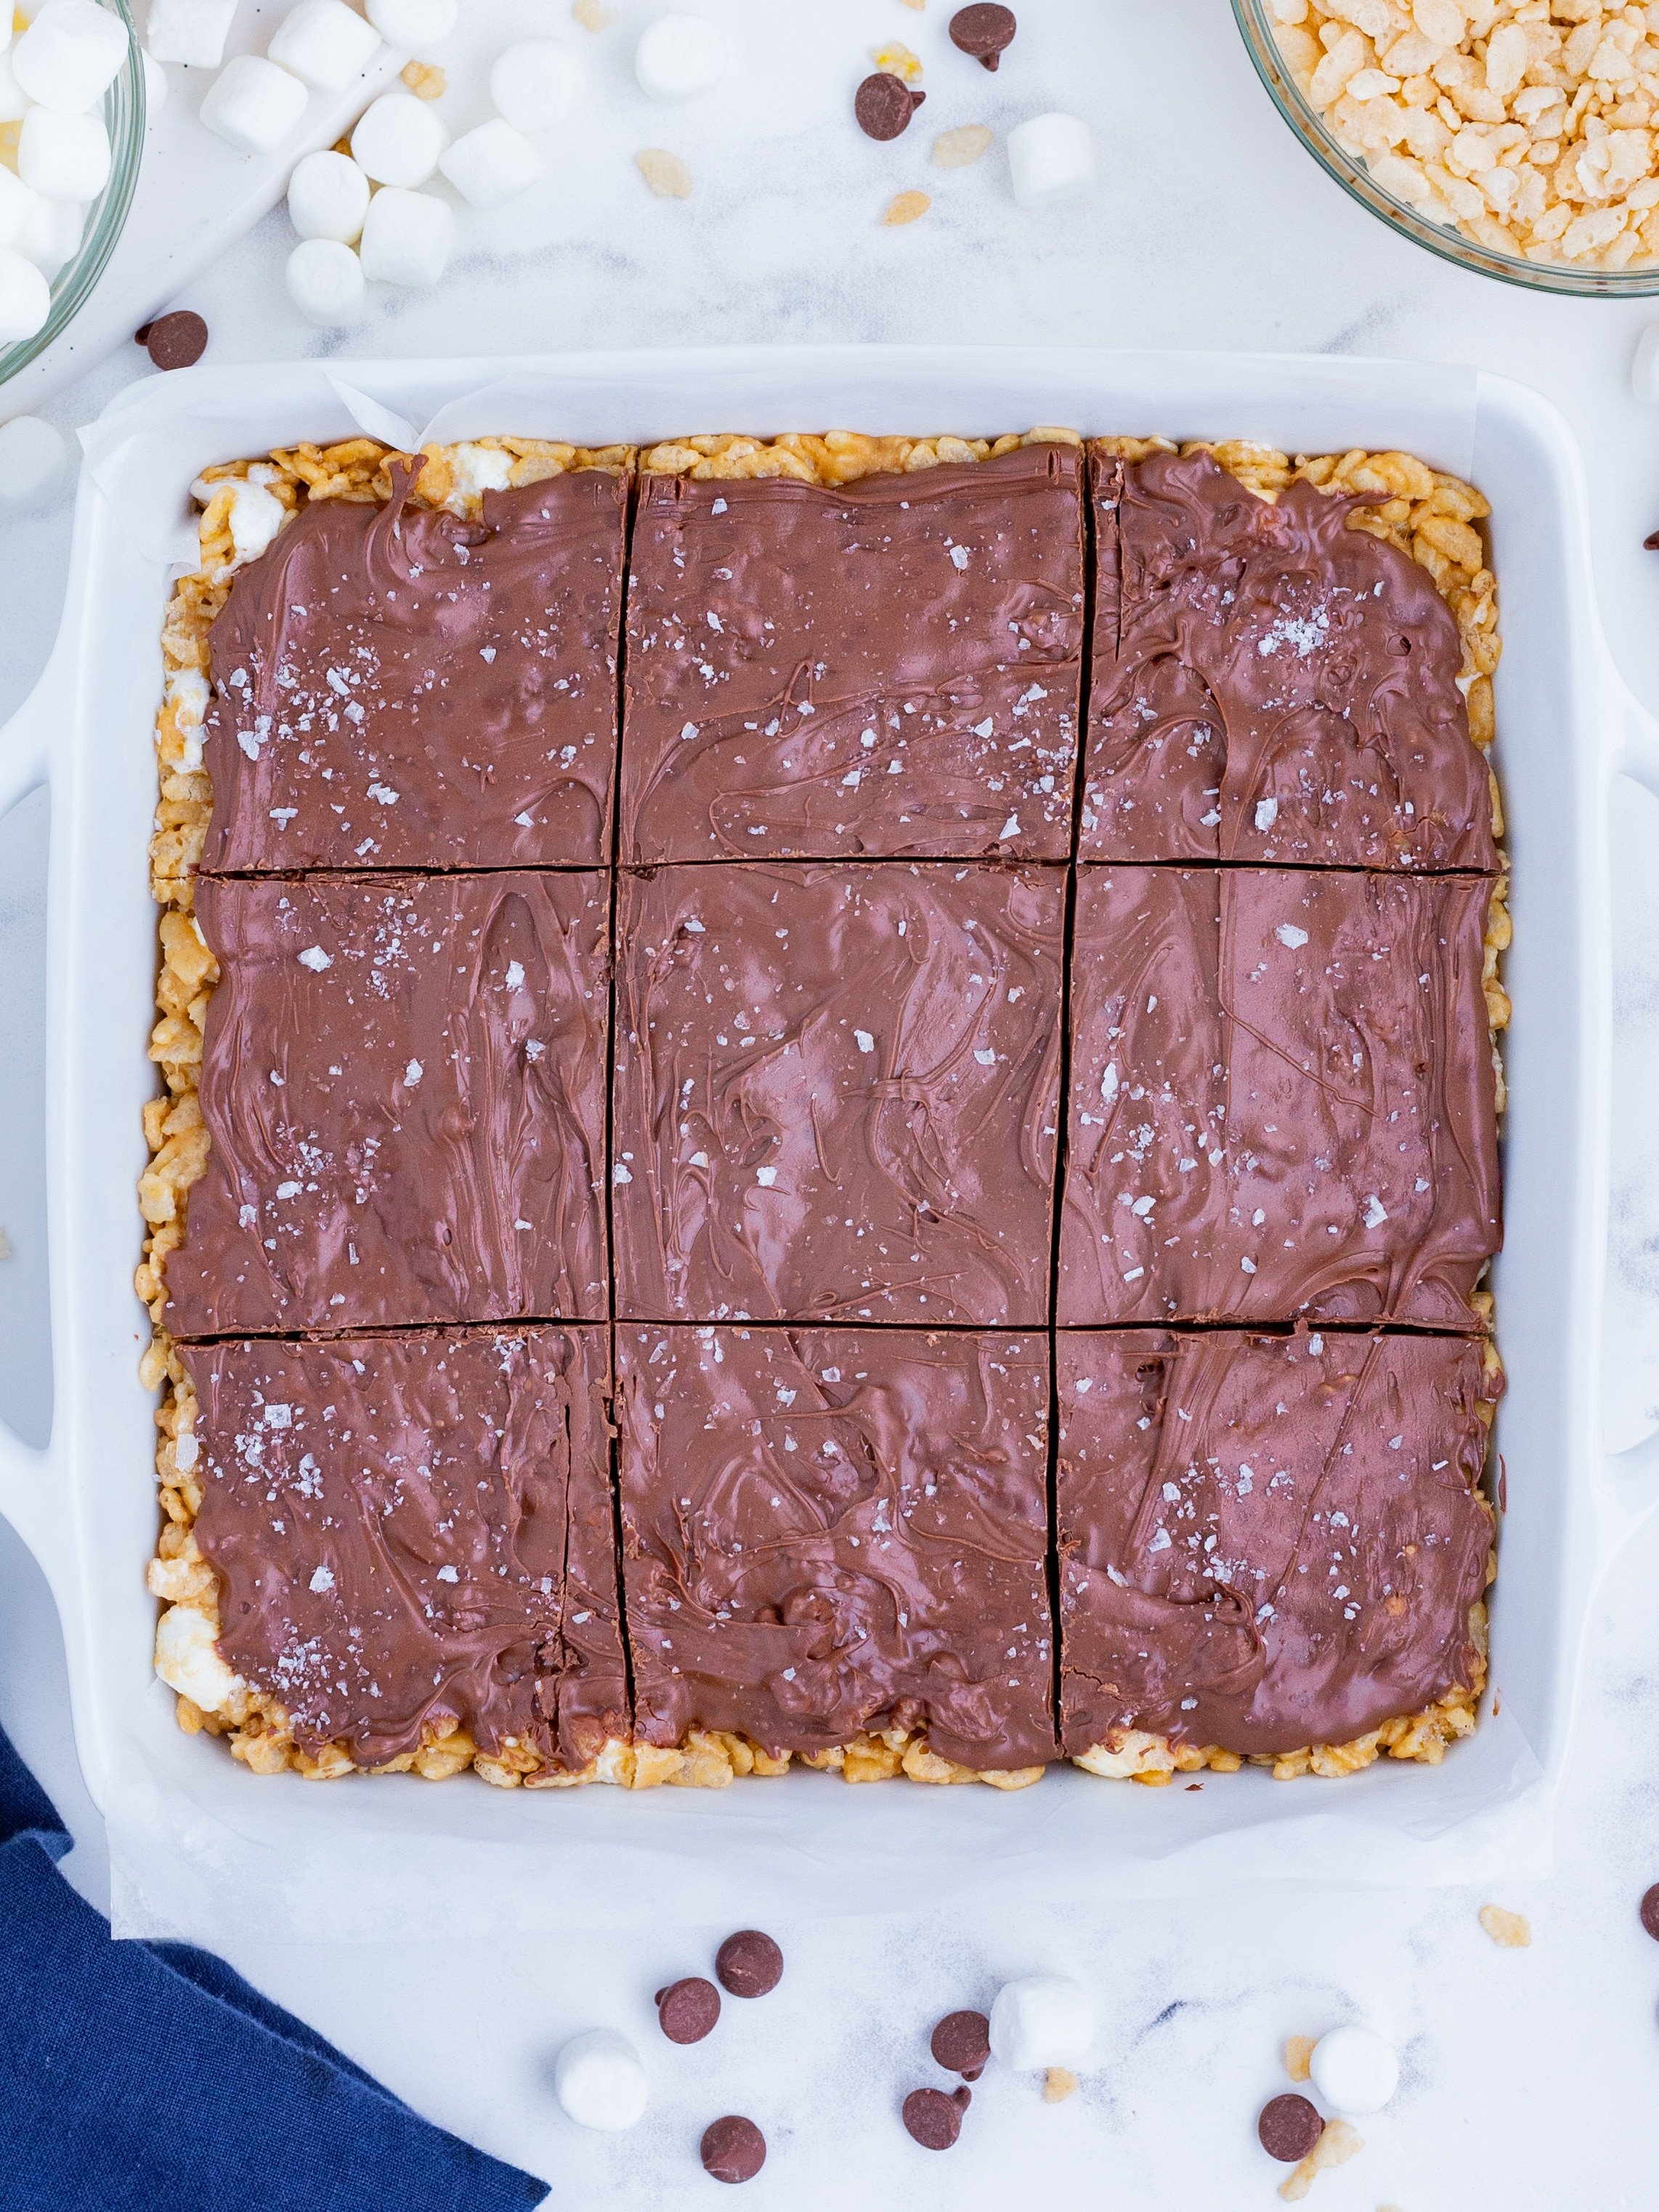
Top with Chocolate
Carefully pour the layer of melted chocolate over the Rice Krispie treats. Smooth it out with a spatula.
Be sure the chocolate hardens before serving. It will take about 1 to 2 hours at room temperature or 20 to 30 minutes in the fridge.

Meal Prep and Storage
- How to prep ahead of time: You can make this entire recipe a few days early.
- How to store: It’s best to keep these treats at room temperature tightly covered or in an airtight container for up to 6 to 7 days.
- How to freeze: For the best results, freeze sliced treats in an airtight container with wax or parchment paper between them. They will last for up to 2 to 3 months in the freezer.
Are Rice Krispies treats gluten-free?
A classic Rice Krispie treat is typically not gluten-free. Kellogg’s Rice Krispies are NOT gluten-free, so if you want to make this recipe safe for people with celiac or gluten intolerance, be sure to use a rice cereal without gluten.
Dietary Modifications
The recipe you’ll find below is already vegetarian as written. Here are some adjustments and substitutions you can make to help it fit your other dietary requirements:
- Gluten-free: Stick with gluten-free rice puff cereal.
- Dairy-free: Opt for a dairy-free butter alternative.
- Vegan: Use a dairy-free butter alternative and plant-based marshmallows.
Expert Tips and Tricks
- Prep first. Be sure the pan is ready BEFORE you start making this dish.
- Mini is best. Avoid the large marshmallows for the best results.
- Chunk-free. Creamy peanut butter will get you the smoothest texture.
- Measure carefully. Too much cereal will make the treats end up hard.
- Keep it on the counter. Store this dish at room temperature.
More No-Bake Dessert Recipes
There’s nothing better when it’s hot out than an no-bake dessert recipe. These recipes will become part of your full summer rotation!
If you’re a fan of these peanut butter Rice Krispie treats, you have to make Homemade Peanut Butter Cups, Healthy Peanut Butter Cups, or Reese’s Peanut Butter Eggs next.
If you need to cool off, check out How to Make Sorbet, or go with a classic like Lemon Sorbet or Strawberry Sorbet.
Tap stars to rate!
Peanut Butter Rice Krispie Treats

email this recipe!
Ingredients
- 4 Tbsp. butter salted
- 10 oz. mini marshmallows reserve 1 cup
- ¾ cup peanut butter smooth and creamy
- 1 tsp. vanilla extract
- ½ tsp. salt
- 8 ounces chocolate chips milk or semi-sweet
- 5 cups Rice Krispies or crispy rice cereal (LESS?? Tested with 6 cups)
Instructions
- Add the butter to a large pot or Dutch oven over medium heat. Cook the butter, stirring occasionally, for a couple of minutes. The butter will start to bubble up and foam. Keep cooking it for another minute, stirring constantly so it doesn’t burn, or until it becomes a light brown color and starts to smell slightly nutty.
- Turn the heat down to low and mix in the peanut butter, vanilla, and salt. Add in the marshmallows and stir them until they’re coated with the peanut butter. Wait until the marshmallows begin to puff up and then stir until the mixture is almost smooth. It’s OK if there are still some pieces of marshmallow that are not completely melted. Remove the pot from the heat.
- Add the rice cereal to the peanut butter marshmallow mixture. Stir with a spatula until all of the cereal is completely coated. Mix in the reserved marshmallows at this time.
- Add the rice krispie mixture to a 9×9-inch baking pan that has been lined with parchment or wax paper. Press the mixture down into the pan using the spatula. Let the cereal cool for 5-10 minutes before pouring the melted chocolate and smoothing it out.
- Wait for the chocolate to harden up, about 1-2 hours at room temperature or 20-30 minutes if refrigerated, before slicing in and serving. Enjoy!
Tap stars to rate!
Video
Notes
Meal Prep and Storage
- How to prep ahead of time: You can make this entire recipe a few days early.
- How to store: It’s best to keep these treats at room temperature tightly covered or in an airtight container for up to 6 to 7 days.
- How to freeze: For the best results, freeze sliced treats in an airtight container with wax or parchment paper between them. They will last for up to 2 to 3 months in the freezer.
Nutrition
Nutrition information is automatically calculated, so should only be used as an approximation.