


The Asheville taco shop that started this all.

There’s a little taco shop in Asheville, North Carolina that I ended up at repeatedly during one trip. What made their tacos great wasn’t the meat or the salsa, it was the rainbow of pickled toppings they piled on every order: pickled carrots, pickled radishes, pickled jalapeños.
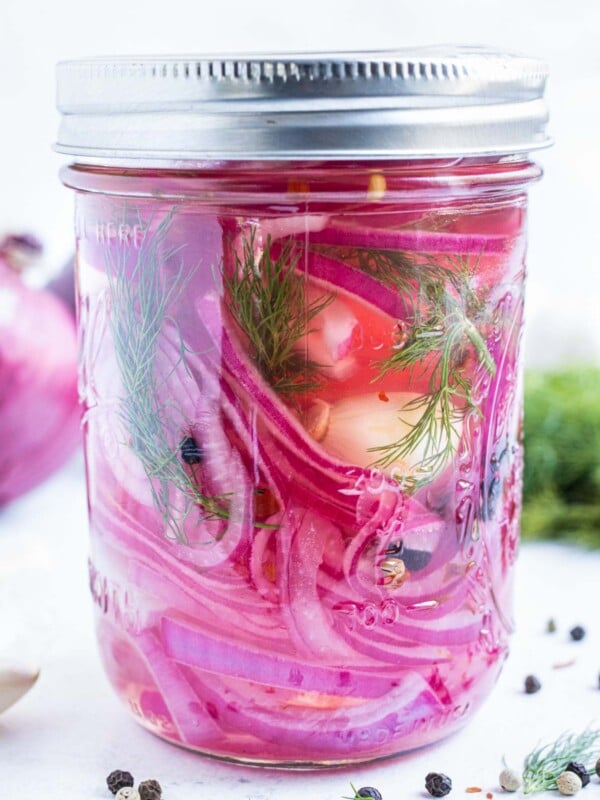
But the pickled red onions were the one I couldn’t stop thinking about. I came home, adapted my Refrigerator Dill Pickles brine for thinly sliced red onions plus a little fresh dill, and these Quick Pickled Red Onions have been on permanent rotation in our fridge ever since.
What makes the difference?
Slice the onions paper-thin (a mandoline is worth it), use distilled white vinegar for that classic clean pickle bite, and don’t skip the hot brine, which softens the onions just enough so they’re ready in 4 hours instead of overnight. The fresh dill is optional but it’s the version I always make.
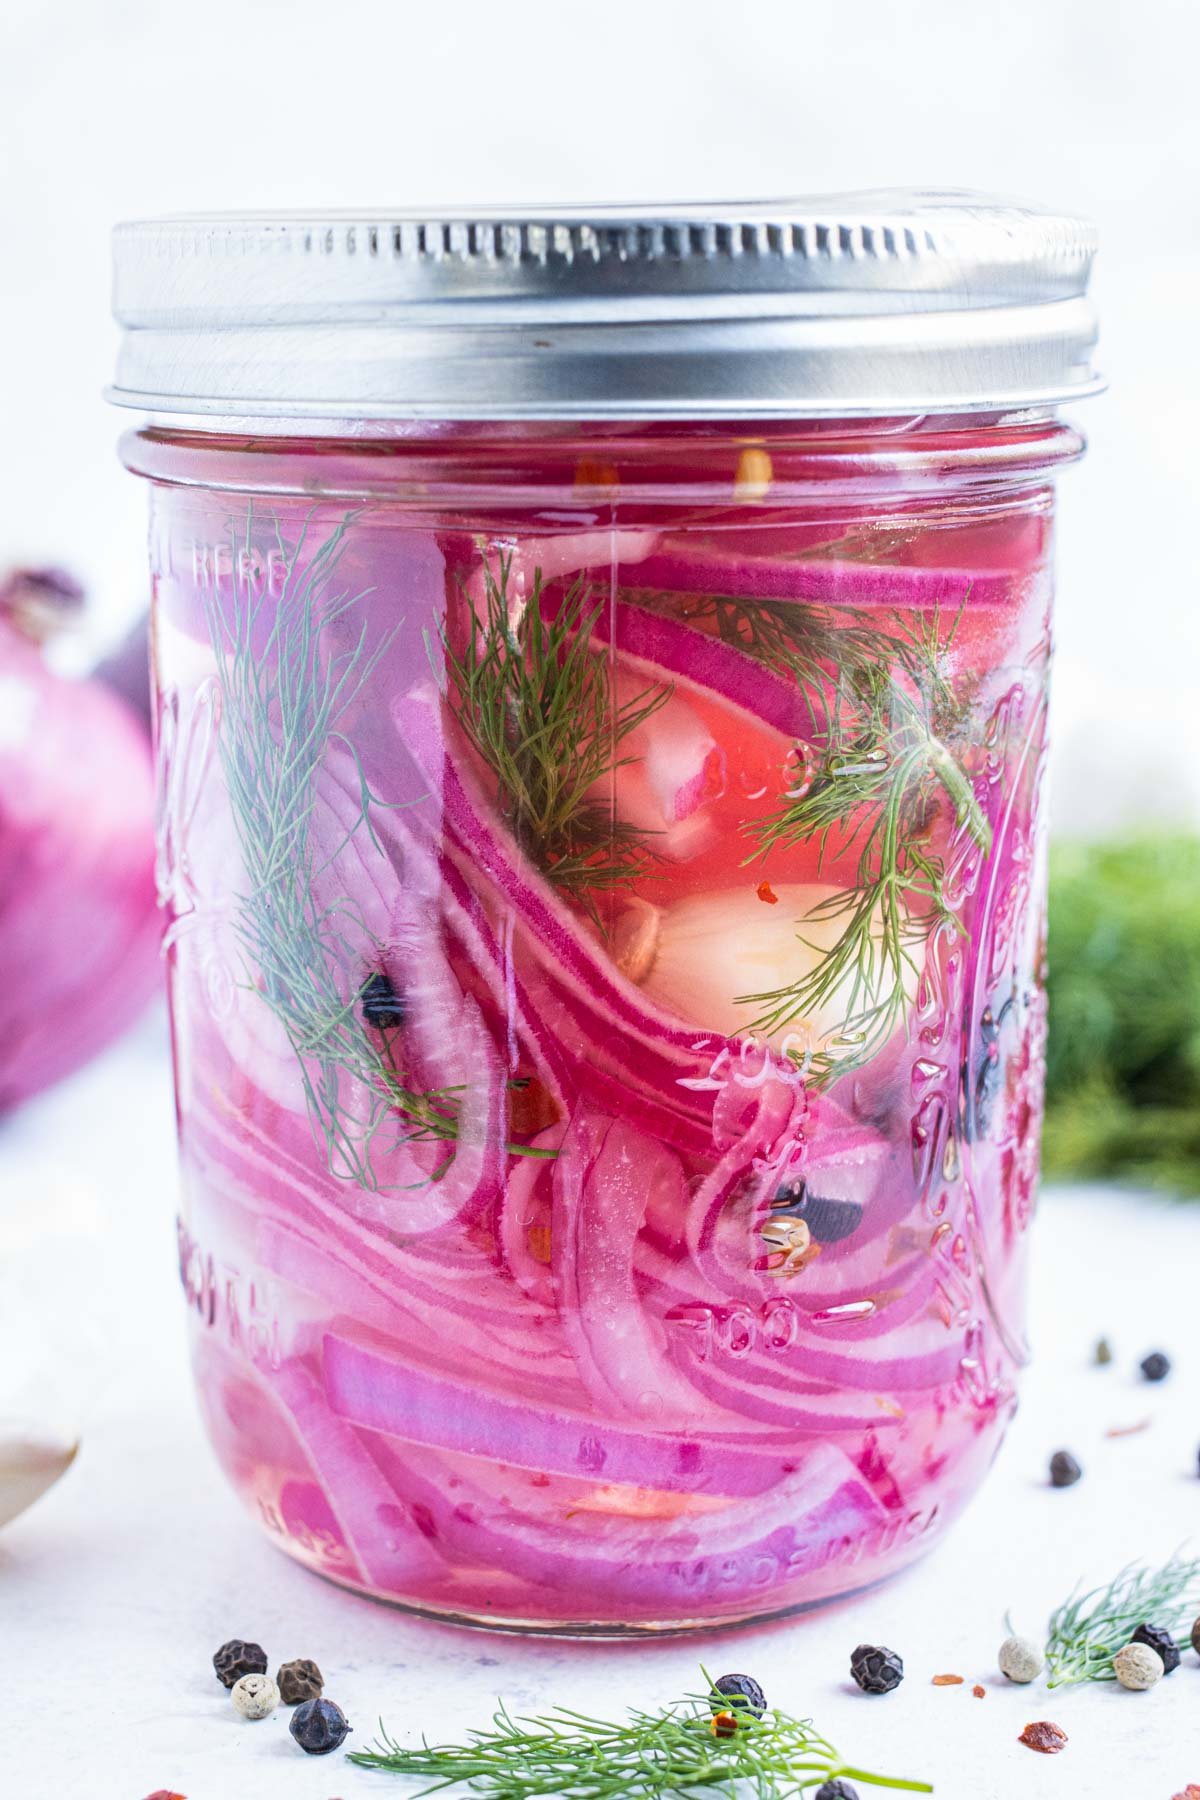
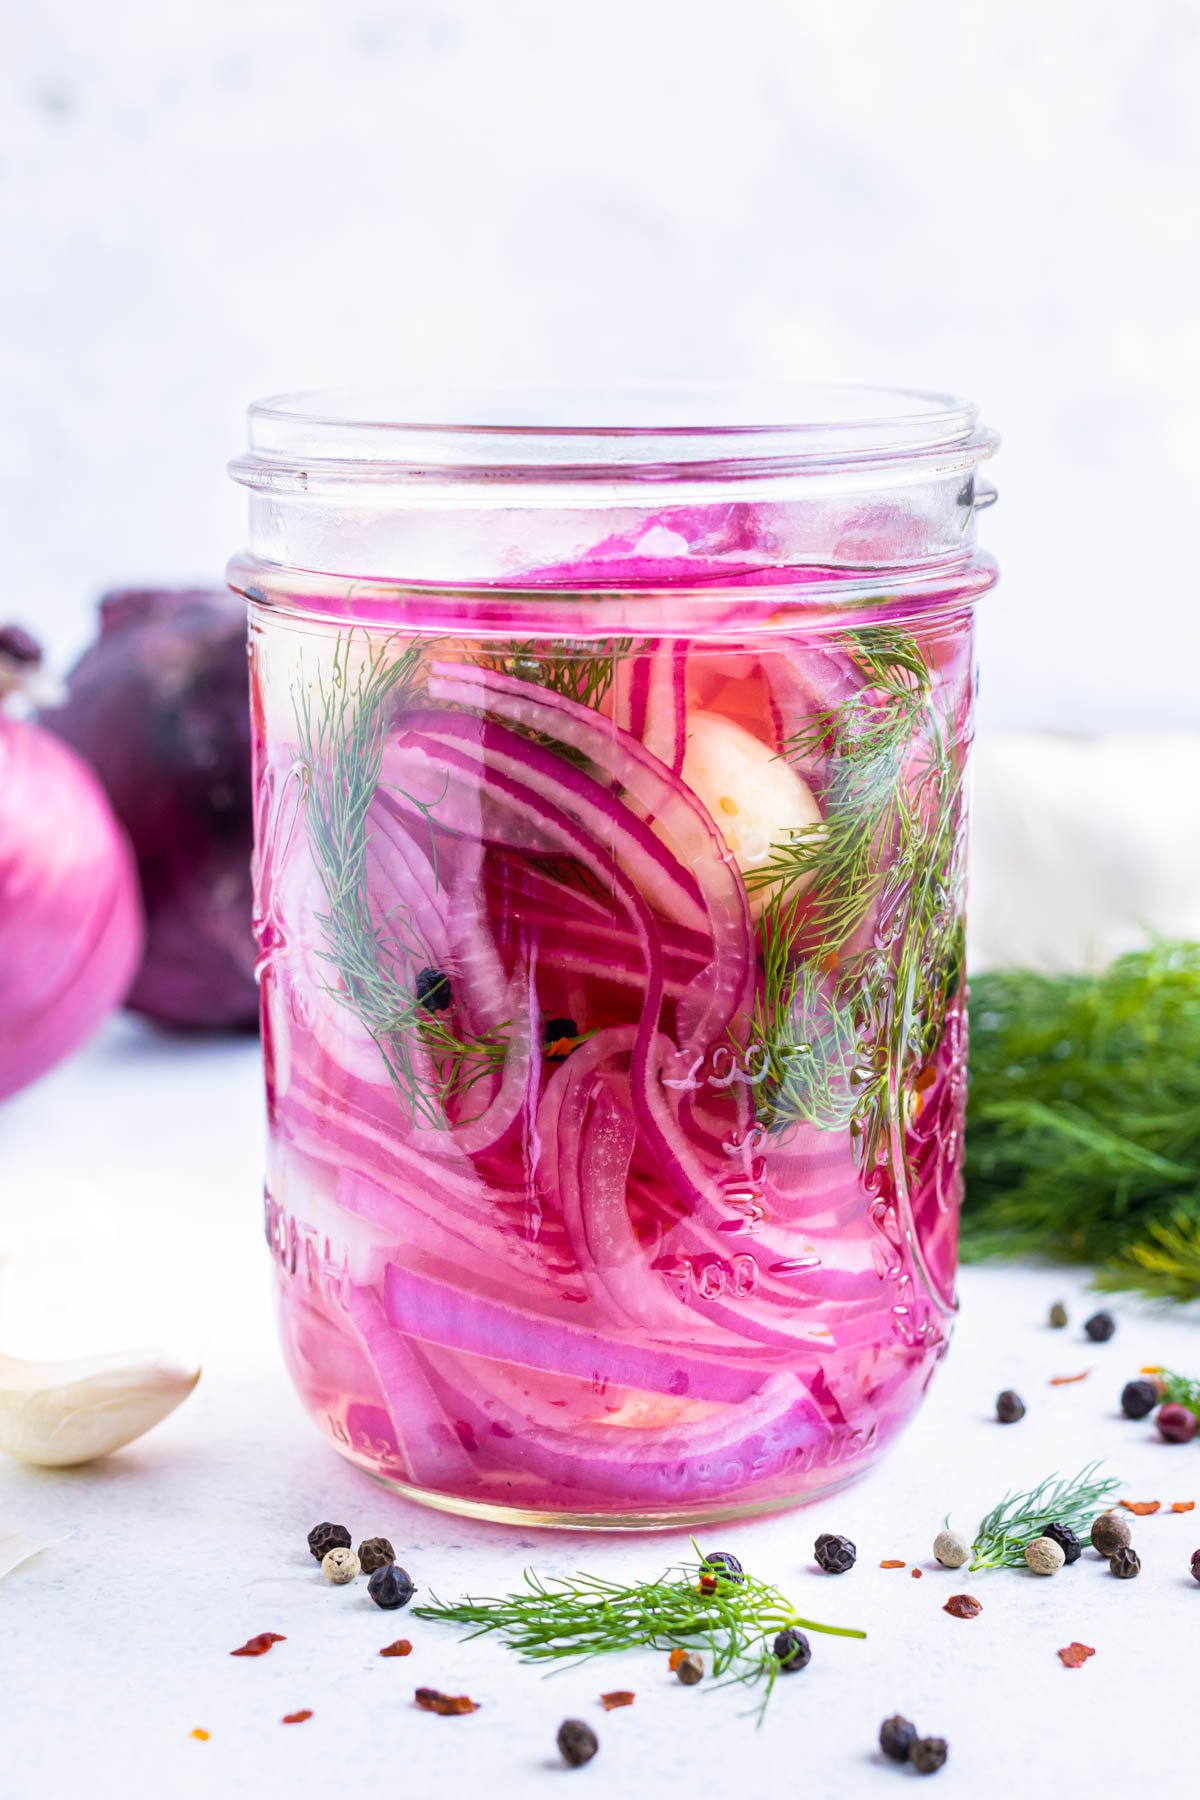
Once they’re in the jar, the only thing standing between you and pink crunchy onions is patience. They’re ready in 4 hours, but the flavor keeps developing for another day or two.
Ingredients and Substitutions
For the exact measurements and detailed instructions, please see the recipe card below.
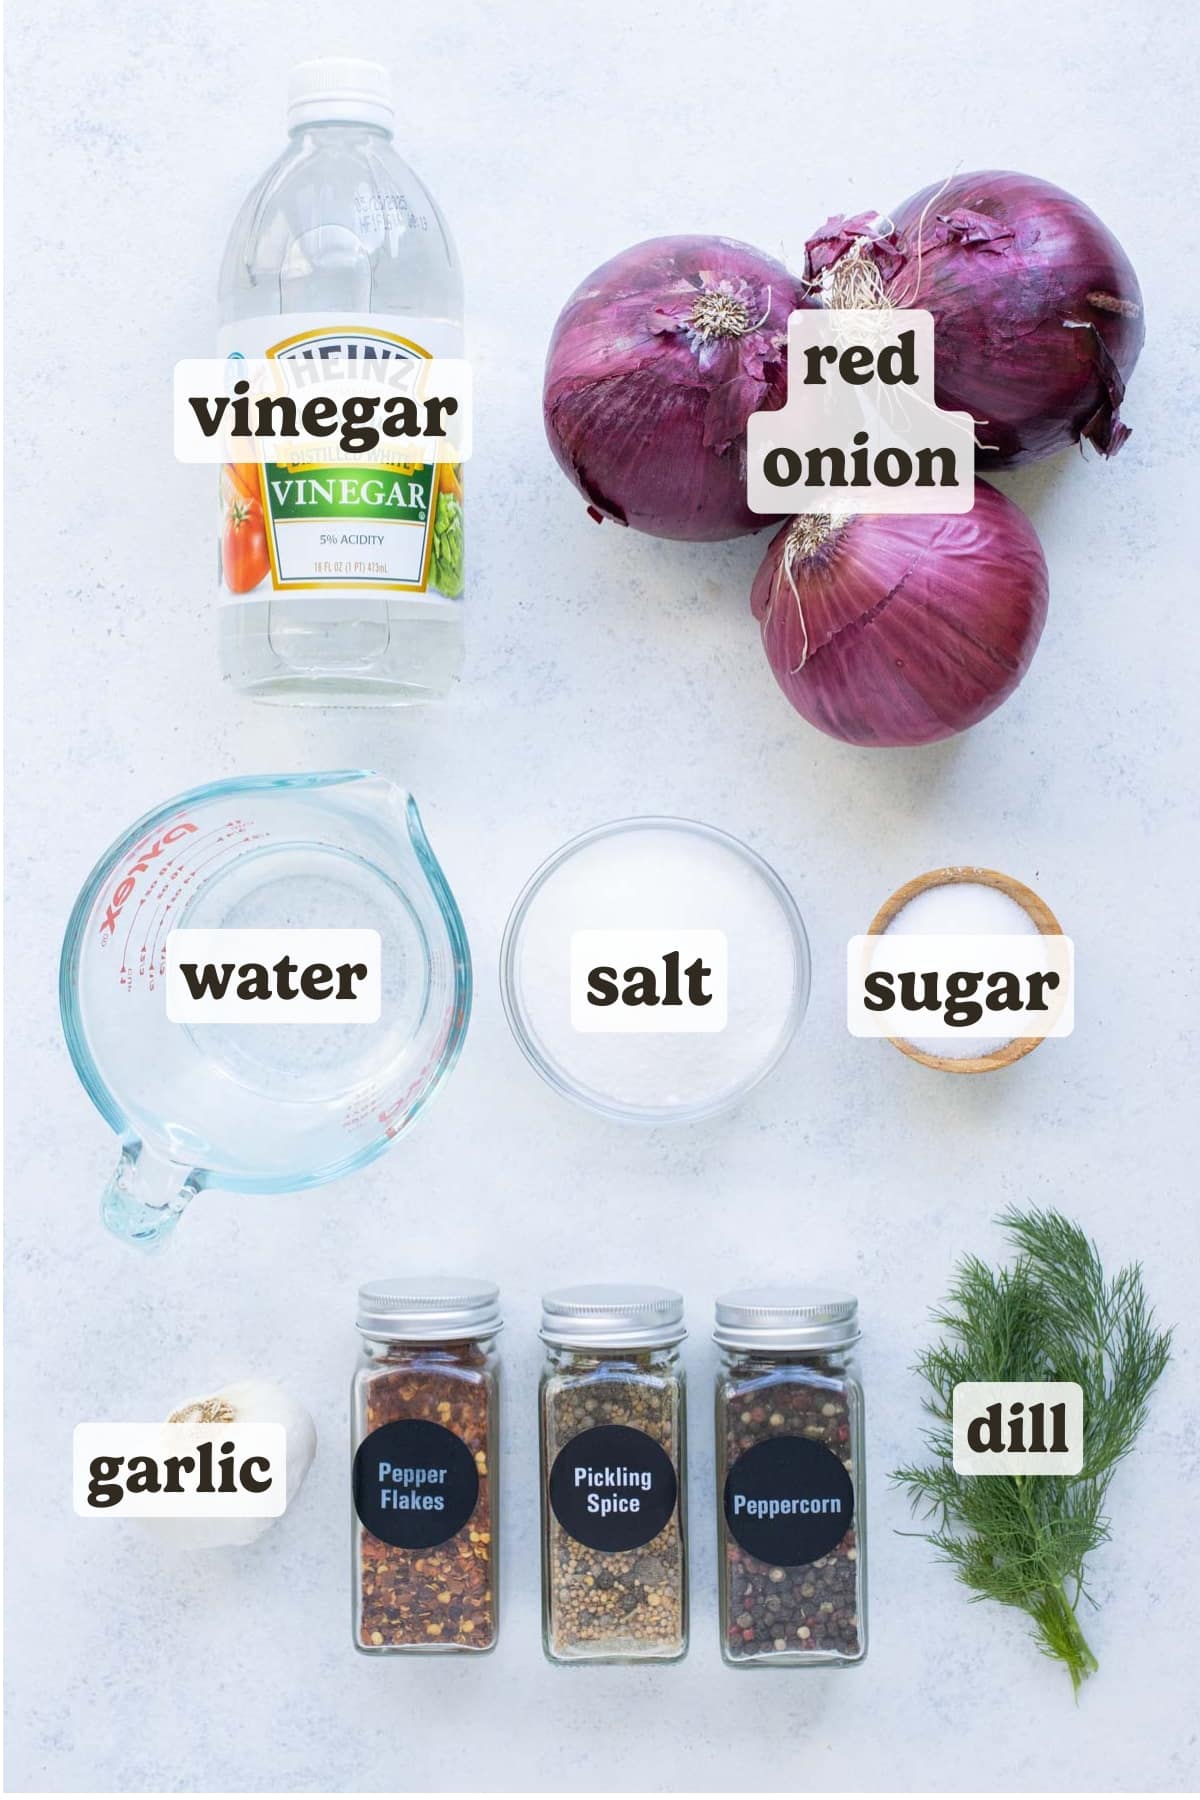
- Red Onion: One medium-sized fresh red onion. Look for firm onions with no soft spots. The fresher the better, since these aren’t getting cooked.
- Distilled White Vinegar: The classic clean pickle bite. Apple cider vinegar works for a sweeter, mellower flavor. Skip rice vinegar for this one (too delicate). See the Vinegar Decision section below for the full breakdown.
- Water: Balances the vinegar so it’s tangy without being aggressive.
- Salt: Pickling salt or kosher salt is best. Table salt works in a pinch.
- Sugar: Just a touch to round out the sour. You can scale down if you prefer a sharper pickle, or sub in honey or maple syrup.
- Fresh Dill (optional but recommended): The signature twist that makes these pickled red onions different from the standard. A few sprigs in the jar is all you need.
- Optional add-ins: Whole garlic cloves, peppercorns, red pepper flakes, or pickling spice. One or two add-ins is plenty.
Why Aren’t My Pickled Onions Pink?
That signature bright pink color is a chemistry reaction, the anthocyanins in red onion skin reacting with the vinegar’s acid. If yours come out pale, dull, or beige, here’s what usually went wrong.
- Not enough acid coverage. The brine has to fully submerge the onions for the color reaction to happen evenly. If onions are sticking out of the liquid, top up with extra water + a splash of vinegar.
- Onion variety mix-up. Make sure you’re using actual red onions, not sweet onions or shallots. The pink color comes from the red skin pigment specifically.
- Brine too cold. Hot brine activates the color reaction faster. If you used cold brine, give it 12-24 hours instead of 4 — the pink will deepen as it sits.
- Old onions. Onions that have been sitting on your counter for weeks have less of the pigment compounds left. Use the freshest red onion you can find.
- Your container is too big. A 16-oz mason jar packs the onions tight under the brine. A wide bowl spreads them out and the surface area exposed to less acid stays pale. Stick with the jar.
Step-by-step Instructions
Please see the recipe card below for the full instructions, ingredient amounts, and a printable recipe.
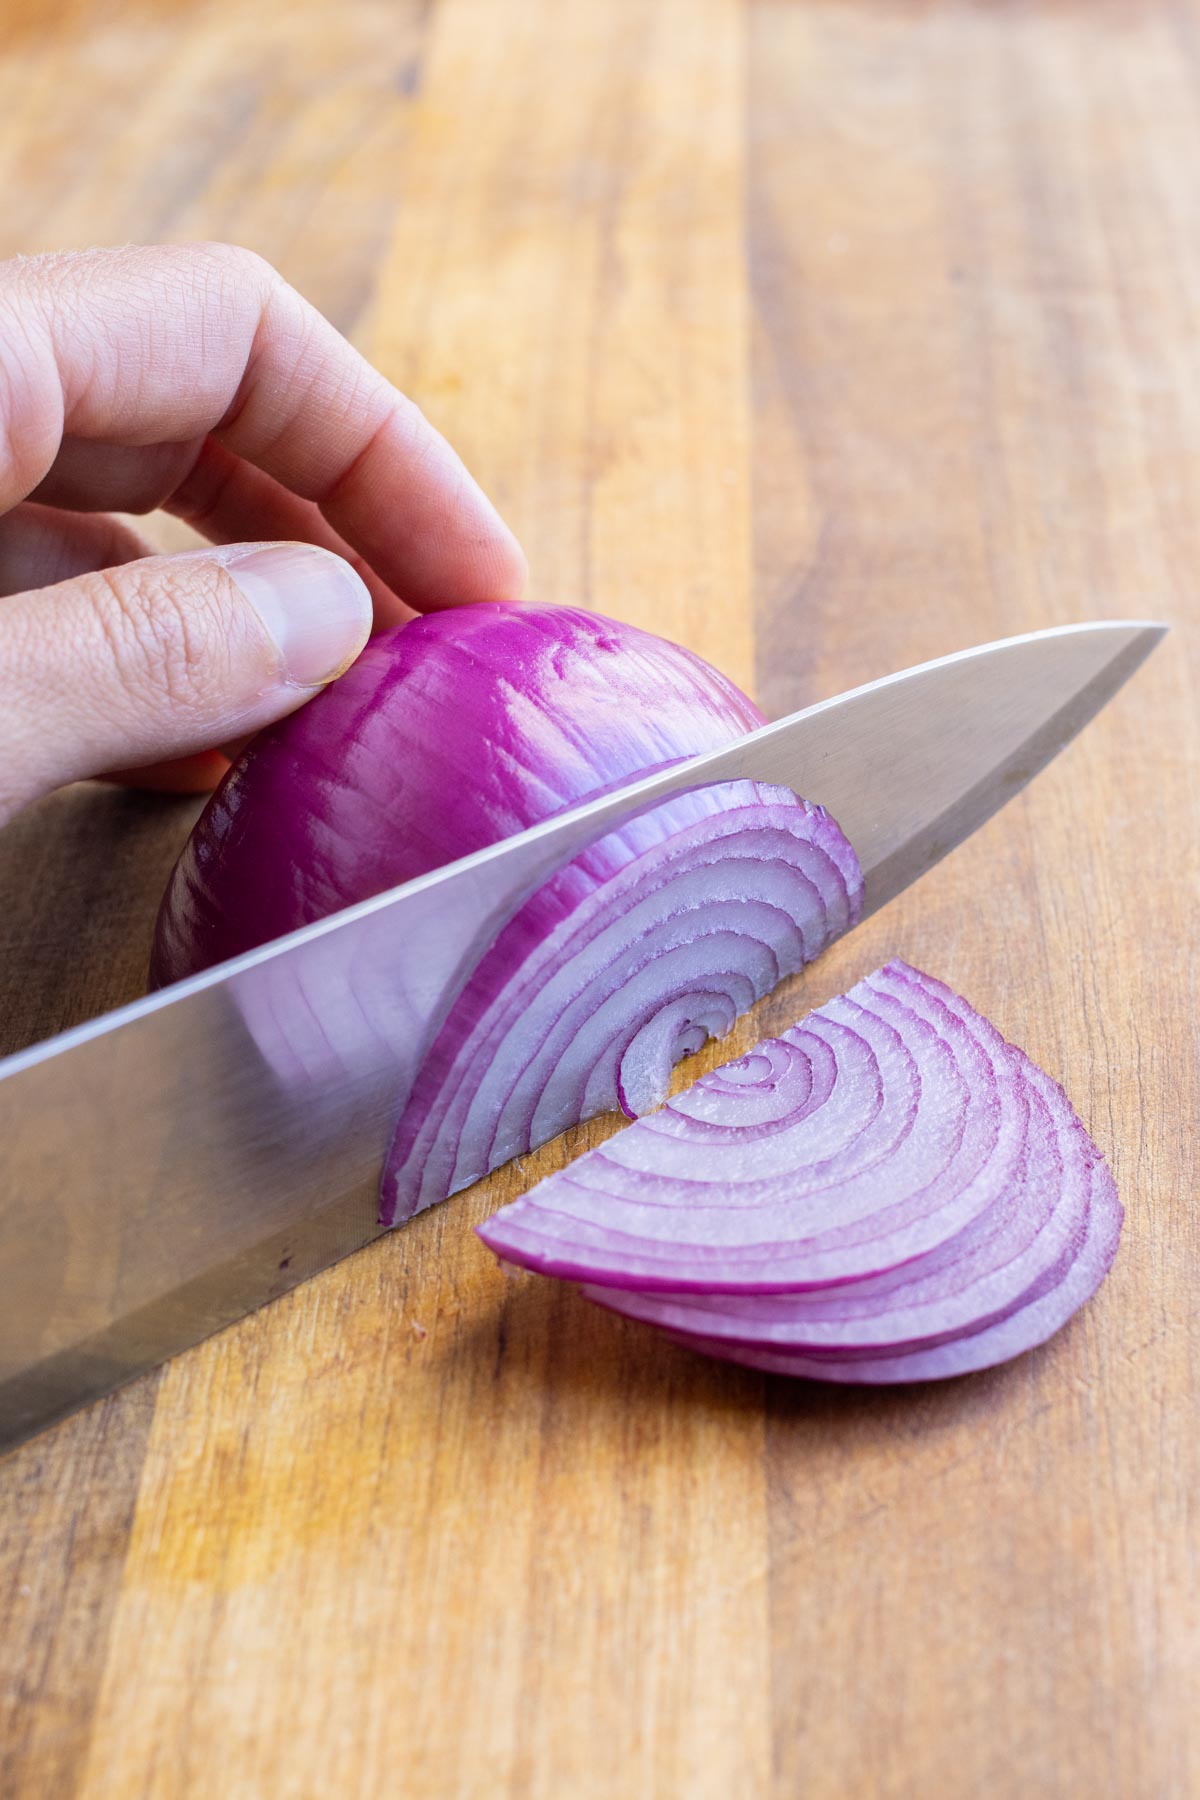
Slice the onion paper-thin.
Use a mandoline if you have one (worth it for this recipe). Otherwise, a sharp knife and patience. The thinner the slices, the faster the brine works and the better the texture.
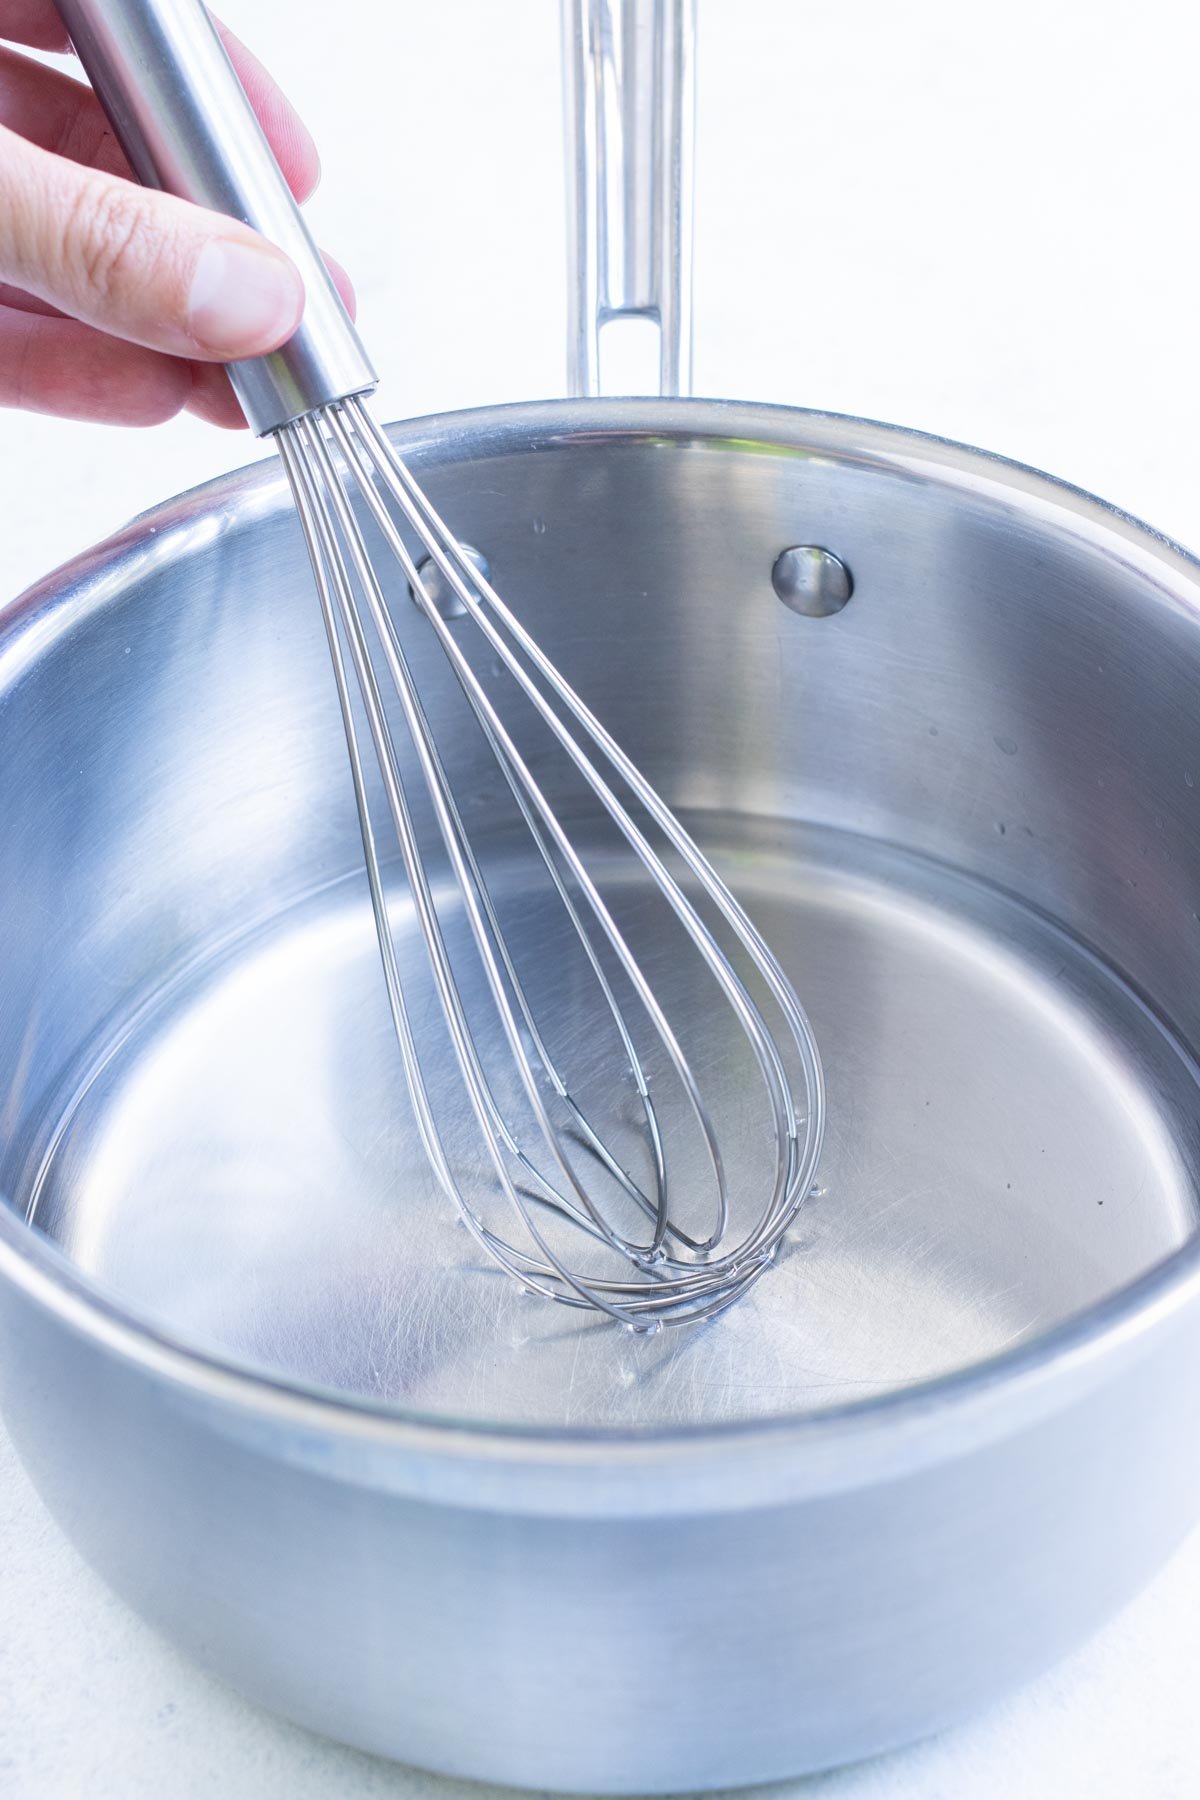
Make the hot brine.
Combine the vinegar, water, salt, and sugar in a small saucepan. Bring to a gentle simmer over medium heat, stirring just until the salt and sugar fully dissolve. Don’t let it boil hard or you’ll lose volume to evaporation.
Pack the jar.
Add the sliced onions to a 16-oz mason jar, packing them down so they’re snug. If using fresh dill, garlic cloves, or pickling spice, tuck them in now between the layers.
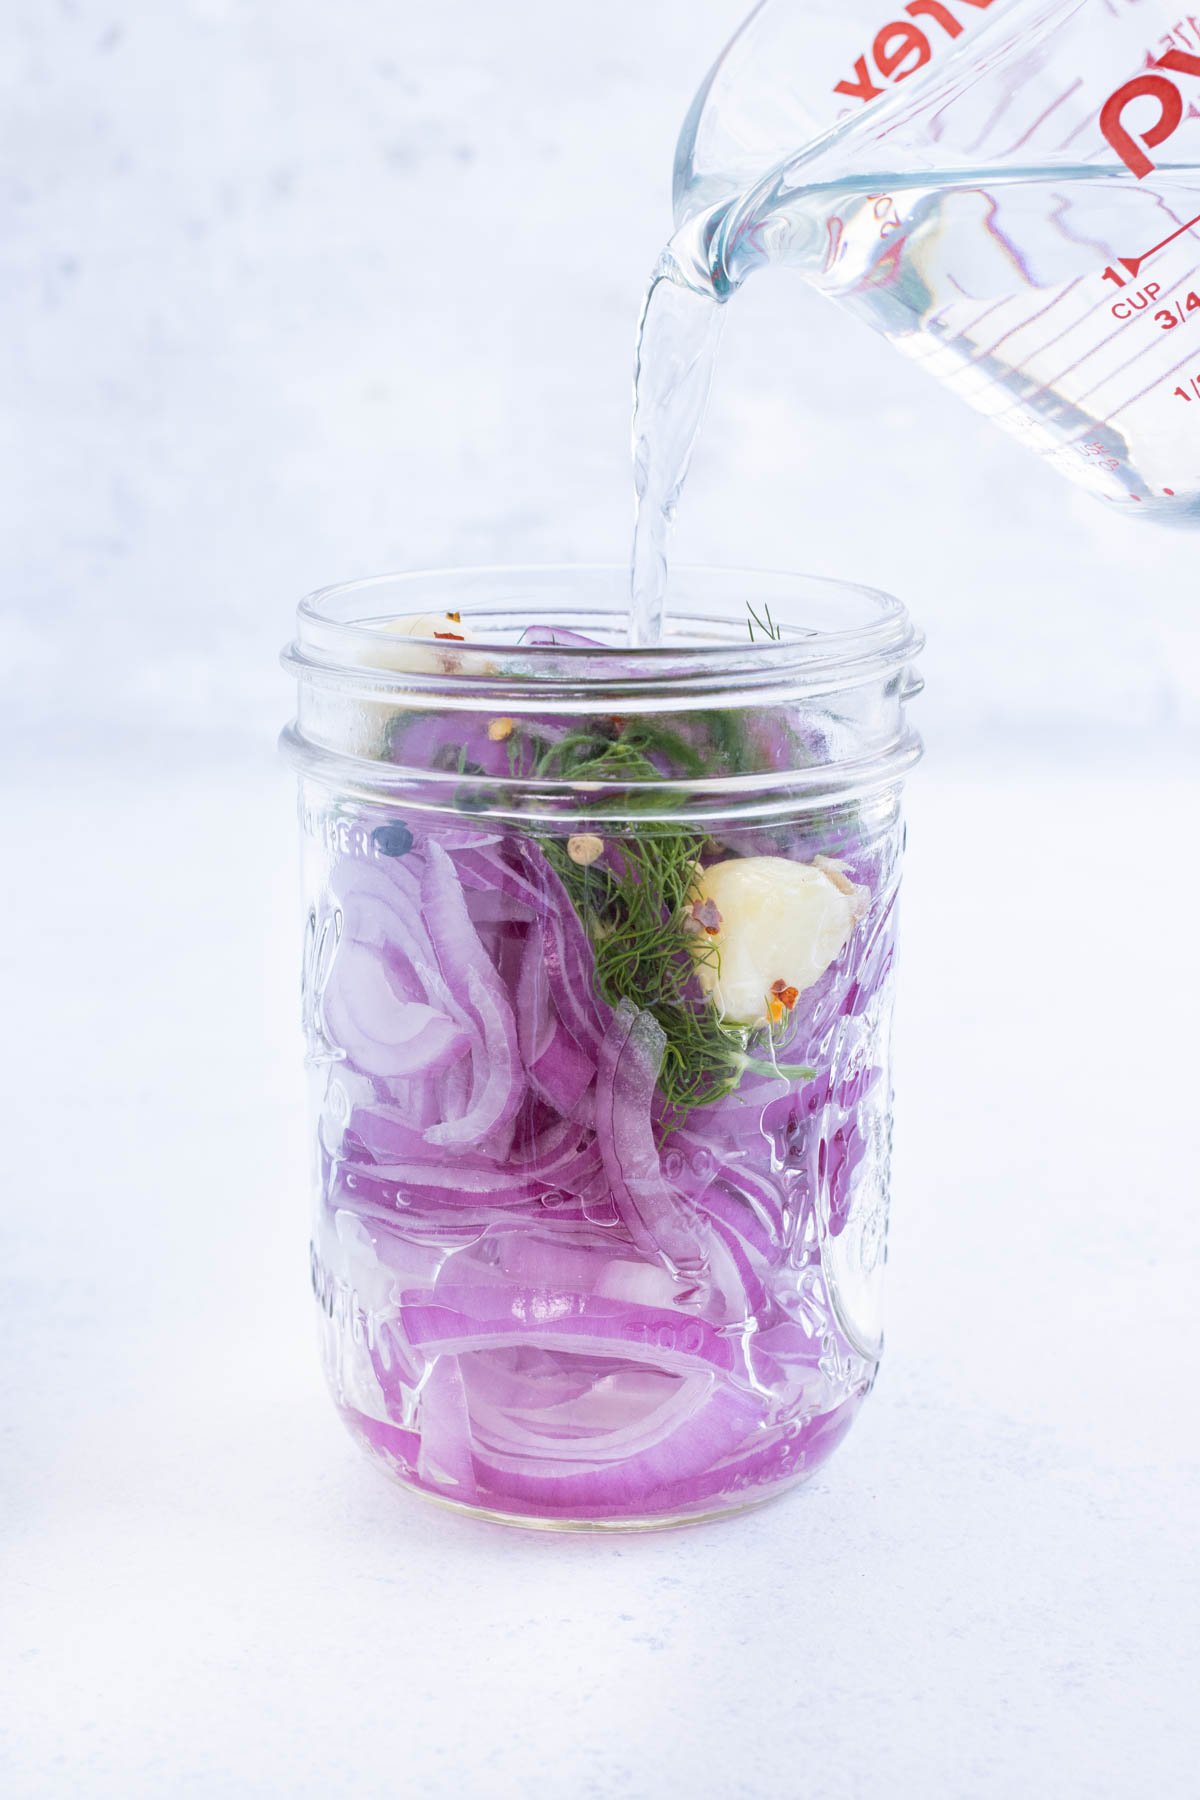
Pour and rest.
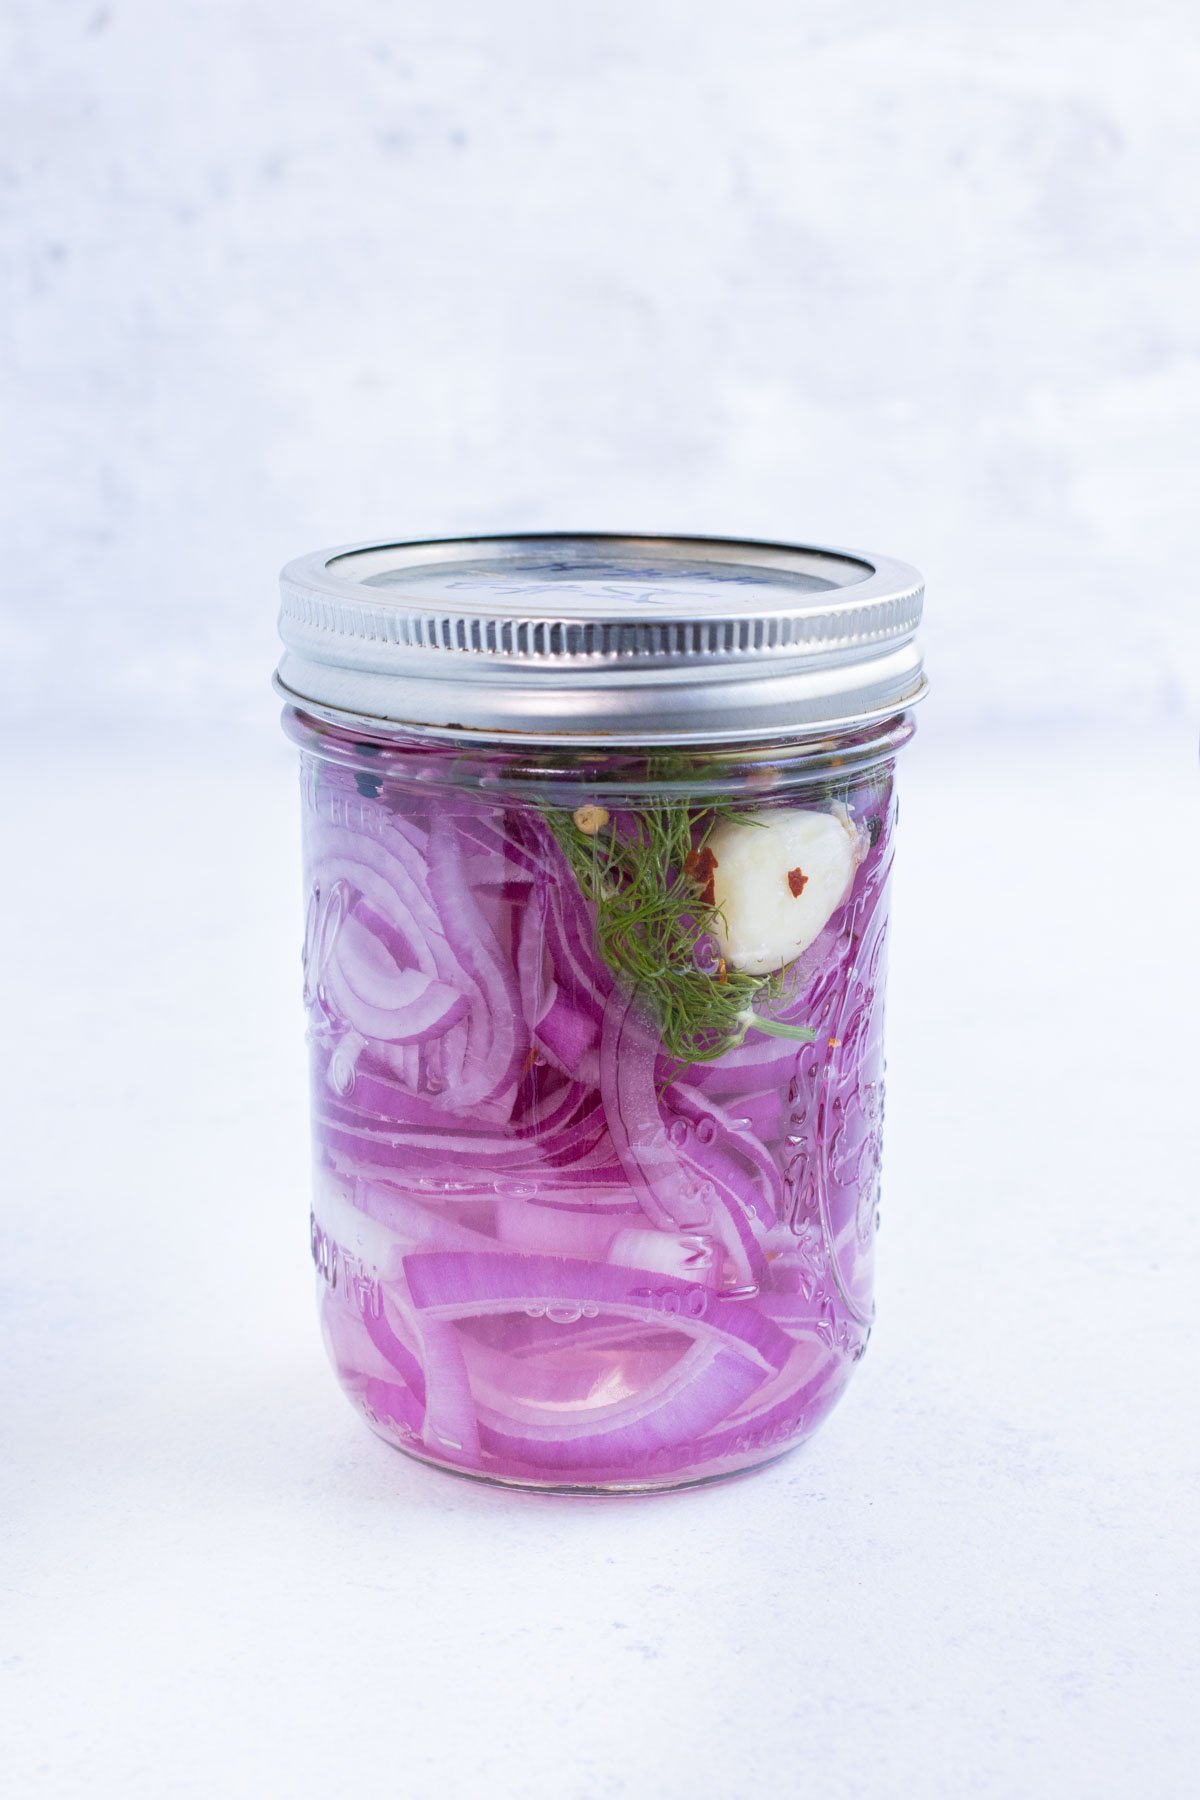
Pour the warm brine over the onions until they’re fully submerged. If there’s any space at the top, add a splash of water. Let cool to room temperature, then refrigerate at least 4 hours before eating. Best after 12-24 hours, and they keep 2-3 weeks in the fridge.
12 Ways to Use Pickled Red Onions
Once you have a jar in the fridge, you’ll start putting these on everything. Categorized by meal type so you can find what fits whatever you’re cooking.
Tacos & Mexican Mains
- Pile on Loaded Sheet Pan Nachos for the tangy bite that cuts through cheese and beans.
- Top Chicken Tinga Tostadas or Baked Tostada Shells.
- Layer into Rotisserie Chicken Enchiladas or Mexican Lasagna with Tortillas.
Burgers & Sandwiches
- Top Chicken Caesar Burgers with a generous handful.
- Add to any beef or turkey burger, grilled chicken sandwich, or banh mi-style sub.
- Stuff into a cold roast beef sandwich with horseradish mayo.
Salads, Bowls & Sides
- Toss with Crispy Smashed Broccoli with Parmesan for a tangy contrast.
- Stir into a grain bowl with feta, cucumbers, and a lemon-tahini drizzle.
- Top a cold pasta salad or potato salad for instant brightness.
Breakfast & Eggs
- Tuck into a breakfast burrito or migas tacos with eggs and cheese.
- Top scrambled eggs or avocado toast with a fried egg on top.
- Stir a few into Pico de Gallo for a layered topping with two kinds of bite.
How Long Do Pickled Red Onions Last?
Quick pickled red onions keep in the fridge for 2-3 weeks when stored properly. Keep them in an airtight mason jar with the onions fully submerged in the brine, and always use a clean utensil when scooping (not your fingers).
Important safety note: This is a quick pickling recipe, not a canning method. The onions must be stored in the fridge and are NOT shelf-stable. Don’t leave them at room temperature.
How to tell if they’ve gone bad: Off smell (sour-funky vs the normal vinegar tang), slimy or mushy texture, visible mold on the onions or in the brine, or a noticeably cloudy brine with sediment. When in doubt, toss.
Can you freeze them? Technically yes, but the texture goes mushy on thawing. Better to scale the recipe down (one small onion = roughly half a pint jar) and make a fresh batch every couple weeks instead.
FAQs
Distilled white vinegar is the classic choice for that sharp, clean pickle bite. Apple cider vinegar works for a sweeter, mellower flavor. Skip rice vinegar for this recipe, the flavor is too delicate. See the Vinegar Decision section above for the full breakdown.
Most often, the brine isn’t fully covering the onions, the onions aren’t fresh enough, or you used a bowl instead of a packed mason jar. See the troubleshooting section above for all five common causes and fixes.
Yes, in three ways. Pickle a second batch of onions (slightly milder), use it as a vinaigrette base, or splash a teaspoon into coleslaw and potato salad. See the Reuse the Brine section above.
About 2-3 weeks in the fridge, stored in an airtight jar with the onions fully submerged in brine. Always use a clean utensil to scoop, and toss if you see mold or a noticeably off smell.
Technically yes, but the texture goes mushy on thawing. Better to make smaller batches more often. One small red onion makes roughly half a pint jar.
Yes. Fresh dill, whole garlic cloves, peppercorns, red pepper flakes, or pickling spice all work. One or two add-ins is plenty, more than that gets muddled. The dill version is the one I always make.
Tap stars to rate!
Quick Pickled Red Onions


email this recipe!
Ingredients
- 1 small red onion thinly sliced
- ⅔ cup distilled white vinegar
- ⅓ cup water
- 1 ¼ teaspoon salt
- 1 tablespoon sugar
- 3 fresh dill sprigs optional
- Pickling spice, red pepper flakes, or garlic cloves optional

Instructions
- Add vinegar, water, salt, and sugar to a saucepan over high heat. Bring to a boil and then reduce heat to low. Simmer for 2-3 minutes, whisking occasionally, or until the salt and sugar have dissolved.⅔ cup distilled white vinegar, ⅓ cup water, 1 ¼ teaspoon salt, 1 tablespoon sugar
- Add the red onions to a 16-oz. mason jar along with pickling spice, red pepper flakes, garlic, and dill, if using.1 small red onion, Pickling spice, red pepper flakes, or garlic cloves, 3 fresh dill sprigs
- Pour the warm solution over the red onions and let cool to room temperature. If there is any space left in the jar, pour additional water in until it just reaches the top.
- Cover the jar with a lid and store in the refrigerator for at least 4 hours or up to overnight before enjoying.
Tap stars to rate!
Video
Notes
- Safety note: This is a quick pickling recipe, not a canning method. The onions must be stored in the fridge and are not shelf-stable. Do not attempt to store at room temperature.
- Slicing: The thinner the better for the most flavor! If you have a mandoline like this one, pull it out! It’s totally worth it.
- Prep-Ahead: This recipe is best made ahead of time! You can make these onions at least four hours or up to several days in advance.
- Storage: The onions will last in the refrigerator in an airtight jar for up to 2 to 3 weeks.
Nutrition
Nutrition information is automatically calculated, so should only be used as an approximation.


Very fragrant and simple!
Thank you, Sandy. These add a pop to so many dishes. Thank you for taking the time to leave a comment and a rating.