Why quick pickling garlic is the best!

I would argue that garlic is one of the most, if not THE most, essential ingredient in every kitchen. It’s delicious in just about EVERY recipe.
However, there are times when raw garlic is a bit too strong.
The answer… to quick pickle it!
It mellows the bite, extends the shelf life, and couldn’t be easier to do. I use the same quick brine from my Overnight Pickles Recipe, and within a few hours, you’ve got mellow, garlicky goodness ready to go.
But don’t stop with garlic! Try your hand at pickled jalapeños, pickled beets, and pickled red onions, too!
Ingredients and Substitutions
For the exact measurements and detailed instructions, please see the recipe card below.

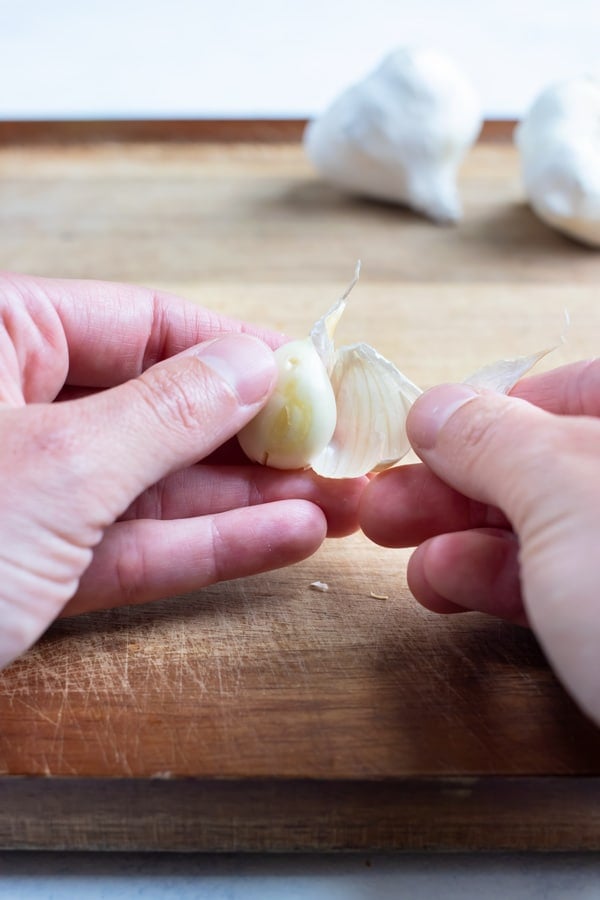
- Garlic Cloves. You need about ½ pound. The easiest method is to buy already peeled cloves. Otherwise, get a couple of heads and prepare them yourself.
- Vinegar. Distilled white vinegar is necessary for that pickle taste everyone knows and loves. Apple cider vinegar will work in a pinch, but note that the flavor won’t be quite the same. Avoid rice vinegar or white wine vinegar.
- Water. This helps balance out the acidic solution and ensure things aren’t too sour.
- Salt. This is essential for a good brine. If you can, use pickling salt; it is available at most stores. But table salt will work fine, as well. You can always add more, so start with a small amount.
- Sugar. Just a bit is needed to offset the tartness of the vinegar. You can adjust the amount depending on your preference.
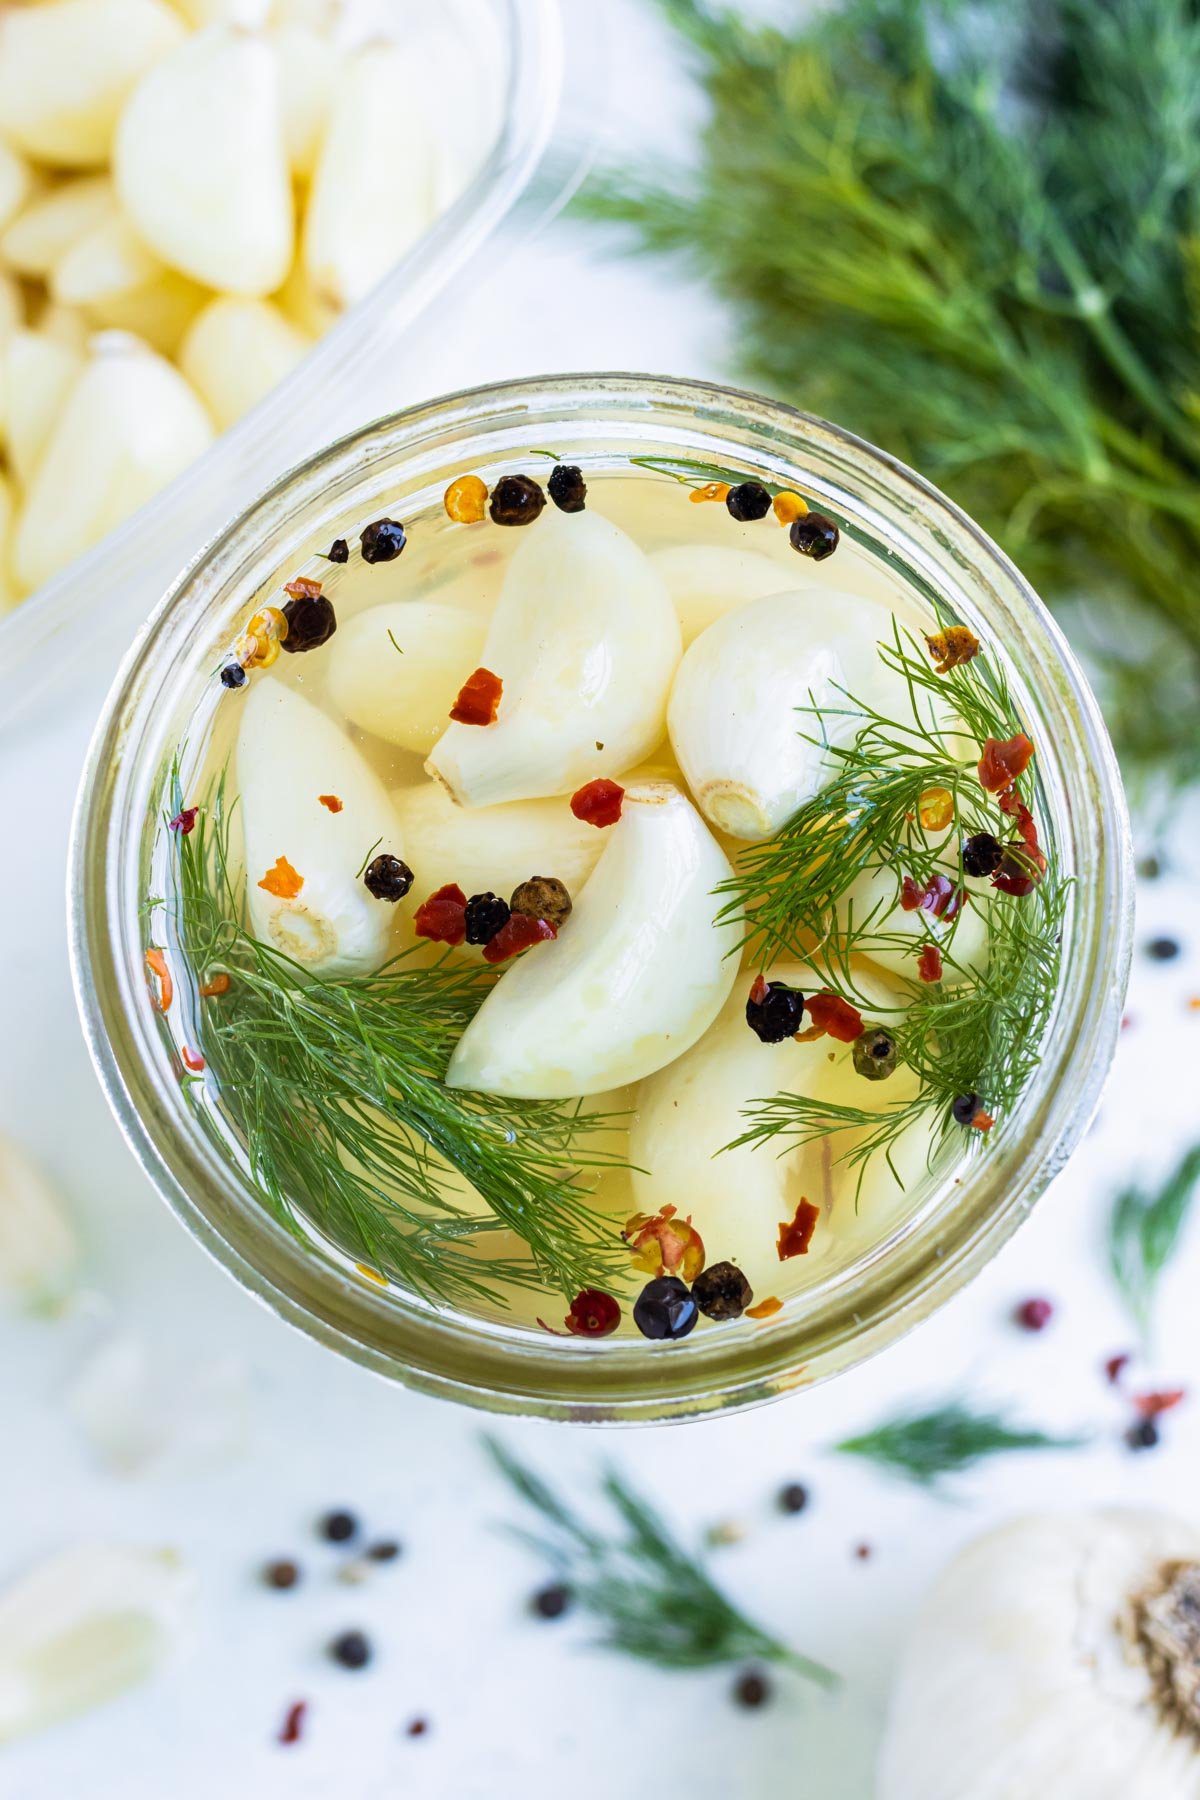
- Optional Ingredients. You can go with whatever flavors you like! Fresh dill (if you have dried, be sure to use less!) or pickling spice both add a special touch.
Step-by-step Instructions
Please see the recipe card below for more detailed ingredient amounts and for the printable instructions.
Prep the garlic
Use pre-peeled garlic to make things super easy, or peel it yourself by trimming the ends, gently smashing each clove with the flat side of your knife, and slipping off the skins.
Here are more detailed instructions for how to peel garlic.
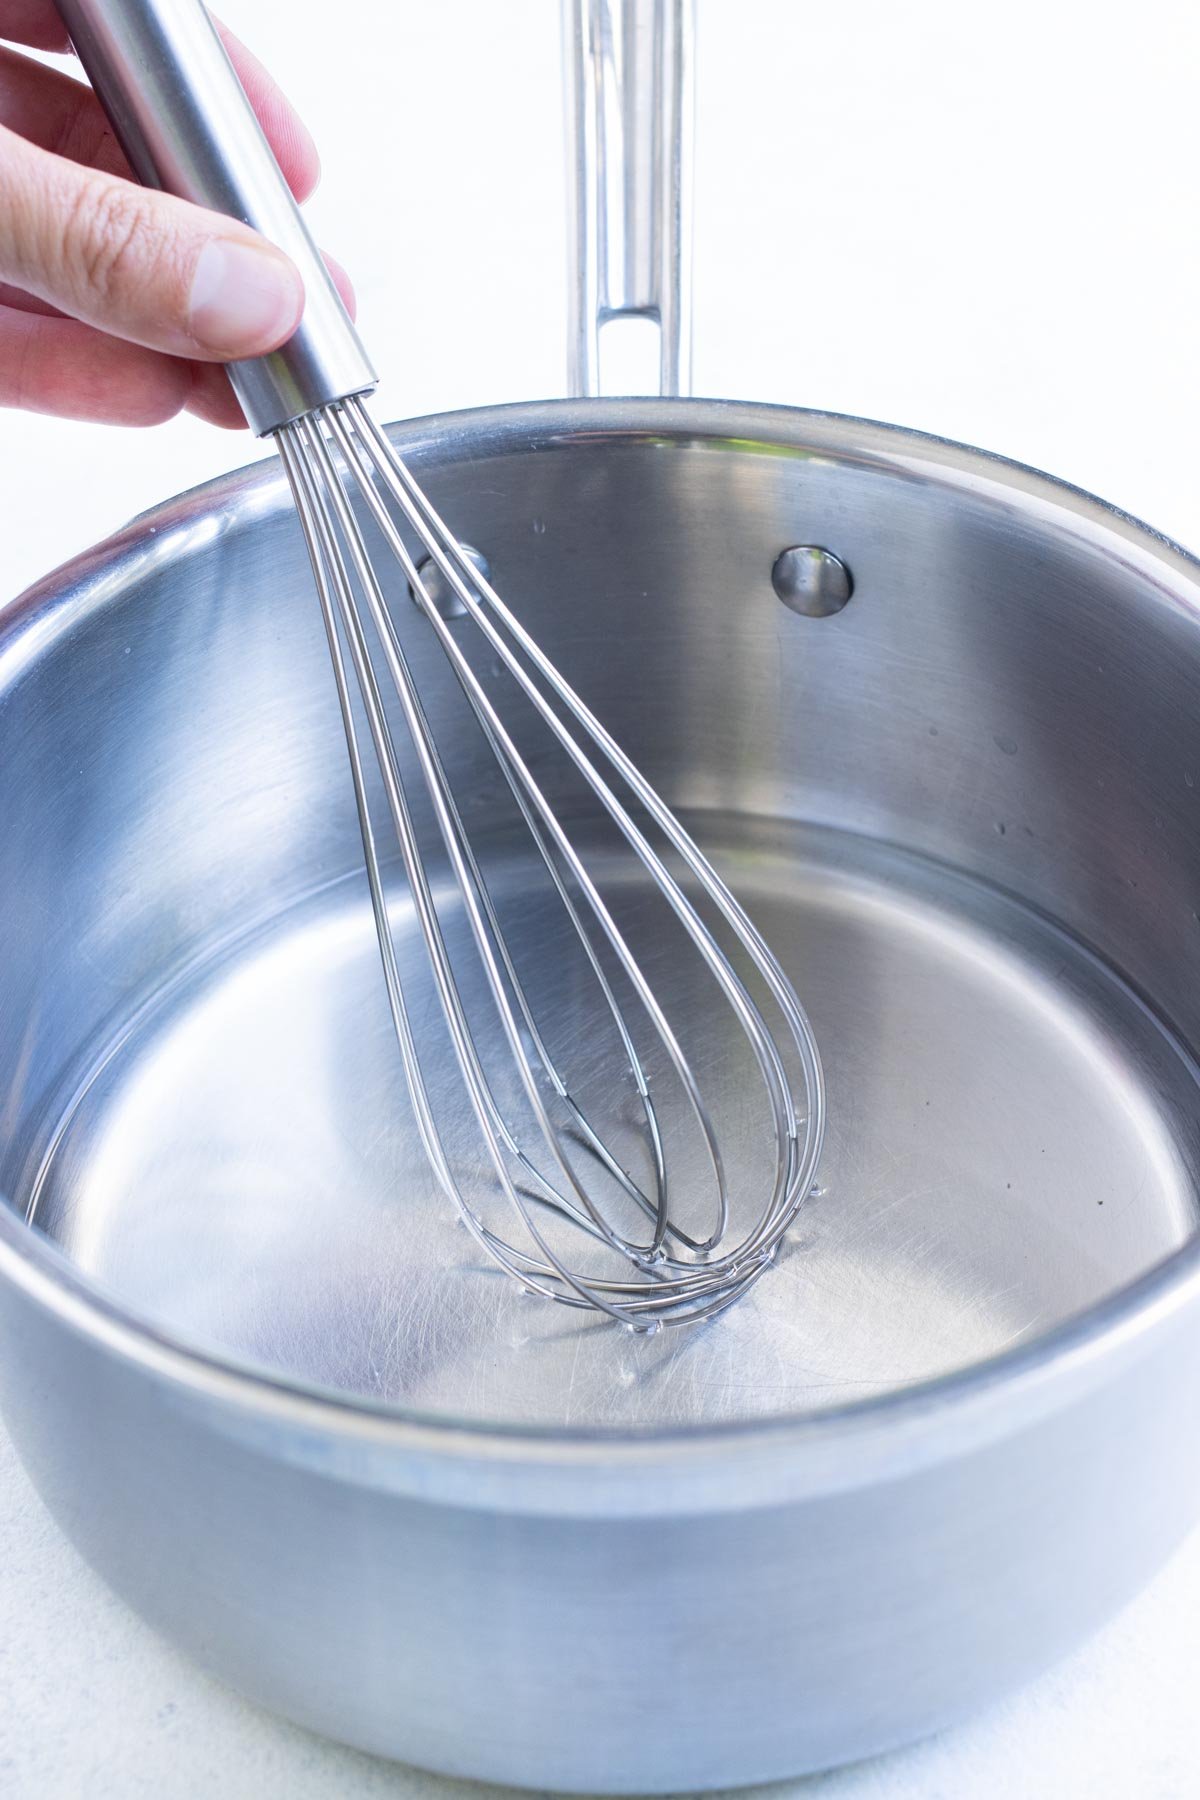
Make the pickling brine.
In a large pot, combine vinegar, water, salt, and sugar. Bring to a boil, then reduce to a simmer and stir for 2–3 minutes, just until the salt and sugar dissolve.
Pro Tip: Don’t let the brine simmer too long or you’ll lose too much liquid to evaporation.
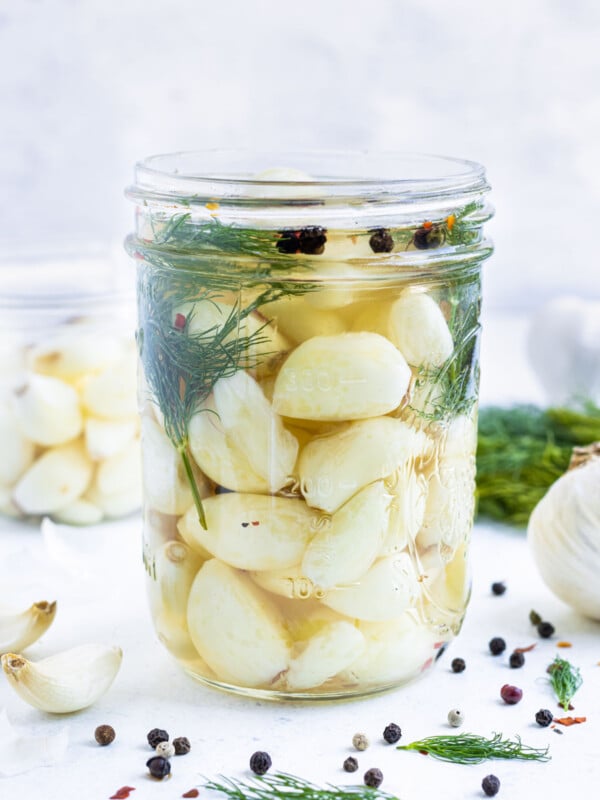
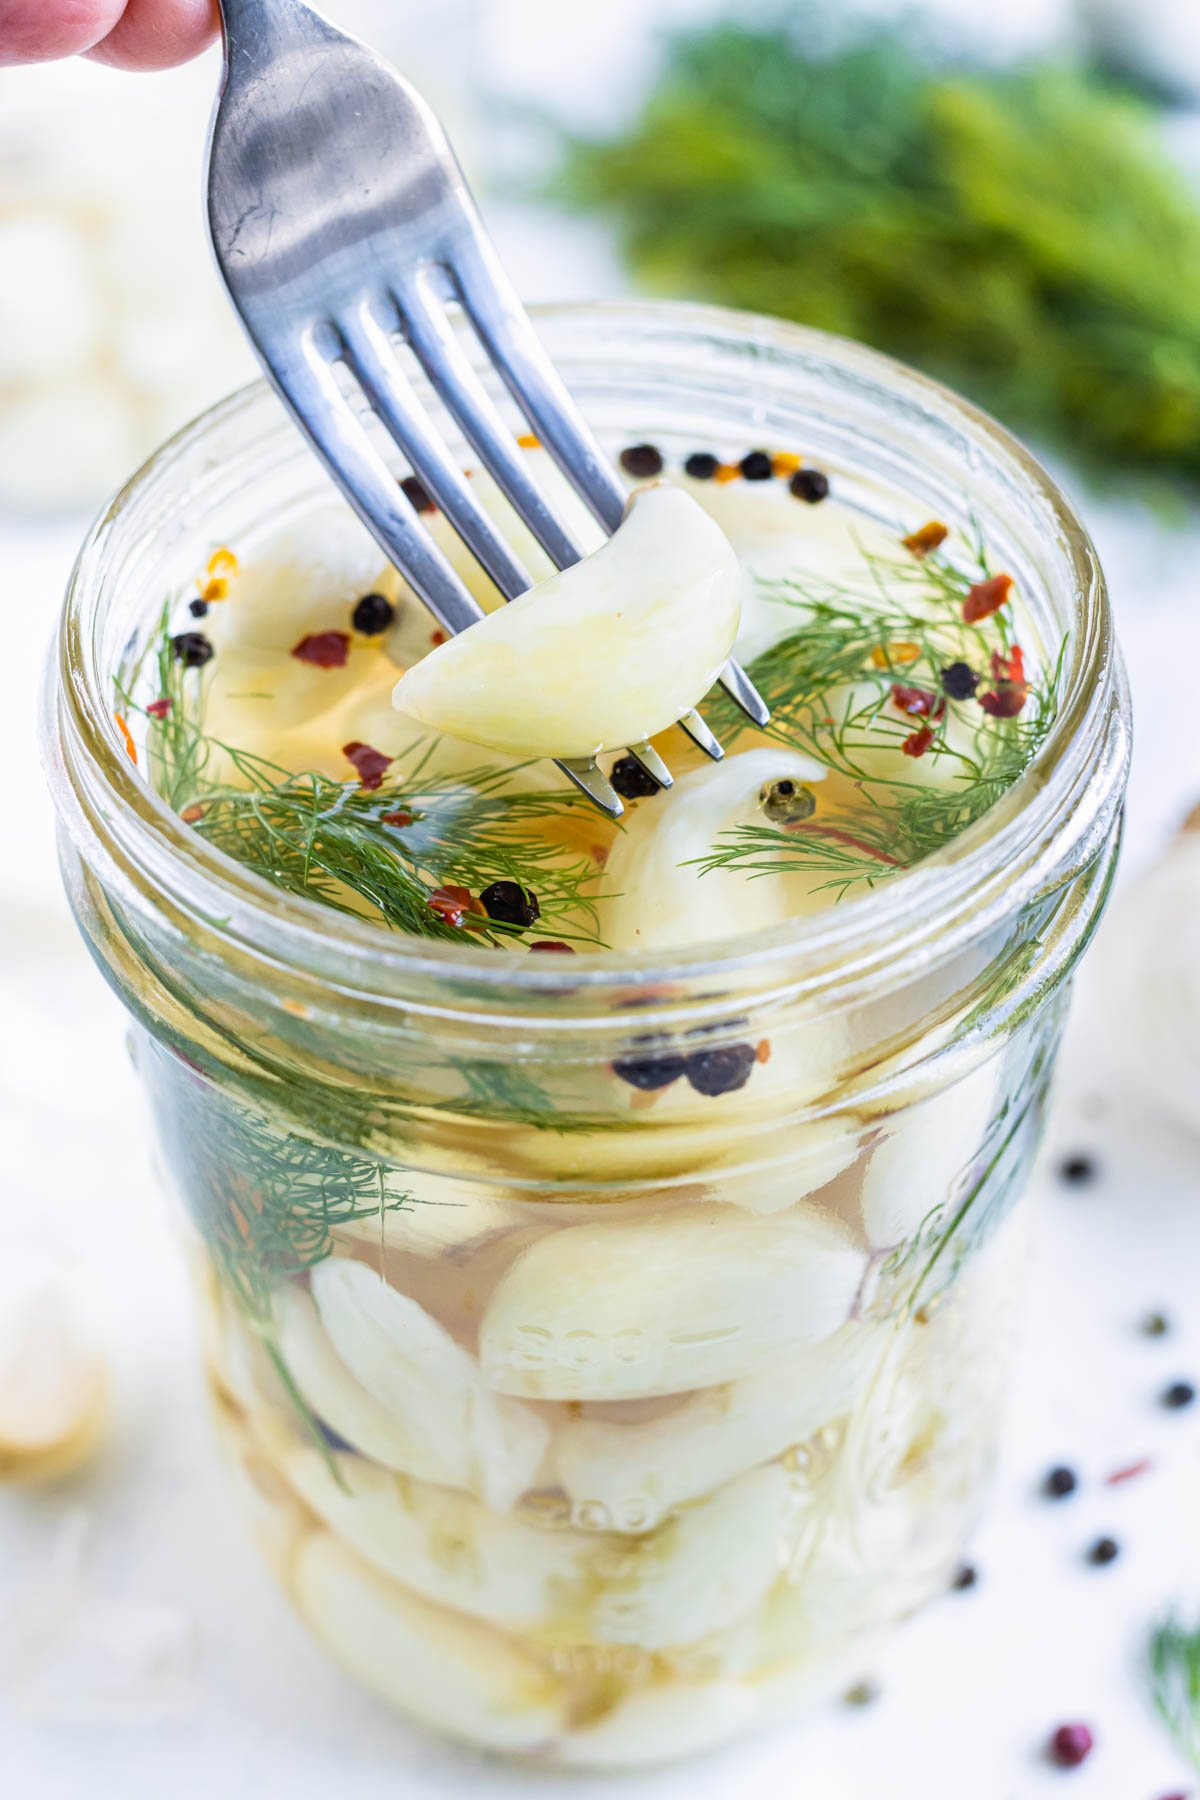
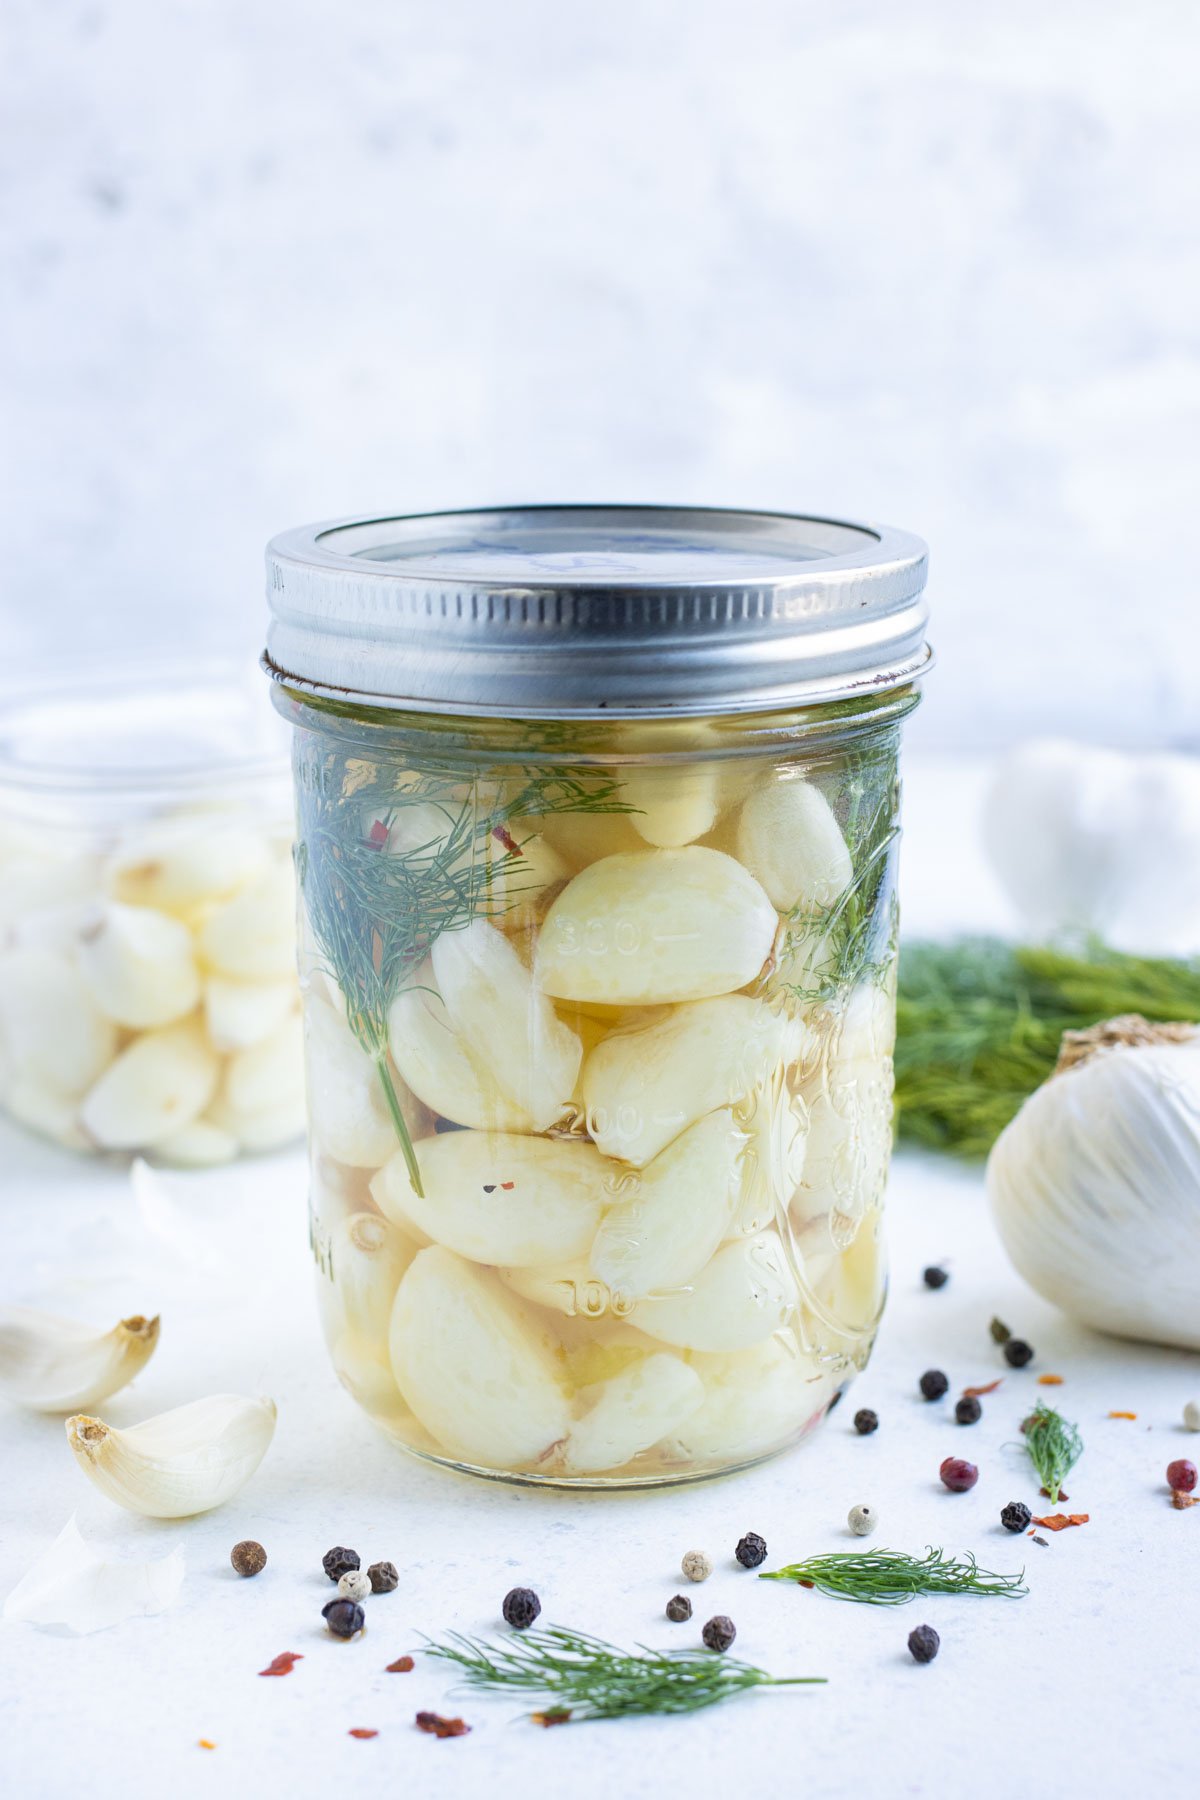
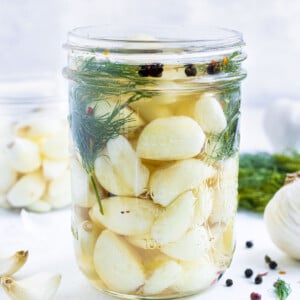
Fill the jars, seal and chill!
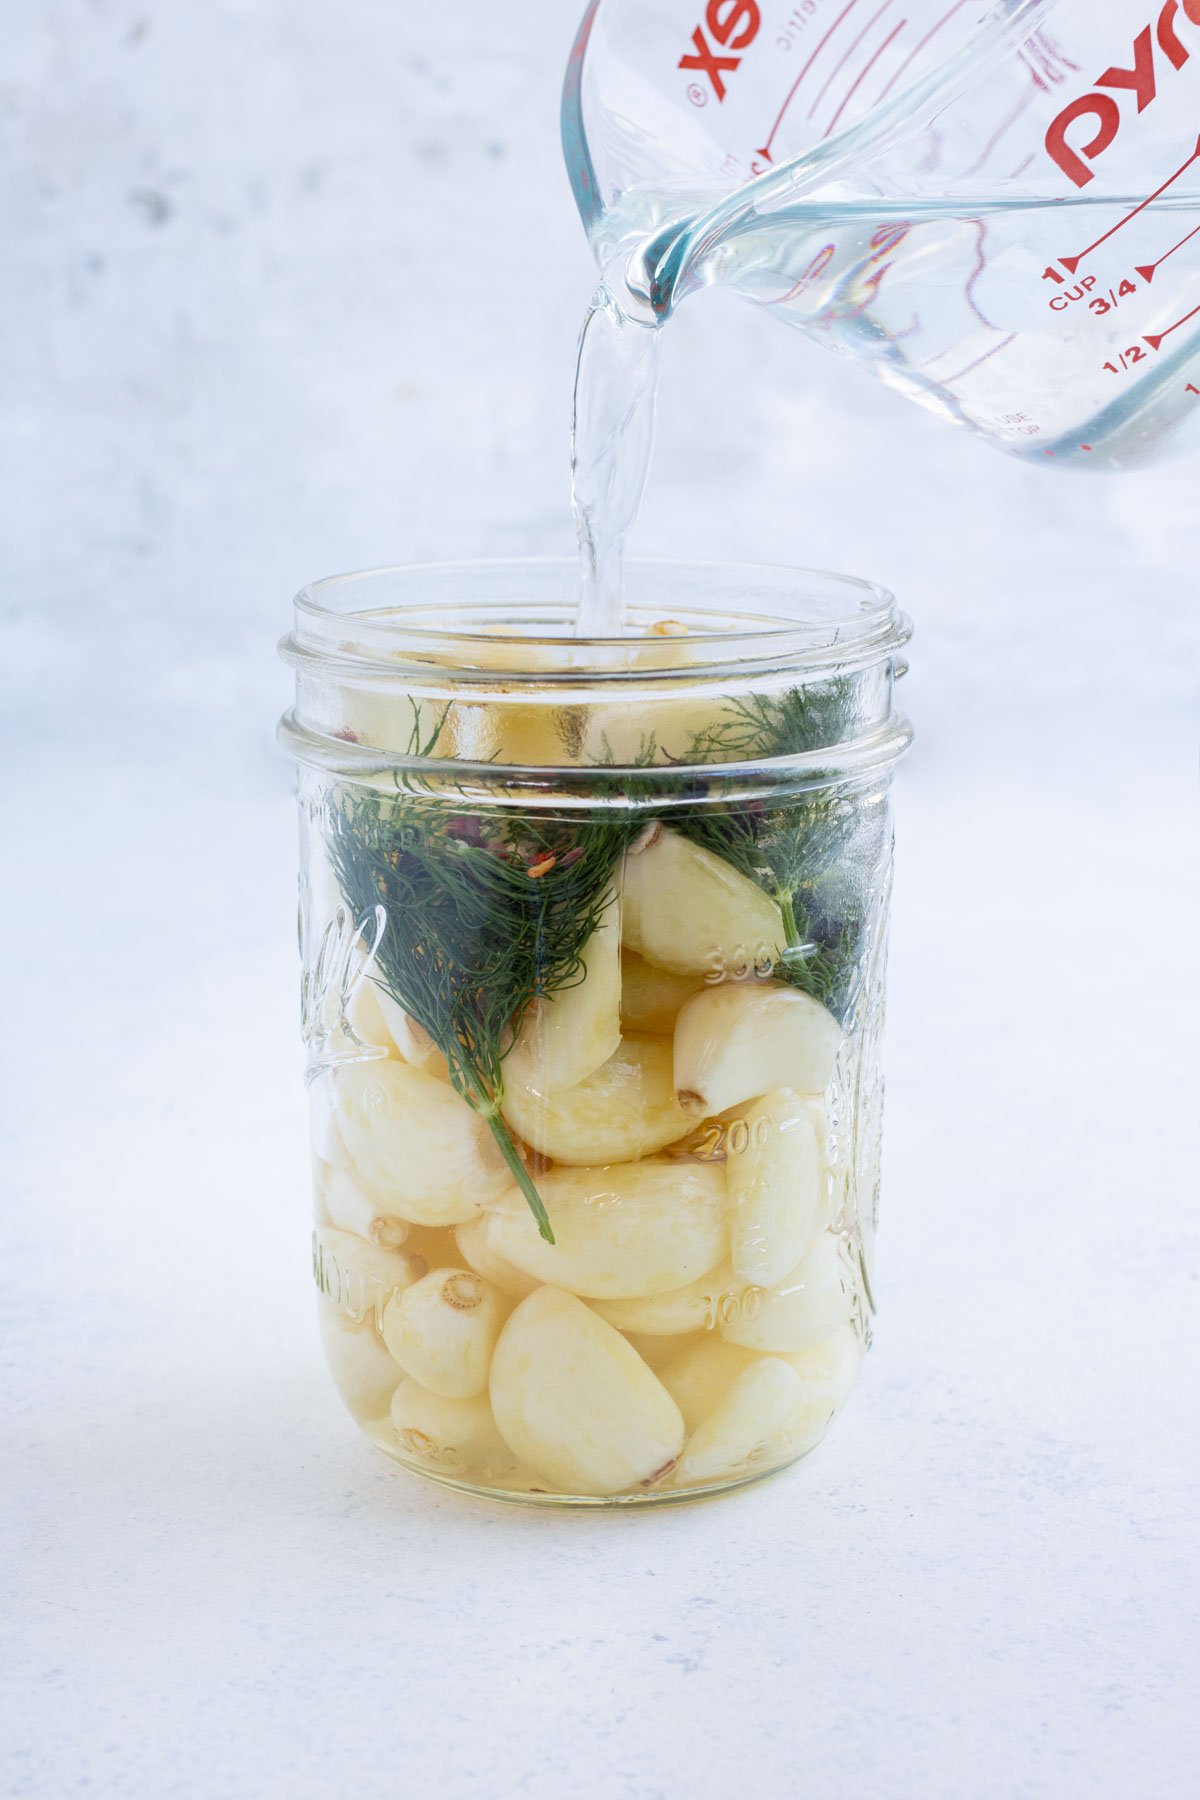
Add any extras like fresh dill, peppercorns, pickling spice, or mustard seeds to the bottom of your jar, then pack in the garlic cloves. Pour in the warm brine until the garlic is fully covered, then top off with a little water if needed.
Wipe the rim of the jar clean, screw on the lid, and pop it in the fridge. The garlic will be ready in about 4 hours, but the flavor just gets better with time.
Pro Tip: Make sure the garlic is completely submerged so it pickles evenly.
How long does quick pickled garlic last?
Quick pickled garlic will last up to 3 months in the fridge when stored properly in an airtight jar and kept fully submerged in the brine.
How to tell if it’s gone bad:
- Smell: If it smells sour, funky, or off in any way (different from its usual tangy vinegar scent), toss it.
- Texture: Slimy, mushy garlic is a red flag. It should still be firm.
- Color: If the garlic turns blue or green, it’s usually a harmless reaction with trace minerals in the garlic or water—not necessarily a sign of spoilage. But if you’re unsure or see mold, err on the safe side and discard it.
- Mold or cloudiness: A little brine cloudiness is okay over time, but mold or fuzzy spots are not—definitely toss if you see those.
Pro Tip: Always use clean utensils to scoop out garlic and keep it submerged in the brine to help it last as long as possible.
FAQs
Pickled garlic is good for so many recipes! Add it to a charcuterie board, top pasta or pizza with it, add it to a salad, or try it on your favorite dish.
Yes! Raw garlic is quite pungent and has a sharp flavor, which works great if you’re cooking it into recipes. When pickled, it is mellow and even a little bit sweet which makes it great to eat straight outta’ the jar!
Pickled garlic is fermented, which changes both the taste and the nutrient profile. The flavor is more mellow when pickled, and the fermentation process promotes better health.
Tap stars to rate!
Quick Pickled Garlic Recipe
email this recipe!
Ingredients
- ½ pound garlic cloves peeled
- ⅔ cup distilled white vinegar
- ⅓ cup water
- 1 ¼ teaspoons salt
- 1 tablespoon sugar
- 3-4 sprigs of dill
- ¼-½ teaspoon red pepper flakes
- Pickling spice optional
Instructions
- Add vinegar, water, salt, and sugar to a saucepan over high heat. Bring to a boil and then reduce heat to low. Simmer for 2-3 minutes, whisking occasionally, or until the salt and sugar have dissolved.⅔ cup distilled white vinegar, ⅓ cup water, 1 ¼ teaspoons salt, 1 tablespoon sugar
- Add the garlic cloves to a 16-oz. mason jar along with pickling spice, red pepper flakes, garlic, and/or dill, if using.½ pound garlic cloves, 3-4 sprigs of dill, ¼-½ teaspoon red pepper flakes, Pickling spice
- Pour the warm solution over the garlic and let cool to room temperature. If there is any space left in the jar, pour additional water in until it just reaches the top.
- Cover the jar with a lid and store in the refrigerator for at least 4 hours or up to overnight before enjoying.
Tap stars to rate!
Video
Notes
- Prep-Ahead: This is a perfect recipe to make ahead of time! They have to rest at least four hours, but are even better a couple of days later.
- Storage: The garlic will last in the refrigerator in an airtight jar for up to 3 to 4 months.
Important: Garlic has the potential to develop botulism. This recipe is not shelf-stable, and you must keep pickled garlic in the fridge. Freezing is not recommended.
Nutrition
Nutrition information is automatically calculated, so should only be used as an approximation.
Ways to Use Pickled Garlic
You can use pickled garlic anywhere you’d use the raw version, but try it in one of these recipes:
More Quick Pickled Vegetable Recipes
It is so easy to make pickled vegetables, give any of these a shot next:
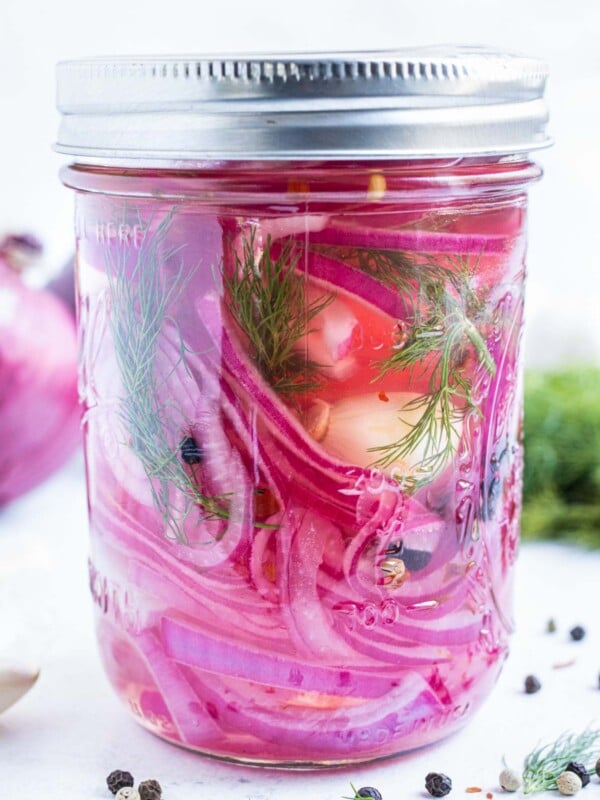
Quick Pickled Red Onions
10 mins
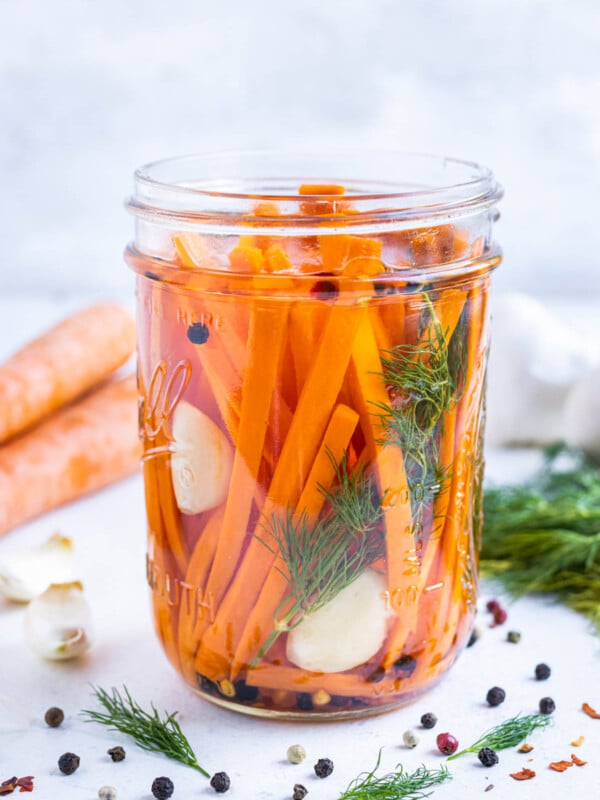
Quick Pickled Carrots
10 mins

Quick Pickled Beets
55 mins

Quick Pickled Jalapeños
10 mins