Easy & Cheesy Grits Recipe
When I first made grits at home it was for this Shrimp and Grits recipe.
Almost immediately I realized my mistake—why had I been missing out on this delicious and EASY grain for so long?!
Since then I have been whisking up grits as a quick carbohydrate to complement many meals. One of my favorite ways is to add a bit of shredded cheese and make them oh so creamy and cheesy!
These cheese grits taste delicious for dinner with some Garlic Butter Shrimp or could even serve them up for breakfast with a fried egg and Air Fryer Bacon.
Whether you’re working with yellow corn or white corn, this recipe gives you the simple basics for the best stoneground grits.
You can’t go wrong with this classic Southern dish, but it’s even better for you without heavy cream. The sharp cheddar cheese adds so much flavor, you’ll find yourself craving these morning, noon, and night!
Ingredients
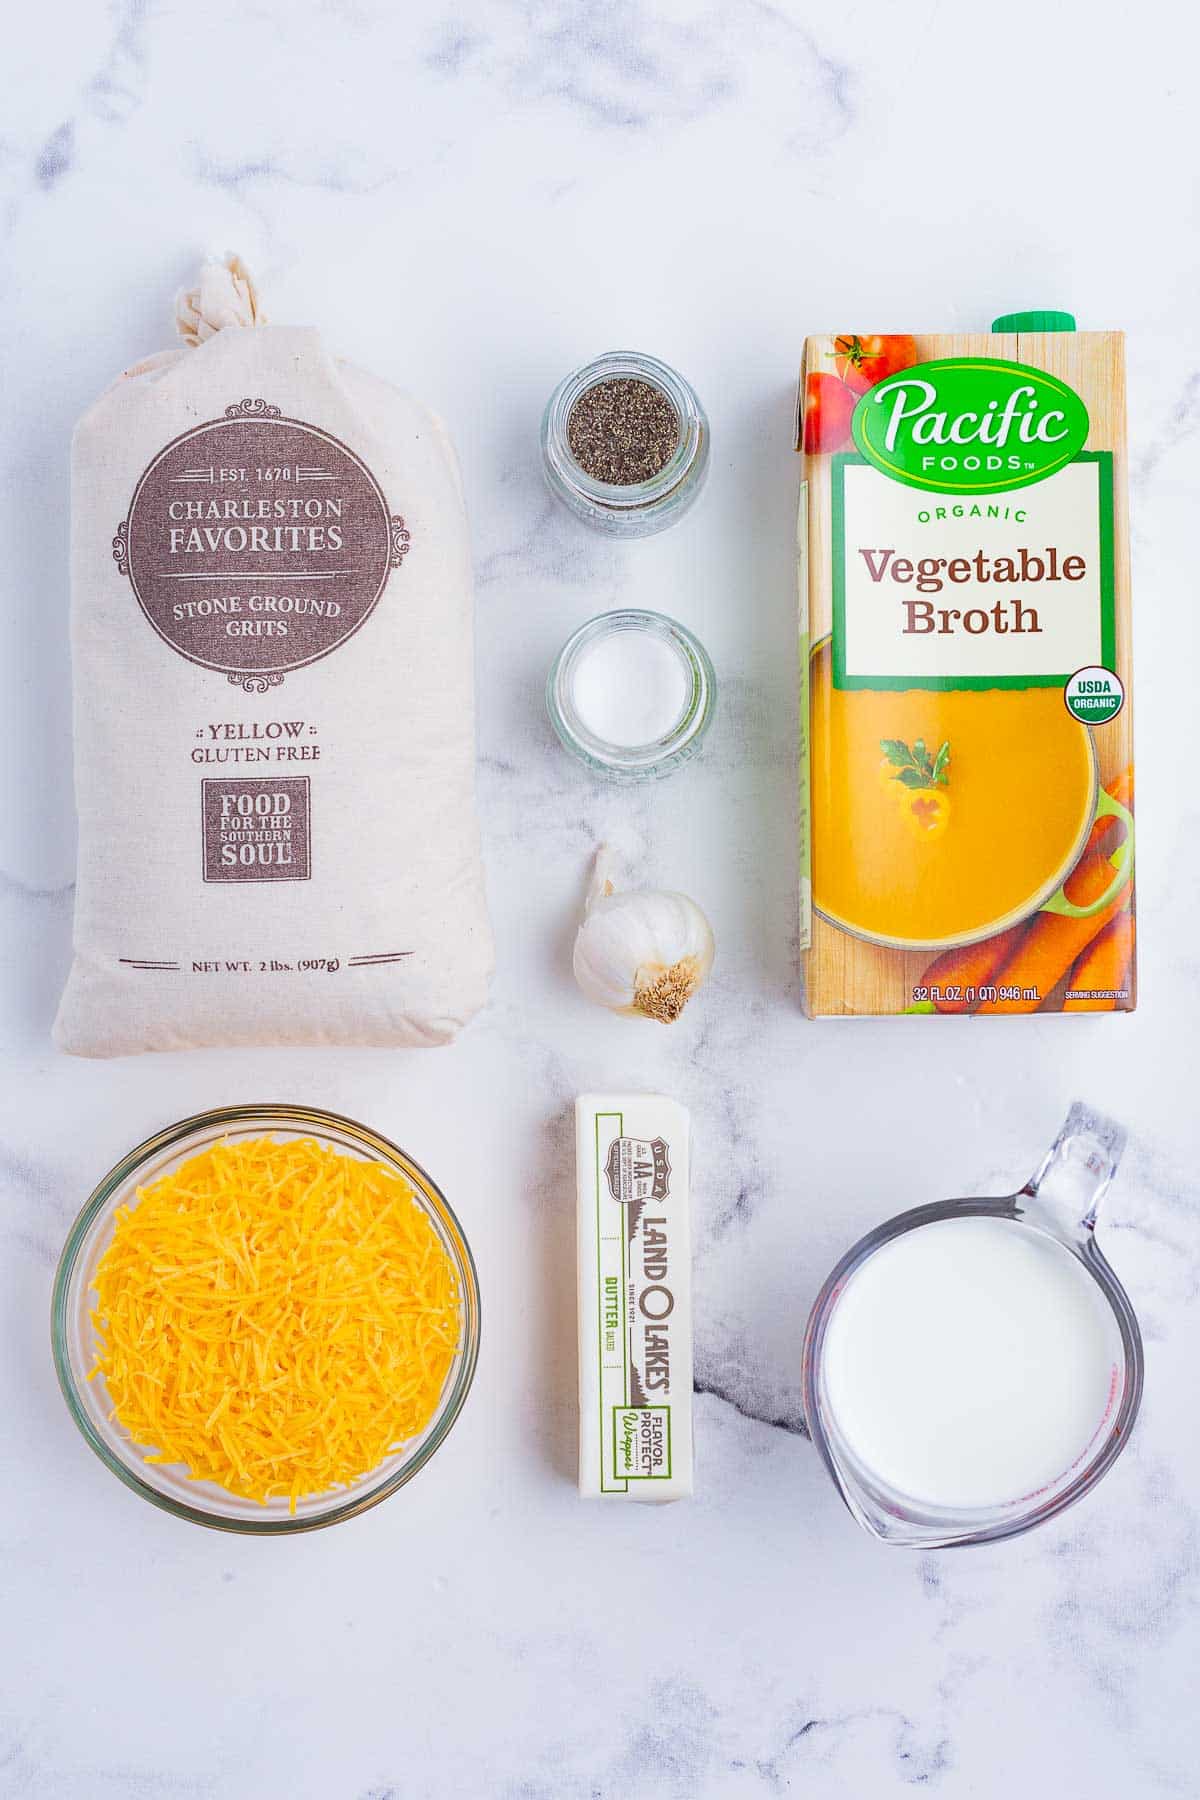
The simple ingredients you need to make the best cheese grits recipe include:
- Grits. The type of grits is important. Be sure to grab stoneground grits, not regular or quick cooking. These have the most vitamins and minerals, and they have the best texture. You can pick between white corn or yellow corn.
- Butter. A few tablespoons of unsalted butter make these grits super creamy.
- Garlic. Freshly minced garlic creates a depth of flavor in this recipe. Garlic powder may be used, but the flavor won’t be quite as good.
- Broth. Either chicken broth or vegetable broth work, but avoid beef broth. A regular sodium broth is recommended, but a reduced sodium variety can be used, if needed.
- Milk. Choose either regular, whole milk, or if needed, a plant-based milk alternative.
- Cheese. For the best texture and flavor, go with cheddar cheese. Either mild or sharp cheddar can be used.
How to Make Cheese Grits
Below you’ll find the steps to making these Southern cheese grits at home:
Cook the Butter and Garlic
The cooking process is important, so be sure to follow the steps when making these Southern-style grits.
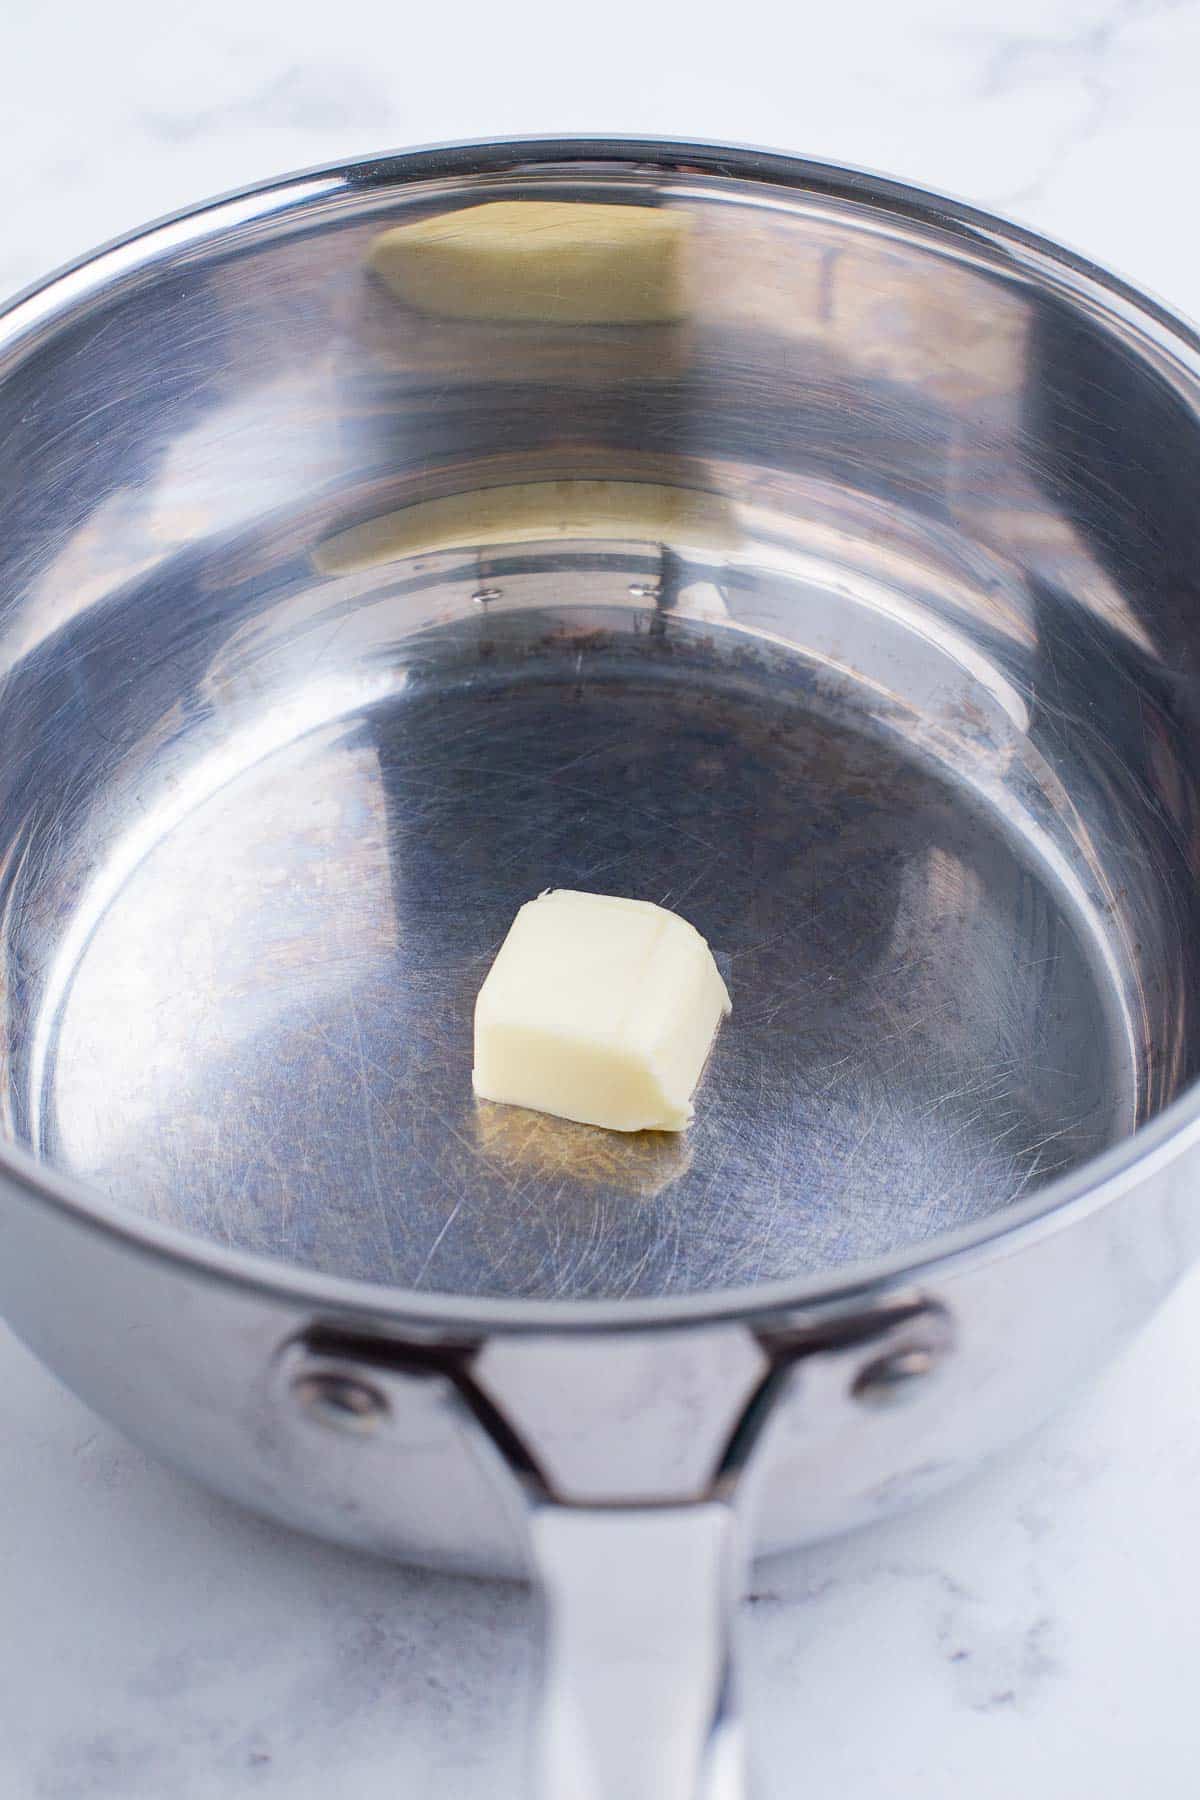
Over medium or medium-high heat, cook 1 tablespoon of butter in a medium saucepan until it’s melted. It’s best to use a heavy-bottomed pot.
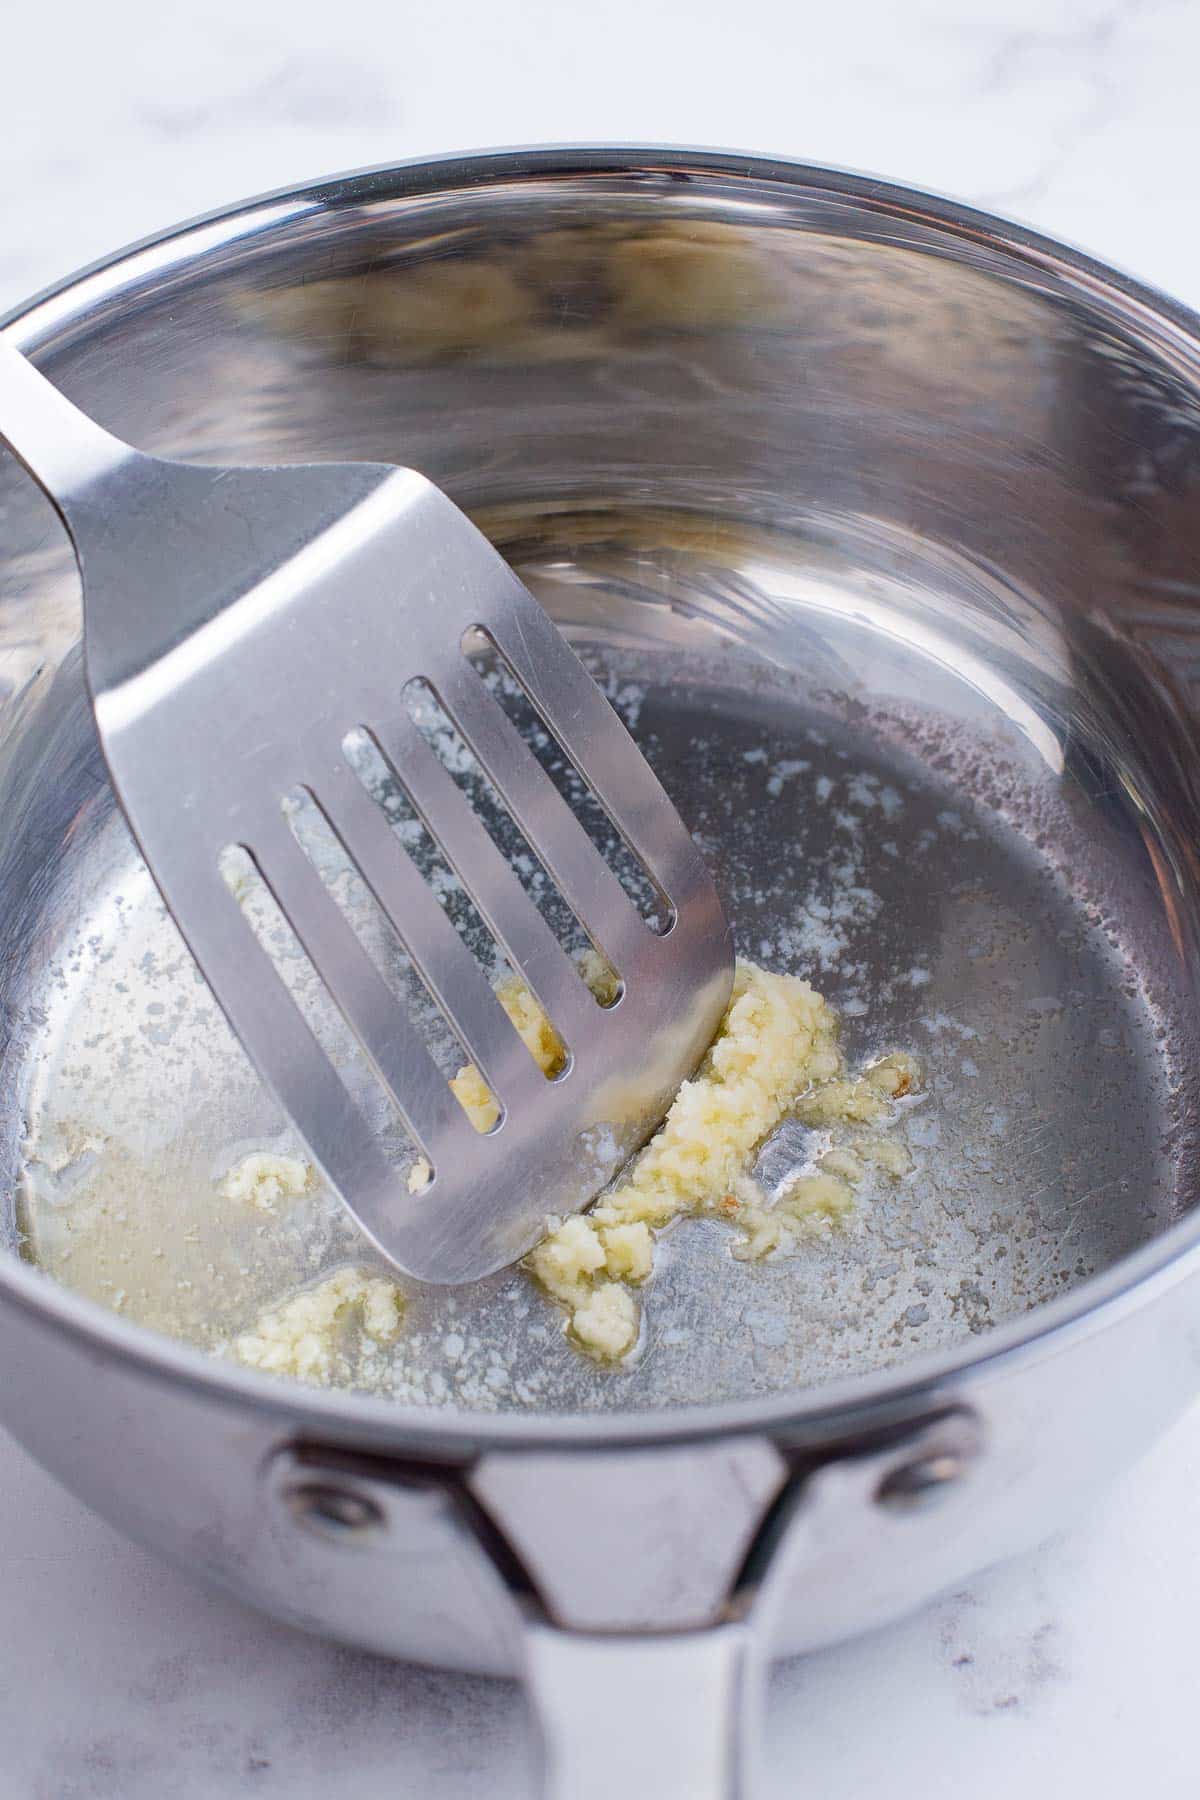
Mix in the garlic and sauté for about 30 seconds. It’s done when it’s light brown and fragrant. Make sure to stir consistently so it doesn’t burn.
Add the Grits
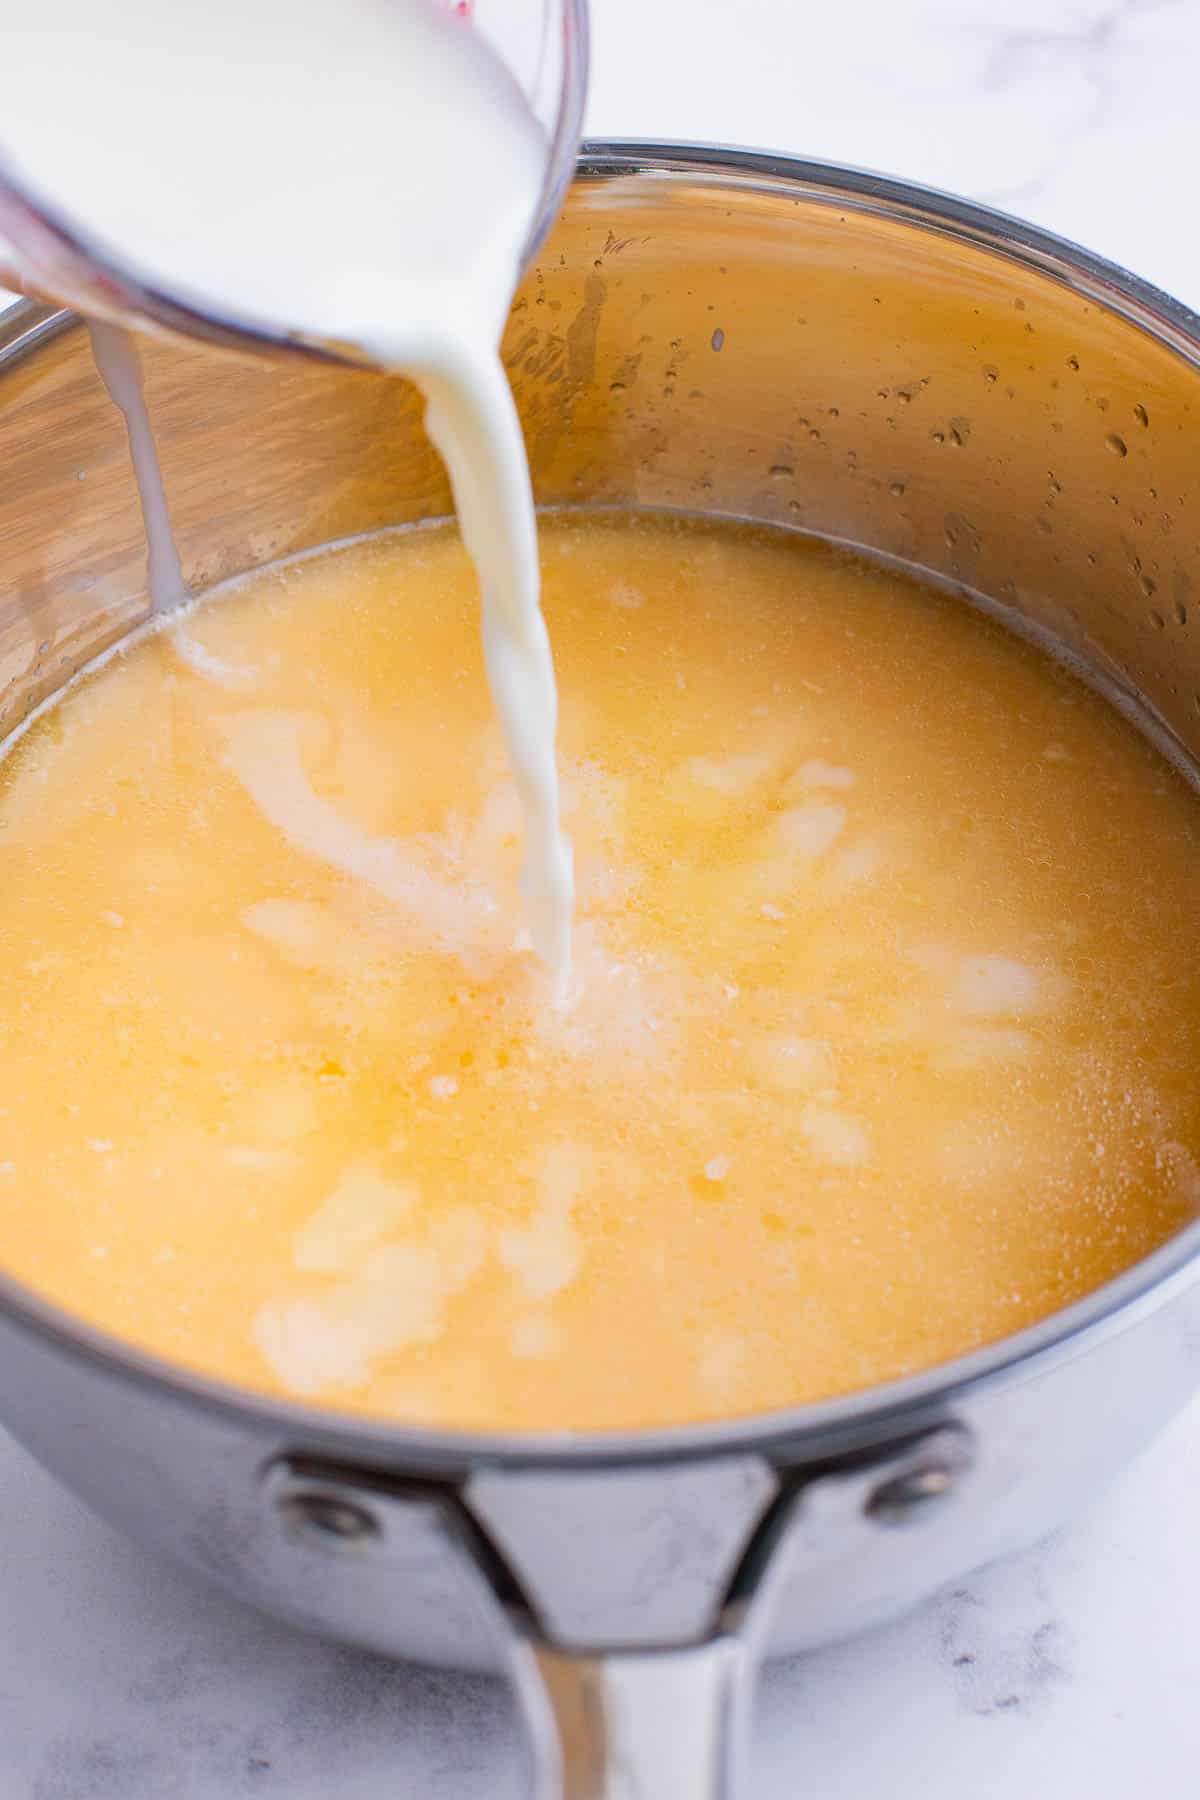
Carefully pour the broth and milk into the pot with the garlic butter. Bring the mixture to a boil.
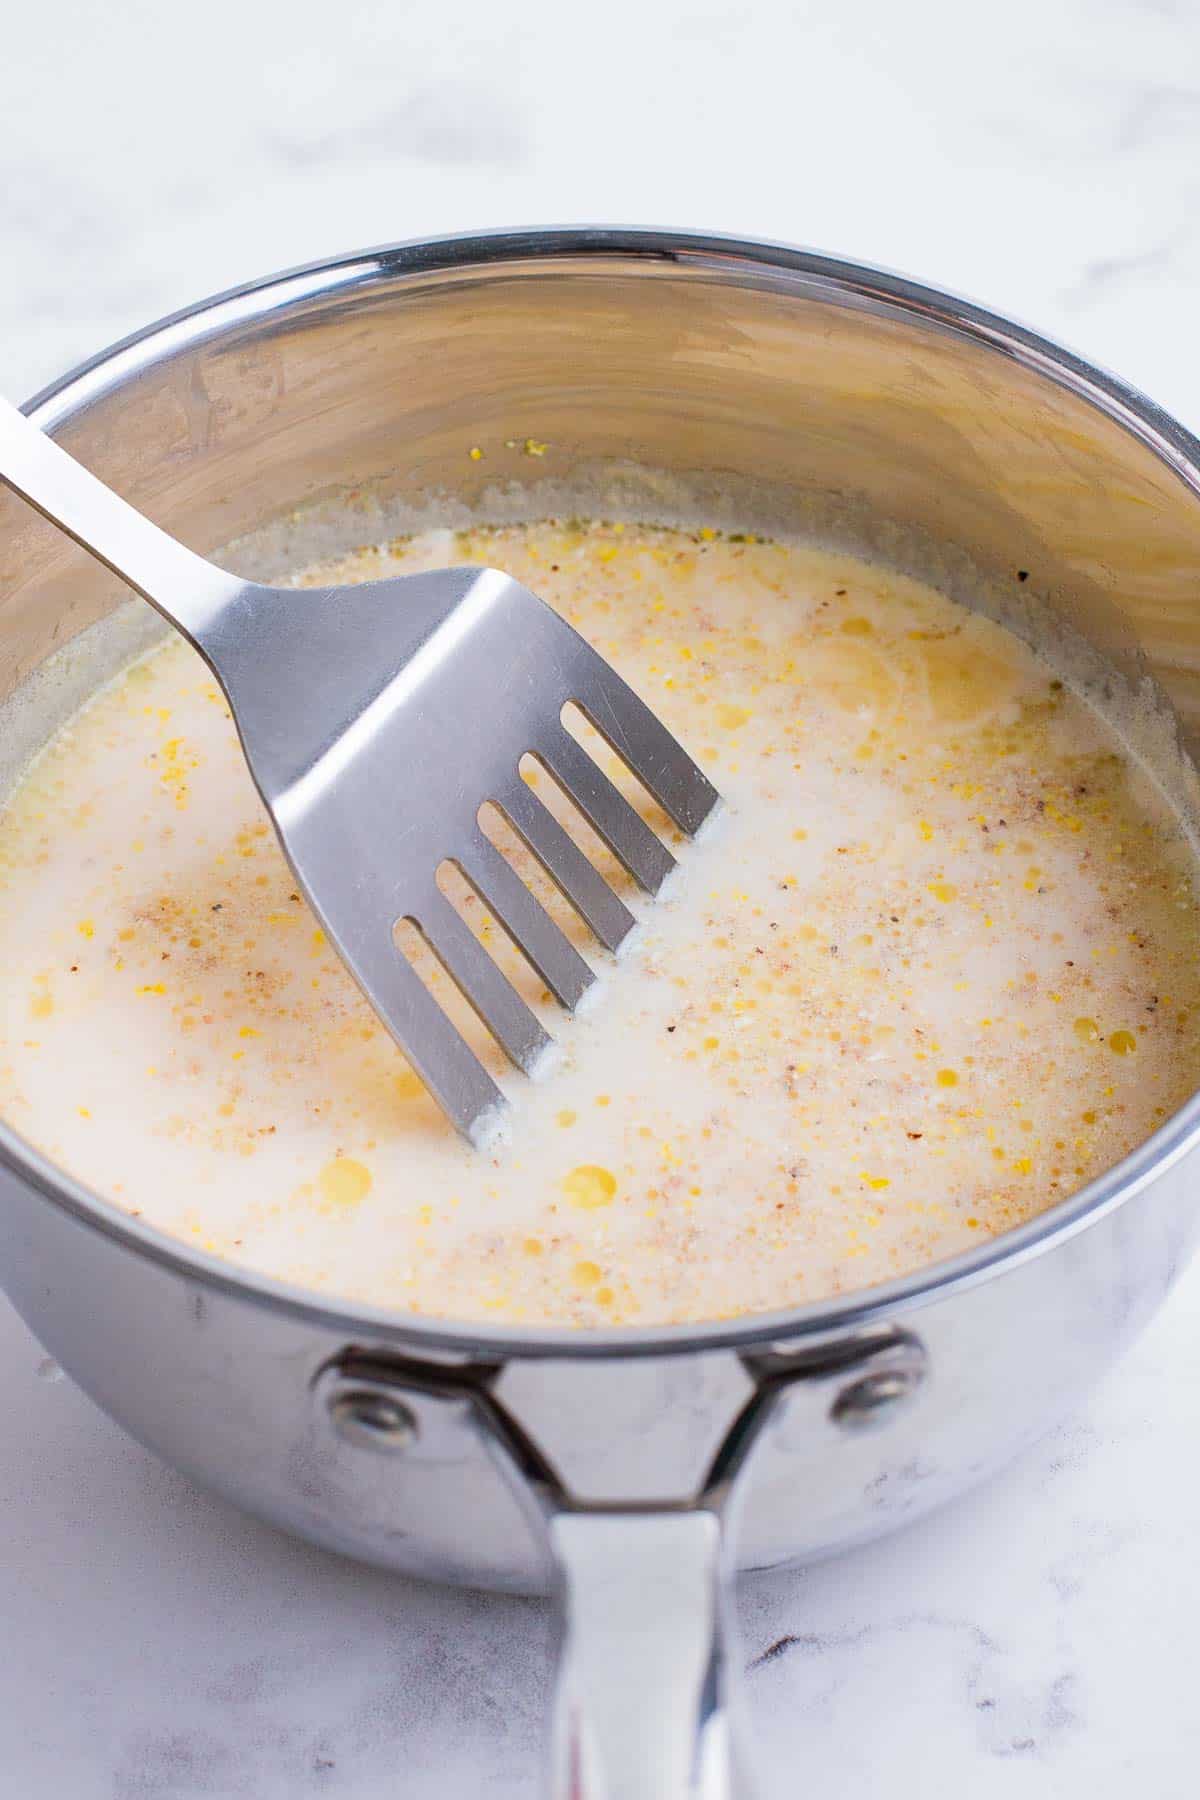
Stir in the grits and return it to a boil.
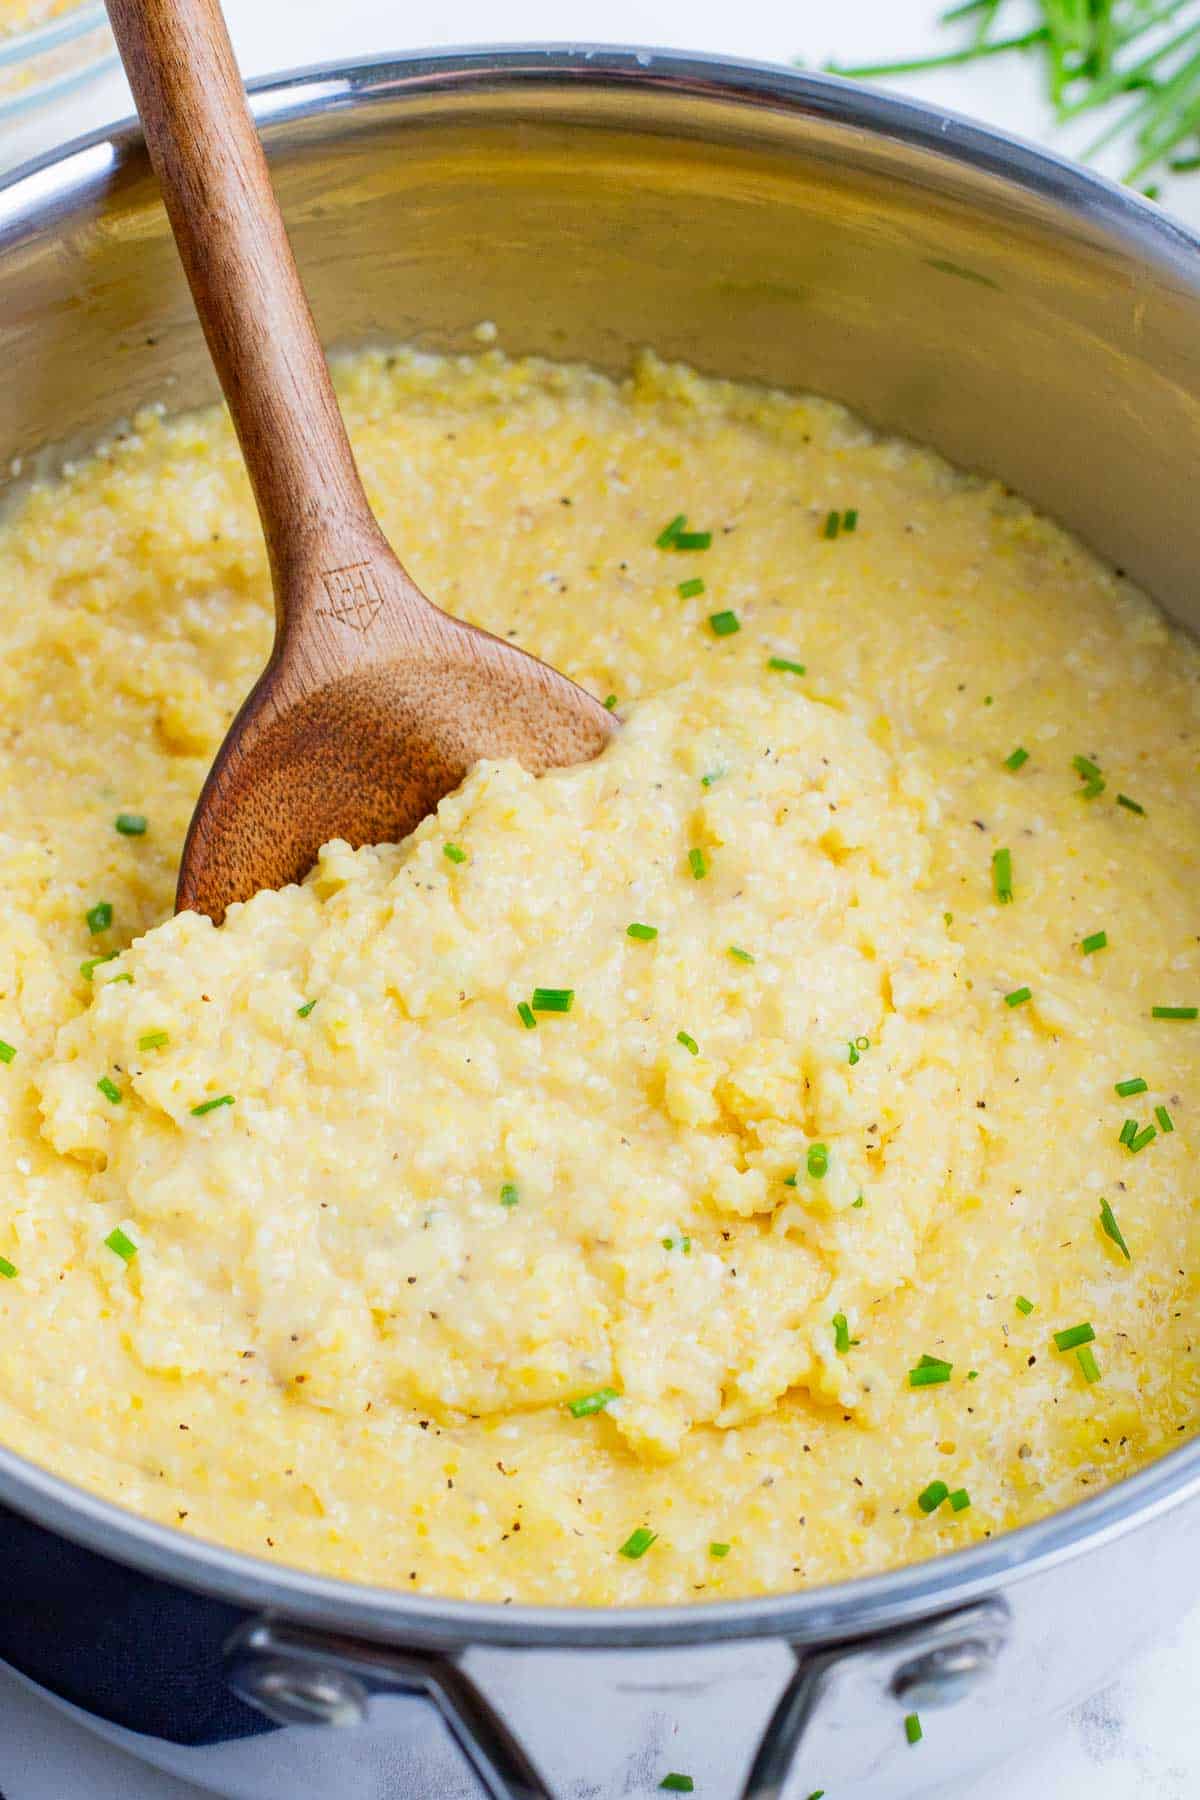
Cover the pot with a tight-fitting lid, then reduce the heat to medium-low or low heat. Let the grits simmer for 20 to 25 minutes. Stir the mixture every 5 to 10 minutes, being sure to scrape the bottom of the pan, so it doesn’t clump. You’re looking for a porridge-like consistency.
Stir in the Cheese
Once the grits are cooked and the correct texture, it’s time to add the cheese.
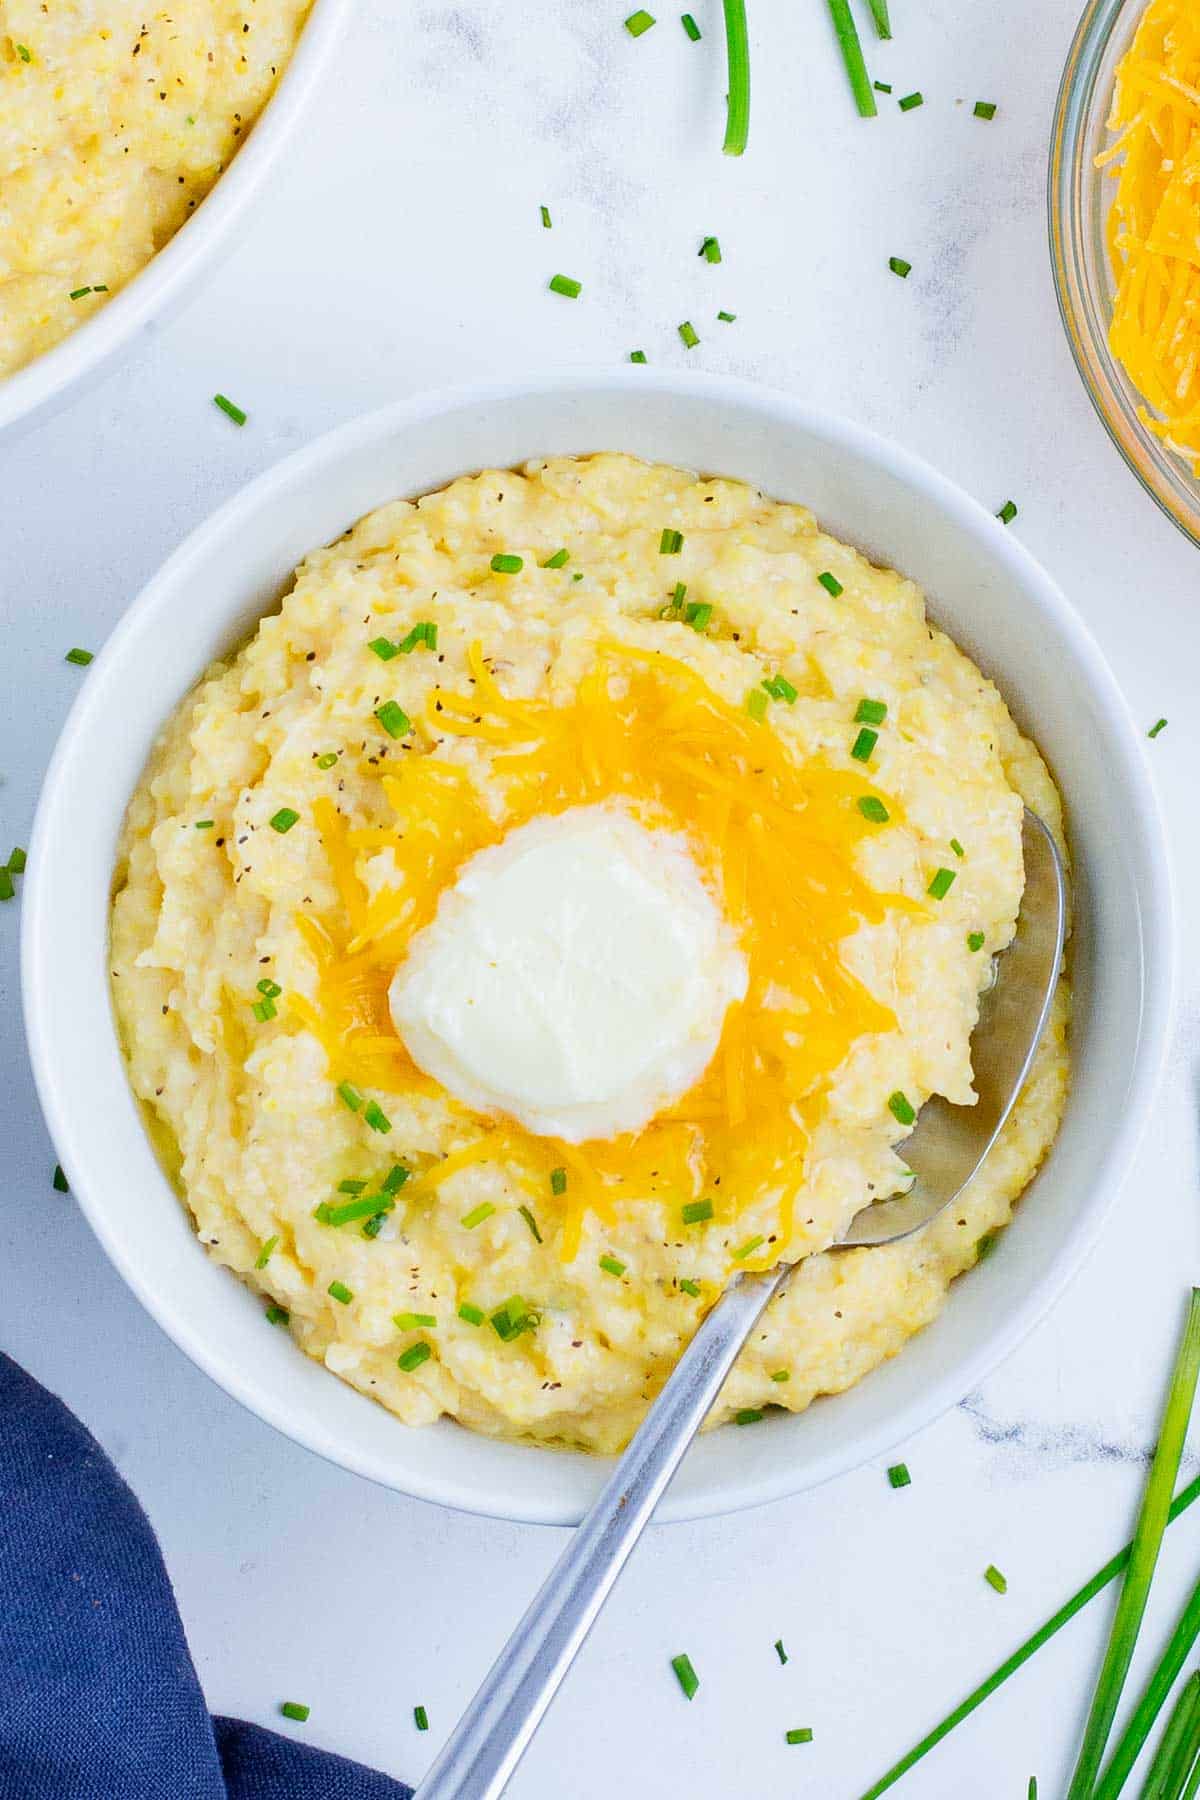
Stir in the last 2 tablespoons of butter along with the cheese, salt, and black pepper to taste.
Top the grits with chopped green onions and parsley.


Meal Prep and Storage
- How to prep ahead of time: You can shred the cheese a day or two in advance.
- How to store: Place the cheesy grits in an airtight container and keep in the fridge for up to 4 to 5 days.
- How to freeze: Seal leftover cheese grits in a freezer-safe container for up to 3 to 4 months.
- How to reheat: The grits can be warmed in the oven or in a pan on the stove. You may need to stir in extra broth, water, or milk to thin the grits back out.
What are grits and what are they made of?
Grits are a type of grain made from corn, specifically dent corn. This variety is softer and starchier than other types. To make grits, you usually boil them with butter, milk, and cheeses.
Are grits gluten free?
Usually, grits are gluten-free, because they’re made of corn. However, be sure to check the ingredients of the brand before enjoying it to ensure they are not cross-contaminated with other gluten-containing grains.
Can you freeze cheese grits?
Yes! You can definitely freeze cheese grits. They will keep in a freezer-safe container for up to 3 to 4 months.
What goes with cheese grits?
You can serve cheese grits as a savory side to your favorite protein for any meal. They are especially delicious with shrimp, like this Garlic Butter Shrimp or in this classic Shrimp and Grits recipe. At breakfast, they go particularly well with this Air Fryer Bacon.
Are cheese grits healthy?
Typically, cheese grits are not considered healthy. On their own, grits do not offer many nutrients, and adding in high-calorie ingredients like butter and cheese, while providing a creamy texture, makes them a side you should enjoy in moderation.
Dietary Modifications
The recipe you’ll find below is already vegetarian as written. Here are some adjustments and substitutions you can make to help it fit your other dietary requirements:
- Gluten-free: Most grits are gluten-free, but be sure to read the label.
- Dairy-free: Choose a dairy-free cheese and milk alternative.
Expert Tips and Tricks
- Full-fat is best. For the creamiest texture, select whole regular milk or a thick dairy-free alternative such as oat milk.
- Give it a stir. The grits will clump, so make sure to mix them as they cook.
- Be patient. Let the grits cook long enough, or they won’t be tender.
- Top it off. You can enjoy these on their own, or pair them with a savory protein, like shrimp.
- Make ahead. It’s easy to make a big batch and freeze some cheese grits as the perfect side dish or a hearty breakfast for later.

What to Serve with Cheese Grits
These grits are perfect with a savory and slightly spicy protein.
For a real treat, try some Blackened Shrimp, Blackened Mahi Mahi, or Blackened Salmon.
You can also go with Hot Honey Chicken or Air Fryer Fish if you aren’t a big fan of spicier foods.
More Starchy Side Dish Recipes
There’s nothing like a creamy, starchy side! Add one of these comforting recipes to your meal planning this week.
Cheesy Hasselback Potatoes, Roasted Sweet Potato Cubes, and Melting Potatoes are to die for.
You can always go for a classic like Instant Pot Mashed Potatoes, or even Homemade Gnocchi.
Tap stars to rate!
Cheese Grits Recipe

email this recipe!
Ingredients
- 3 Tbsp. butter divided
- 3 cloves garlic finely minced
- 3 cups broth chicken or vegetable, regular sodium
- 1 cup milk or other plant-based milk alternative
- 1 cup grits white or yellow, stone-ground
- 1 cup cheddar cheese shredded
- 1 tsp. salt to taste
- ¼ tsp. black pepper to taste
- Green onions or parsley finely chopped, optional
Instructions
- Add 1 tablespoon of butter to a medium-sized pot over medium heat and wait for it to melt. Add in the garlic and saute for 30 seconds, or until lightly browned and fragrant.
- Pour in the broth and milk to the pot and bring to a boil. Stir in grits and bring back to a boil. Once boiling, cover the pot with a lid and reduce heat to medium-low. Simmer for 20-25 minutes, stirring every 5-10 minutes to prevent clumping.
- Once the grits are cooked, mix in the remaining 2 tablespoons of butter, cheddar cheese, salt and black pepper, to taste. Serve with finely chopped green onions or parsley and enjoy!
Tap stars to rate!
Video
Notes
Meal Prep and Storage
- How to prep ahead of time: You can shred the cheese a day or two in advance.
- How to store: Place the cheesy grits in an airtight container and keep in the fridge for up to 4 to 5 days.
- How to freeze: Seal leftover cheese grits in a freezer-safe container for up to 3 to 4 months.
- How to reheat: The grits can be warmed in the oven or in a pan on the stove. You may need to stir in extra broth, water, or milk to thin the girts back out.
Nutrition
Nutrition information is automatically calculated, so should only be used as an approximation.

