There’s nothing like cooking an entire turkey for Thanksgiving or making a spatchcock chicken and then using the drippings to make an irresistibly creamy and flavorful gravy.
But what if you didn’t get enough drippings to make your favorite gravy recipe? Or maybe you fried a turkey? Or perhaps you just cooked up some breasts and are craving something creamy on top…
No worries! You can still get a delicious gravy, even without the drippings!
The beauty of this recipe is that you can make it ahead of time rather than wait for the chicken or turkey to be finished cooking, too. (One less thing to do on Thanksgiving!)
And I promise, your friends and family won’t be able to tell it was made without drippings. There is so much flavor in this gravy and it’s perfect for both chicken and turkey.
Try this Spatchcock Chicken recipe with this gravy, you won’t be disappointed!
Ingredients
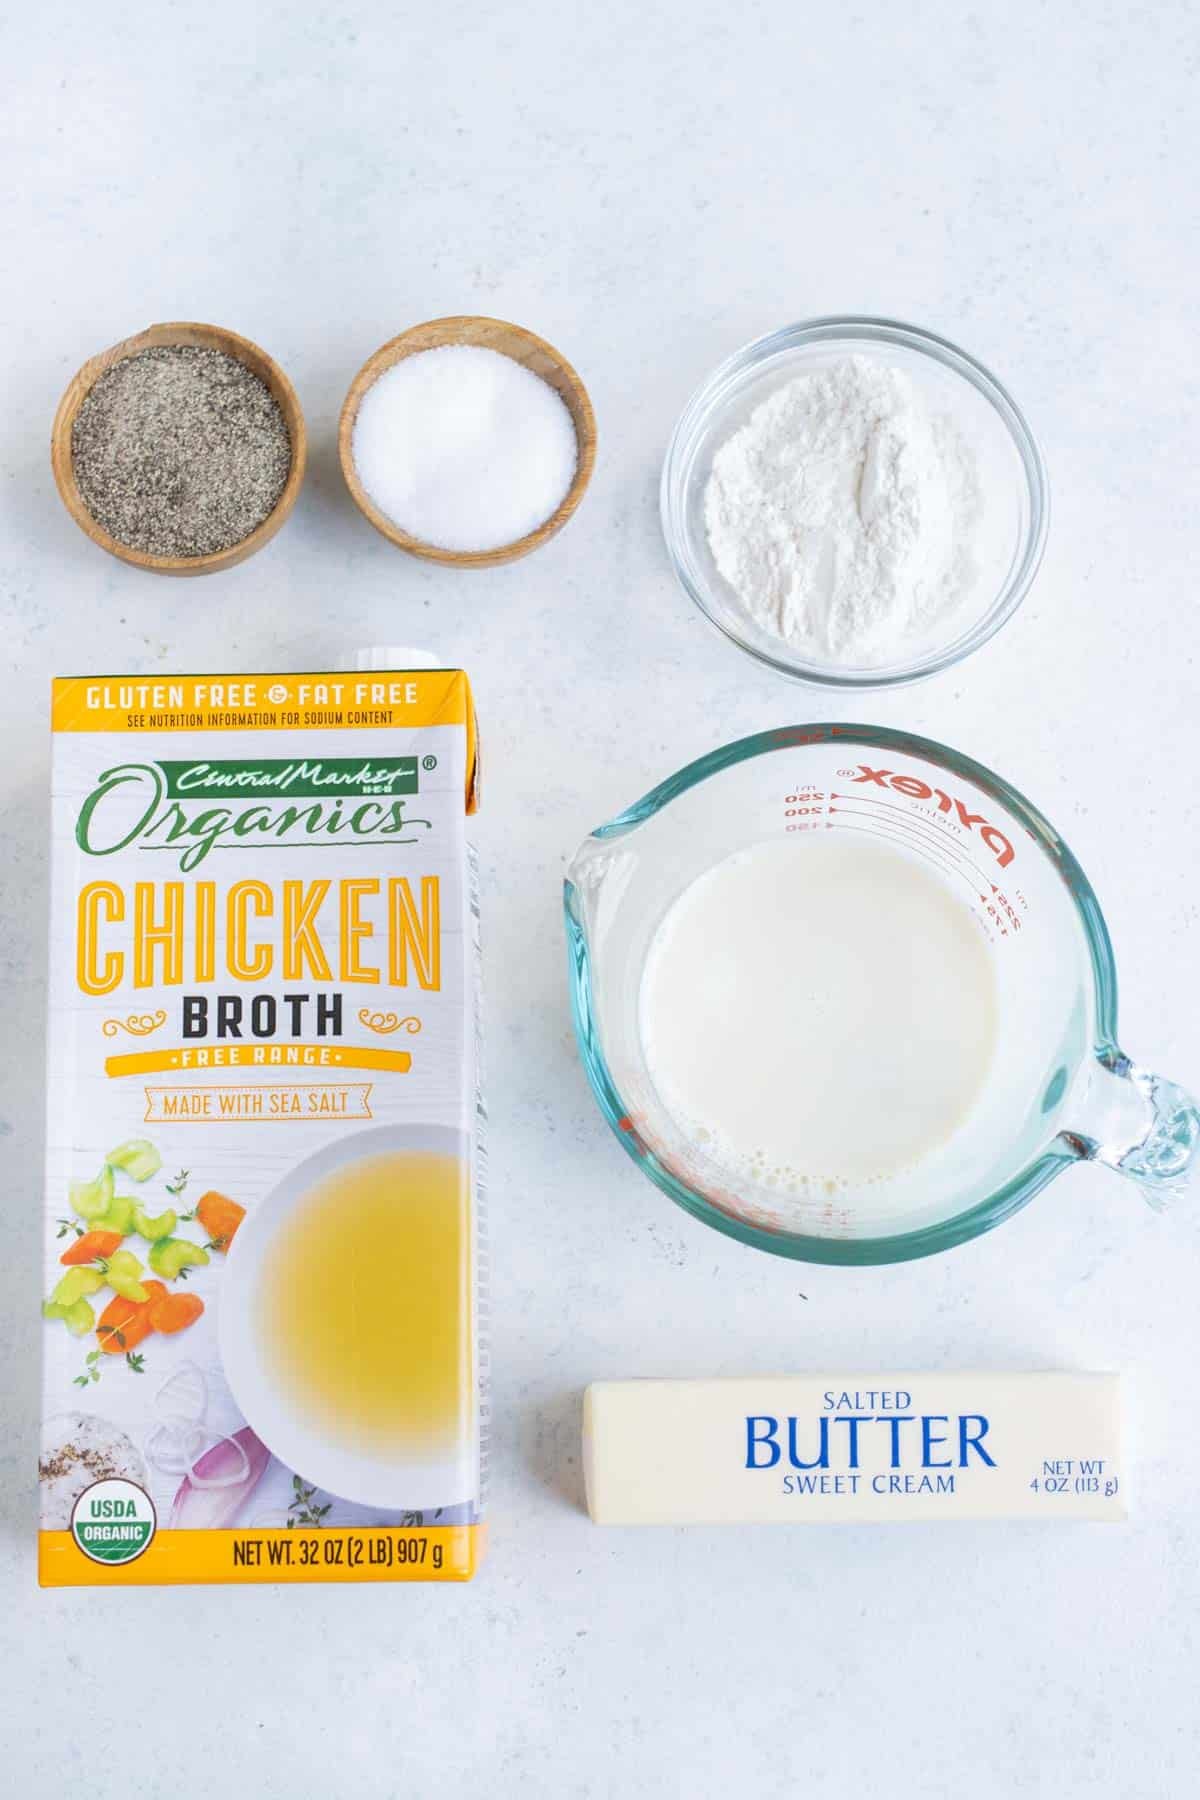
The simple ingredients you need to make this Gravy without Drippings recipe include:
- Butter. You want a good quality, unsalted butter to make a roux. If you use salted, be sure to adjust the amount of salt you add later.
- Flour. Either use all-purpose flour or a gluten-free 1-to-1 blend.
- Chicken broth. This gives the gravy that chicken taste, but you can use vegetable broth, if needed.
- Milk. Either regular or plant-based milk will work to give the gravy a super creamy texture.
- Poultry seasoning. While this is optional, it really packs a punch of flavor.
How to Make Gravy without Drippings
These are the steps to follow to make this homemade Gravy without Drippings recipe:
Make the Roux
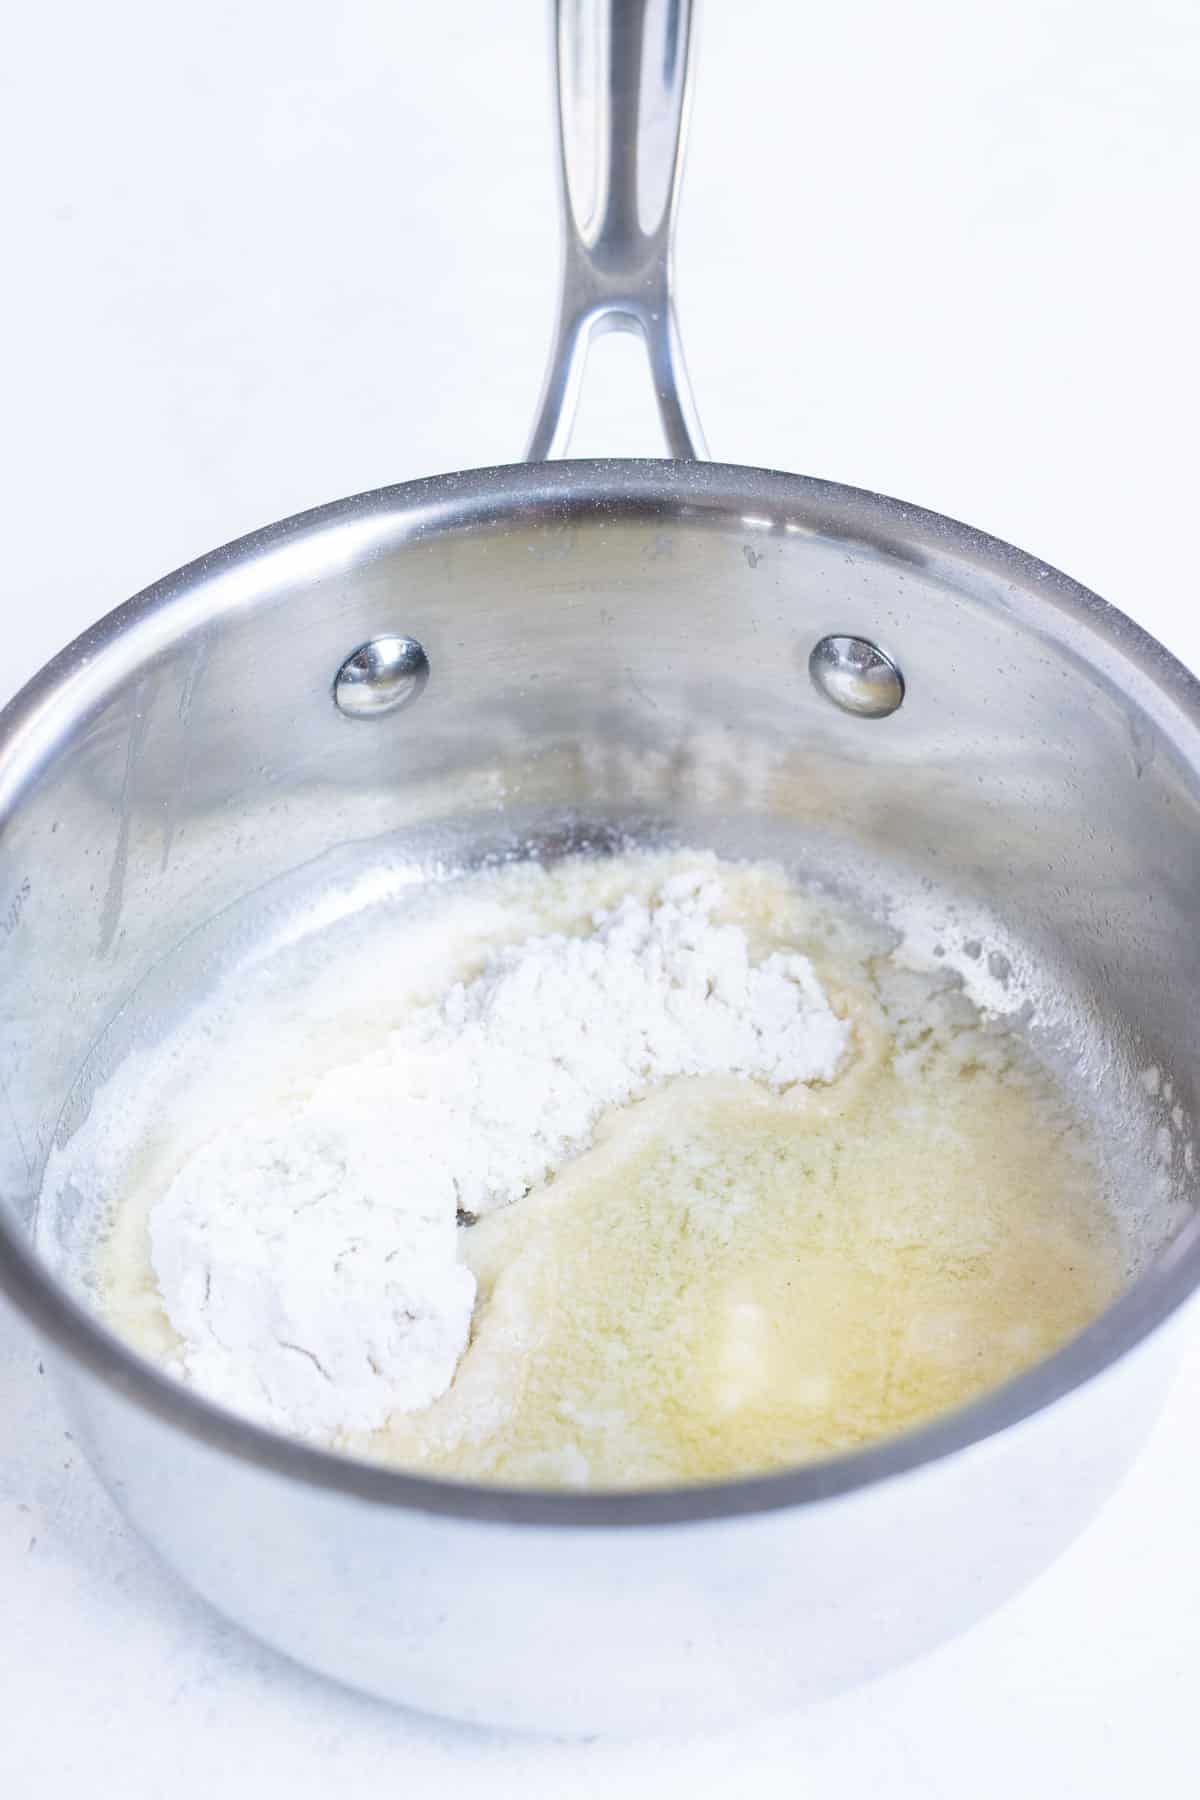
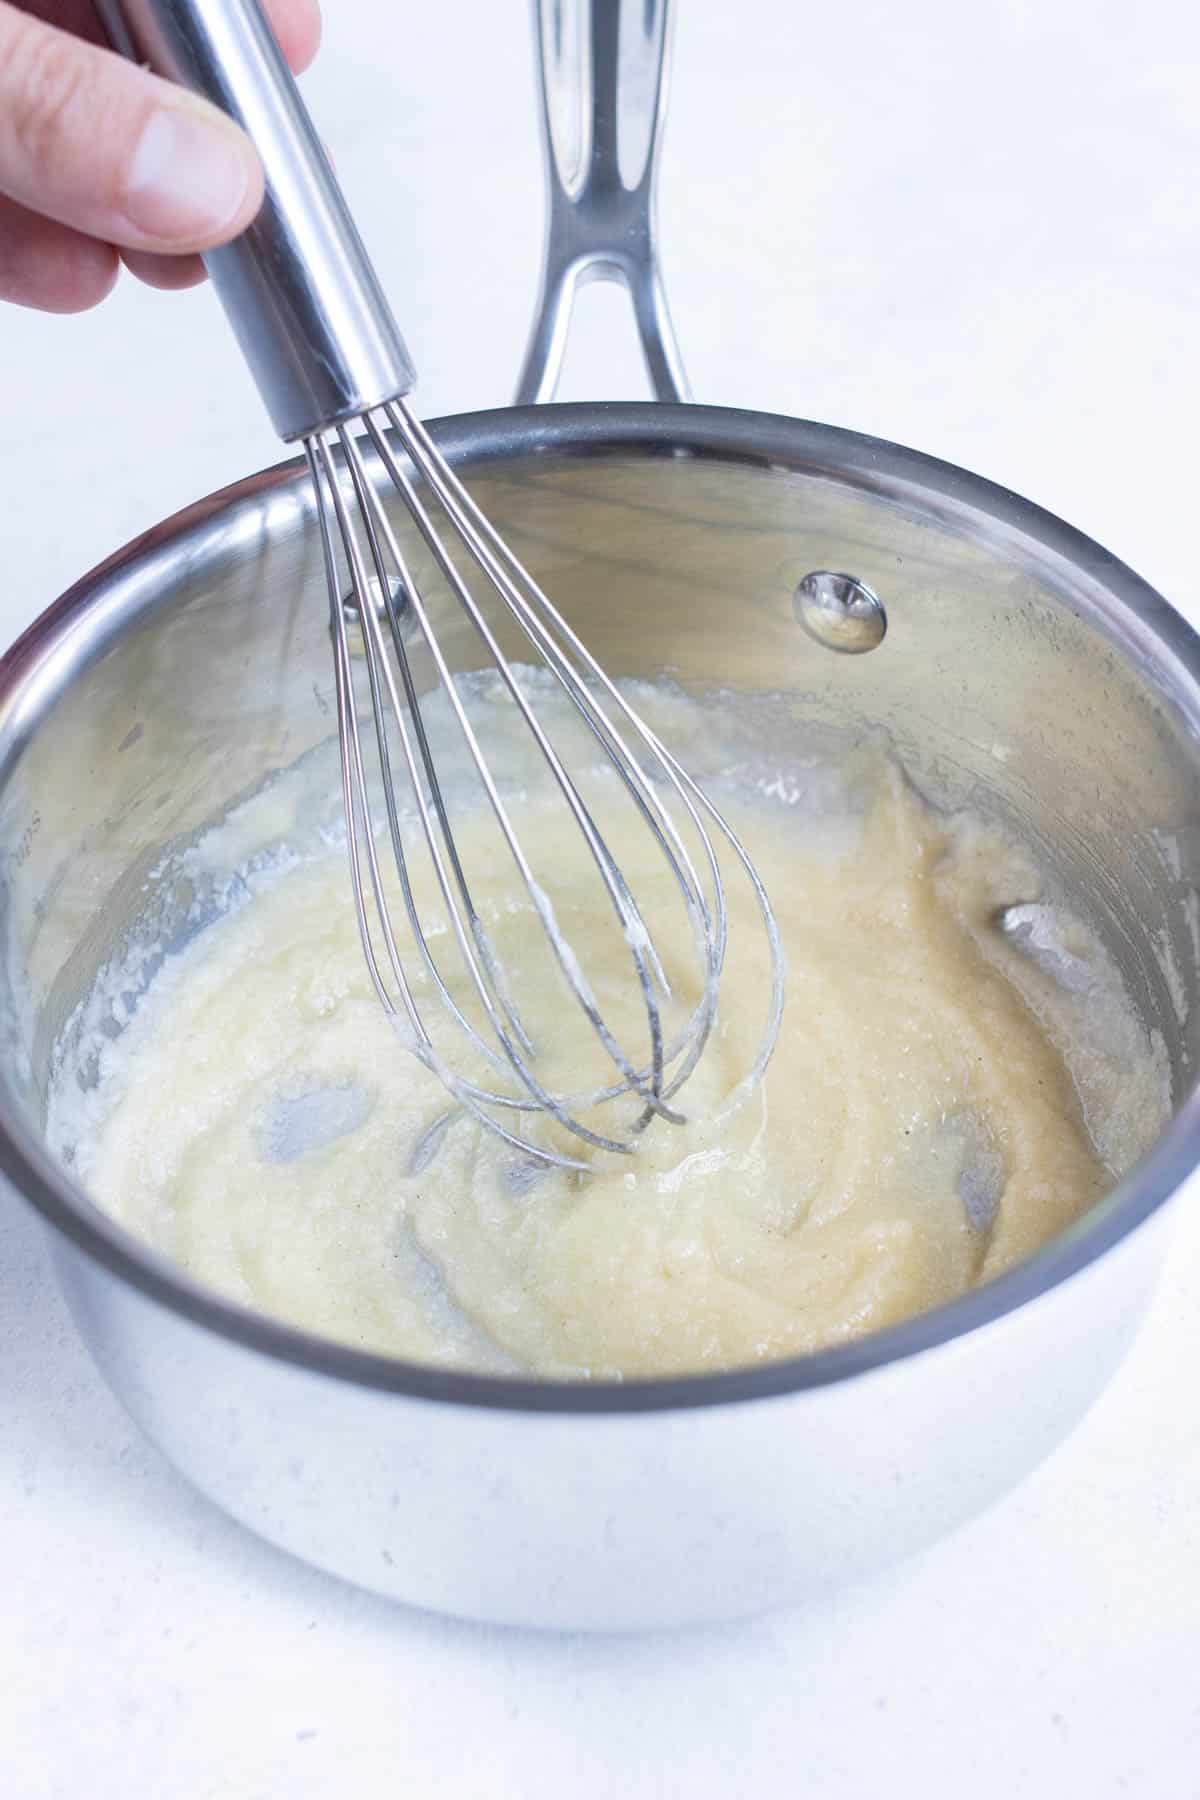
Much like when making a gumbo roux recipe, you start by whisking together some melted butter and flour until it thickens up into a paste.
Heat a small saucepan or skillet over medium heat. Add in the butter and allow it to melt. If you let it brown slightly, you’ll get a darker gravy!
Pour in the flour and whisk well. It should end up being a slightly thick paste.
Do not let this sit too long, or the mixture will scorch.
Whisk in Broth
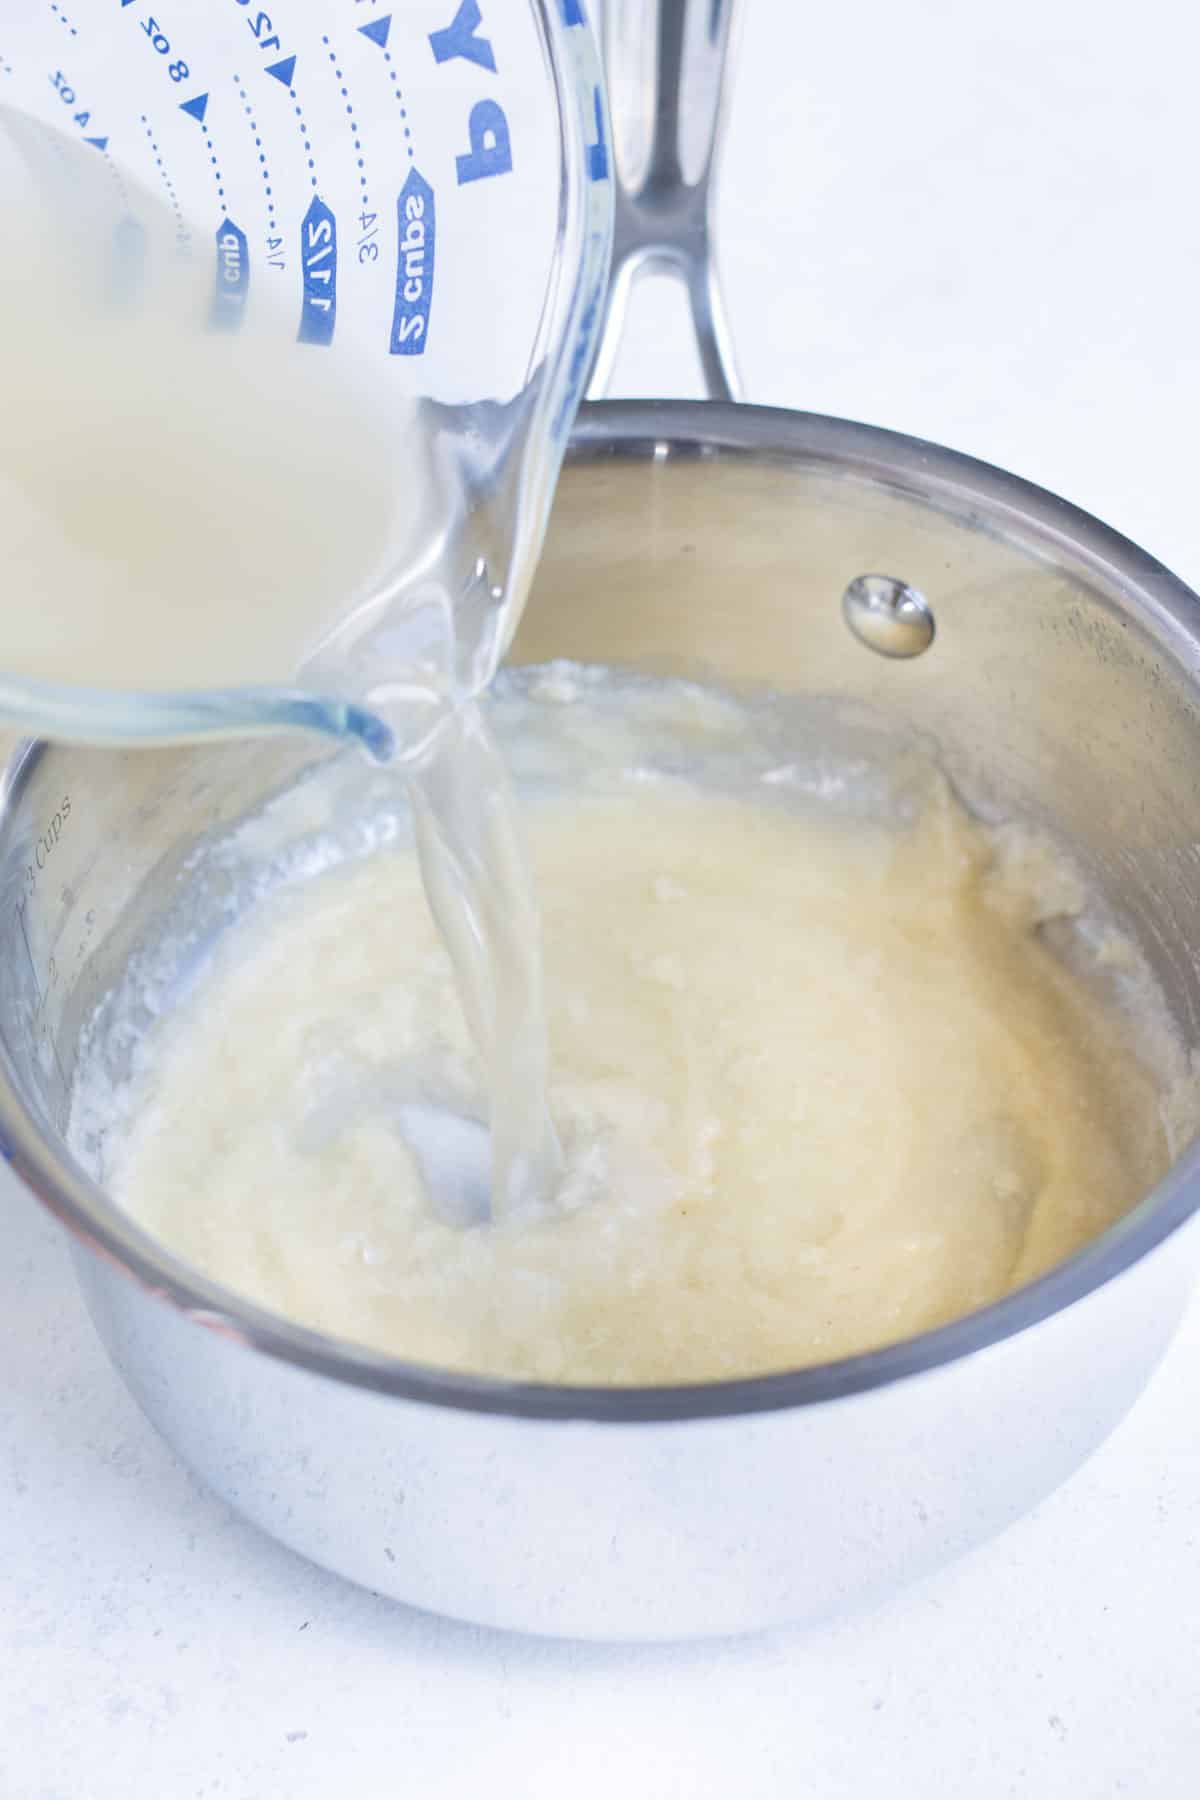
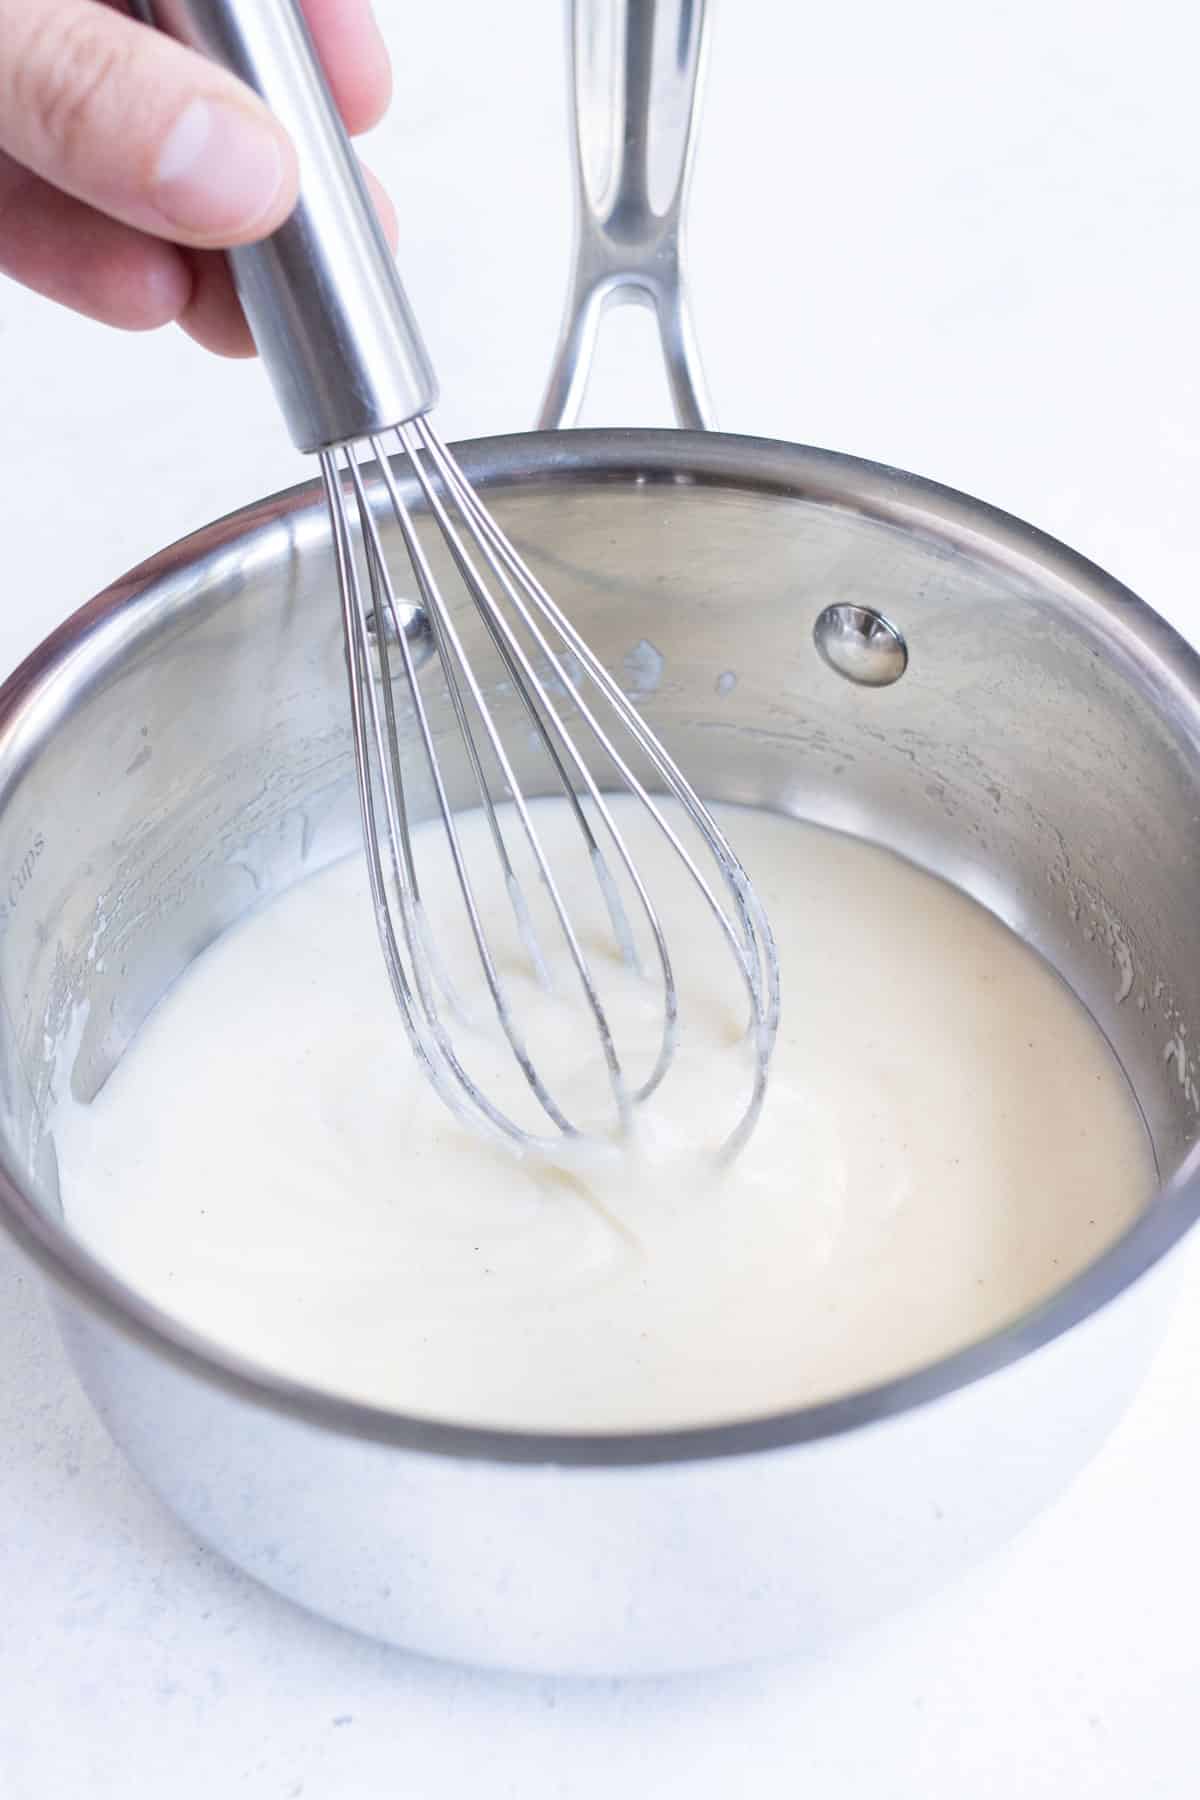
You will be adding in the broth in batches. Be sure to let the gravy thicken after each pour. If not, it will be very difficult to get a thick and creamy consistency at the end.
Pour in ¼ cup of broth, whisk well. Allow the gravy to thicken before adding in more.
Continue until all of the broth is incorporated.
Quick Note: The first bit of broth you add will thicken the roux even more, so be quick to add in that second addition so it doesn’t burn!
Pour in Milk
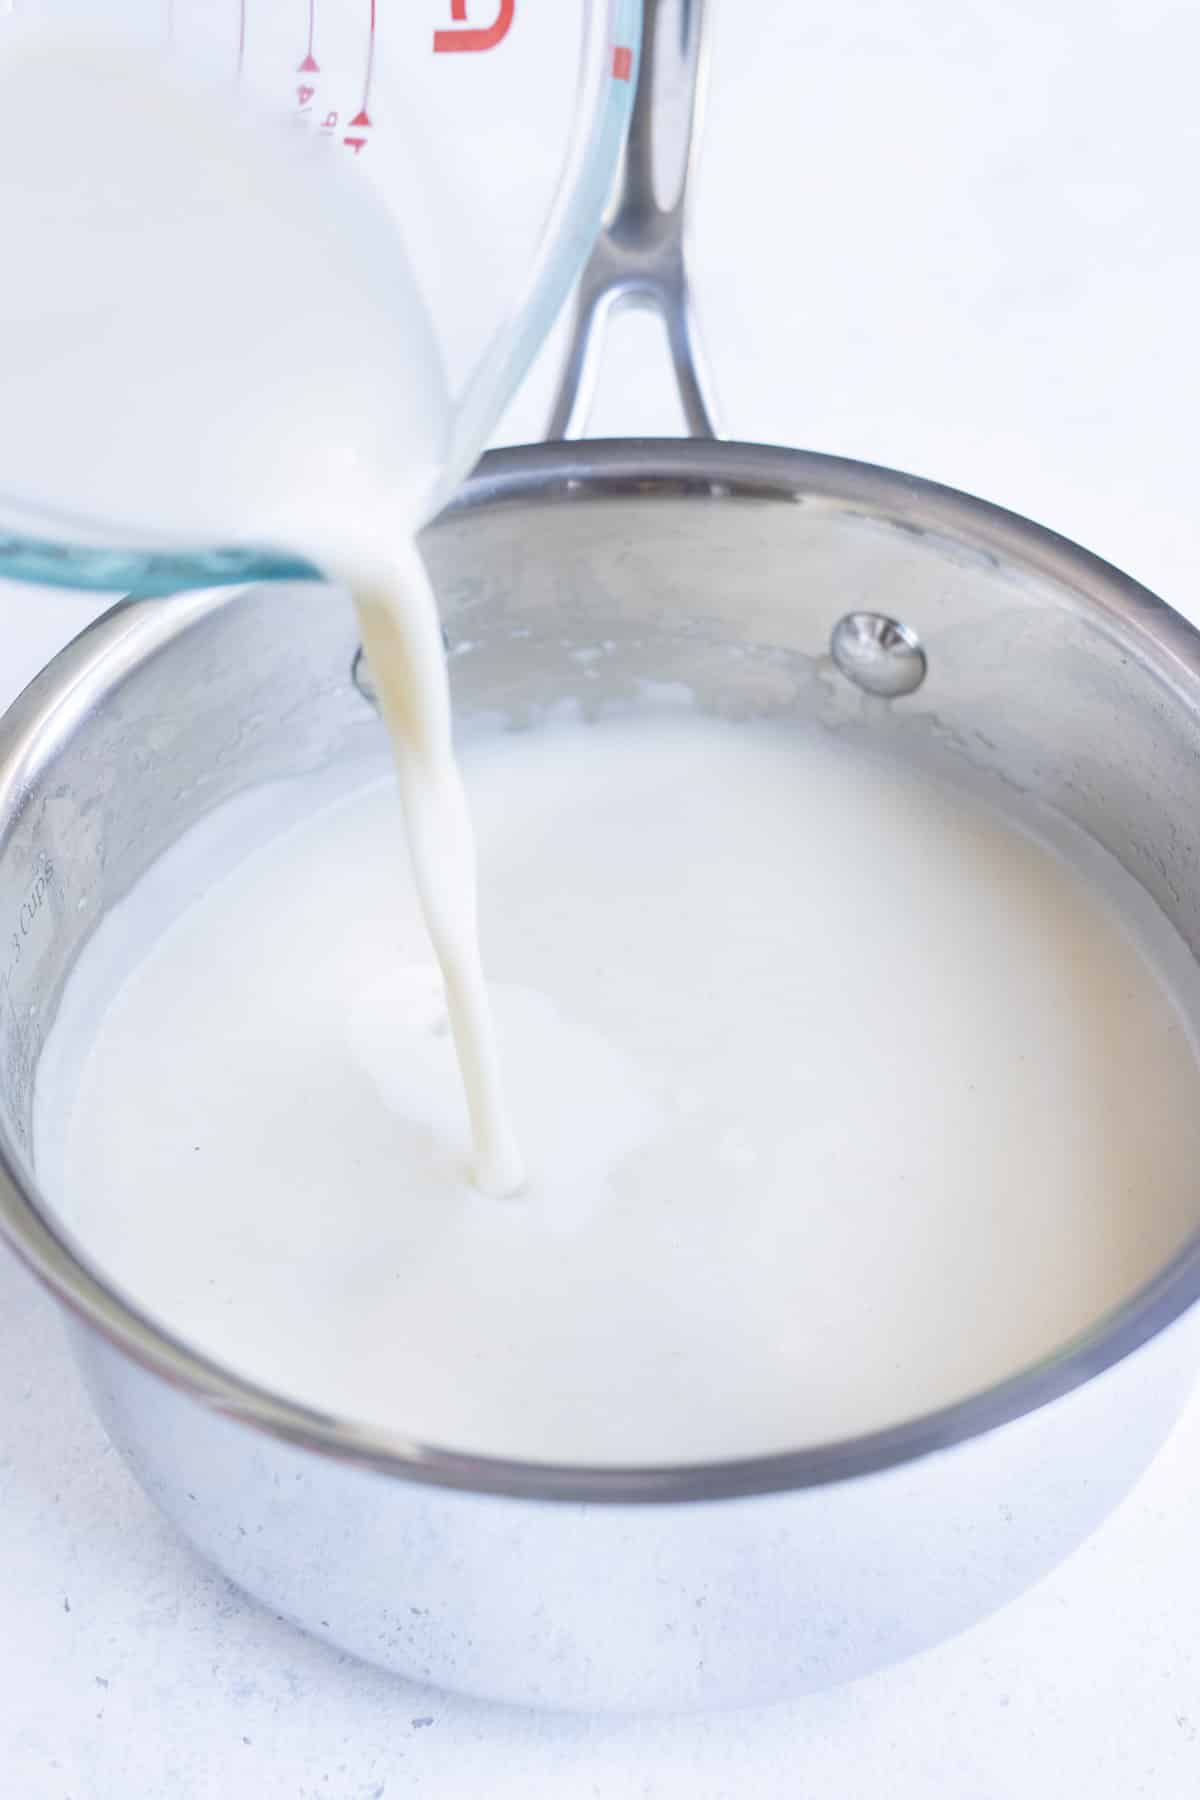
After all of the broth is stirred in, pour in ¼ cup of the milk. Whisk well. Then add in the rest of the milk. You can adjust the amount of milk depending on how thick you like the gravy.
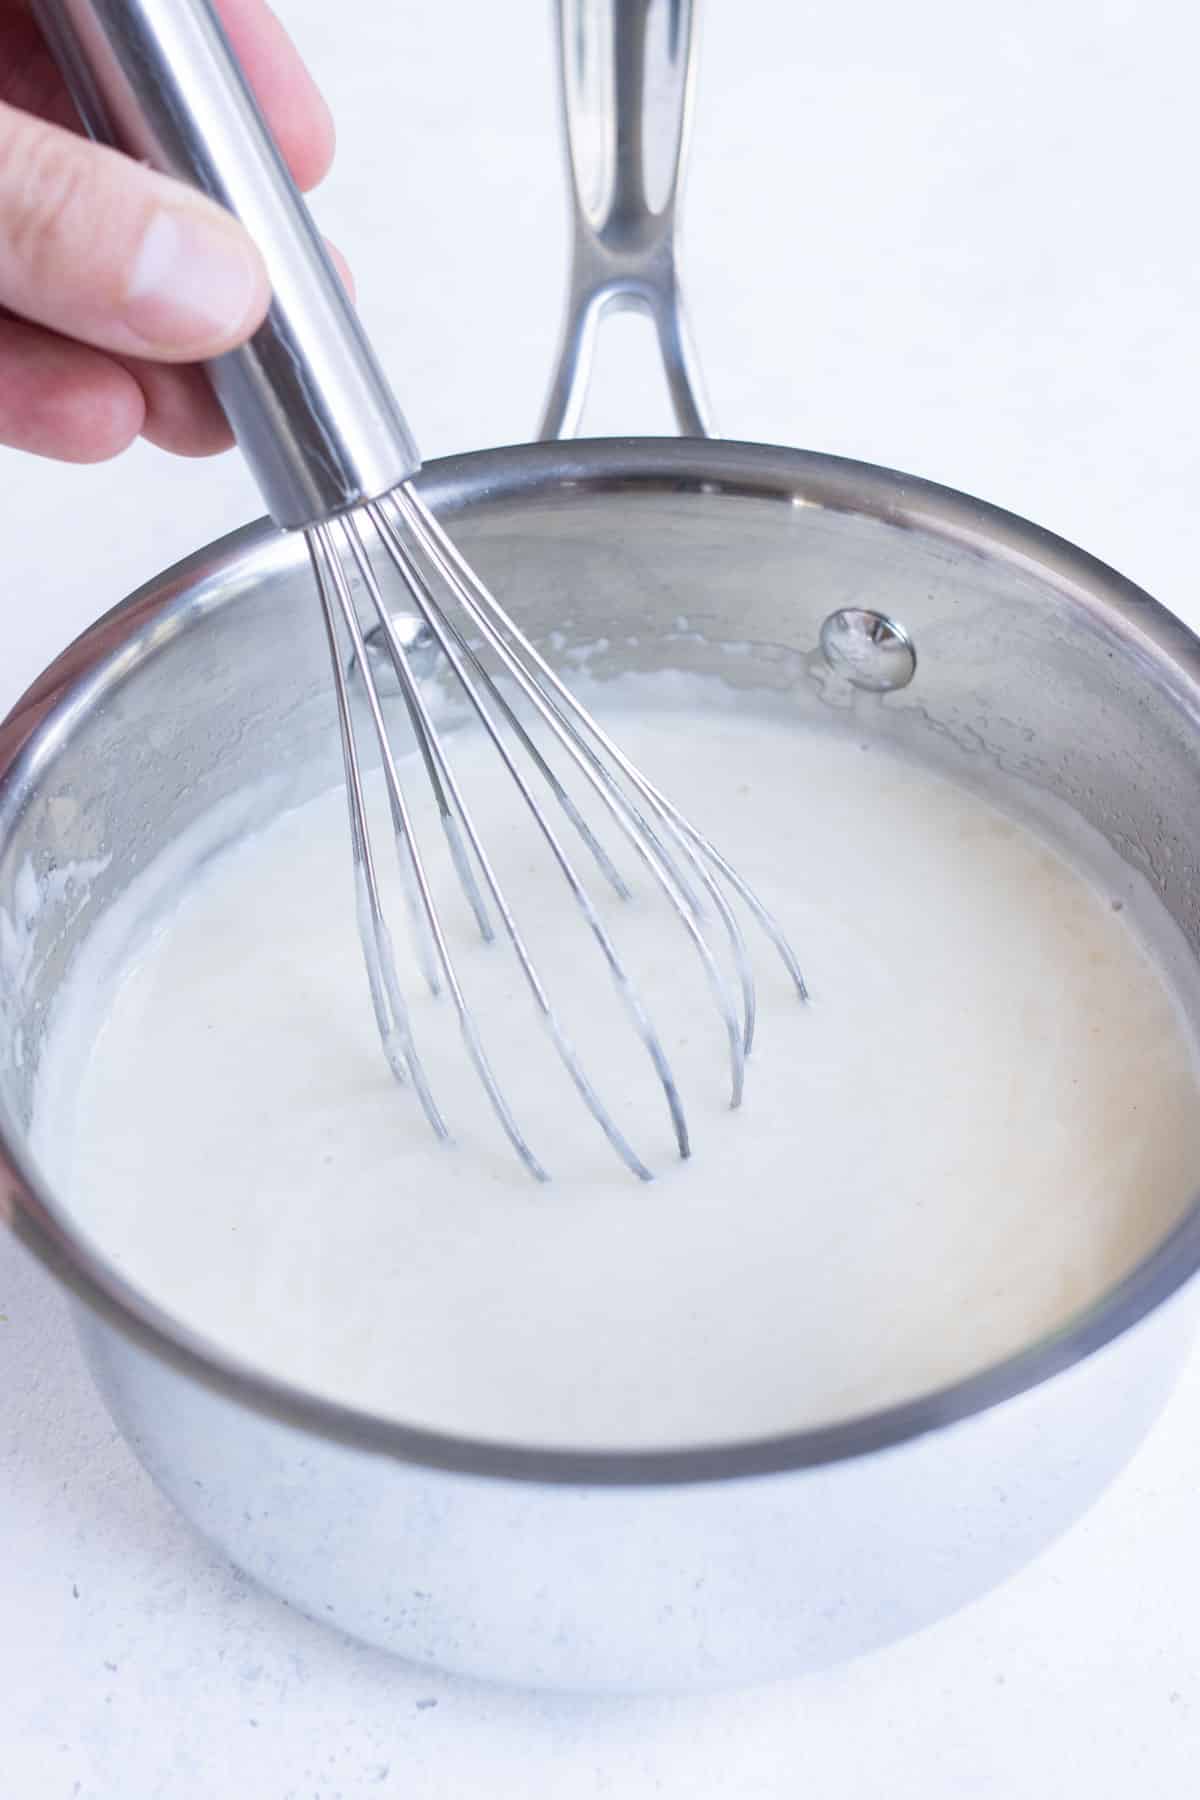
Continue whisking while you let the gravy simmer until the desired consistency is reached.
Add salt and pepper to taste and stir, but be sure to take into account the sodium in the butter and broth.
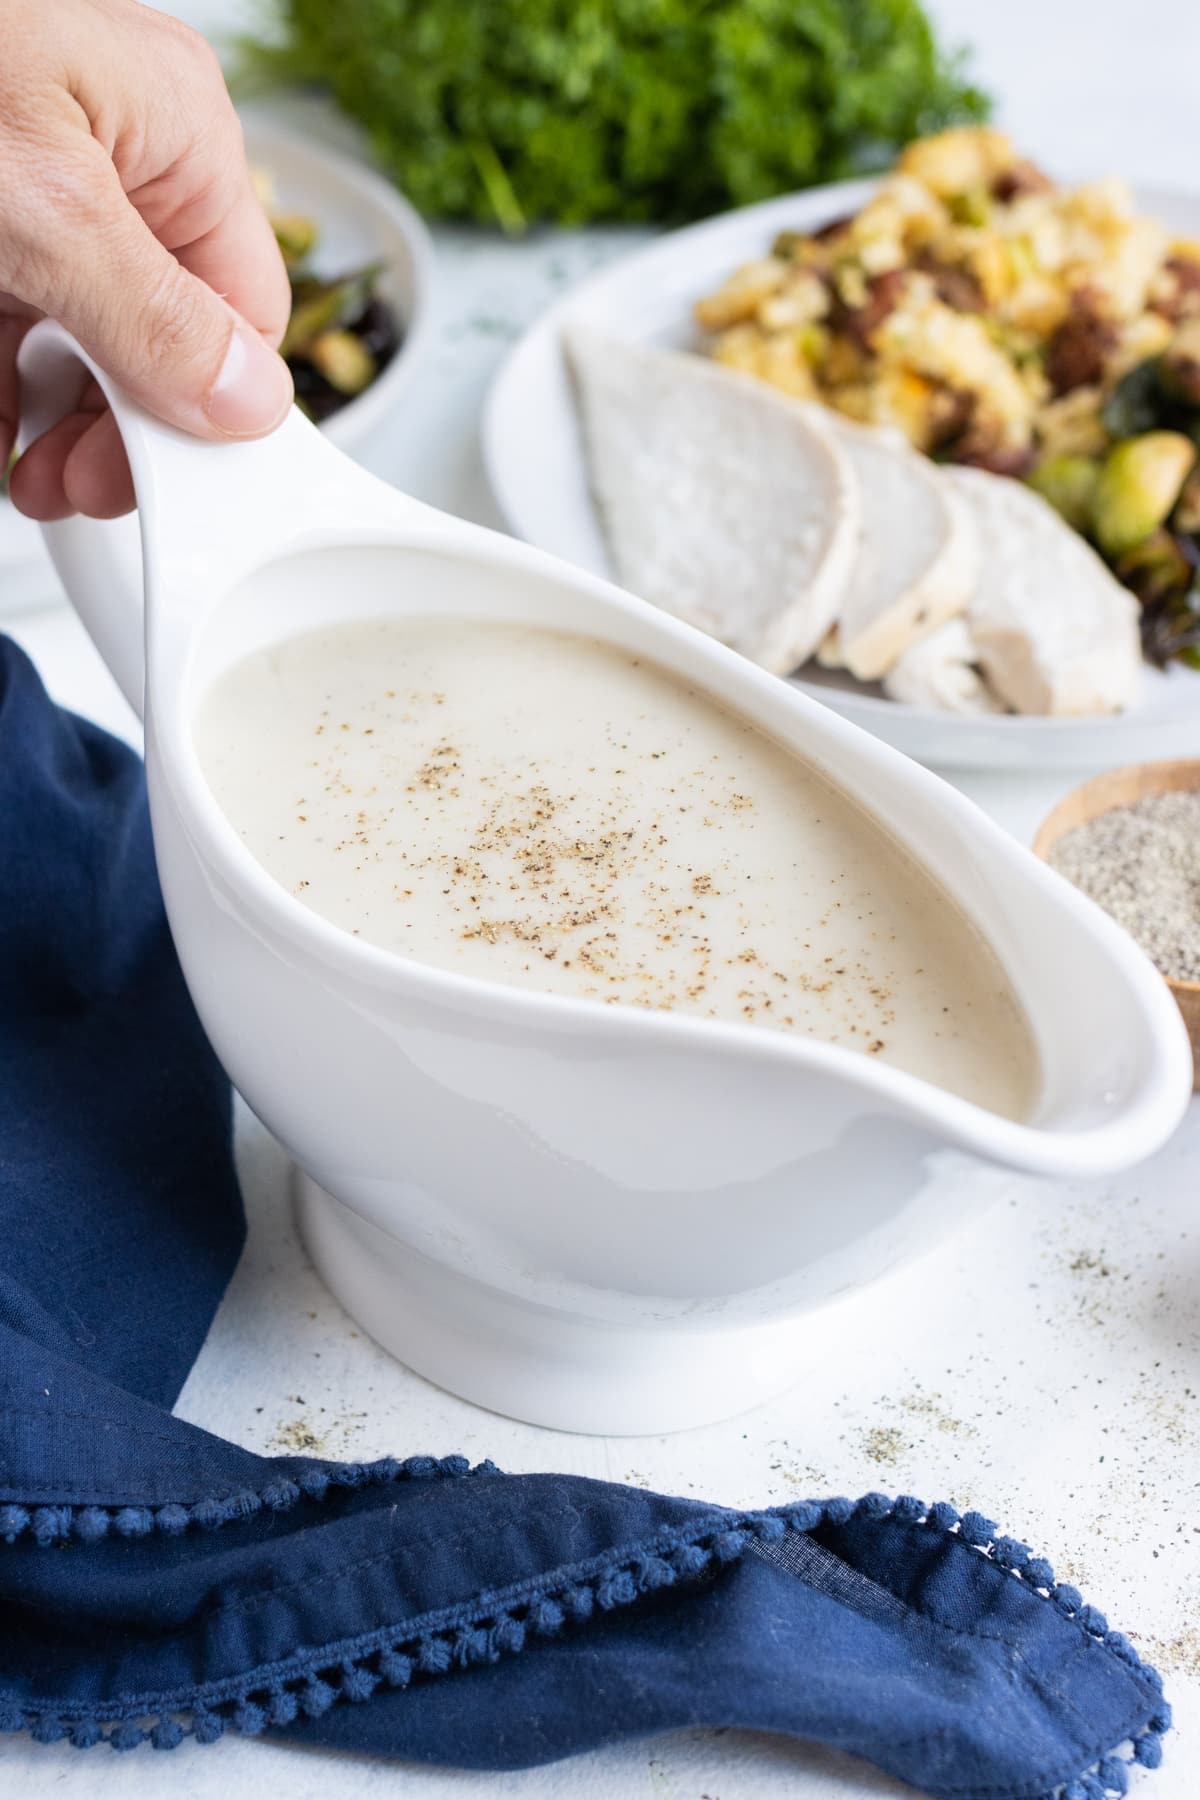
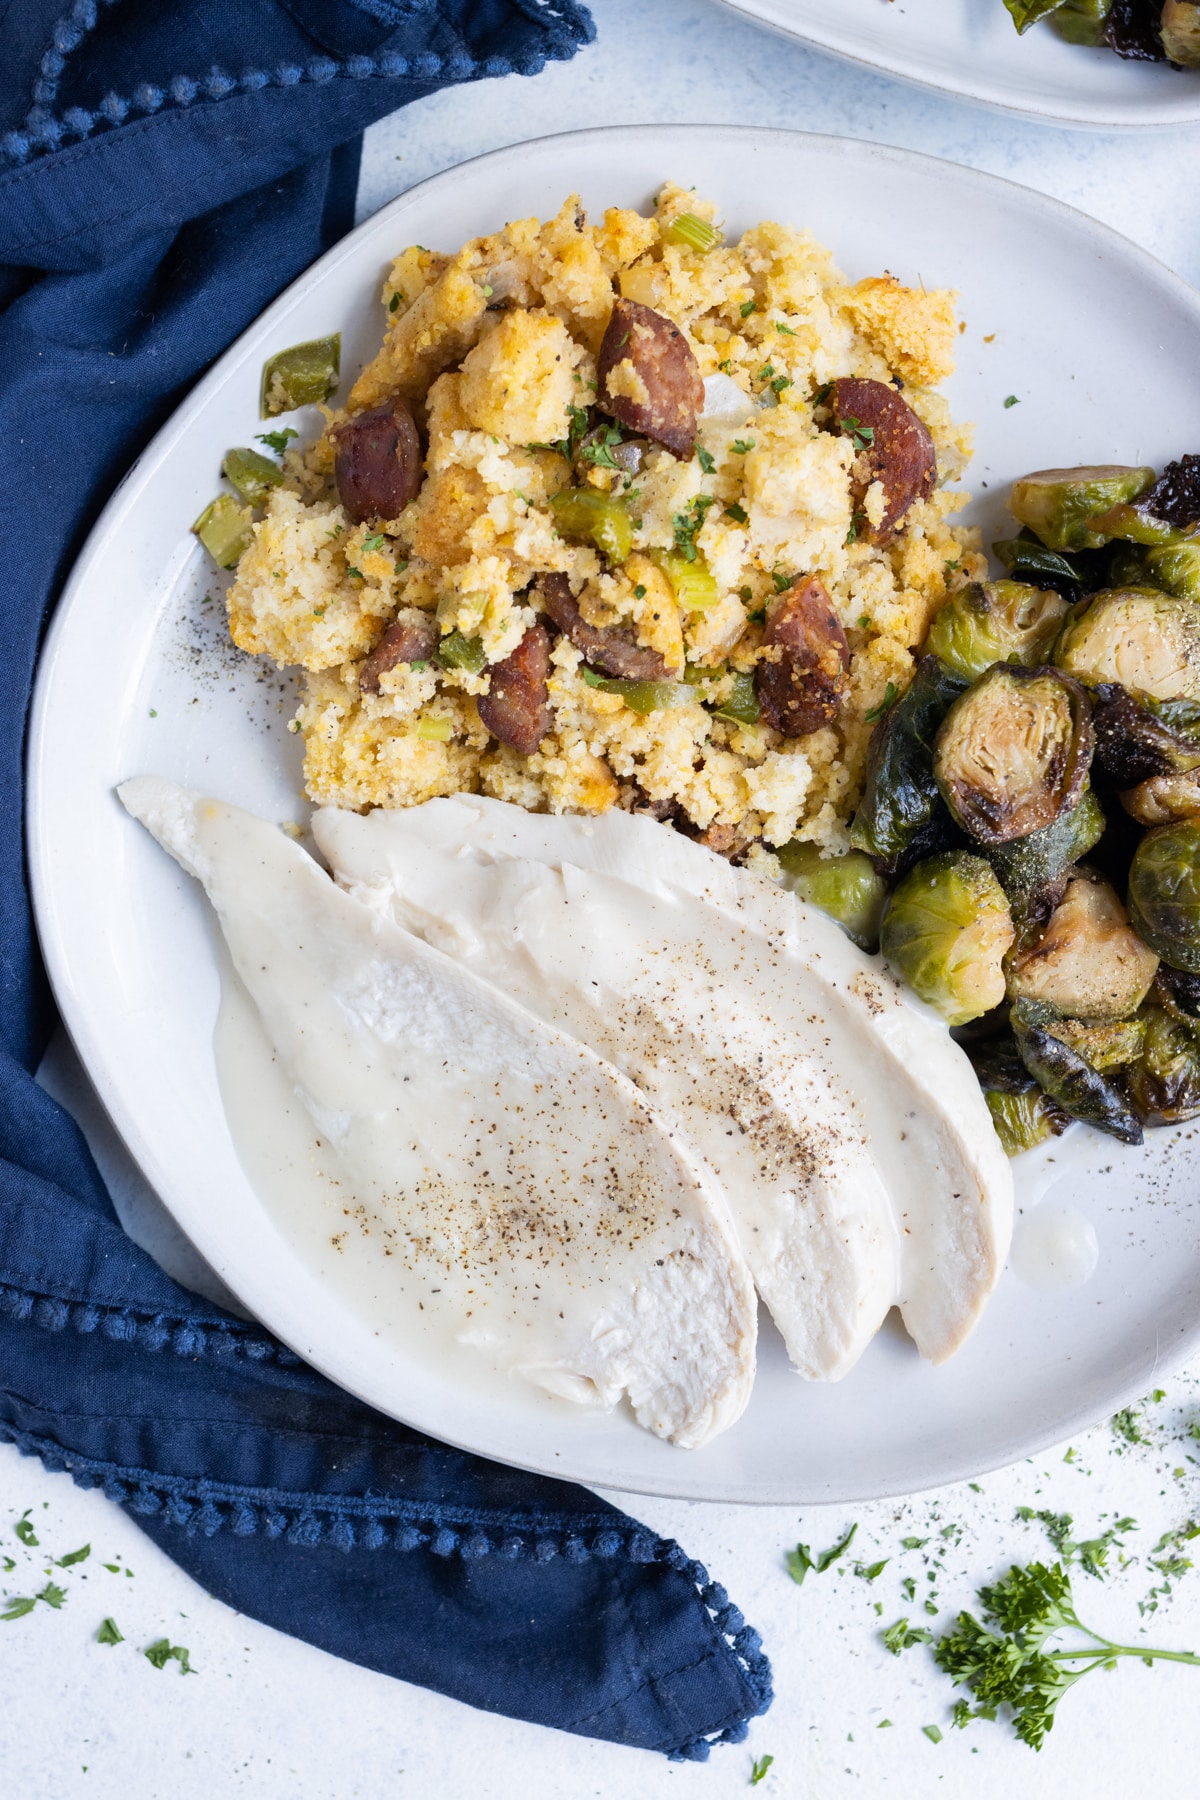
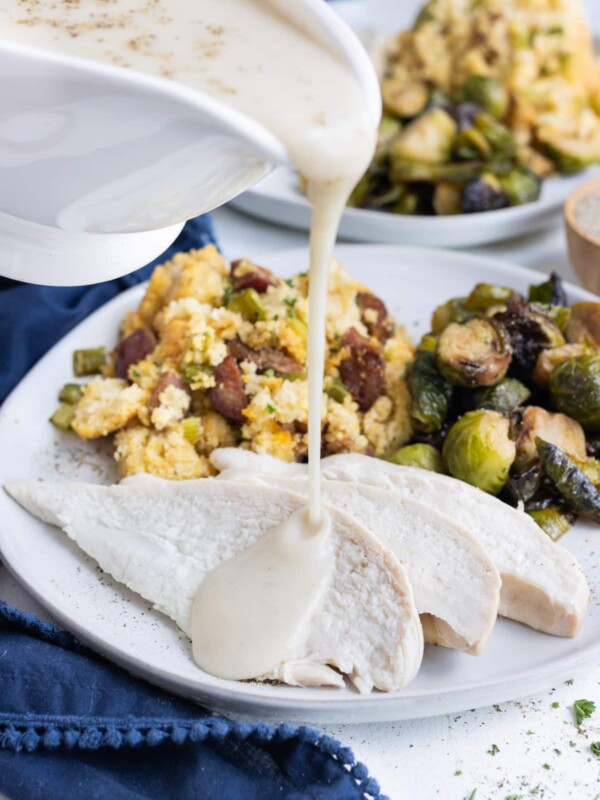
This easy homemade gravy is delicious on Thanksgiving turkey, creamy mashed potatoes, and even chicken fried steak!
Meal Prep and Storage
- To Prep-Ahead: This recipe is perfect to make in its entirety a day or two before you need it. You can save time and precious stovetop space on a busy day of cooking.
- To Store: Keep this gravy in an airtight container in the fridge for up to 5 to 6 days.
- To Freeze: You can save leftovers in a tightly sealed Ziploc bag with all of the air removed in the freezer for up to 4 months.
- To Reheat: Warm the gravy back up in a saucepan on the stovetop, adding milk until you get the desired consistency.
Dietary Modifications
Here are some adjustments and substitutions you can make to help it fit your other dietary requirements:
- Vegetarian: Opt for vegetable broth.
- Gluten-free: Stick with a gluten-free 1-to-1 flour blend.
- Dairy-free: Sub in avocado oil or a vegan butter alternative.
FAQs
You can add a variety of things to gravy for extra taste. In this recipe, chicken broth and poultry seasoning create a depth of flavor. You can also use apple cider vinegar, Worcestershire sauce, or seasonings like garlic powder, paprika, or onion powder.
The secret to a good gravy is taking your time to get the right consistency. Don’t rush adding the flour or broth.
For a thicker gravy, decrease the amount of milk and broth you add.
Expert Tips and Tricks
- Melt first. Be sure the butter is completely heated and liquified before adding the flour.
- Take your time. Do not pour in all of the broth at once, and allow the gravy to thicken after each batch.
- Whisk away. Use some elbow grease to really stir the gravy when incorporating the broth.
- More or less. You can increase or decrease the amount of milk, depending on how thick you want it.
- Season at the end. Salt and pepper to your preference after adding in the broth and milk.
What to Serve Gravy With?
This gravy goes perfectly with any of these recipes:
- Spatchcock Chicken
- Instant Pot Mashed Potatoes
- Roasted Garlic Mashed Cauliflower
- Breakfast Potato Hash with Eggs and Bacon
More Sauce Recipes
If you’re looking for other easy sauce recipes, try one these next:
- Secret Sauce
- Chick-fil-a Sauce
- Remoulade Sauce
- Spicy Sriracha Mayo
- Lime Crema
- Orange Cranberry Sauce
Tap stars to rate!
How to Make Gravy Without Drippings
email this recipe!
Ingredients
- 2 Tbsp. butter salted
- 3 Tbsp. flour or a gluten-free 1-to-1 blend
- 1 cup chicken broth regular sodium
- ½ cup milk regular or plant-based
- ½ tsp. poultry seasoning optional
- Salt and pepper to taste
Instructions
- Place butter in a small saucepan or skillet over medium heat and wait for it to melt. If you’d like a darker gravy, let it start to brown slightly.
- Add flour and whisk until a thick paste forms.
- Pour broth in ¼ cup increments, whisking well after each addition.
- Once it thickens up, pour in ½ cup milk in ¼ cup increments, whisking between each addition until smooth. Continue whisking and simmering until your desired consistency is reached.
- Salt and pepper to taste and add in poultry seasoning, if desired.
Tap stars to rate!
Video
Notes
Meal Prep and Storage
- To Prep-Ahead: This recipe is perfect to make a day or two before you need it. You can save time and precious stovetop space on a busy day of cooking.
- To Store: Keep this gravy in an airtight container in the fridge for up to 5 to 6 days.
- To Freeze: You can save leftovers in a tightly sealed Ziploc bag with all of the air removed in the freezer for up to 4 months.
- To Reheat: Warm the gravy back up in a saucepan on the stovetop, adding milk until you get the desired consistency.
Nutrition
Nutrition information is automatically calculated, so should only be used as an approximation.



An excellent recipe and so very much better than packaged gravy!!! Thank you
Yay! So happy to hear you enjoyed the recipe, Sherry! Thanks so much for taking the time to leave a comment and rating!